[WARNING] This is a work in progress
[WARNING] Please read carefully this note before using this project. It contains important facts.
Content
- What is Sporniket's conversion of the schematics of the 'Atari 260ST/520ST' computer into Kicad, and when to use it ?
- What should you know before using Sporniket's conversion of the schematics of the 'Atari 260ST/520ST' computer into Kicad ?
- How to use Sporniket's conversion of the schematics of the 'Atari 260ST/520ST' computer into Kicad ?
- Known issues
- Miscellanous
1. What is Sporniket's conversion of the schematics of the 'Atari 260ST/520ST' computer into Kicad, and when to use it ?
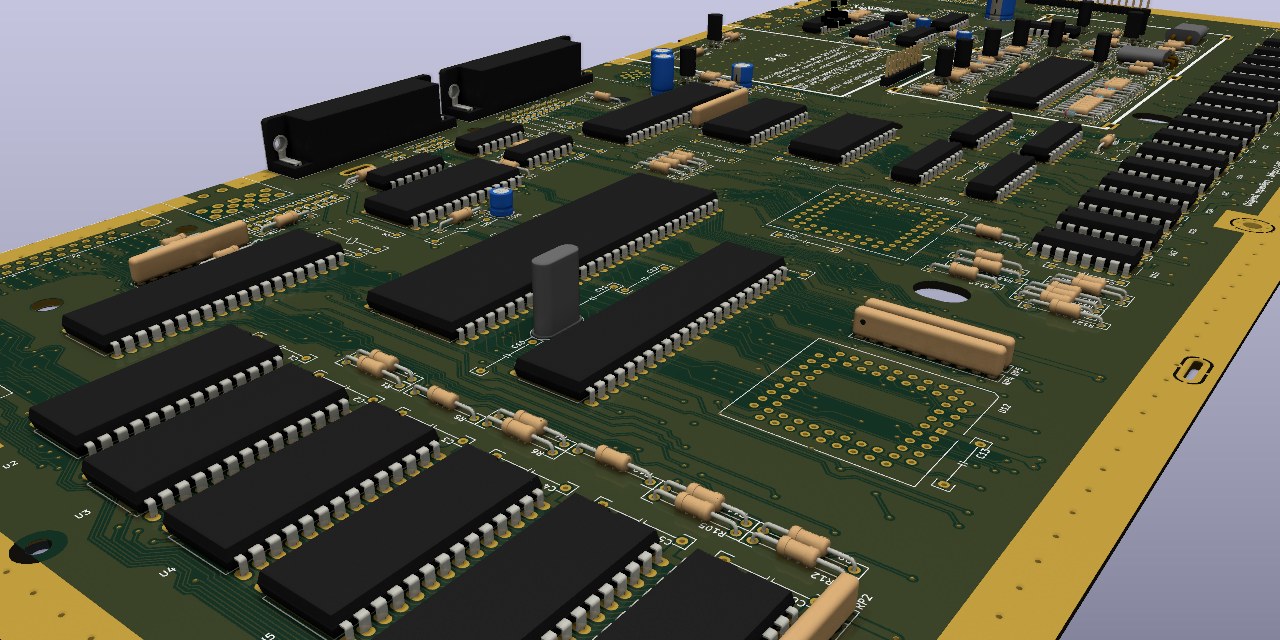
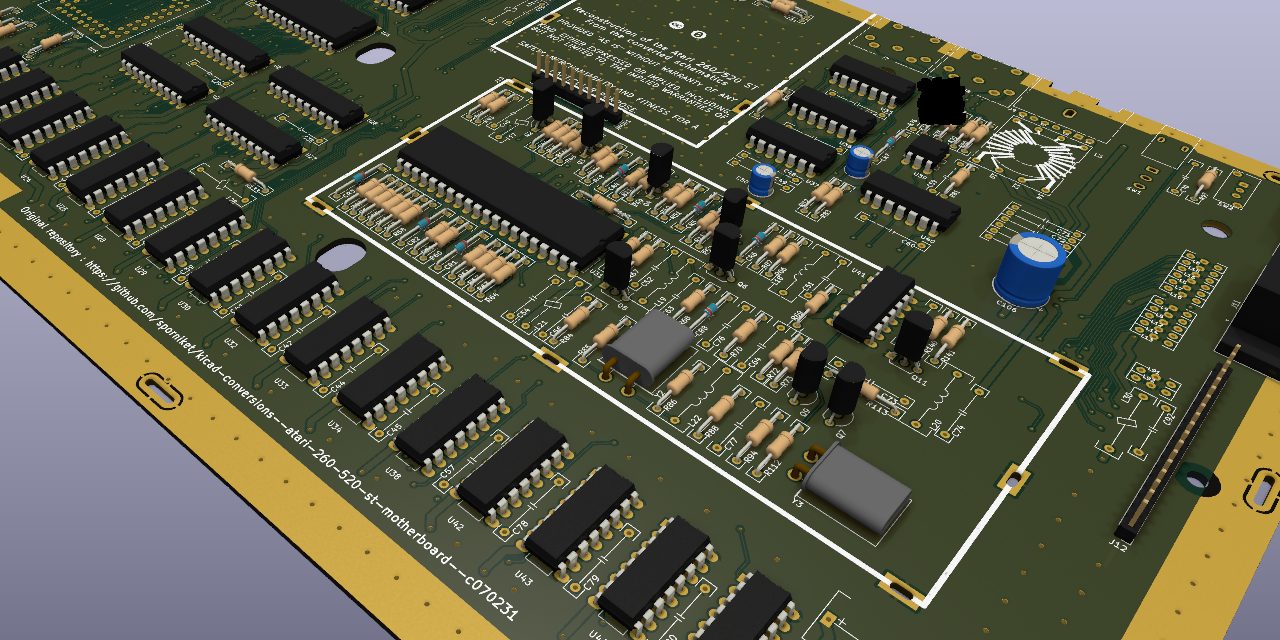
As the name implies Sporniket's conversion of the schematics of the 'Atari 260ST/520ST' computer into Kicad is a project made with Kicad. The available schematics of a computer from the 1980s called 'Atari ST' has been converted, and there is even a PCB to serve as a non normative reference.
Sporniket's conversion of the schematics of the 'Atari 260ST/520ST' computer into Kicad is marked with CC0 1.0 Universal. To view a copy of this license, visit http://creativecommons.org/publicdomain/zero/1.0
Sporniket's conversion of the schematics of the 'Atari 260ST/520ST' computer into Kicad is distributed in the hope that it will be useful, but WITHOUT ANY WARRANTY; without even the implied warranty of MERCHANTABILITY or FITNESS FOR A PARTICULAR PURPOSE.
- Put a soldering point and silkscreen mark for ACSI port pin 10
- Add text on silkscreen to render ISSUE_DATE and REVISION variables
First release with a "good enough" PCB remake and schematics. Most errors in the schematic have been fixed by remaking the PCB. ERC and DRC errors have been fixed (some DRC errors have been excluded on a case by case assessment whether it has a real impact, e.g. some courtyards collisions).
2. What should you know before using Sporniket's conversion of the schematics of the 'Atari 260ST/520ST' computer into Kicad ?
As the name implies, Sporniket's conversion of the schematics of the 'Atari 260ST/520ST' computer into Kicad is made using Kicad, version 7.0.
The git repository use several submodules that one has to fetch in order to get the symbols, footprint and 3dmodels.
This project contains a PCB design that is an approximate reconstruction :
-
Component, mounting hole placement and routing were approximatively guided using a degraded pcb scans from a scanned service manual found on the Atari Document Archive (confidential). An actual motherboard could be acquired and some positionning could be refined.
-
The PCB part of the modulator is especially a best effort, as I could not find converging references about component placement and routing.
-
There was several revision of the original motherboard, thus there will be discrepancies between the PCB of the project and real PCBs anyway.
-
For all of those reasons, the project will stay in "beta" version until an actual assembly is made and shows the computer working -at the very least a complete boot sequence until the GEM Desktop-.
Do not use Sporniket's conversion of the schematics of the 'Atari 260ST/520ST' computer into Kicad if this project is not suitable for your project.
3. How to use Sporniket's conversion of the schematics of the 'Atari 260ST/520ST' computer into Kicad ?
To get the latest available models, one must clone the git repository and the submodules.
git clone --recurse-submodules https://github.com/sporniket/kicad-conversions--atari-260-520-st-motherboard--c070231.git
Then, open the project in Kicad.
A github releases will provide :
- A PDF of the schematics
- A PDF of the silkscreen
- An archive of gerber files
See the project issues page.
Use the project issues page.

