A web frontend written using AngularJS for fabXaccess.
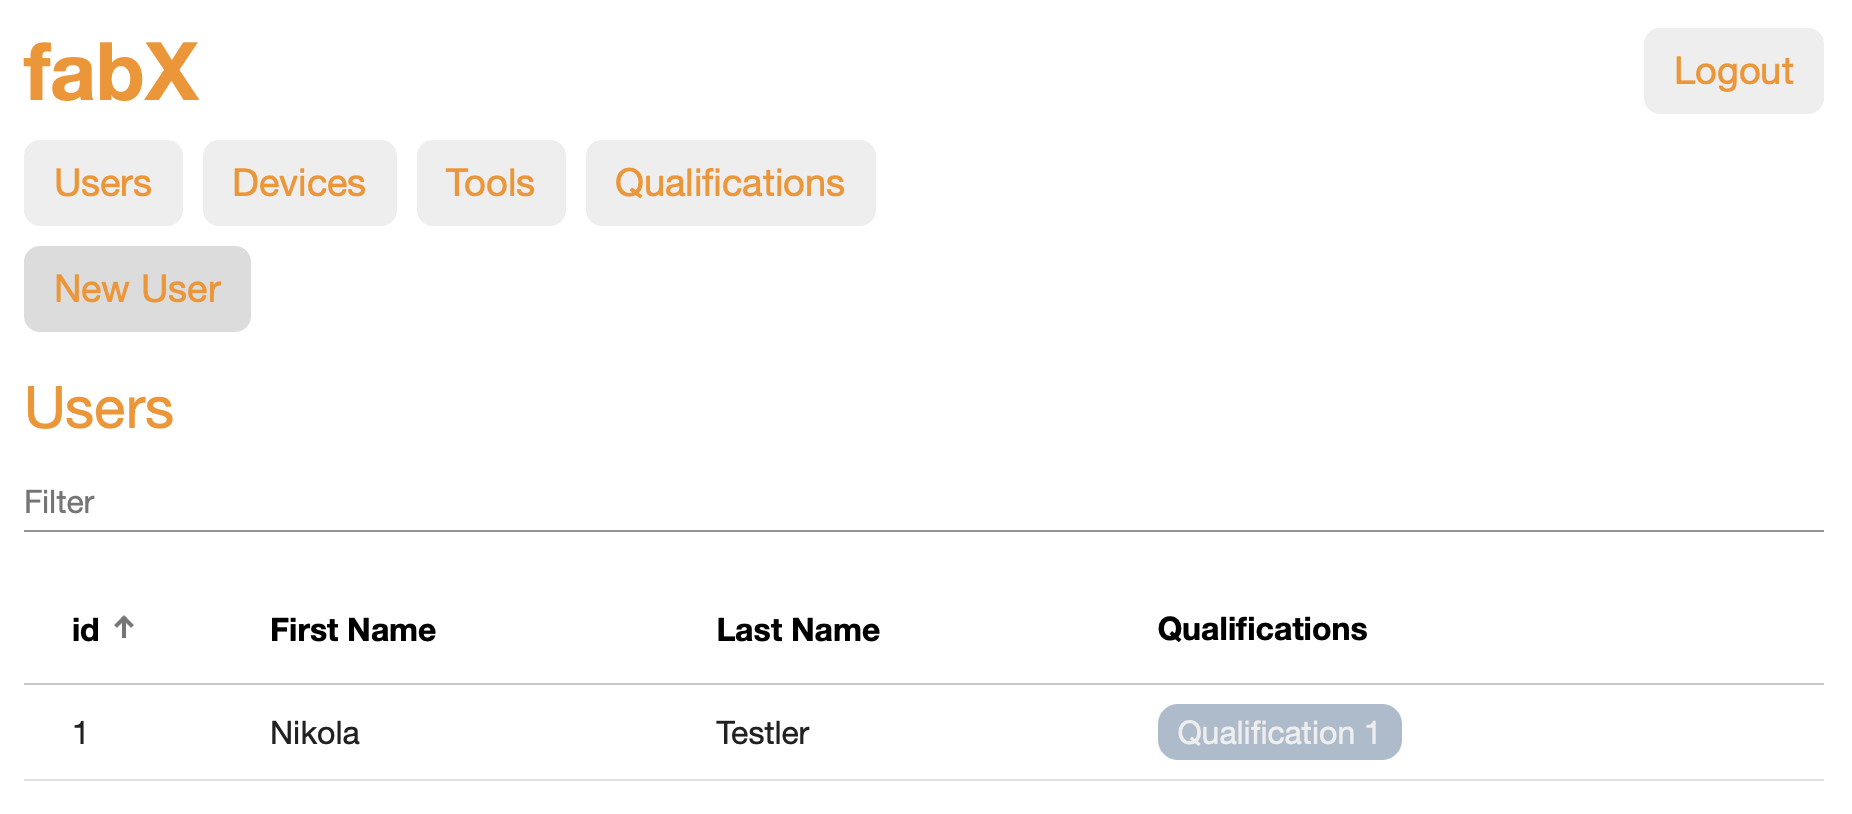
List of all users including badges for each qualifications they have. Clicking on the user's row, their details are revealed.
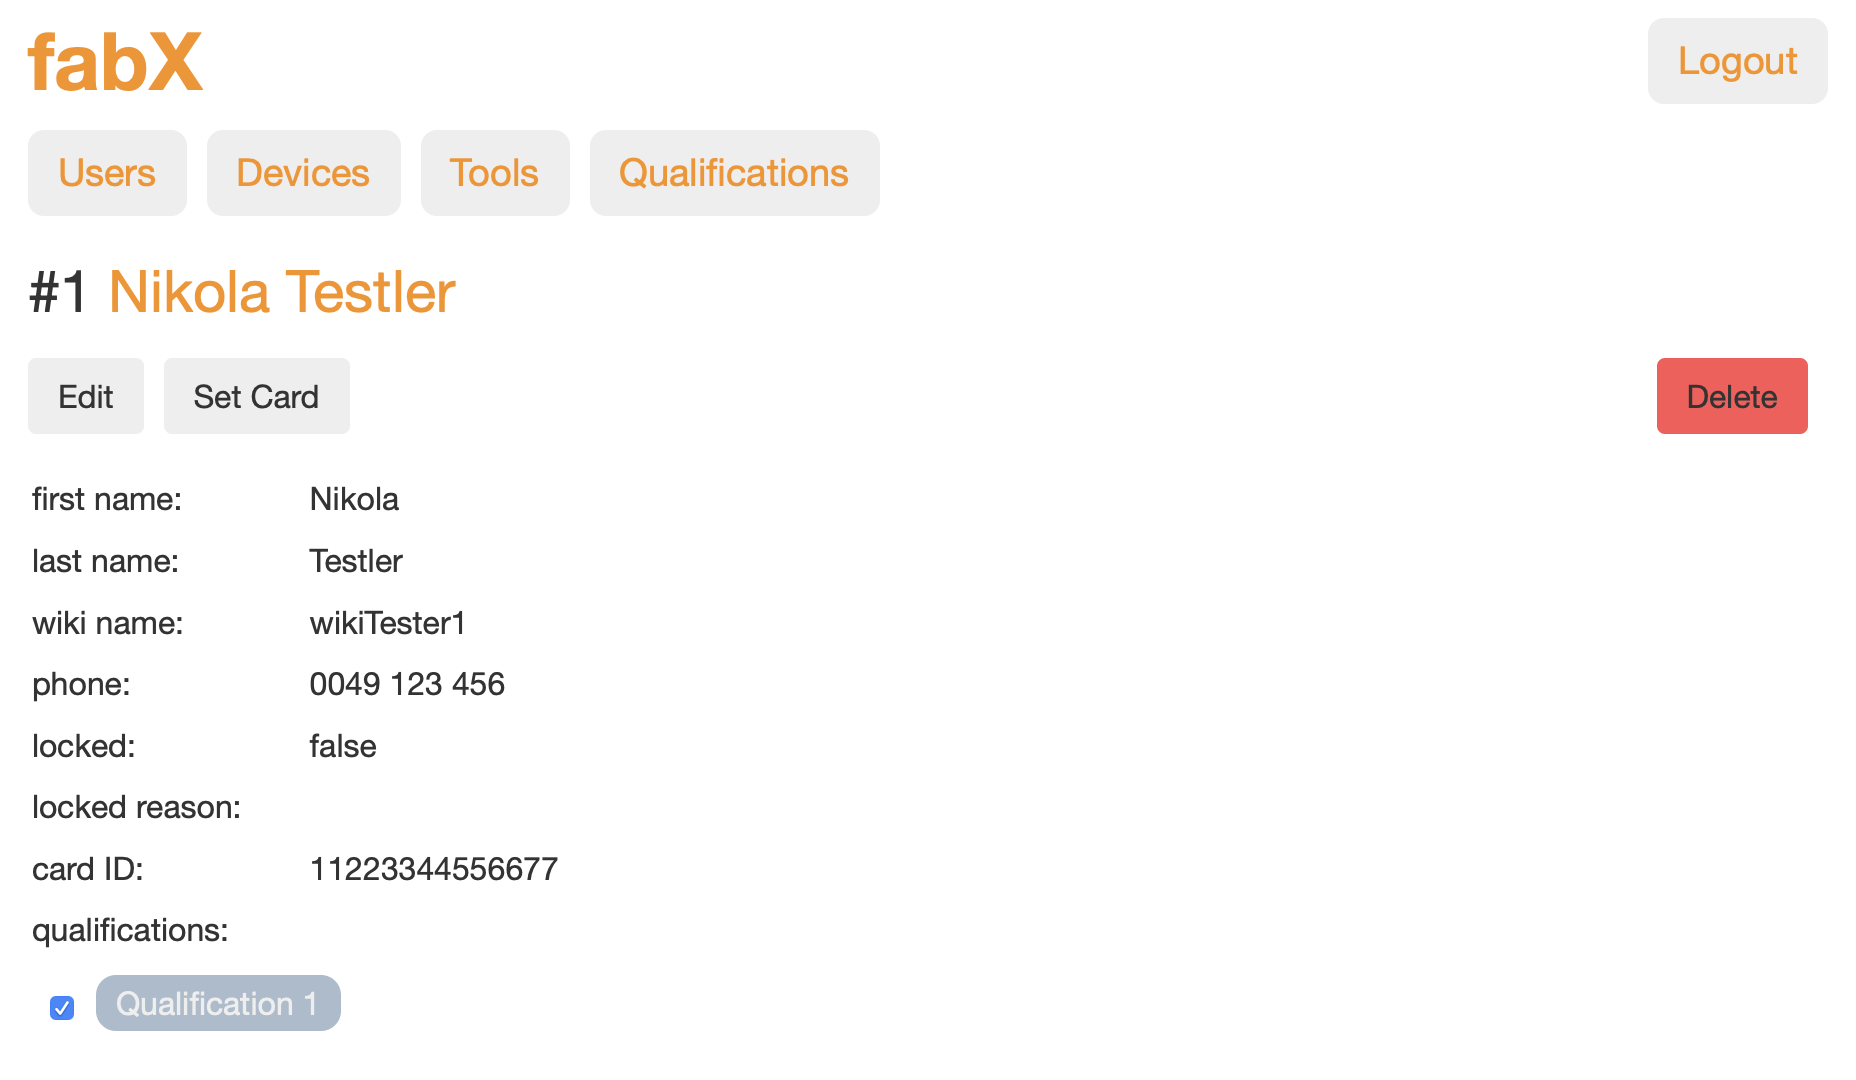
User details. Ticking/Un-Ticking a qualifications adds/removes the qualification for the user.
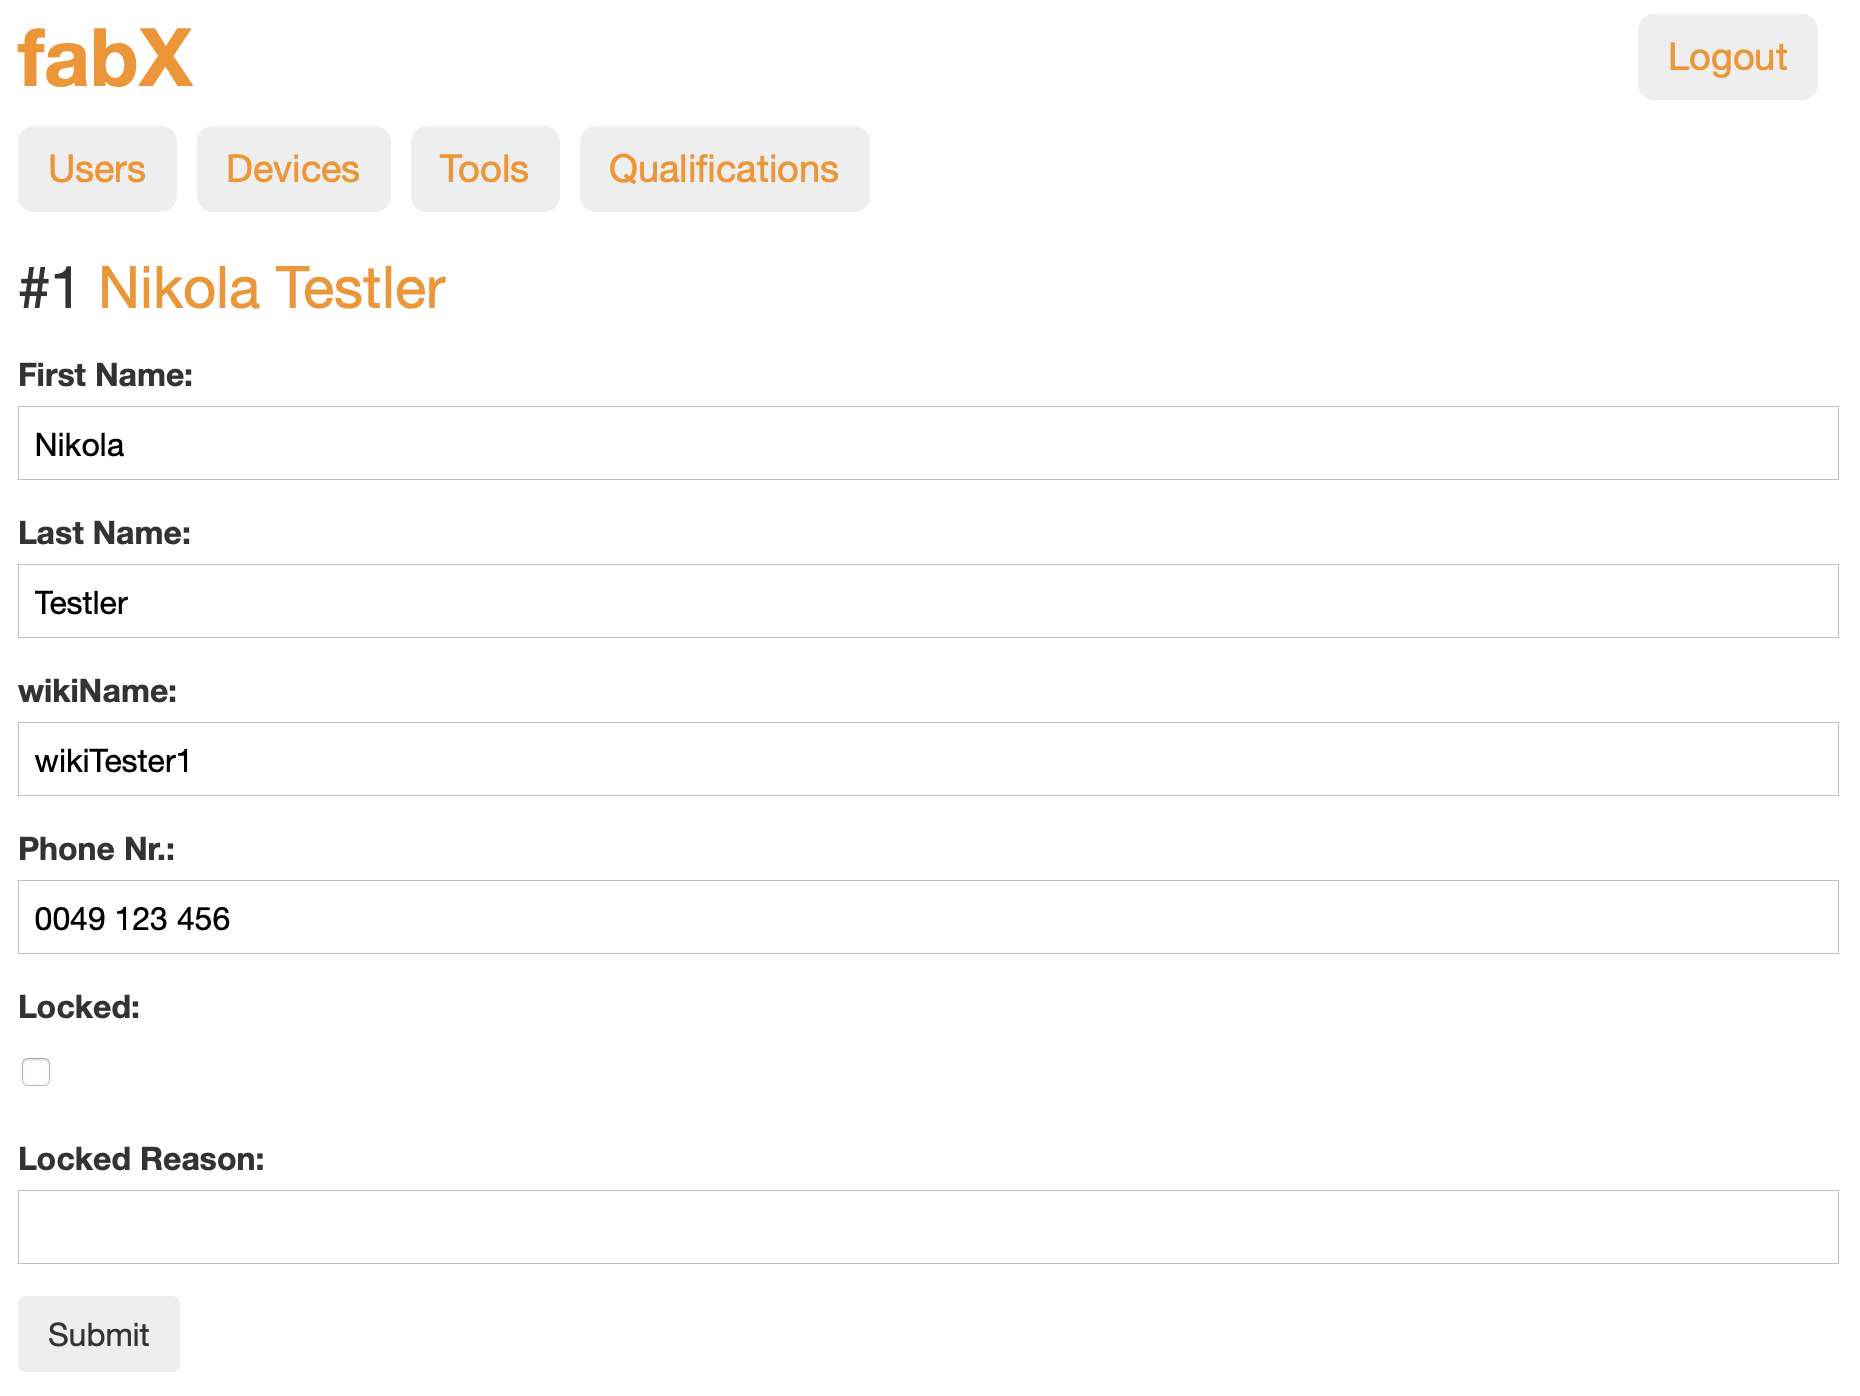
Editing a user's details.
List of all devices. Clicking on the device's row, reveals the details and allows for editing.
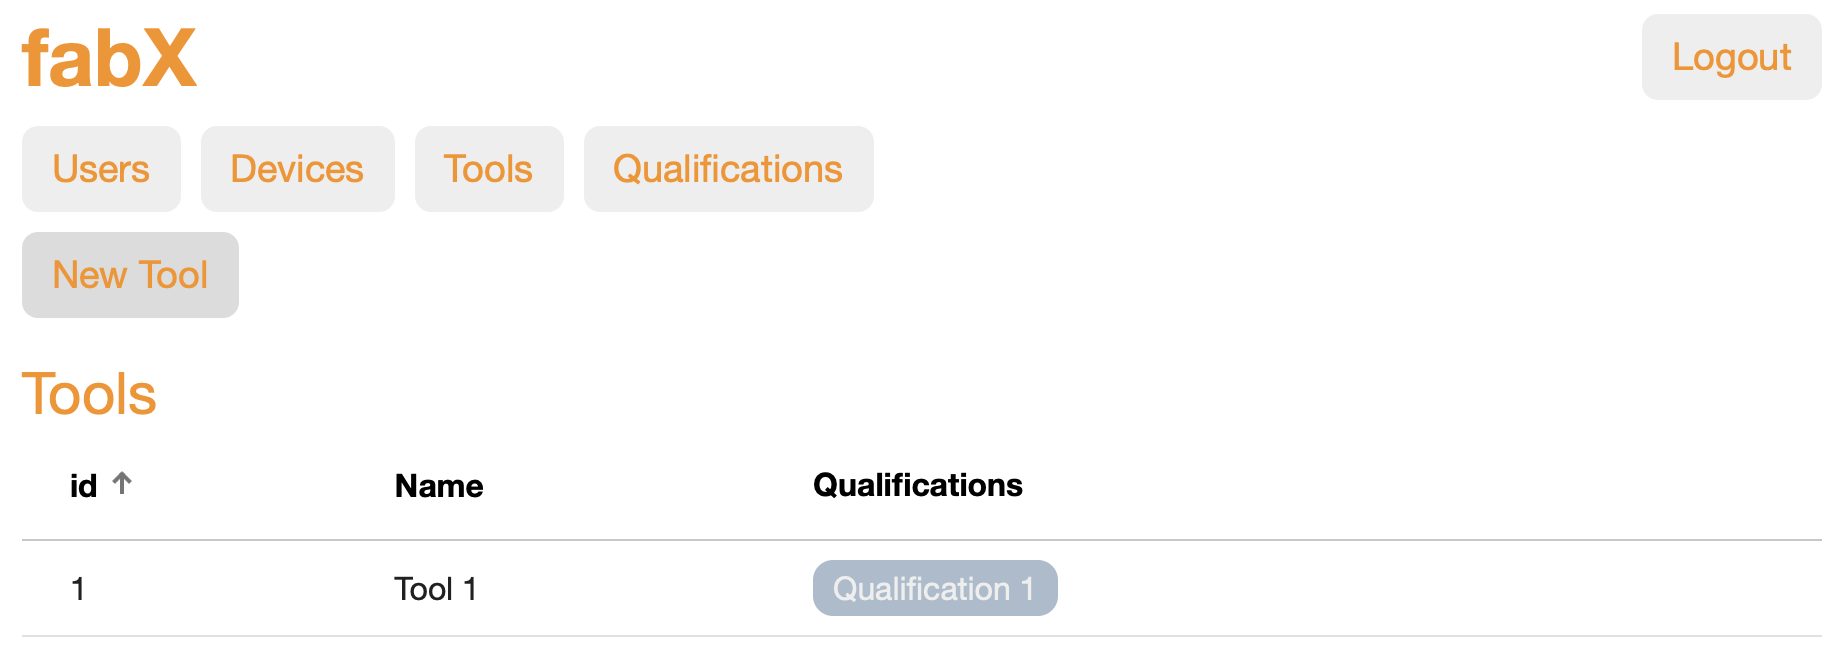
List of all tools.
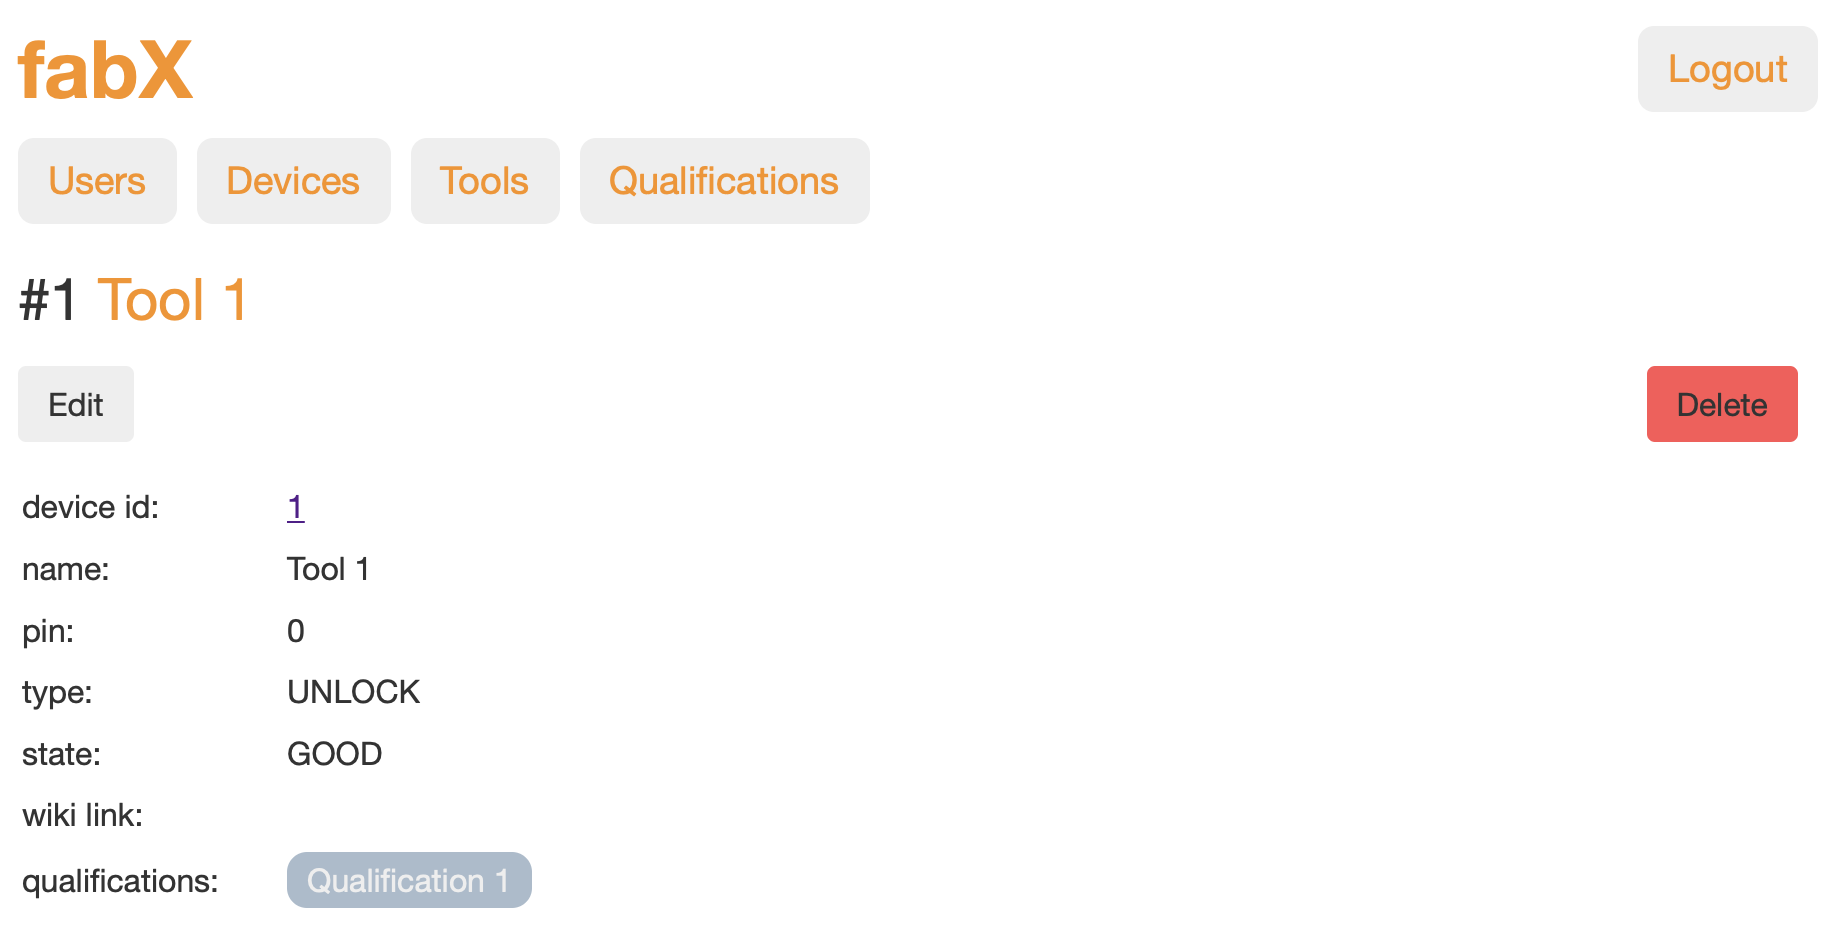
Tool details.
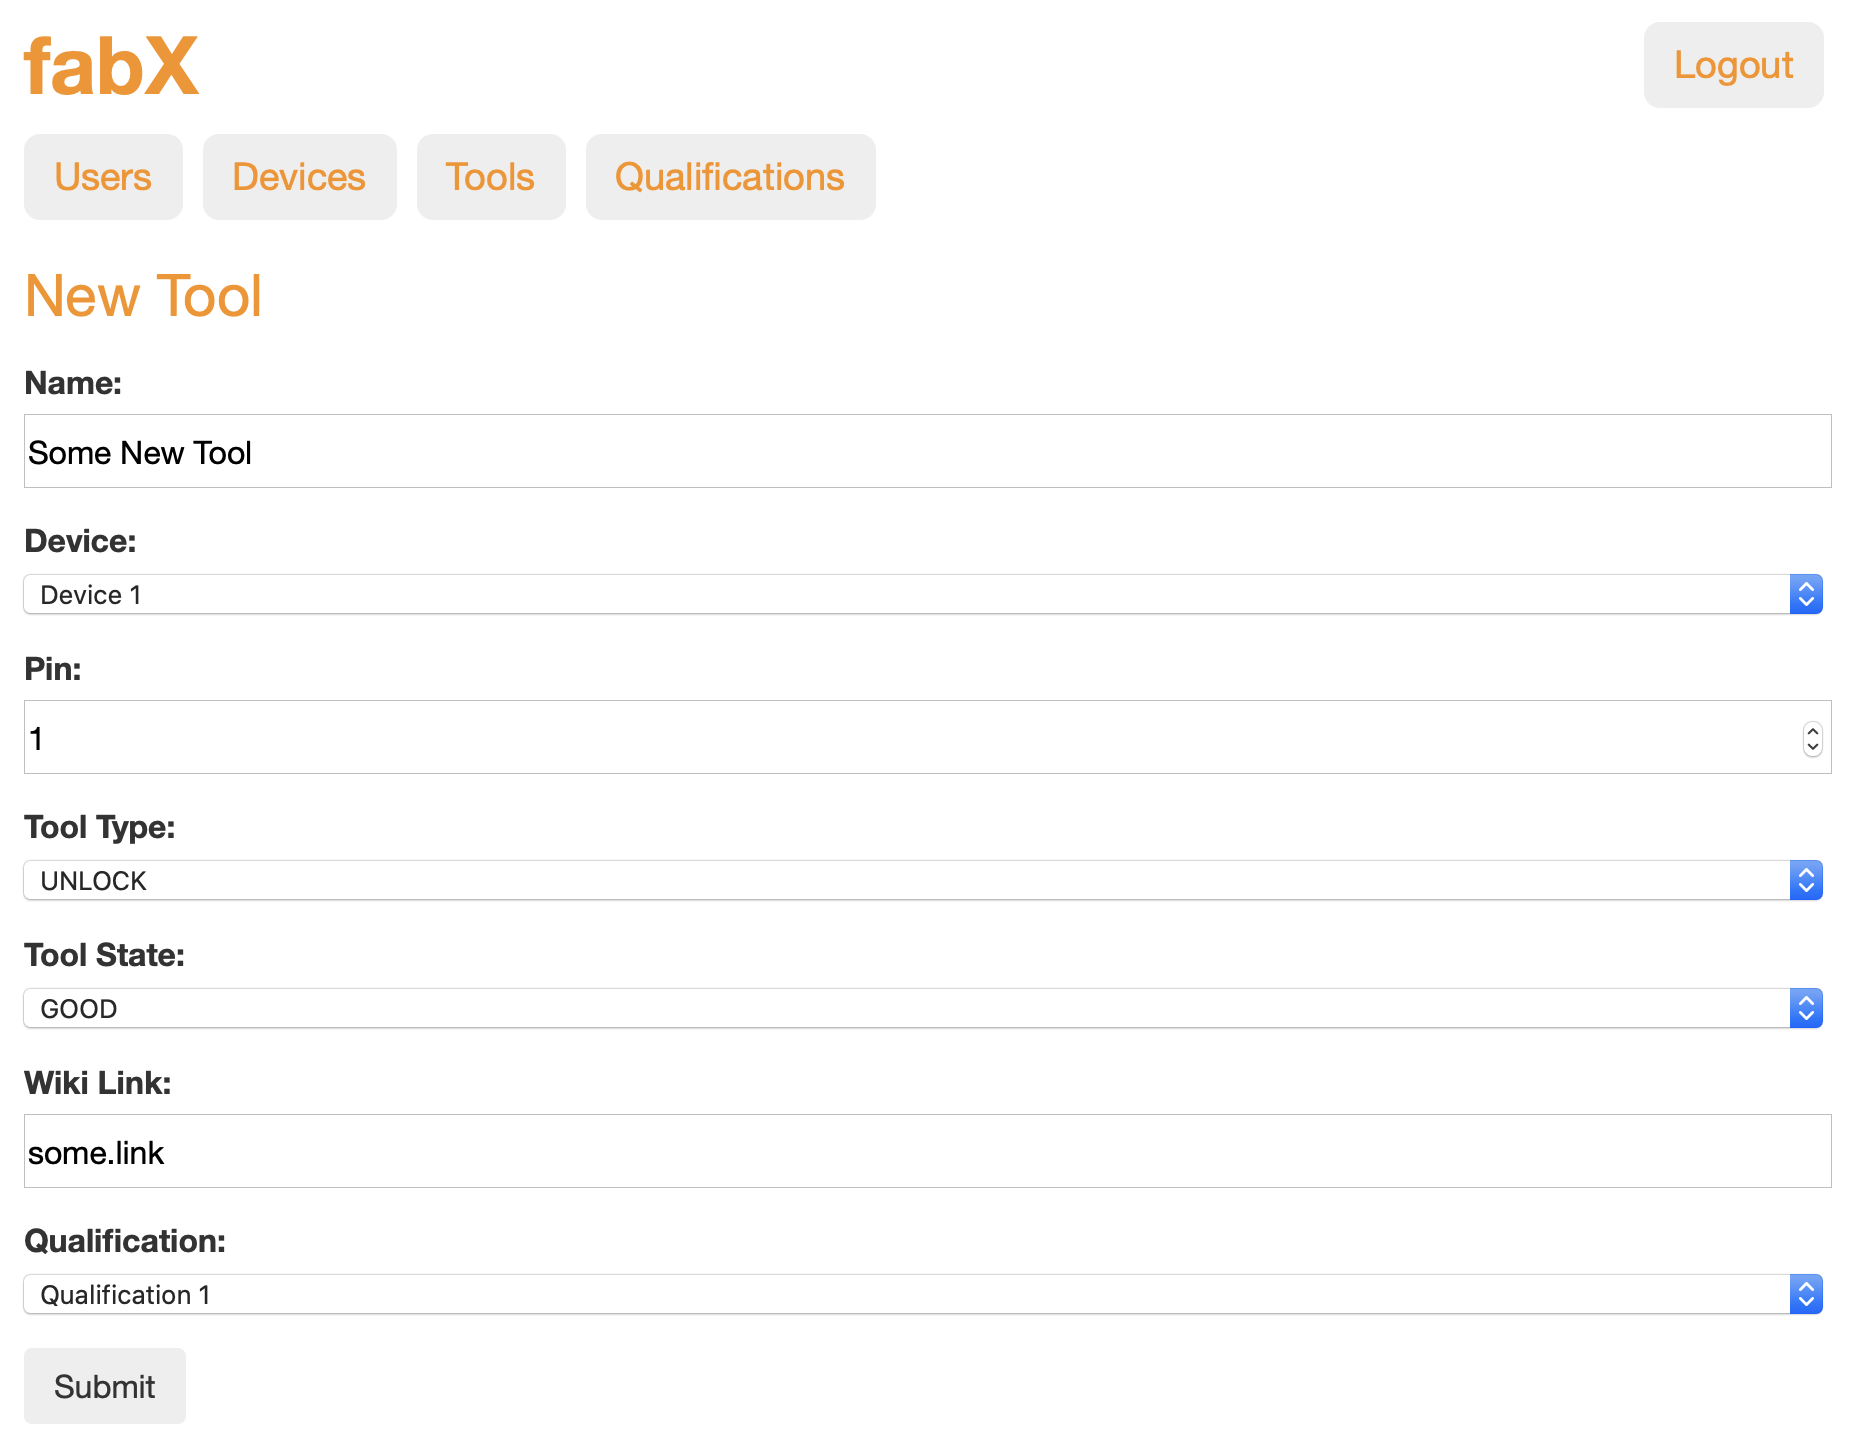
Creating a new tool.
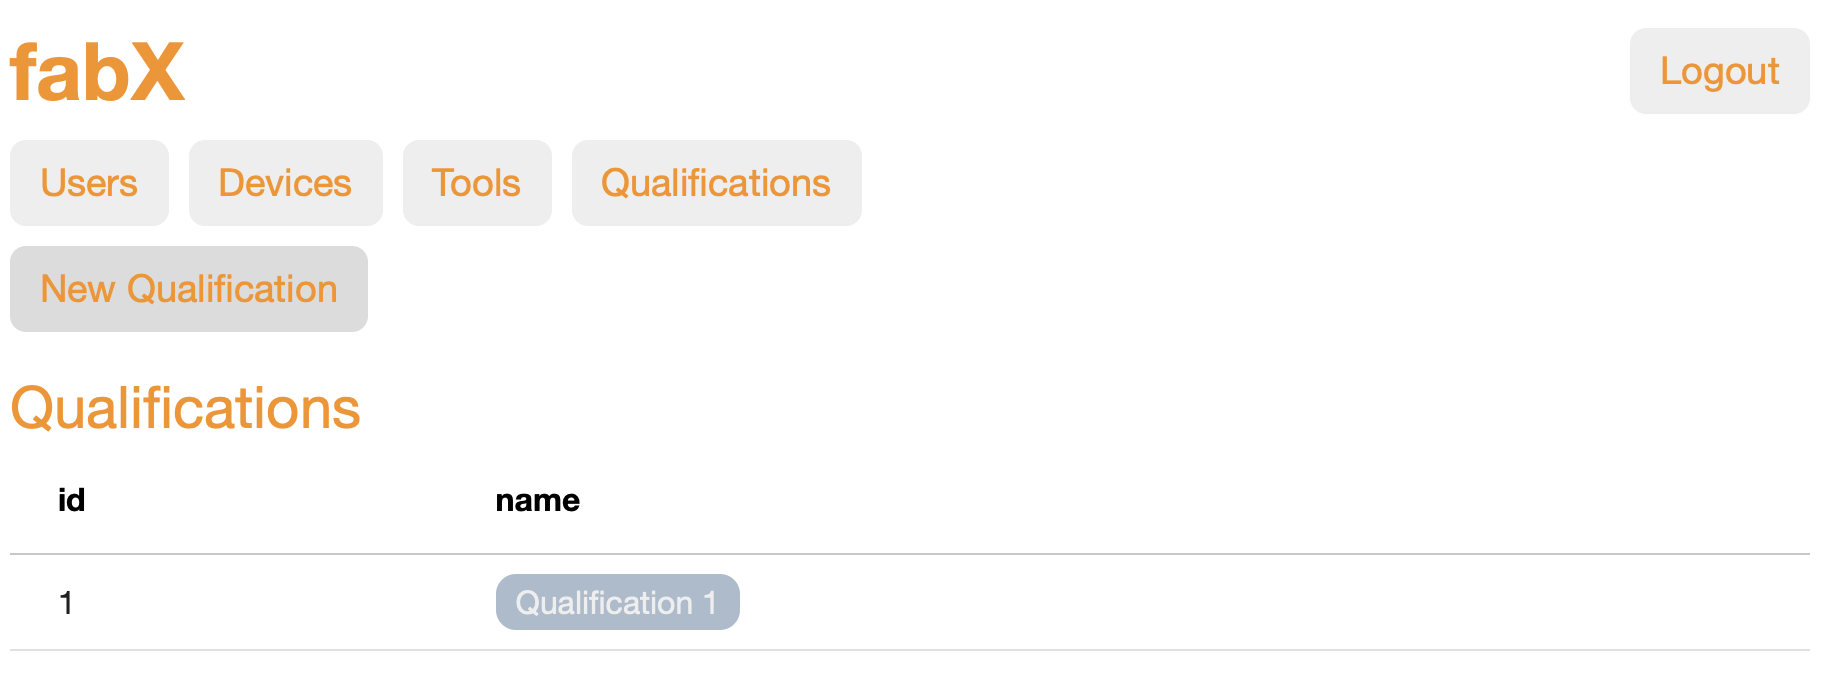
List of qualifications.
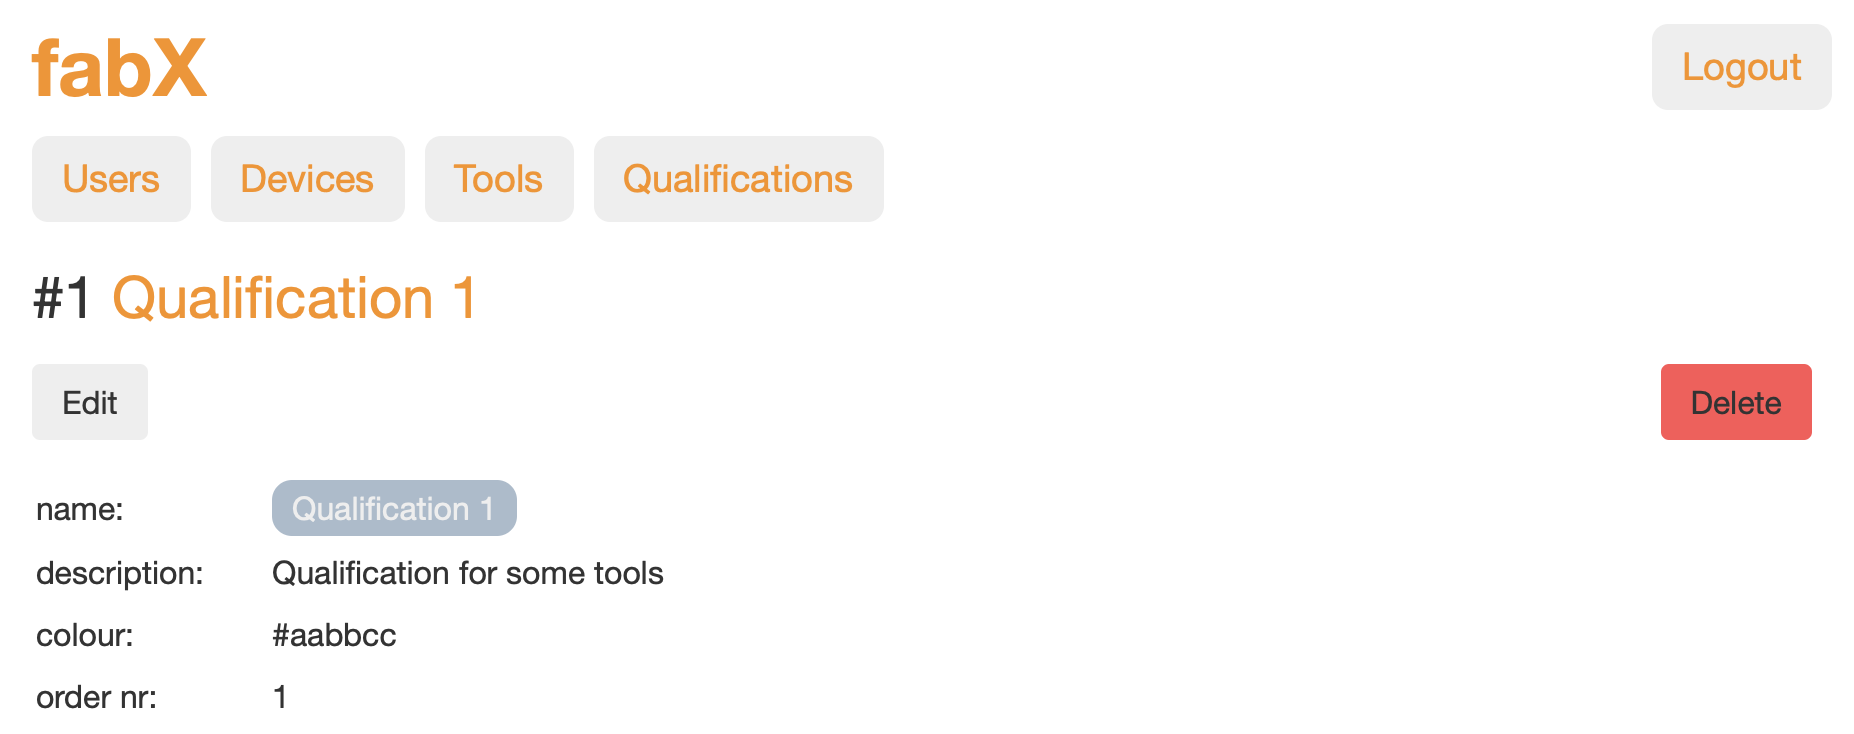
Qualification details.
Run ng serve for a dev server. Navigate to http://localhost:4200/. The app will automatically reload if you change any of the source files.
Run ng generate component component-name to generate a new component. You can also use ng generate directive|pipe|service|class|guard|interface|enum|module.
Run ng build to build the project. The build artifacts will be stored in the dist/ directory. Use the --prod flag for a production build.
- Fork this repository
- Adapt the
baseUrlinsrc/environments/environment.prod.tsto the URL of your deployment of fabXaccess - Login to Netlify (e.g. with Github)
- Create a new site from Git
- Authorize Netlify for Github
- Select your forked fabXdashboard repository
- Setup master/main branch for deployment
- replace the build command with
ng build --configuration=production - replace the publish directory with
dist/fabx-dashboard
- replace the build command with
- Under the Site settings tab, the site name can be changed
- The site can be accessed under https://[sitename].netlify.app
Netlify deployment is done.
