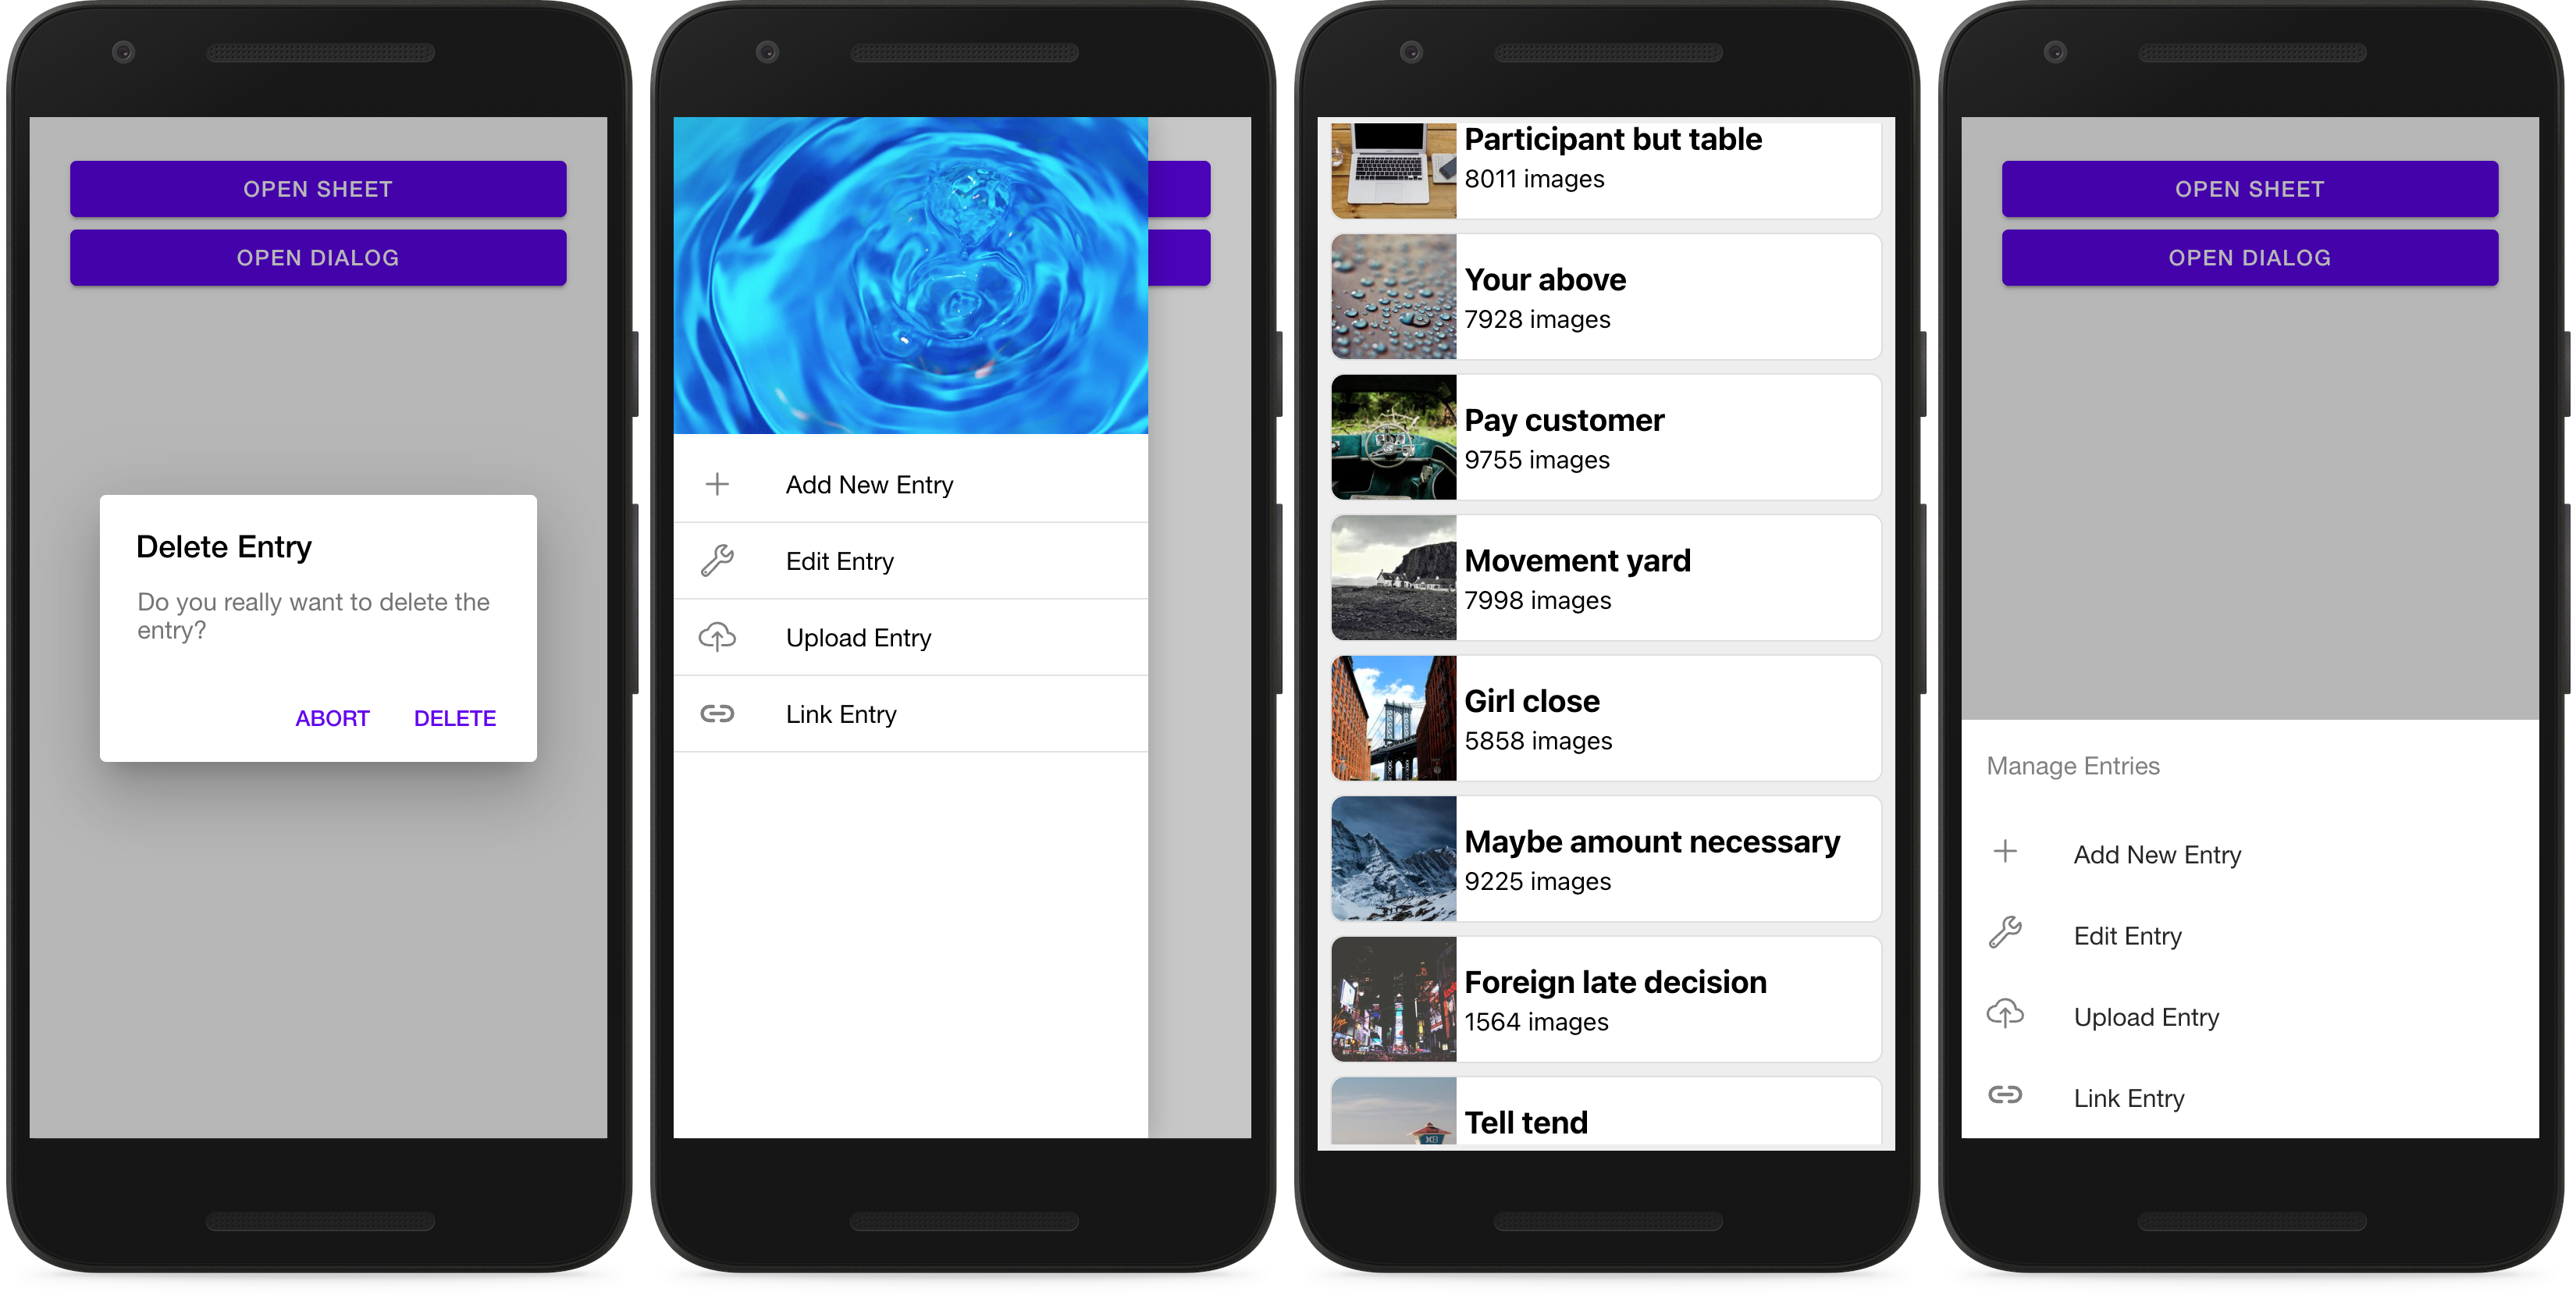
- Create virtual environment:
python -m venv venv - Activate virtual environment:
source venv/bin/activate(Windows:venv\Scripts\activate) - Install external project dependencies:
pip install -r requirements.txt - Add local package:
pip install -e .
Several Python scripts are available to prepare the mobile devices and execute the experiment. The commands can be executed from the project's root folder, after completing the setup.
- Generate demo data for apps inside
./data/raw/demodatadirectory:python bin/generate_data.py - Copy demo data from
./data/raw/demodatainto app projects:python bin/copy_data.py - Build and copy apps to
./data/apksdirectory:python bin/prepare_apks.py - Prepare the mobile device, by installing all the apks from
./data/apks:python bin/prepare_device.py - Start Monsoon Power Monitor:
python bin/start_monsoon.py - Connect USB connected device via Wi-Fi, after Wi-Fi connection, USB can be removed:
python bin/connect_wifi.py
Before starting the experiment execution all preparation steps have to be executed. The experiment execution script has additional parameters:
-mto set the metering approach, onlymonsoonis supported and set as default-fdefine the output file, where the data should be written to, defaults tomeasurements.txt-cdefine the number of executions per experimental subject, for reliable results30is suggested
An examplary call of the command would be as follows:
python bin/start_experiment.py -f ./data/experiment_run_1.txt -c 30
The data exploration and statistical analysis can be found within the notebook ./notebooks/data-analysis.ipynb. To open the notebook, execute the following command from root folder, after completing the setup:
jupyter notebook
The source code of the apps, which contain the UI components, resided inside the ./data/apps folder.
hui-android-elements: containsDialog,Drawer,Sheetimplementation for Android nativehui-android-scrolling: containsScrollingimplementation for Android nativehui-capacitor-elements: containsDialog,Drawer,Sheetimplementation for Capacitorhui-capacitor-scrolling: containsScrollingimplementation for Capacitorhui-elements: containsDialog,Drawer,Sheetimplementation for Hybrid UI Componentshui-scrolling1: containsScrollingimplementation for for Hybrid UI Components, with 1 item per WebViewhui-scrolling4: containsScrollingimplementation for for Hybrid UI Components, with 4 items per WebViewhui-scrolling10: containsScrollingimplementation for for Hybrid UI Components, with 10 items per WebViewinstrumentation: contains the scripts to interact with the UI components
- The Power Tool with drivers can be installed as described in the manual.
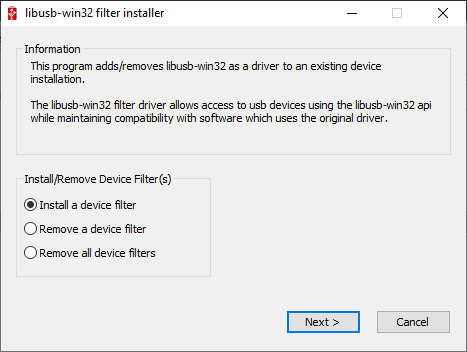
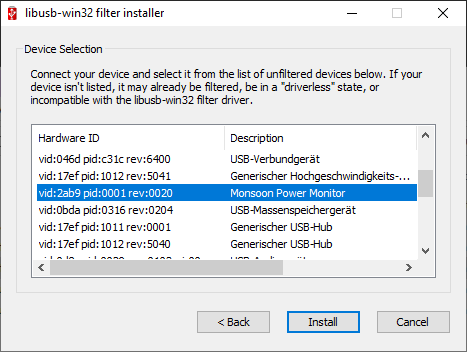
- In order to use the Monsoon Power Monitor via the Python API a USB connection is required. On Windows a filter for the usb driver can be used, thus the lib-usb32 devel filter must be used. Download and install libusb-win32-devel-filter-1.2.6.0.exe. The filter can be installed for a turned on Monsoon Power Monitor according to the following screenshots:
libusb might has to be installed. We faced an issue with the M1 chip architecture. The following command will install libusb:
brew install libusb
If the following lists USB devices, everything works as expected:
import usb.core
dev = usb.core.find()
print(dev)
With Mac M1 an issue arose, which could be solved with the following solution:
sudo ln -s /opt/homebrew/lib/libusb-1.0.0.dylib //usr/local/lib/libusb.dylib


