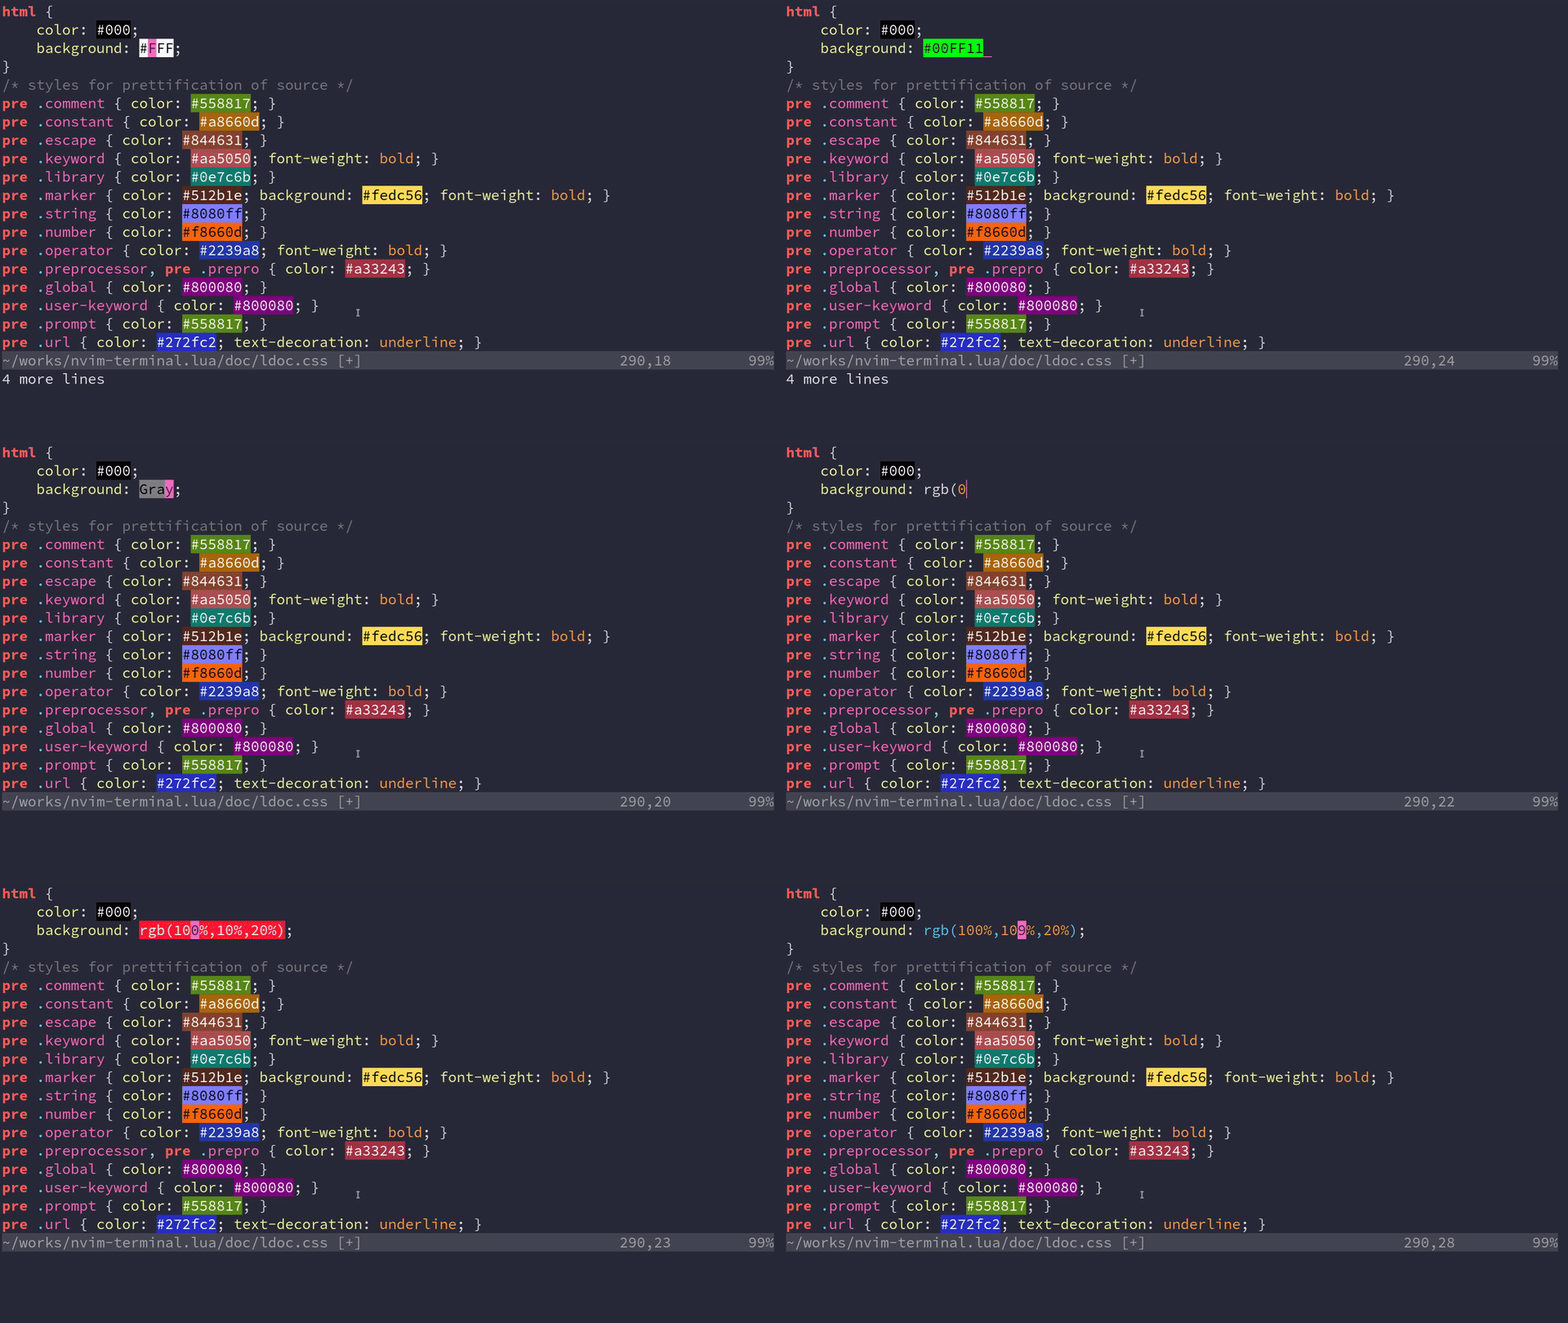
A high-performance color highlighter for Neovim which has no external dependencies! Written in performant Luajit.
Requires Neovim >= 0.7.0 and set termguicolors.
If you don't have true color for your terminal or are
unsure, read this excellent guide.
Use your plugin manager or clone directly into your package.
use 'NvChad/nvim-colorizer.lua'As long as you have malloc() and free() on your system, this will work.
Which includes Linux, OSX, and Windows.
One line setup. This will create an autocmd for FileType * to highlight
every filetype.
NOTE: You should add this line after/below where your plugins are setup.
require 'colorizer'.setup()| Command | Description |
|---|---|
| ColorizerAttachToBuffer | Attach to the current buffer with given or default settings |
| ColorizerDetachFromBuffer | Stop highlighting the current buffer |
| ColorizerReloadAllBuffers | Reload all buffers that are being highlighted currently |
| ColorizerToggle | Toggle highlighting of the current buffer |
-- All options that can be passed to `user_default_options` in setup() can be passed here
-- Similar for other functions

-- Attach to buffer
require("colorizer").attach_to_buffer(0, { mode = "background", css = true})

-- Detach from buffer
require("colorizer").detach_from_buffer(0, { mode = "virtualtext", css = true})
Mostly, RAW SPEED.
This has no external dependencies, which means you install it and it just works. Other colorizers typically were synchronous and slow, as well. Being written with performance in mind and leveraging the excellent LuaJIT and a handwritten parser, updates can be done in real time. There are plugins such as hexokinase which have good performance, but it has some difficulty with becoming out of sync. The downside is that this only works for Neovim, and that will never change.
Apart from that, it only applies the highlights to the current visible contents, so even if a big file is opened, the editor won't just choke on a blank screen.
This idea was copied from brenoprata10/nvim-highlight-colors Credits to brenoprata10
Additionally, having a Lua API that's available means users can use this as a library to do custom highlighting themselves.
Note: These are the default options
  require("colorizer").setup {
      filetypes = { "*" },
      user_default_options = {
        RGB = true, -- #RGB hex codes
        RRGGBB = true, -- #RRGGBB hex codes
        names = true, -- "Name" codes like Blue or blue
        RRGGBBAA = false, -- #RRGGBBAA hex codes
        AARRGGBB = false, -- 0xAARRGGBB hex codes
        rgb_fn = false, -- CSS rgb() and rgba() functions
        hsl_fn = false, -- CSS hsl() and hsla() functions
        css = false, -- Enable all CSS features: rgb_fn, hsl_fn, names, RGB, RRGGBB
        css_fn = false, -- Enable all CSS *functions*: rgb_fn, hsl_fn
        -- Available modes for `mode`: foreground, background,  virtualtext
        mode = "background", -- Set the display mode.
        -- Available methods are false / true / "normal" / "lsp" / "both"
        -- True is same as normal
        tailwind = false, -- Enable tailwind colors
        -- parsers can contain values used in |user_default_options|
        sass = { enable = false, parsers = { css }, }, -- Enable sass colors
        virtualtext = "■",
      },
      -- all the sub-options of filetypes apply to buftypes
      buftypes = {},
  }
MODES:
foreground: sets the foreground text color.background: sets the background text color.virtualtext: indicate the color behind the virtualtext.
For basic setup, you can use a command like the following.
-- Attaches to every FileType mode
require 'colorizer'.setup()

-- Attach to certain Filetypes, add special configuration for `html`
-- Use `background` for everything else.
require 'colorizer'.setup {
  filetypes = {
    'css',
    'javascript',
    html = { mode = 'foreground'; }
  },
}

-- Use the `default_options` as the second parameter, which uses
-- `foreground` for every mode. This is the inverse of the previous
-- setup configuration.
require 'colorizer'.setup {
  filetypes = {
    'css',
    'javascript',
    html = { mode = 'foreground'; }
  },
  user_default_options = { mode = "background", },
}

-- Use the `default_options` as the second parameter, which uses
-- `foreground` for every mode. This is the inverse of the previous
-- setup configuration.
require 'colorizer'.setup {
  filetypes = {
    '*'; -- Highlight all files, but customize some others.
    css = { rgb_fn = true; }; -- Enable parsing rgb(...) functions in css.
    html = { names = false; } -- Disable parsing "names" like Blue or Gray
  },
}

-- Exclude some filetypes from highlighting by using `!`
require 'colorizer'.setup {
  filetypes = {
    '*'; -- Highlight all files, but customize some others.
    '!vim'; -- Exclude vim from highlighting.
  -- Exclusion Only makes sense if '*' is specified!
  },
}
All the above examples can also be apply to buftypes. Also no buftypes trigger colorizer by default
Buftype value is fetched by vim.bo.buftype
-- need to specify buftypes
require 'colorizer'.setup(
  buftypes = {
      "*",
      -- exclude prompt and popup buftypes from highlight
      "!prompt",
      "!popup",
    }
)
For lower level interface, see the LuaDocs for API details or use :h colorizer once installed.
Documentaion is generated using ldoc. See scripts/gen_docs.sh
- Add more colour types ( var, advanced css functions )
- Add more display modes. E.g - sign column
- Use a more space efficient trie implementation.

