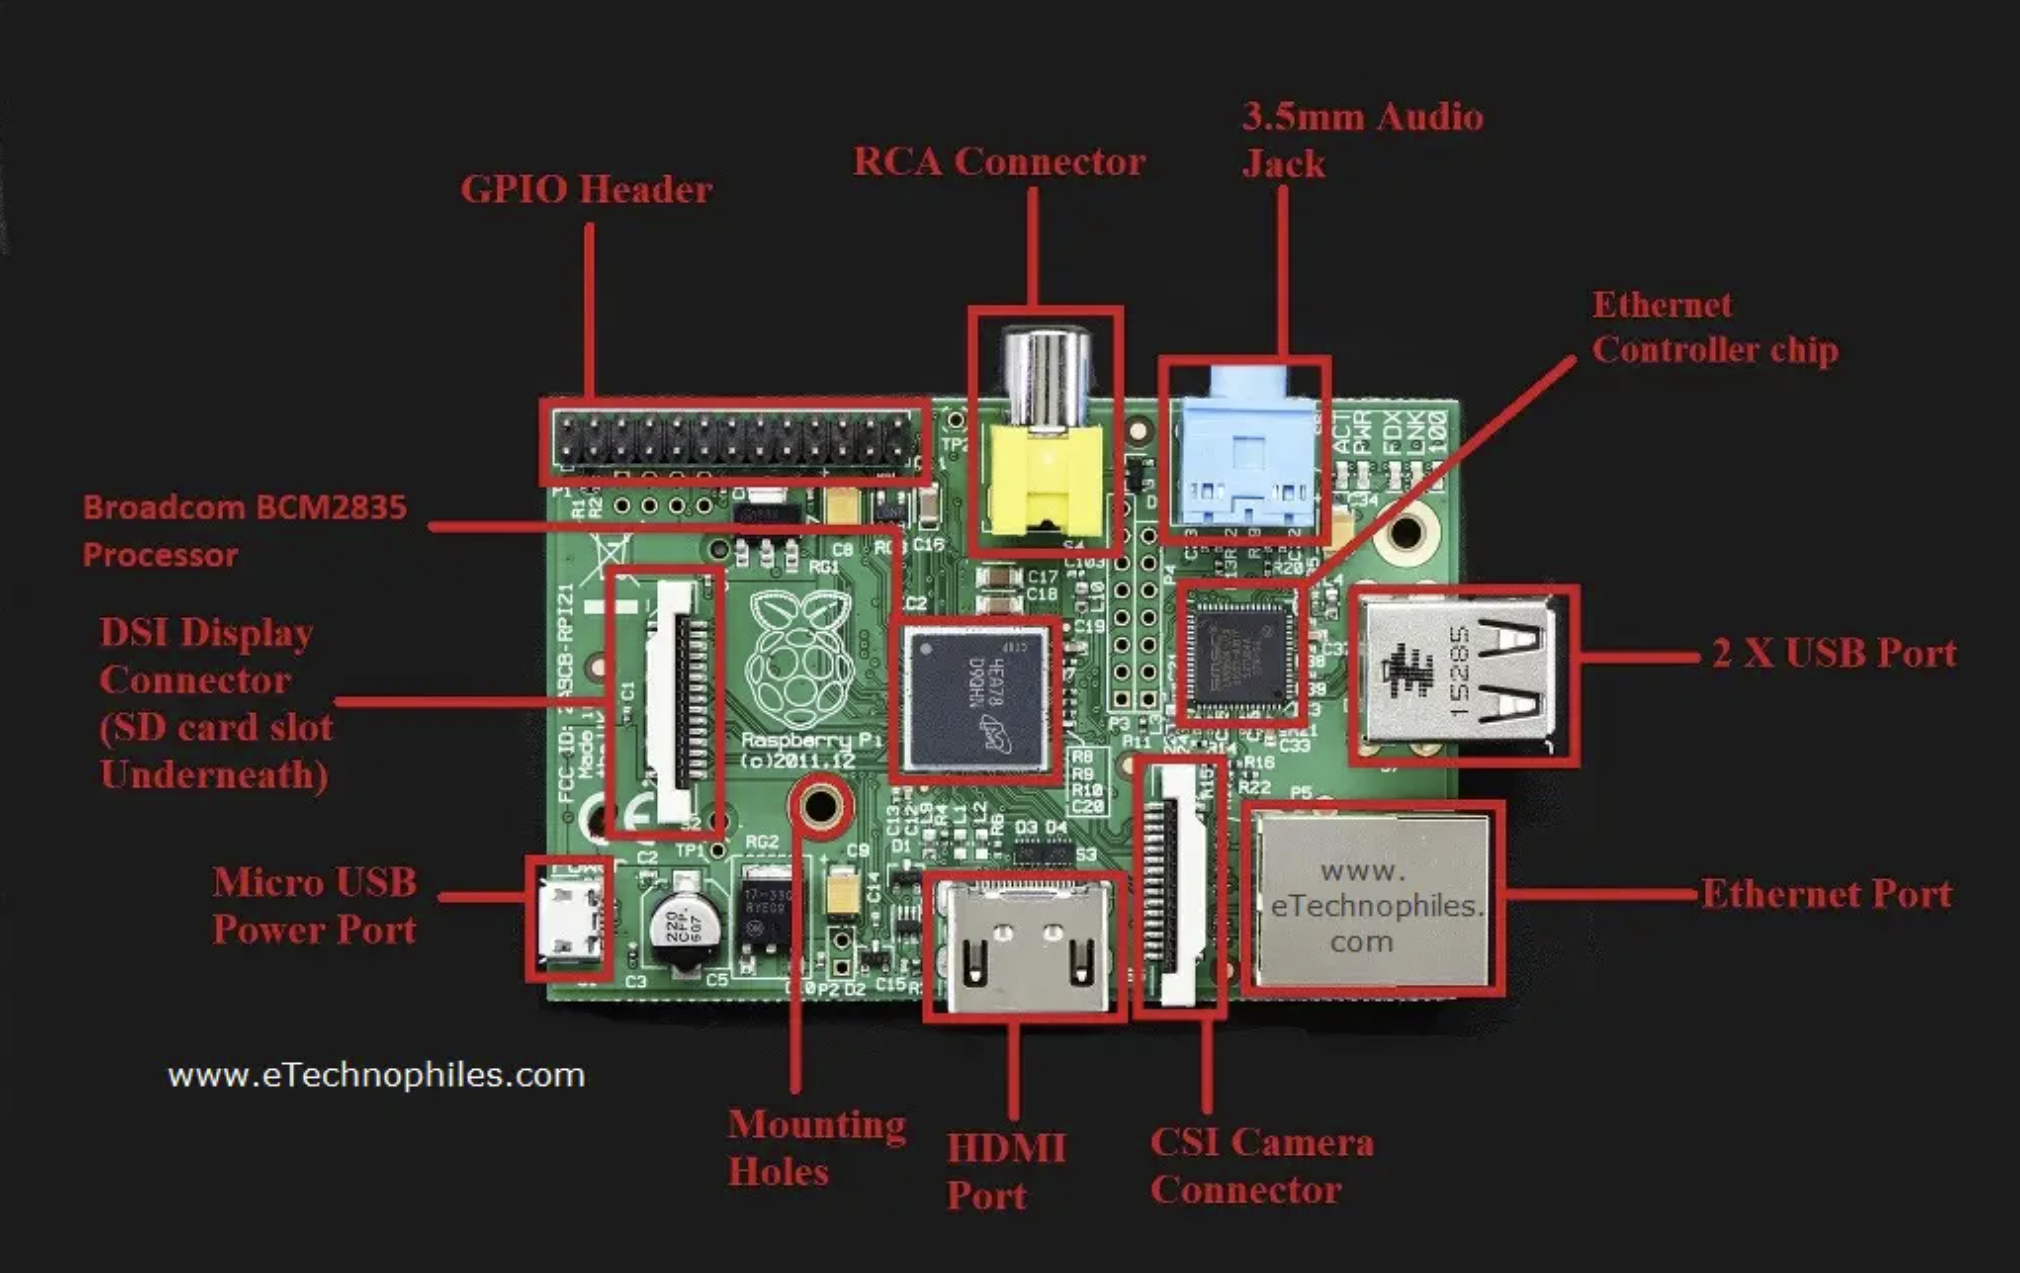
Project to create a raspberry pi 1 device that can play random videos from a USB drive, for the MultiTubE art project
We're going to set up a Raspberry pi 1 for the purpose of the MultiTubE-RandO application.
You're going to need
- a raspberry pi 1
- a microSD to SD card adapter Or and an SD card reader
- a computer
- a component cable connected to a monitor
- a microUSB cord and power source
- small phillips head screwdriver
-
On your computer, download and install the Raspberry Pi imager - https://www.raspberrypi.com/software/
-
On your computer, download the videolooper image https://videolooper.de/video_looper_v2.6.zip (from https://videolooper.de/)
-
Get the micro sd card out of the Raspberry Pi (if necessary)
- Open up the case with the screwdriver.
- Remove the micro sd card
-
Insert the mircro sd card into your sd card adapter/read and access it from the computer.
-
Make sure the sd card has been formatted (new cards only)
-
Start the Raspberry pi imager application
-
Install the image on the card
- Select custom OS -> video looper img file. Make sure you install the sd card from the img file, not from the zip file (in other words - do not forget to unzip)
- Select the SD card
- Click Write, wait untill finished.
-
Configure the player
- Overwrite the video_looper on the root folder of the SD card, OR
Open the video_looper.ini file in the root folder of the sd card. change the following settings:- wait_time = 5
- set bgimage = /boot/testbeeld.png
- is_random = true
- duration = 300
- path = /boot/video
- file_reader = directory
- save the file.
- copy the file testbeeld.png to the root folder of the sd card.
- Overwrite the video_looper on the root folder of the SD card, OR
-
Insert the micro SD card in the pi with an adapters
-
Connect all hardware to the pi - HDMI, micro USB power
-
Do a testrun. Bootup sequence can take a while, and it will prompt you to set up stuff like a network connection. just ignore it and wait.
-
Success!
-
Disconnect all the hardware and put the pi back in it's case (close it back up with the screws).
- copy your videos into the /root/video folder of the sd card drive. the videos must be .mp4, h.264 codec, resolution of 1080p or lower.
