Make your levels in Unity3d out of ascii text files.
    xCxxc
1        m m  X   X   X  X
xxxxxxxxxxxxxxxxxxxxxxx  x
.txt files!
- They're small!
- They're fast!
- They're cross platform and can be edited in nearly anything, even VIM or Emacs!
- They can be stored and diffed in source control!
- Making levels is like being in a roguelike (pew, pew, pew!)
But seriously, here's some real features:
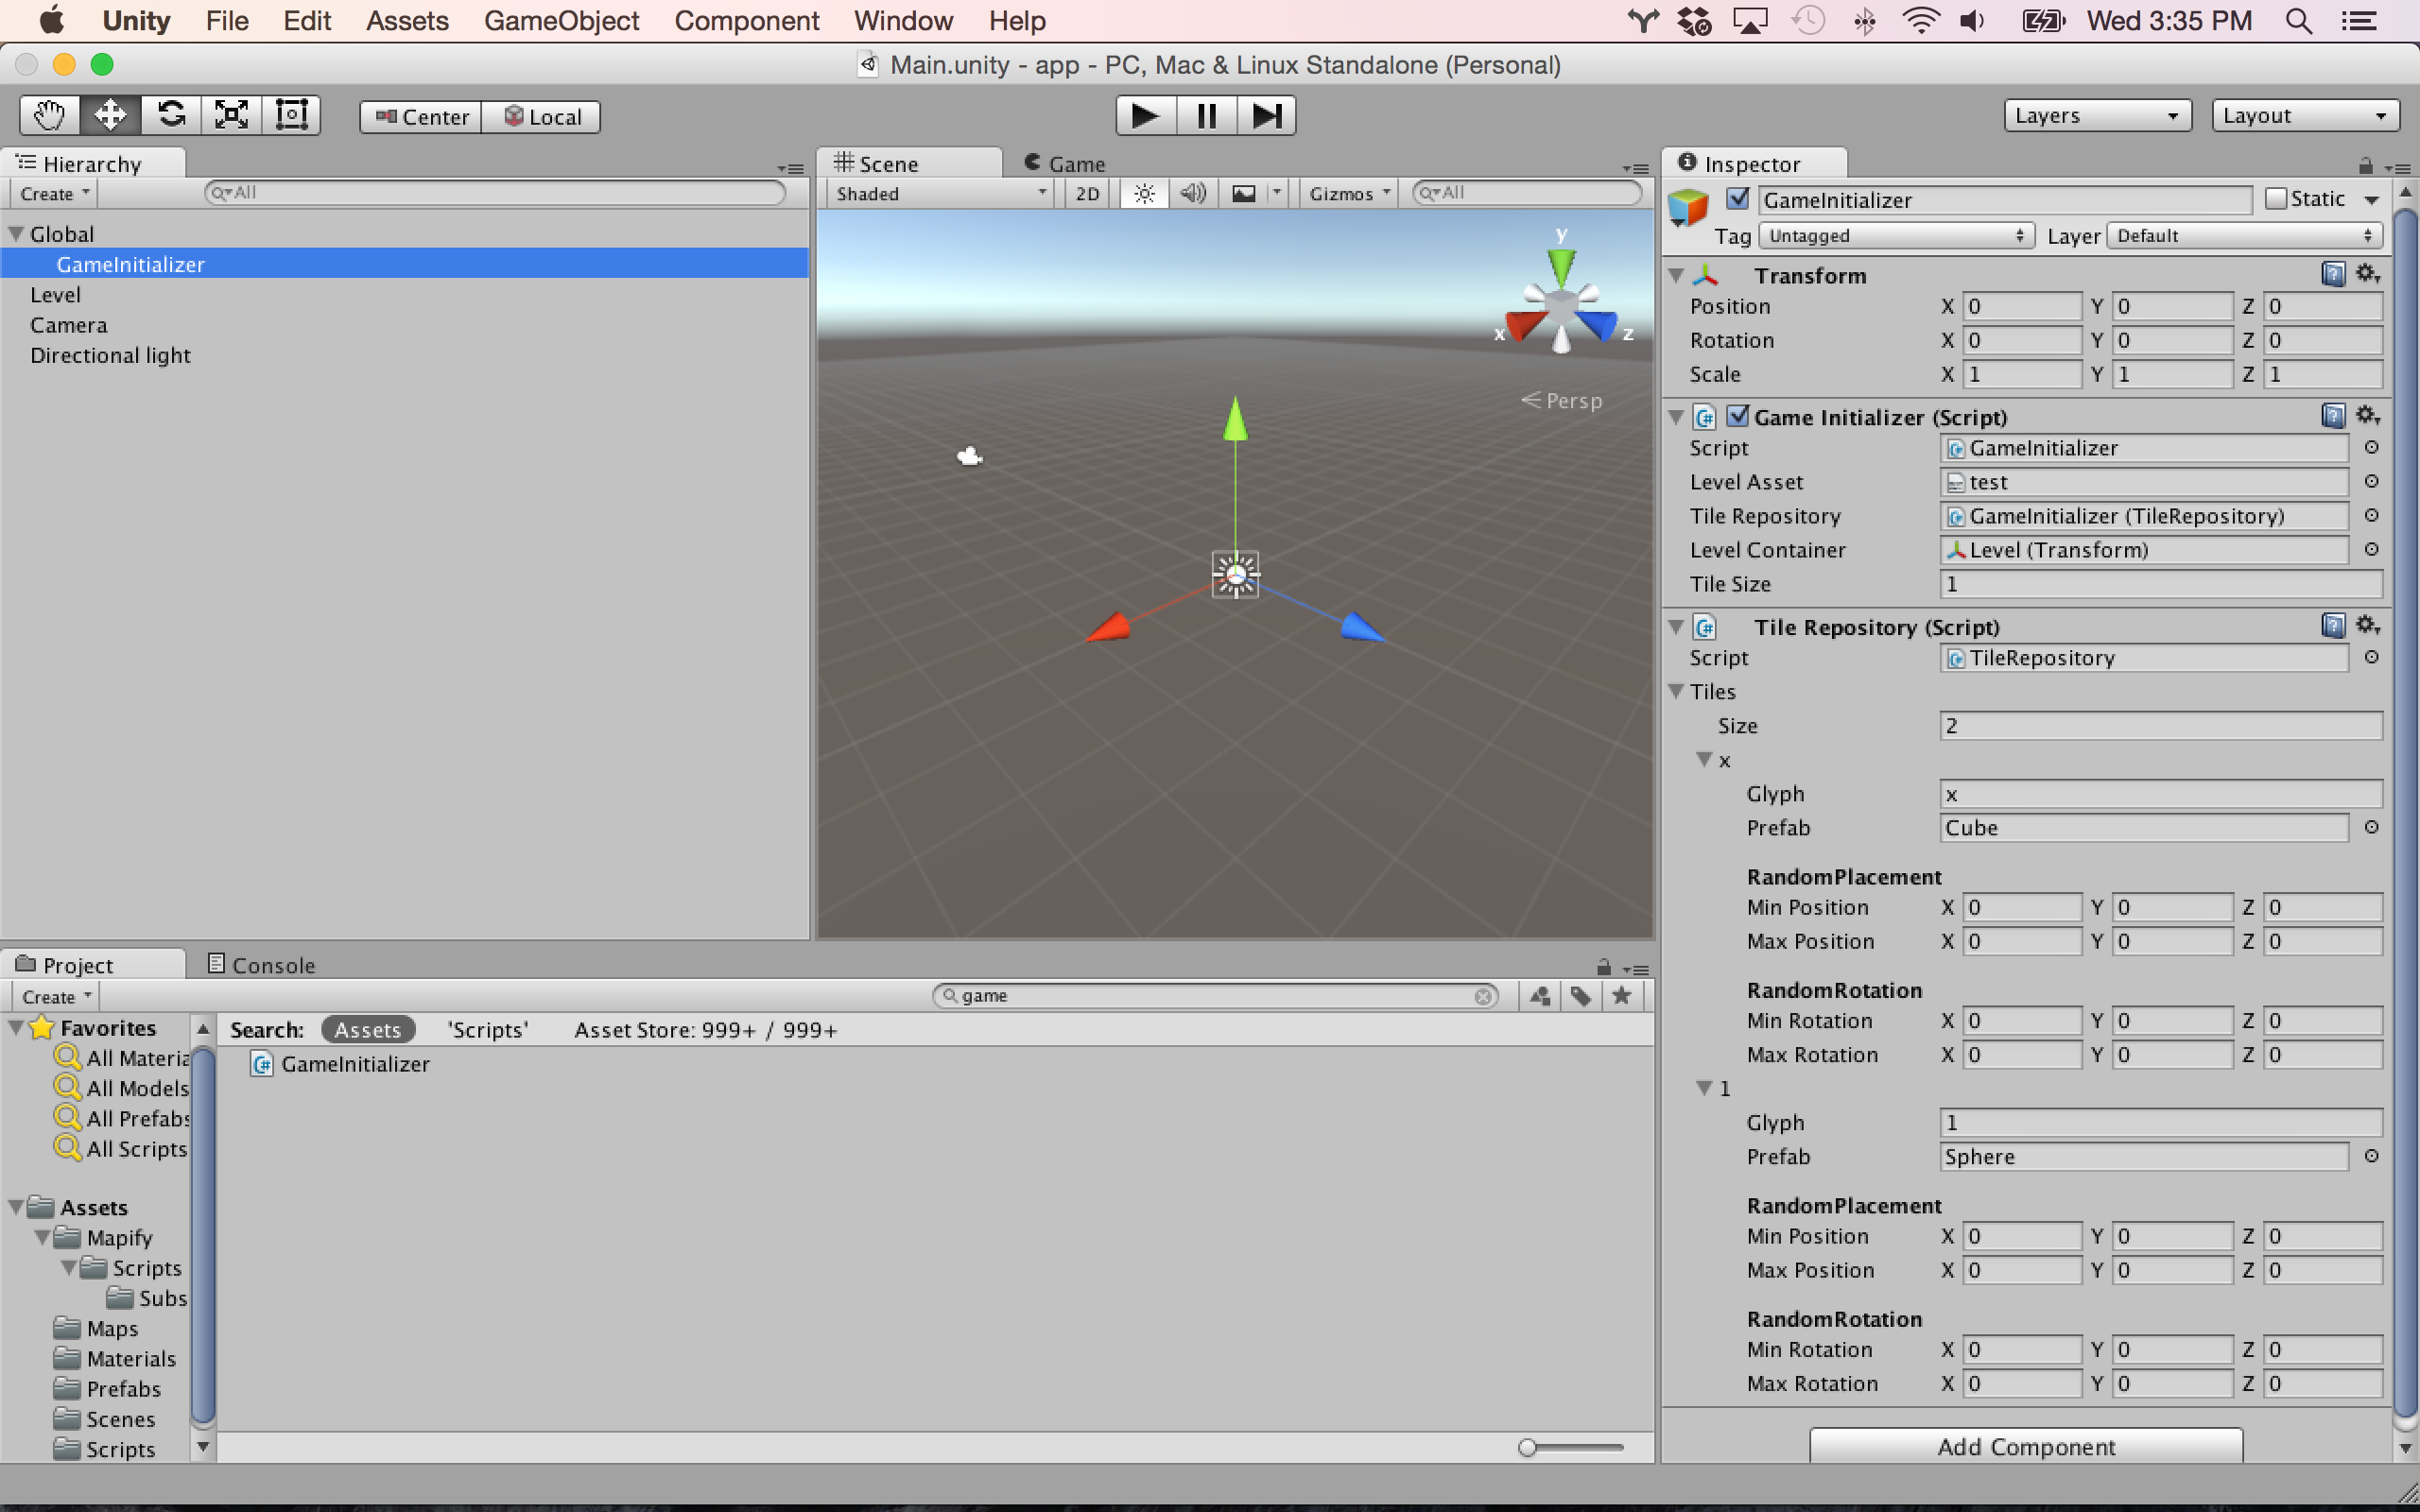
- Includes a tile repository script for defining mappings between glyphs and prefabs.
- Each tile prefab can spawn with a random positional or rotational offset. This is helpful for breaking up your grid visually (e.g., rocks, trees, enemies)
- You can store your text files in the resources folder and load them dynamically with Unity3d's AssetDatabase, or transfer them from over the web with WWW
- You can have multiple maps per level, so you can have one map for an enemies layer, another for the obstacles layer and a third for terrain. Or with a little work you could dynamically load in chunks of maps and destroy the ones that just fell out of sight.
- You can tell Mapify to use any tile size for tiles (e.g., 1x1, 4x4, 16x16, 32x32, etc.)
- You can tell Mapify to generate horizontal or vertical levels
- Automatically detects width and height of your level and centers it in the container you pass in
Drop the Mapify folder in your Assets directory.
- Create a text map like this:
xxxxxxxxxxxxx
x           x
x xxxxxxxxx x
x x       x x
x x xxxxx x x
x x x   x x x
x x x 1 x x x
x x x   x x x
x x xx xx x x
x x  x    x x
x xx xxxxxx x
x  x        x
xxxxxxxxxxxxx
- Add a
TileRepositoryscript to your game scene somewhere and define some glyph mappings like x -> WallPrefab, 1 -> PlayerPrefab, etc.
- Tell Mapify about your text file and tile repository
using UnityEngine;
using System.Collections;
using Substantial;

public class GameInitializer : MonoBehaviour {
  public TextAsset LevelAsset;
  public TileRepository TileRepository;
  public Transform LevelContainer;
  public float TileSize = 1.0f;

  private void Start() {
    Mapify.Generate(LevelAsset.text, LevelContainer, TileRepository, TileSize, MapifyLayout.Vertical);
  }
}
Run the scene. You're done.
Check out https://github.com/substantial/mapify-example
You can use this tool however you want, but the author strongly recommends working with larger tile sizes over smaller. For example, if your tile size is set to 32x32, each tile will be 1024 times less work to place than the same map with 1x1 prefabs. This is good for Unity (as 10,000 gameobjects will ruin your FPS) and it's good for your poor wrists.
-
3d. The map format is decidedly 2d. While your prefabs can of course have a 3rd dimension, a flat 2d grid sounds sounds bad for a first person shooter. Maybe it's fun though, I don't know.
-
It's designed to build levels while the scene is running, so it's not great if you want to rely on things previously stored in the scene like baked lighting or navmeshes. There's nothing to stop you from running the Mapify script in an editor script and saving the scene, but updating your levels sounds like painful after you do that.
-
There's no way to define special properties for different tiles.
For example, while the glyph X can represent your ExitPrefab, there's no way to tell your ExitPrefab (with Mapify) that the next level is called "SewerLevel". You'll have to figure out how to pass that string to ExitPrefab some other way like have the prefab ask a singleton or static data class on start for its next level (e.g., LevelSettings.NextLevel), or do something really crass like create multiple prefabs:
X -> ExitToSewerPrefab,Y -> ExitToSpacePrefab.That's not to say that you couldn't hack in an initializer to the tile spawner. Check out the code, it's not that complicated.
If you've got any pull requests, comments, questions, or just want to send over Starbucks giftcards, feel free to contact me! (Also, you can hire my employer, Substantial, to make your game.)
