Welcome to the 'Intro to Cassandra for Developers' workshop! In this two-hour workshop, the Developer Advocate team of DataStax shows the most important fundamentals and basics of the powerful distributed NoSQL database Apache Cassandra. Using Astra, the cloud based Cassandra-as-a-Service platform delivered by DataStax, we will cover the very first steps for every developer who wants to try to learn a new database: creating tables and CRUD operations.
It doesn't matter if you join our workshop live or you prefer to do at your own pace, we have you covered. In this repository, you'll find everything you need for this workshop:
- Materials used during presentations
- Hands-on exercises
- Workshop videos
- First workshop [NAM Time]
- Second workshop [IST Time]
- Discord chat
- Questions and Answers
| Title | Description |
|---|---|
| Slide deck | Slide deck for the workshop |
| 1. Create your Astra instance | Create your Astra instance |
| 2. Create a table | Create a table |
| 3. Execute CRUD (Create, Read, Update, Delete) operations | Execute CRUD operations |
ASTRA service is available at url https://astra.datastax.com. ASTRA is the simplest way to run Cassandra with zero operations at all - just push the button and get your cluster. Astra offers 10 Gb Tier Free Forever and you don't need a credit card or anything to sign-up and use it.
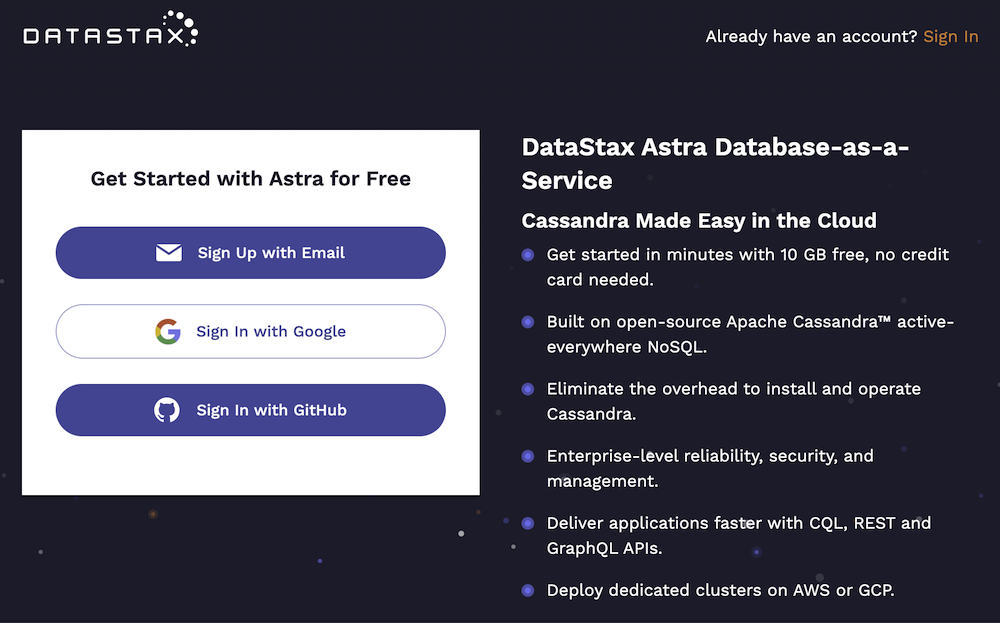
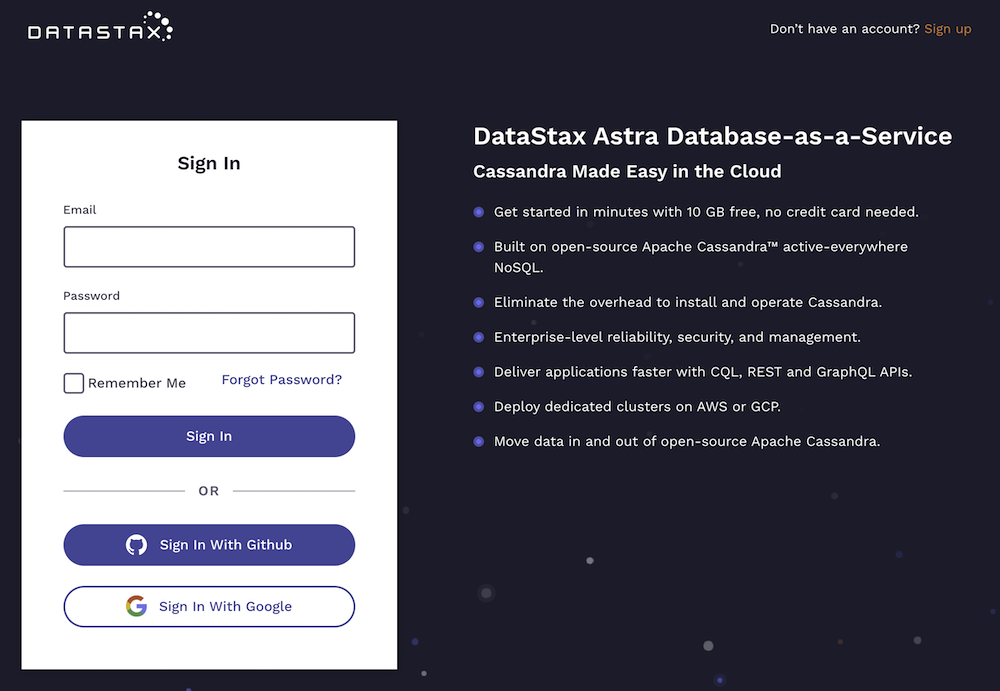
✅ Step 1a. Register (if needed) and Sign In to Astra : You can use your Github, Google accounts or register with an email
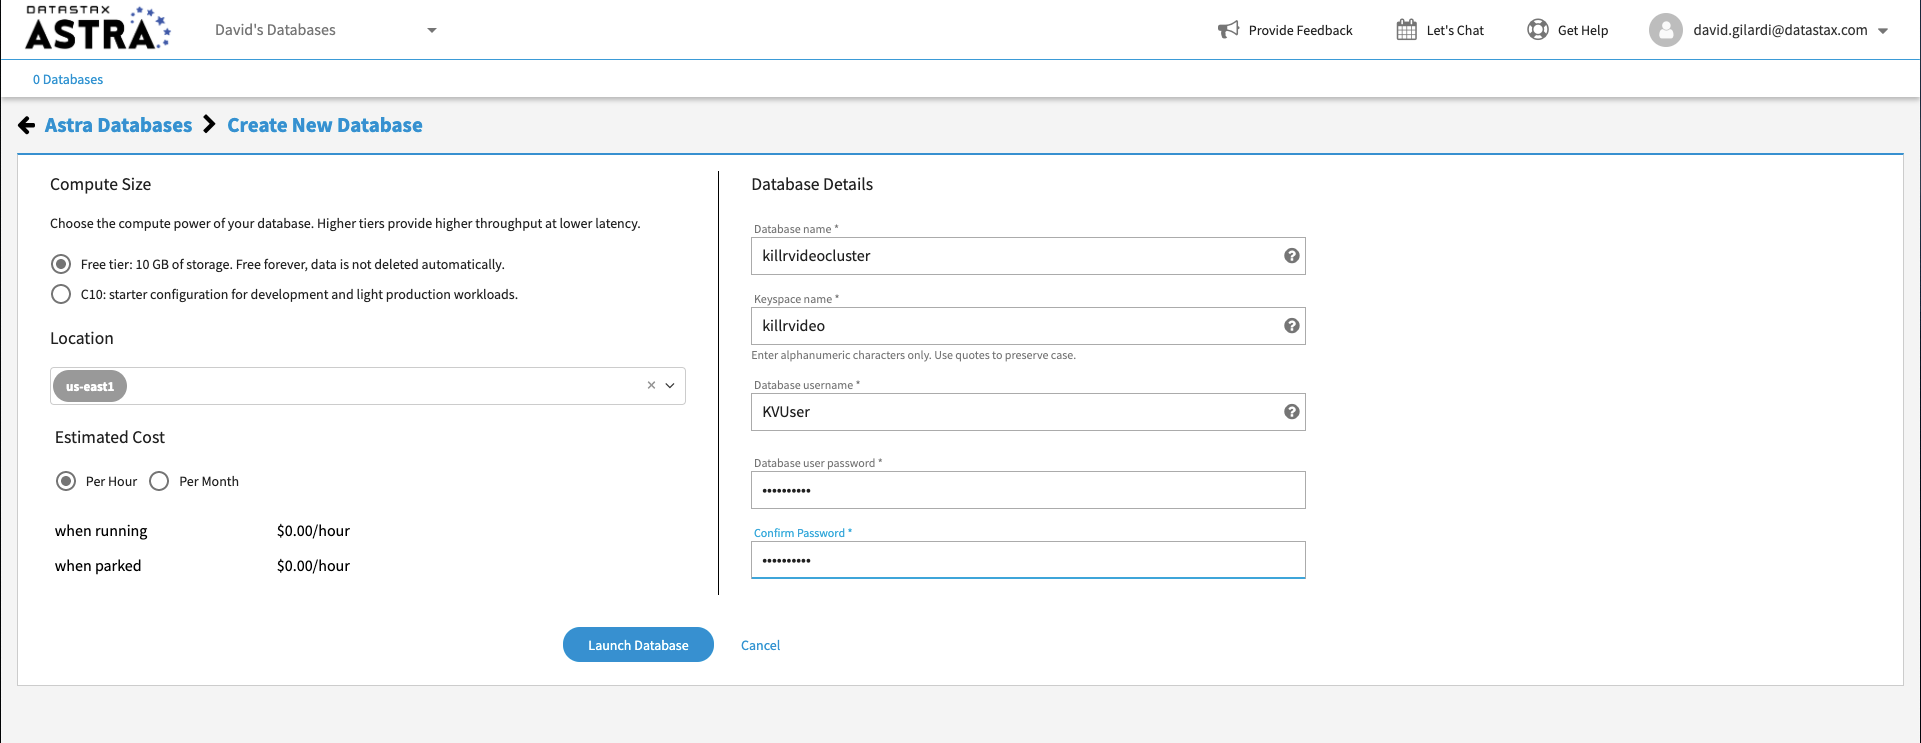
✅ Step 1b. Fill the Create New Database Form
As you don't have have any instances the login will route through the instance creation form. You will find below which values to enter for each field.
-
Set the Compute Size: For the work we are doing please use
Free tier. You instance will be there forever, free of charge -
Select the region: This is the region where your database will reside physically (choose one close to you or your users). For people in EMEA please use
europe-west-1idea here is to reduce latency. -
Fill in the database name -
killrvideocluster.While Astra allows you to fill in these fields with values of your own choosing, please follow our reccomendations to make the rest of the exercises easier to follow. If you don't, you are on your own! :) -
Fill in the keyspace name -
killrvideo. It's really important that you use the name killrvideo (with no 'e' in "killr") here in order for all the exercises to work well. We realize you want to be creative, but please just roll with this one today. -
Fill in the Database User name -
KVUser. Note the user name is case-sensitive. Please use the case we suggest here. -
Fill in the password -
KVPassword. Fill in both the password and the confirmation fields. Note that the password is also case-sensitive. Please use the case we suggest here. -
Launch the database. Review all the fields to make sure they are as shown, and click the Launch Database button.
✅ Step 1c. View your Database and connect
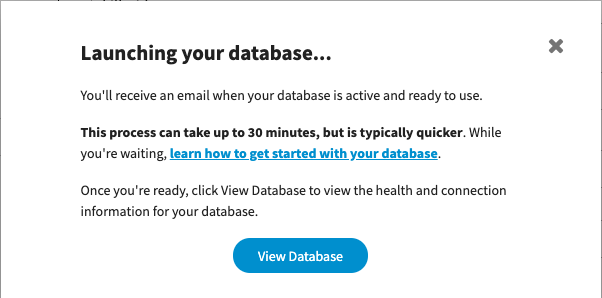
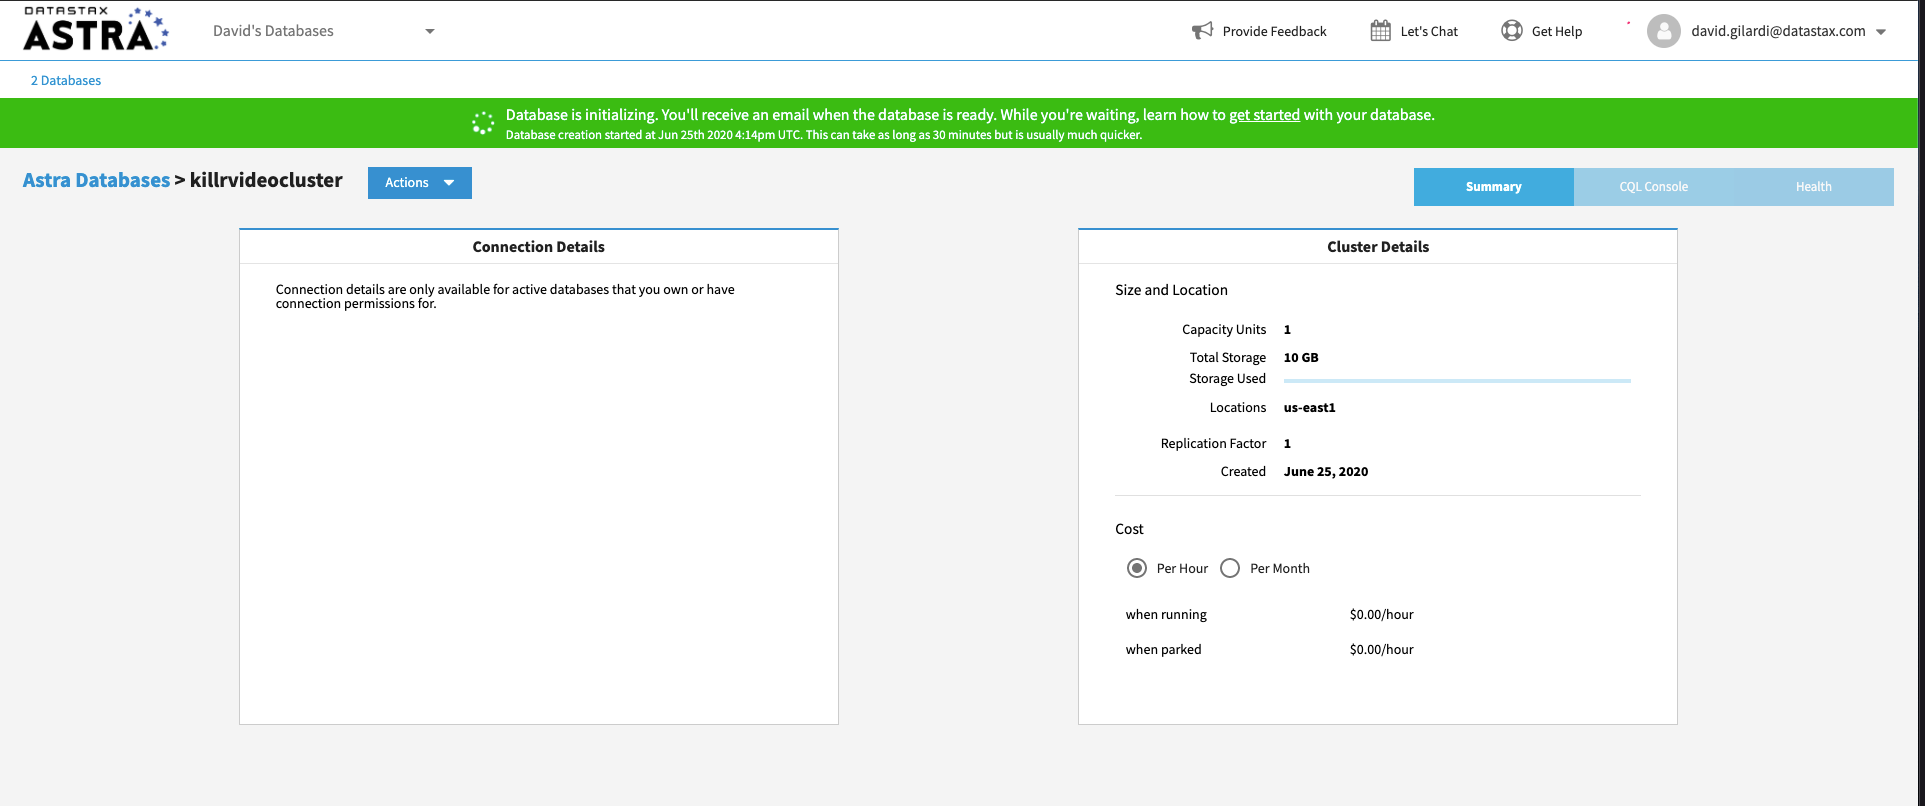
View your database. It should only take 2-3 minutes for your database to spin up, however, it could take up to around 10 minutes in some cases. You will receive an email once the database is ready.
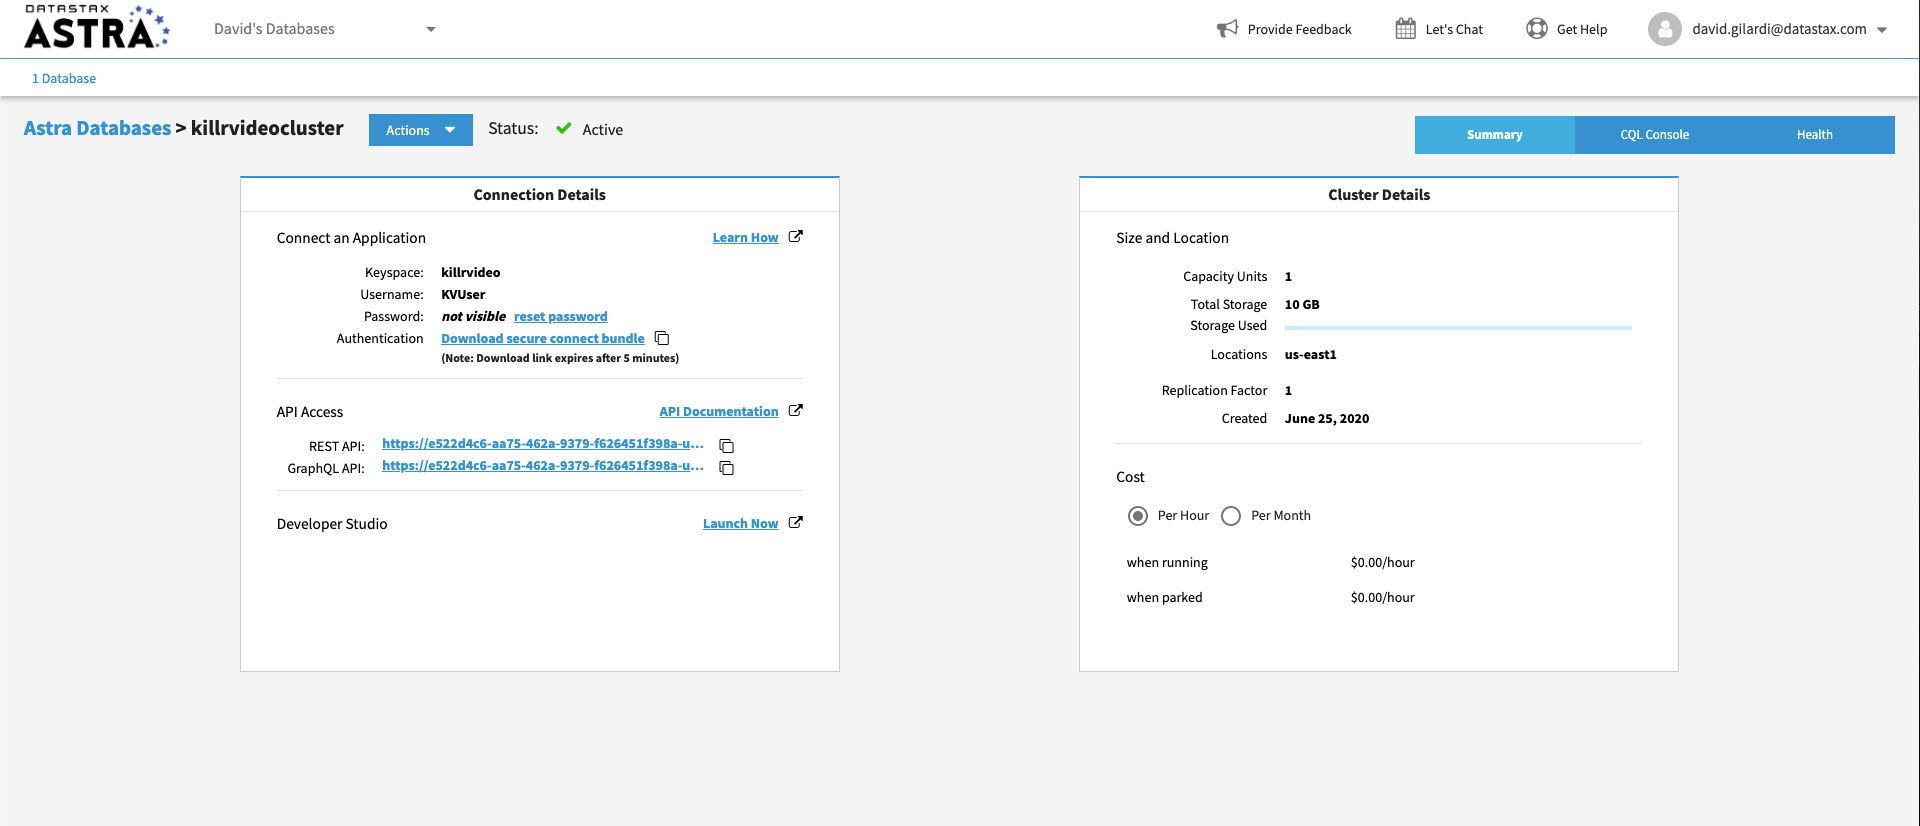
Once Database is ready you should see the following home page:
Let’s review the database you have configured. In the box on the left side of the window, you can see the database and keyspace name metadata. The box on the right describes the size and location of your database along with your estimated cost. Once Astra initializes the database completely, the left box will have connection details. Once you are at this point you have a database ready to go. We'll start using it in the next section.
Ok, now that you have a database created the next step is to create a table to work with.
✅ Step 2a. Navigate to the CQL Console and login to the database
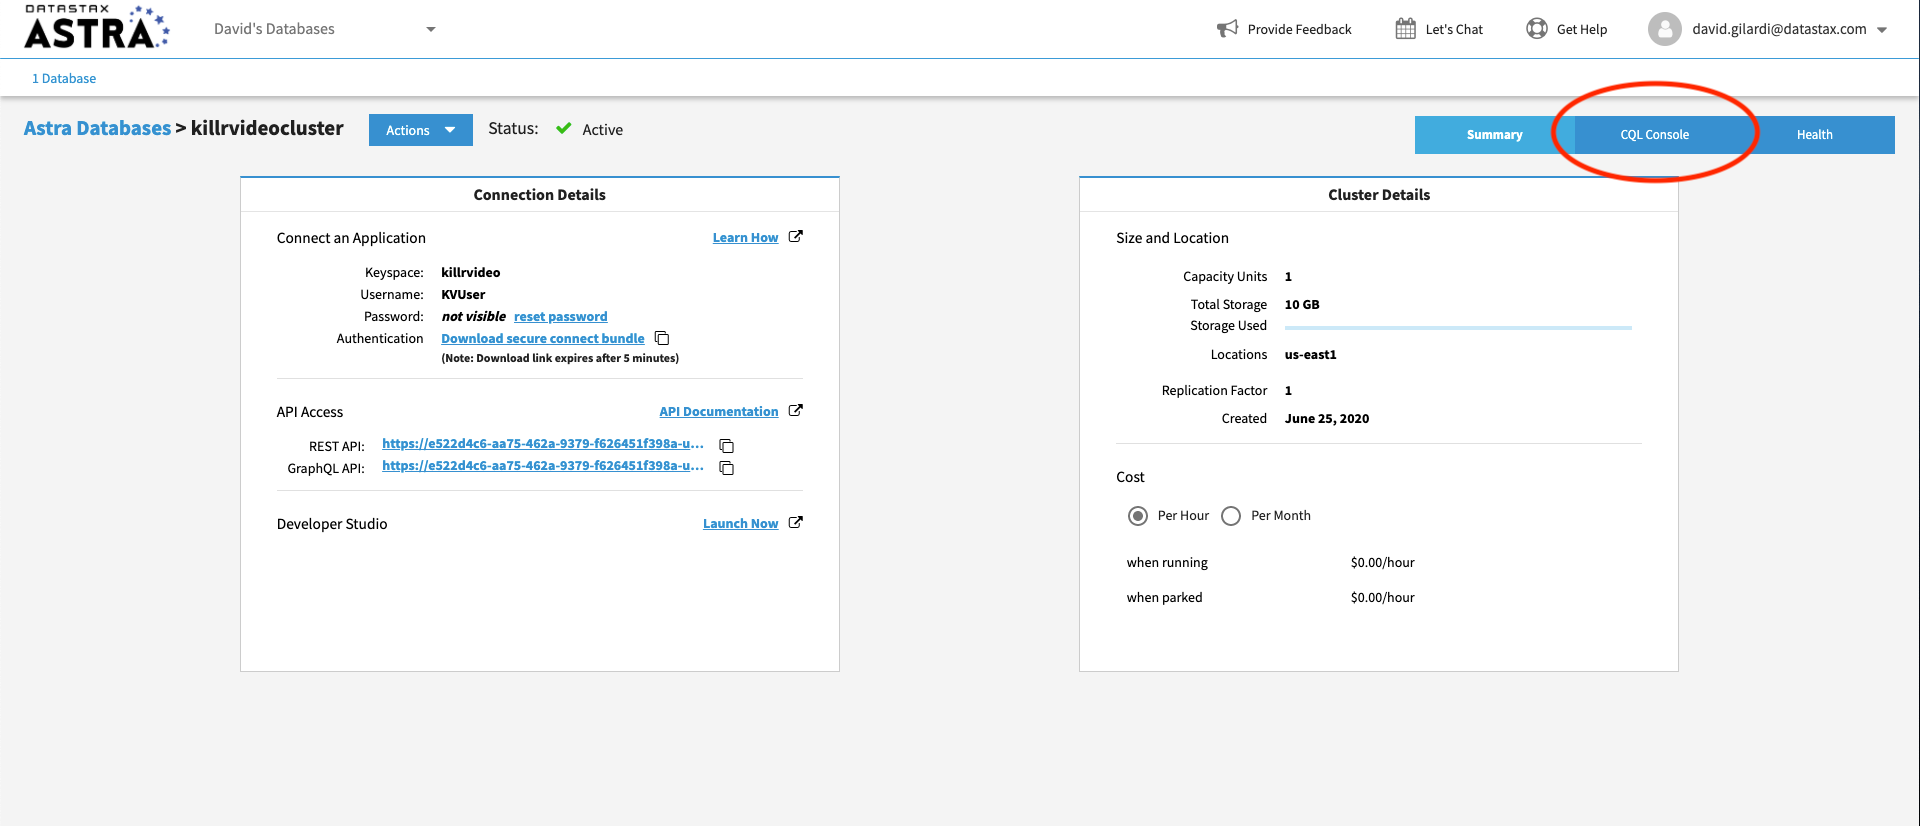
Go back to the Astra UI we left earlier and click on the CQL Console button in the top right corner of the screen.
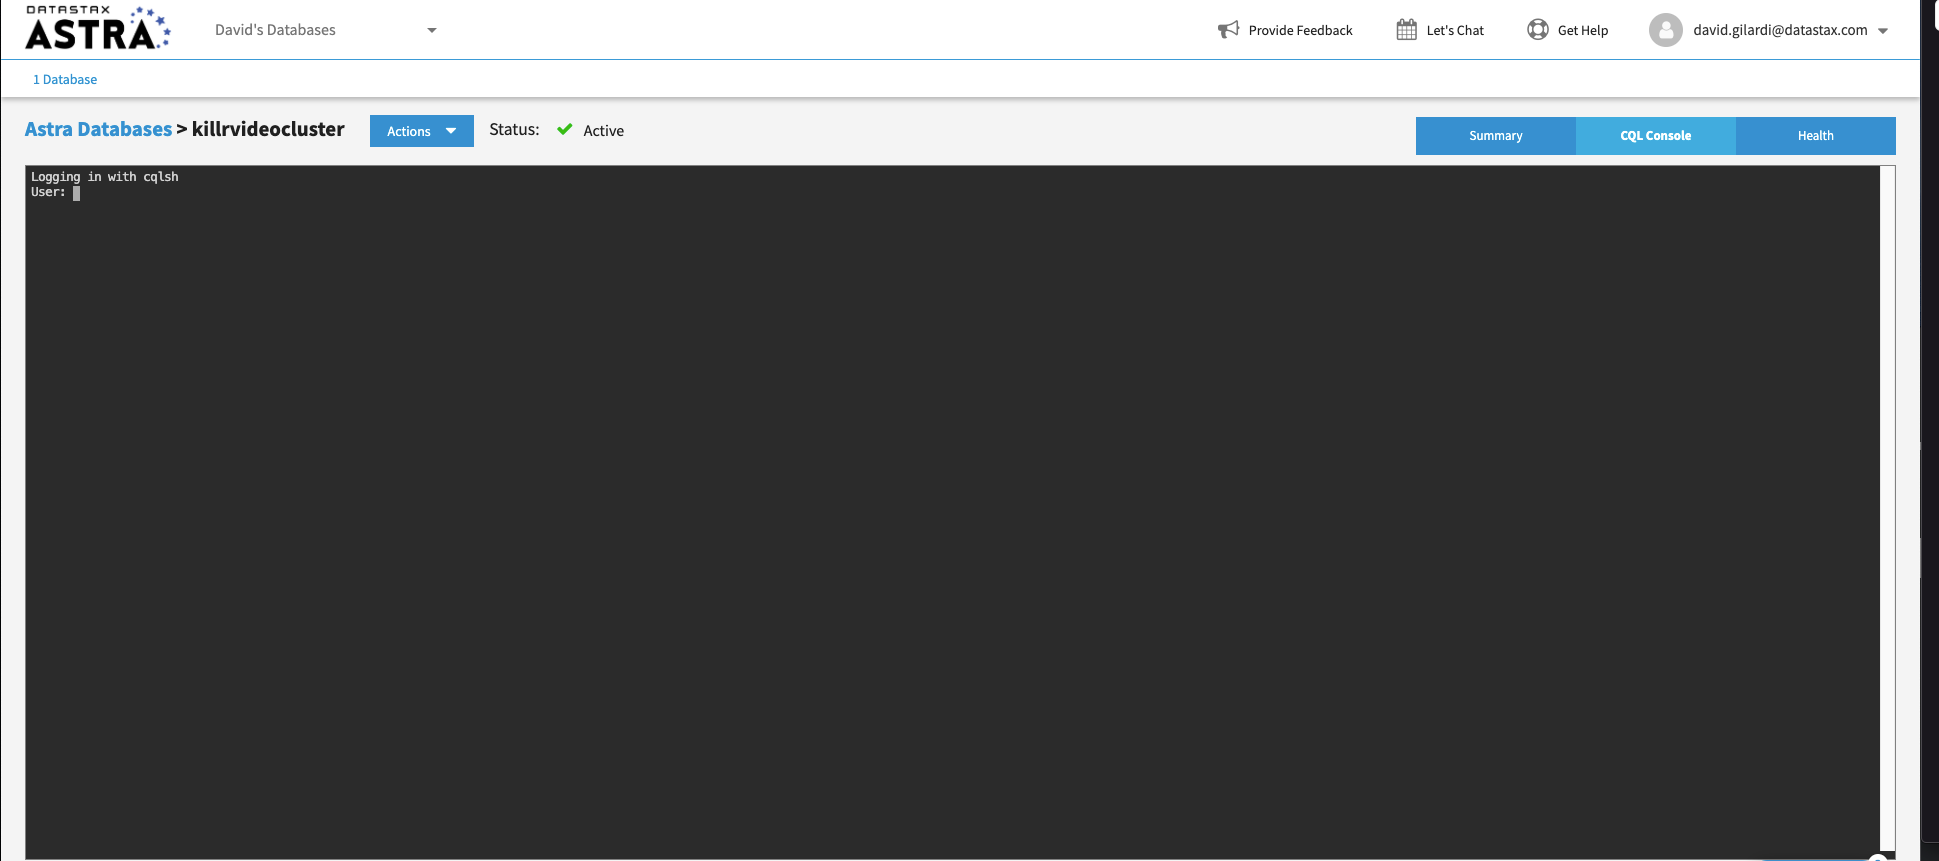
This will open up a CQL console to use with your Astra database and present you with a login prompt.
Enter in the credentials we used earlier to create the killrvideo database. If you followed the instructions earlier this should be KVUser and KVPassword. If you already created the killrvideo database at some point before this workshop and used different credentials, just use those instead.
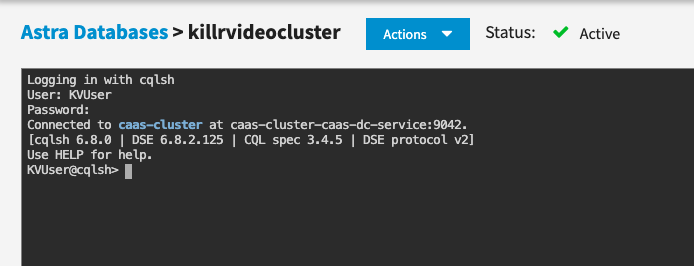
At this point you should see something like the following:
✅ Step 2b. Describe keyspaces and USE killrvideo
Ok, you're logged in, and now we're ready to rock. Creating tables is quite easy, but before we create one we need to tell the database which keyspace we are working with.
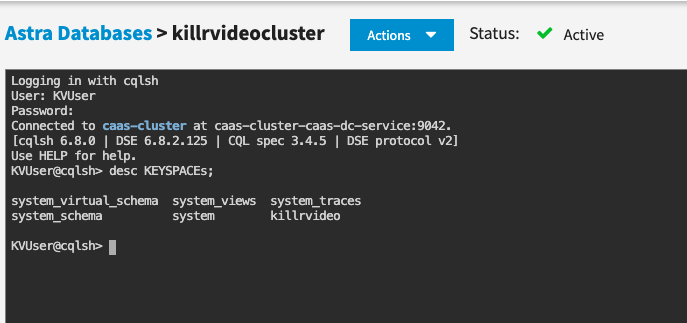
First, let's DESCRIBE all of the keyspaces that are in the database. This will give us a list of the available keyspaces.
📘 Command to execute
desc KEYSPACES;
"desc" is short for "describe", either is valid
📗 Expected output
Depending on your setup you might see a different set of keyspaces then in the image. The one we care about for now is killrvideo. From here, execute the USE command with the killrvideo keyspace to tell the database our context is within killrvideo.
📘 Command to execute
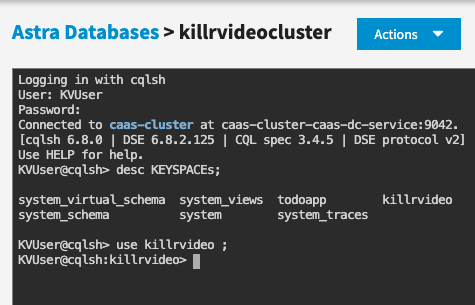
use killrvideo;
📗 Expected output
Notice how the prompt displays KVUser@cqlsh:killrvideo> informing us we are using the killrvideo keyspace. Now we are ready to create our table.
✅ Step 2c. Create the users_by_city table
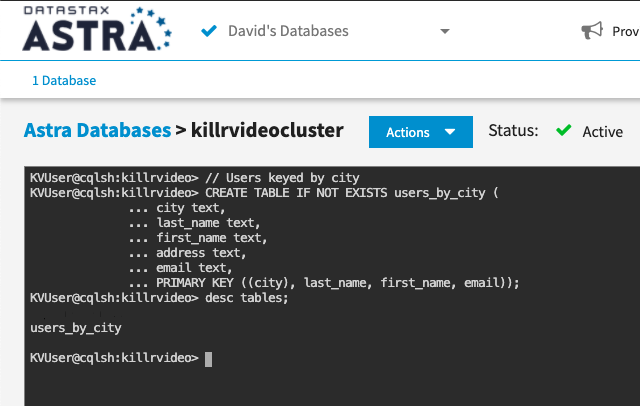
At this point we can execute a command to create the users_by_city table using the information provided during the workshop presenation. Just copy/paste the following command into your CQL console at the prompt.
📘 Command to execute
// Users keyed by city
CREATE TABLE IF NOT EXISTS users_by_city (
	city text,
	last_name text,
	first_name text,
	address text,
	email text,
	PRIMARY KEY ((city), last_name, first_name, email));
Then DESCRIBE your keyspace tables to ensure it is there.
📘 Command to execute
desc tables;
📗 Expected output
Aaaand BOOM, you created a table in your database. That's it. Now, we'll move to the next section in the presentation and break down the method used to create a data model with Apache Cassandra.
CRUD operations stand for create, read, update, and delete. Simply put, they are the basic types of commands you need to work with ANY database in order to maintain data for your applications.
✅ Step 3a. Create a couple more tables
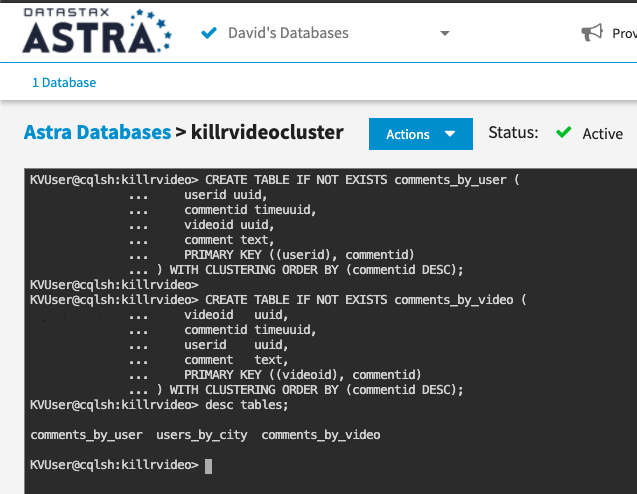
We started by creating the users_by_city table earlier, but now we need to create some tables to support user and video comments per the "Art of Data Modeling" section of the presentation. Let's go ahead and do that now. Execute the following statements to create our tables.
📘 Commands to execute
CREATE TABLE IF NOT EXISTS comments_by_user (
    userid uuid,
    commentid timeuuid,
    videoid uuid,
    comment text,
    PRIMARY KEY ((userid), commentid)
) WITH CLUSTERING ORDER BY (commentid DESC);

CREATE TABLE IF NOT EXISTS comments_by_video (
    videoid   uuid,
    commentid timeuuid,
    userid    uuid,
    comment   text,
    PRIMARY KEY ((videoid), commentid)
) WITH CLUSTERING ORDER BY (commentid DESC);
Then DESCRIBE your keyspace tables to ensure they are both there.
📘 Command to execute
desc tables;
📗 Expected output
✅ Step 3b. (C)RUD = create = insert data
Our tables are in place so let's put some data in them. This is done with the INSERT statement. We'll start by inserting data into the comments_by_user table.
📘 Commands to execute
// Comment for a given user
INSERT INTO comments_by_user (
  userid, //uuid: unique id for a user
  commentid, //timeuuid: unique uuid + timestamp
  videoid, //uuid: id for a given video
  comment //text: the comment text
)
VALUES (
  11111111-1111-1111-1111-111111111111,
  NOW(),
  12345678-1234-1111-1111-111111111111,
  'I so grew up in the 80''s'
);

// More comments for the same user for the same video
INSERT INTO comments_by_user (userid, commentid, videoid, comment)
VALUES (11111111-1111-1111-1111-111111111111, NOW(), 12345678-1234-1111-1111-111111111111, 'I keep watching this video');
INSERT INTO comments_by_user (userid, commentid, videoid, comment)
VALUES (11111111-1111-1111-1111-111111111111, NOW(), 12345678-1234-1111-1111-111111111111, 'Soo many comments for the same video');

// A comment from another user for the same video
INSERT INTO comments_by_user (userid, commentid, videoid, comment)
VALUES (22222222-2222-2222-2222-222222222222, NOW(), 12345678-1234-1111-1111-111111111111, 'I really like this video too!');
Note, we are using "fake" generated UUID's in this dataset. If you wanted to generate UUID's on the fly just use UUID() per the documentation HERE.
Ok, let's INSERT more this time using the comments_by_video table.
📘 Commands to execute
// Comment for a given video
INSERT INTO comments_by_video (
  videoid, //uuid: id for a given video
  commentid, //timeuuid: unique uuid + timestamp
  userid, //uuid: unique id for a user
  comment //text: the comment text
)
VALUES (
  12345678-1234-1111-1111-111111111111,
  NOW(),
  11111111-1111-1111-1111-111111111111,
  'This is such a cool video'
);

// More comments for the same video by different users
INSERT INTO comments_by_video (videoid, commentid, userid, comment)
VALUES(12345678-1234-1111-1111-111111111111, NOW(), 22222222-2222-2222-2222-222222222222, 'Such a killr edit');
// Ignore the hardcoded value for "commentid" instead of NOW(), we'll get to that later.
INSERT INTO comments_by_video (videoid, commentid, userid, comment)
VALUES(12345678-1234-1111-1111-111111111111, 494a3f00-e966-11ea-84bf-83e48ffdc8ac, 77777777-7777-7777-7777-777777777777, 'OMG that guy Patrick is such a geek!');

// A comment for a different video from another user
INSERT INTO comments_by_video (videoid, commentid, userid, comment)
VALUES(08765309-1234-9999-9999-111111111111, NOW(), 55555555-5555-5555-5555-555555555555, 'Never thought I''d see a music video about databases');
✅ Step 3c. C(R)UD = read = read data
Now that we've inserted a set of data, let's take a look at how to read that data back out. This is done with a SELECT statement. In its simplist form we could just execute a statement like the following **cough **cough:
SELECT * FROM comments_by_user;
You may have noticed my coughing fit a moment ago. Even though you can execute a SELECT statement with no partition key definied this is NOT something you should do when using Apache Cassandra. We are doing it here for illustration purposes only and because our dataset only has a handful of values. Given the data we inserted earlier a more proper statement would be something like:
SELECT * FROM comments_by_user WHERE userid = 11111111-1111-1111-1111-111111111111;
The key is to ensure we are always selecting by some partition key at a minimum.
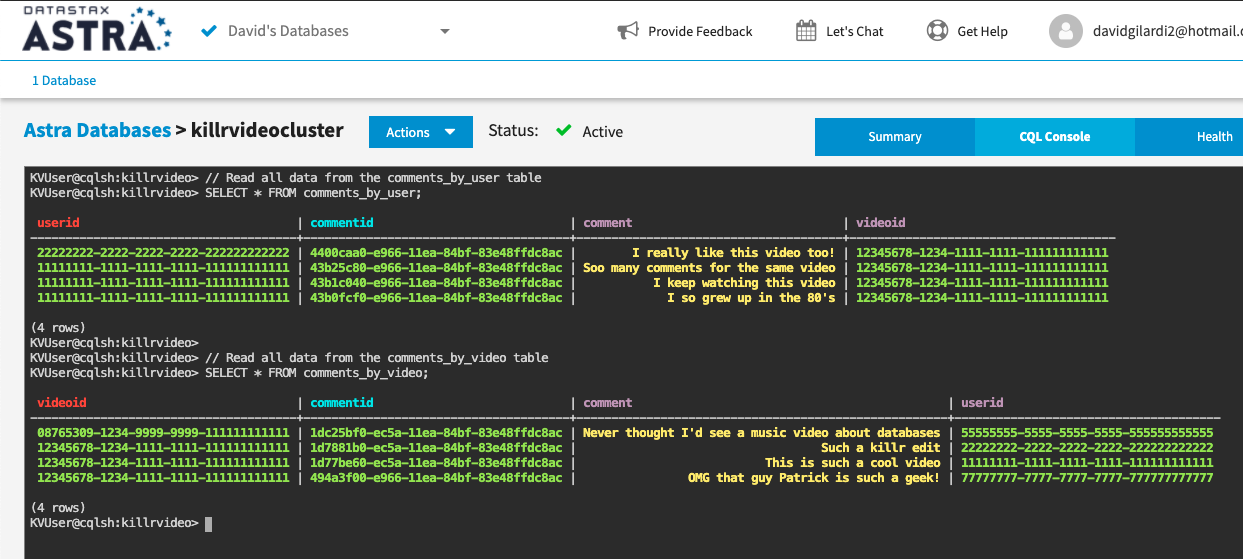
Ok, so with that out of the way let's READ the data we "created" earlier with our INSERT statements.
📘 Commands to execute
// Read all data from the comments_by_user table
SELECT * FROM comments_by_user;

// Read all data from the comments_by_video table
SELECT * FROM comments_by_video;
📗 Expected output
Once you execute the above SELECT statements you should see something like the expected output above. We have now READ the data we INSERTED earlier. Awesome job!
BTW, just a little extra for those who are interested. Since we used a TIMEUUID type for our commentid field we can use the dateOf() function to determine the timestamp from the value. Check it out.
// Read all data from the comments_by_user table,
// convert commentid into a timestamp, and label the column "datetime"
select userid, dateOf(commentid) as datetime, videoid, comment from comments_by_user;
✅ Step 3d. CR(U)D = update = update data
At this point we've CREATED and READ some data, but what happens when you want to change some existing data to some new value? That's where UPDATE comes into play.
Let's take one of the records we created earlier and modify it. If you remember earlier we INSERTED the following record in the comments_by_video table.
INSERT INTO comments_by_video (
  videoid,
  commentid,
  userid,
  comment
)
VALUES(
  12345678-1234-1111-1111-111111111111,
  494a3f00-e966-11ea-84bf-83e48ffdc8ac,
  77777777-7777-7777-7777-777777777777,
  'OMG that guy Patrick is such a geek!'
);
Let's also take a look at the comments_by_video table we created earlier. In order to UPDATE an existing record we need to know the primary key used to CREATE the record.
CREATE TABLE IF NOT EXISTS comments_by_video (
    videoid   uuid,
    commentid timeuuid,
    userid    uuid,
    comment   text,
    PRIMARY KEY ((videoid), commentid)
) WITH CLUSTERING ORDER BY (commentid DESC);
So looking at PRIMARY KEY ((videoid), commentid) both videoid and commentid are used to create a unique row. We'll need both to update our record.
You may remember that I also glossed over the fact we used a hardcoded value for commentid when we created this record. This was done to simulate someone editing an existing comment for a video in our application. Imagine the UX for such a need. At the point a user clicks the "edit" button information for our videoid and commentid are provided in order to UPDATE the record.
We have the information that we need for the update. With that, the command is easy.
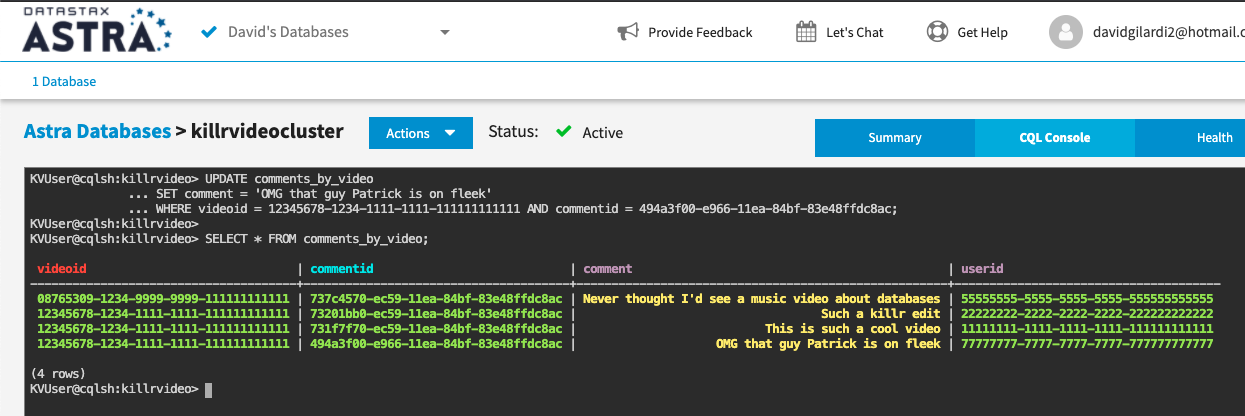
📘 Commands to execute
UPDATE comments_by_video
SET comment = 'OMG that guy Patrick is on fleek'
WHERE videoid = 12345678-1234-1111-1111-111111111111 AND commentid = 494a3f00-e966-11ea-84bf-83e48ffdc8ac;

SELECT * FROM comments_by_video;
📗 Expected output
That's it. All that's left now is to DELETE some data.
✅ Step 3e. CRU(D) = delete = remove data
The final operation from our CRUD acronym is DELETE. This is the operation we use when we want to remove data from the database. In Apache Cassandra you can DELETE from the cell level all the way up to the partition (meaning I could remove a single column in a single row or I could remove a whole partition) using the same DELETE command.
Generally speaking, it's best to perform as few delete operations as possible on the largest amount of data. Think of it this way, if you want to delete ALL data in a table, don't delete each individual cell, just TRUNCATE the table. If you need to delete all the rows in a partition, don't delete each row, DELETE the partition and so on.
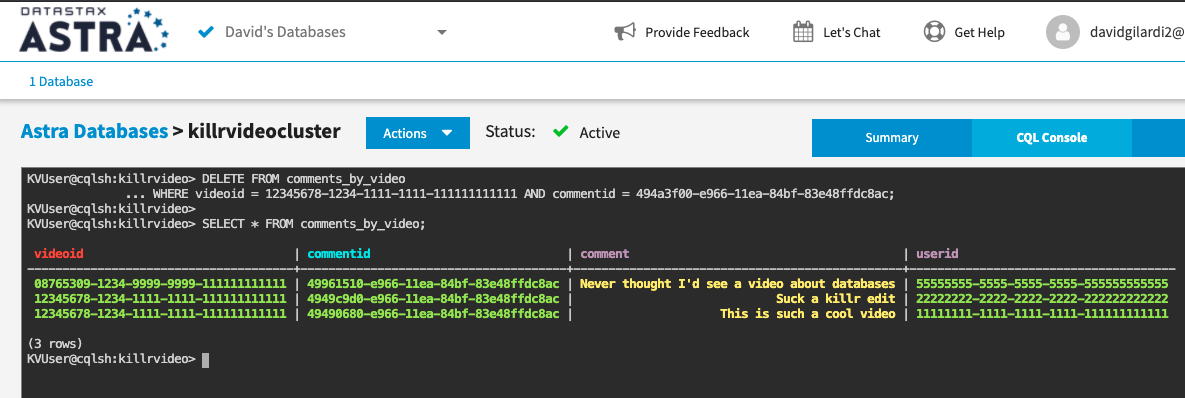
For our purpose now let's DELETE the same row we were working with earlier.
📘 Commands to execute
DELETE FROM comments_by_video
WHERE videoid = 12345678-1234-1111-1111-111111111111 AND commentid = 494a3f00-e966-11ea-84bf-83e48ffdc8ac;

SELECT * FROM comments_by_video;
📗 Expected output
Notice the row is now removed from the comments_by_video table, it's as simple as that.
We've just scratched the surface of what you can do using DataStax Astra with Apache Cassandra. Go take a look at DataStax for Developers to see what else is possible. There's plenty to dig into!
