This is a step-by-step guide on how to create a GPG key on keybase.io, adding it to a local GPG setup and use it with Git and GitHub.
Although this guide was written for macOS, most commands should work in other operating systems as well.
There's a video published by Timothy Miller explaining some parts of this guide. Discussion on Hacker News.
Note: If you don't want to use Keybase.io, follow this guide instead. For manually transferring keys to different hosts, check out this answer on Stack Overflow.
$ brew install gpg
$ brew cask install keybase
You should already have an account with Keybase and be signed in locally using $ keybase login. In case you need to set up a new device first, follow the instructions provided by the keybase command during login.
Make sure your local version of Git is at least 2.0 ($ git --version) to automatically sign all your commits. If that's not the case, use Homebrew to install the latest Git version: $ brew install git.
$ keybase pgp gen --multi
# Enter your real name, which will be publicly visible in your new key: Patrick Stadler
# Enter a public email address for your key: patrick.stadler@gmail.com
# Enter another email address (or <enter> when done):
# Push an encrypted copy of your new secret key to the Keybase.io server? [Y/n] Y
# ▶ INFO PGP User ID: Patrick Stadler <patrick.stadler@gmail.com> [primary]
# ▶ INFO Generating primary key (4096 bits)
# ▶ INFO Generating encryption subkey (4096 bits)
# ▶ INFO Generated new PGP key:
# ▶ INFO   user: Patrick Stadler <patrick.stadler@gmail.com>
# ▶ INFO   4096-bit RSA key, ID CB86A866E870EE00, created 2016-04-06
# ▶ INFO Exported new key to the local GPG keychain$ gpg --list-secret-keys --keyid-format LONG
# /Users/pstadler/.gnupg/secring.gpg
# ----------------------------------
# sec 4096R/E870EE00 2016-04-06 [expires: 2032-04-02]
# uid Patrick Stadler <patrick.stadler@gmail.com>
# ssb 4096R/F9E3E72E 2016-04-06
$ git config --global user.signingkey E870EE00
$ git config --global commit.gpgsign true$ open https://github.com/settings/keys
# Click "New GPG key"
# We can then use `export` with the `-q` or query flag to match on our key (the first 16 characters should do..)
$ keybase pgp export -q CB86A866E870EE00 | pbcopy # copy public key to clipboard
# Paste key, save$ keybase pgp export
# ▶ WARNING Found several matches:
# user: Patrick Stadler <patrick.stadler@gmail.com>
# 4096-bit RSA key, ID CB86A866E870EE00, created 2016-04-06
# user: keybase.io/ps <ps@keybase.io>
# 4096-bit RSA key, ID 31DBBB1F6949DA68, created 2014-03-26
$ keybase pgp export -q CB86A866E870EE00 | gpg --import
$ keybase pgp export -q CB86A866E870EE00 --secret | gpg --allow-secret-key-import --importIf you cannot sign a commit after running through the above steps, and have an error like:
$ git commit -m "My commit"
# error: gpg failed to sign the data
# fatal: failed to write commit object
You can run echo "test" | gpg --clearsign to find the underlying issue.
If the above succeeds without error, then there is likely a configuration problem that is preventing git from selecting or using the secret key. Confirm that your gitconfig user.email matches the secret key that you are using for signing.
$ $EDITOR ~/.gnupg/gpg.conf
# Add line:
default-key E870EE00If you use a UI such as Git Tower or Github Desktop, you may need to configure git to point to the specific gpg executable:
git config --global gpg.program $(which gpg)If you have problems with making autosigned commits from IDE or other software add no-tty config
$ $EDITOR ~/.gnupg/gpg.conf
# Add line:
no-ttyDepending on your personal setup, you might need to define the tty for gpg
whenever your passphrase is prompted. Otherwise, you might encounter an Inappropriate ioctl for device error.
$ $EDITOR ~/.profile # or other file that is sourced every time
# Paste these lines
GPG_TTY=$(tty)
export GPG_TTYSome people found that this works out of the box w/o following these steps.
Install pinentry-mac:
$ brew install pinentry-macSet up the agent:
$ $EDITOR ~/.gnupg/gpg-agent.conf
# Paste this line:
pinentry-program /usr/local/bin/pinentry-mac
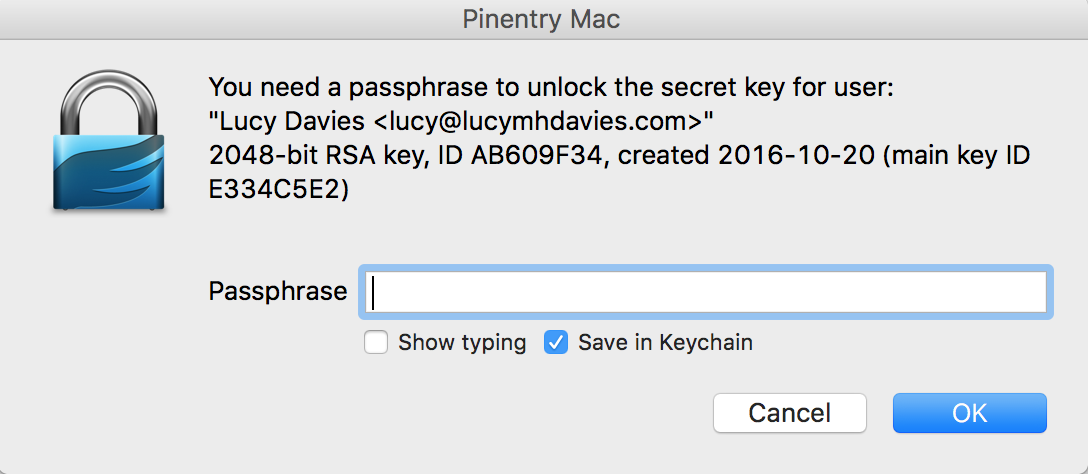
Now git commit -S, it will ask your password and you can save it to macOS
keychain.
gpgconf --kill gpg-agent # after echo 'pinentry-program /usr/local/bin/pinentry-mac' > ~/.gnupg/gpg-agent.confSome people find that pinentry installed with brew does not allow the password to be saved to macOS's keychain.
If you do not see "Save in Keychain" after following Method 1, first uninstall the version of pinentry-mac installed with brew:
$ brew uninstall pinentry-macNow install the GPG Suite versions, available from gpgtools.org, or from brew by running:
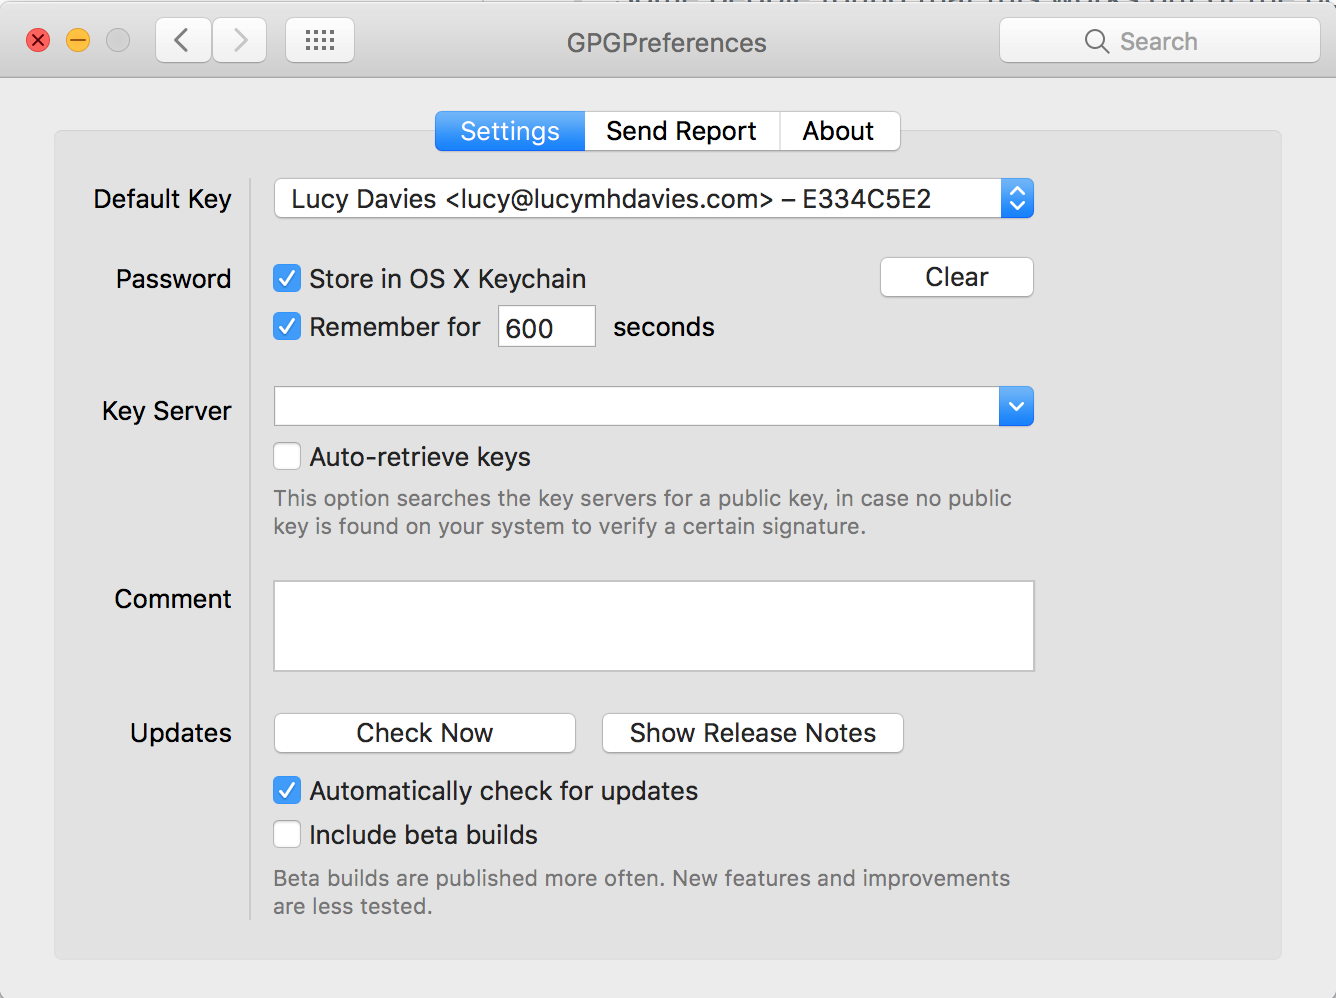
$ brew cask install gpg-suiteOnce installed, open Spotlight and search for "GPGPreferences", or open system preferences and select "GPGPreferences"
Select the Default Key if it is not already selected, and ensure "Store in OS X Keychain" is checked:
The gpg-agent.conf is different from Method 1:
Set up the agent:
$ $EDITOR ~/.gnupg/gpg-agent.conf
# GPG Suite should pre-populate with something similar to the following:
default-cache-ttl 600
max-cache-ttl 7200
