Build and run a Cloudera CDP Private Cloud Base (formerly known as CDP Data Center) trial environment in a dockerless container
Automate the install of Cloudera CDP and OpenShift 4.5+ with YuniKorn scheduler for BigData and ML on your laptop, virtual machine or baremetal server
Video demo: https://www.youtube.com/watch?v=6RE2Mc3ei5Y
Step-by-step install video: https://www.youtube.com/watch?v=LGTDNIYJE2A
The goals of this lab are :

1. Automate and speed up the installation of
   CDP Private Cloud Base (formerly known as CDP Data Center)

2. Automate the install of OpenShift 4.5+

3. Deploy CDP Private Cloud components onto an existing
   on-premises OpenShift 4.5+ / Kubernetes cluster

4. Experiment with YuniKorn (https://yunikorn.apache.org/) on OpenShift 4.5+
   to unleash the power of resource scheduling for running Big Data & ML on Kubernetes

***** on a single baremetal server or laptop *****


The ideal environment for this is a baremetal server with 32+ GBU RAM, 32 logical cores, RHEL 8.2+ or CentOS 7.8+.

You can also run all this on a laptop with 16+ GB RAM but the experience will be less nice;)
Build and run a Cloudera CDP Private Cloud Base (formerly known as CDP Data Center) trial environment in a dockerless container
We'll use
buildah to create the Cloudera CDP Private Cloud Base
(formerly known as CDP Data Center)
trial environment container

and

podman to run the Cloudera CDP Private Cloud Base container
|
Note
|
We’ll also show how to backup and restore your CDP containers so that you can start a pre-configured CDP lab very quickly (few minutes) |
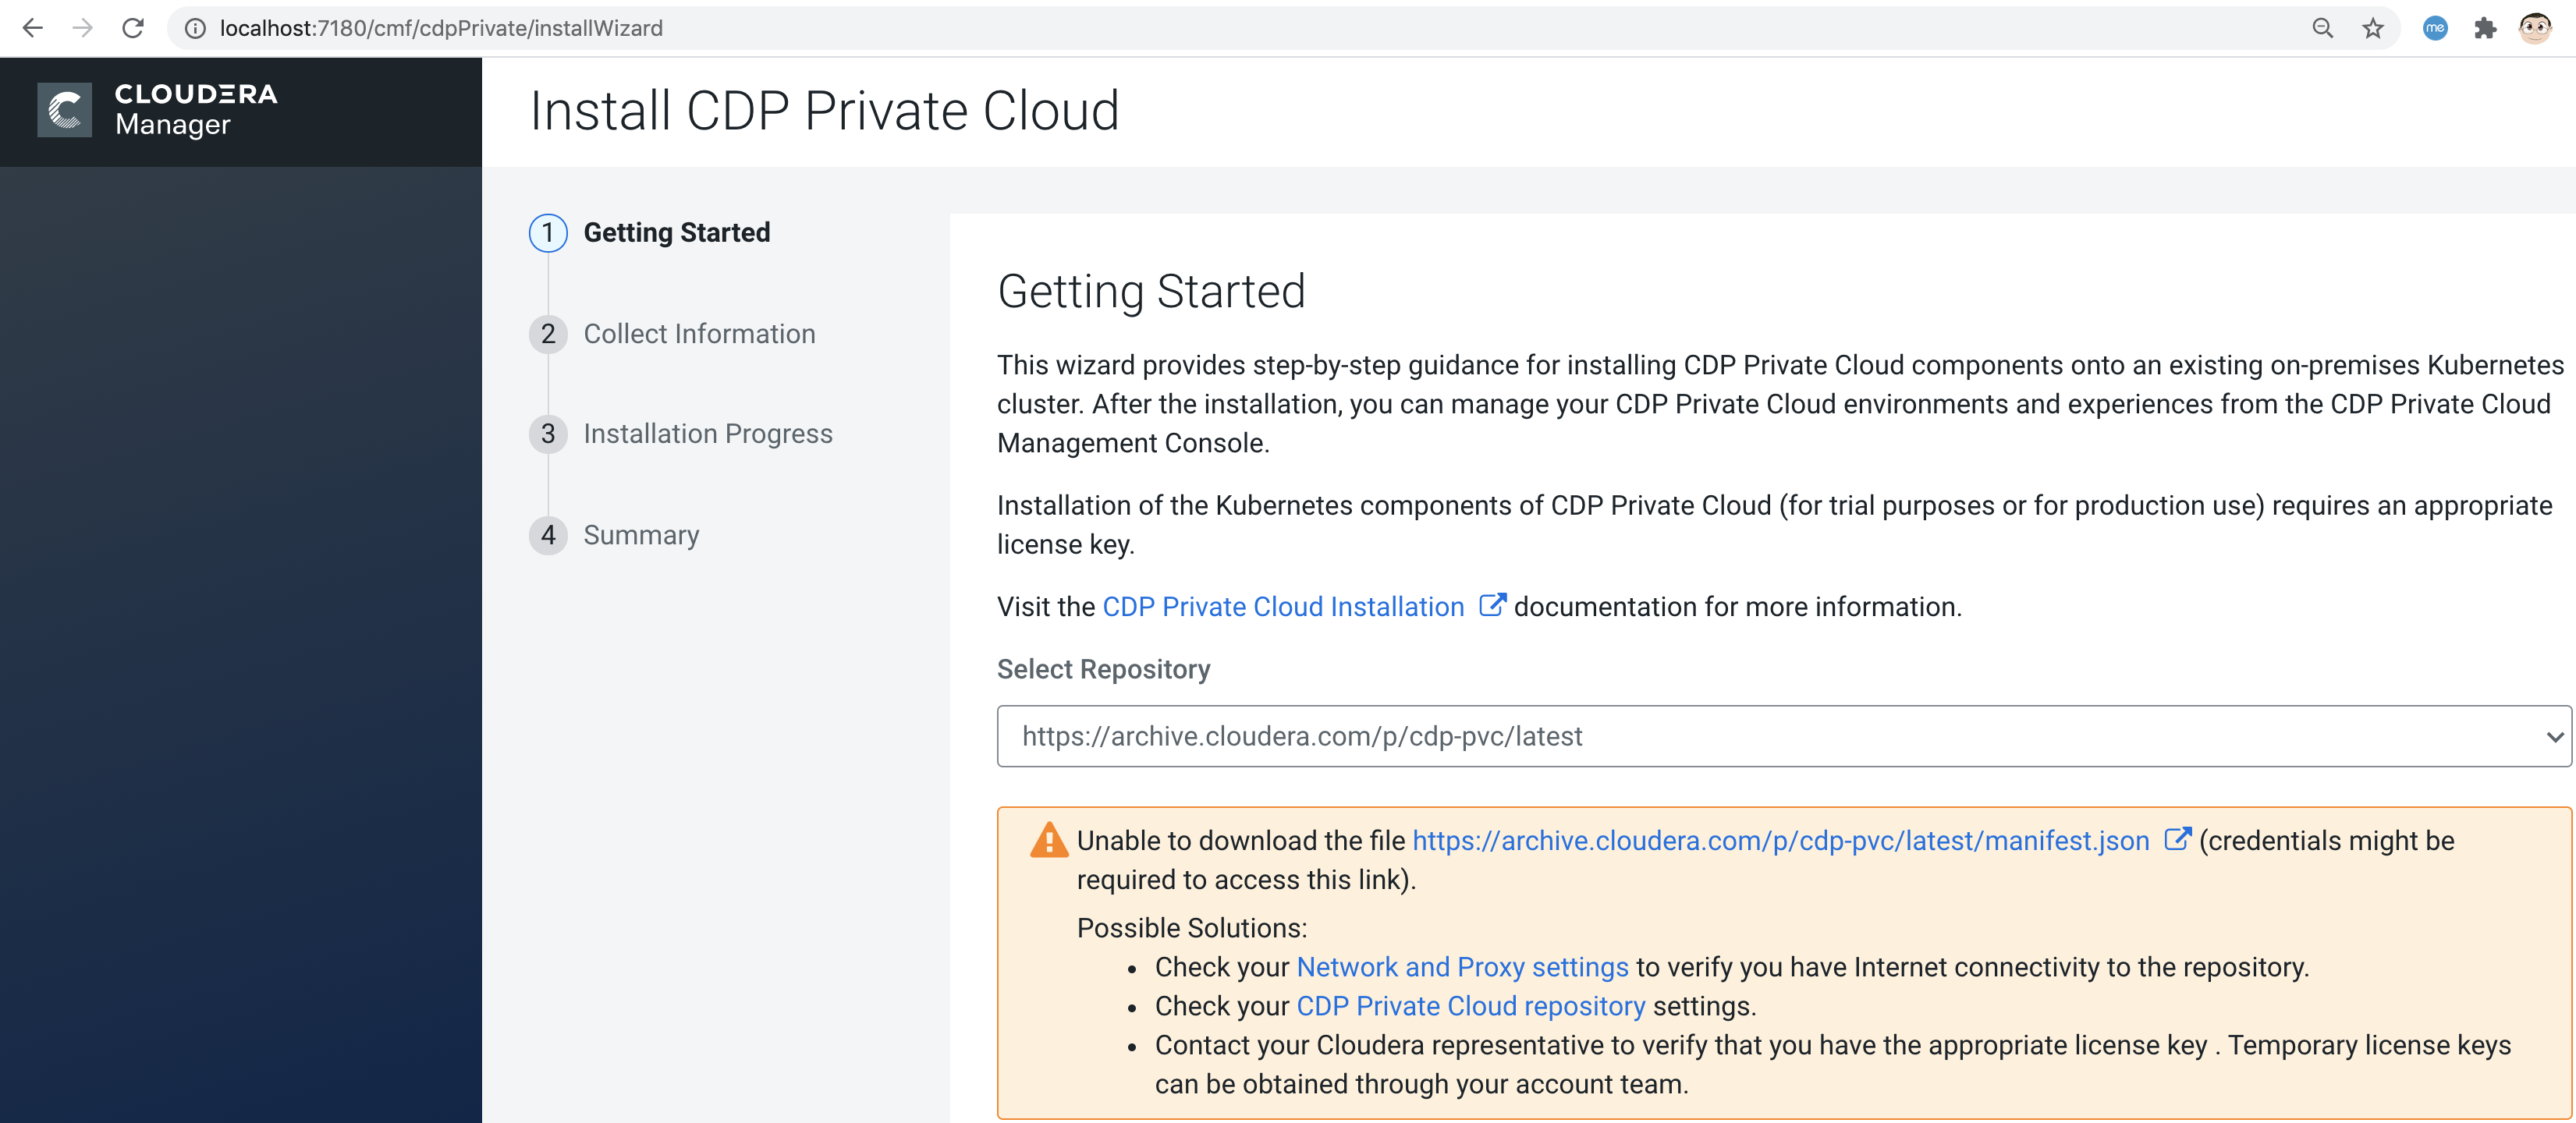
The trial environment also includes a  wizard that provides
step-by-step guidance for installing CDP Private Cloud components onto an existing on-premises Kubernetes cluster.

After the installation, you can manage your
CDP Private Cloud environments and experiences
from the CDP Private Cloud Management Console.
Buildah is a command-line tool for building Open Container Initiative-compatible
(that means Docker- and Kubernetes-compatible, too) images quickly and easily.

Buildah is easy to incorporate into scripts and build pipelines and
doesn’t require a running container daemon to build its image.

See more at https://opensource.com/article/18/6/getting-started-buildah
The buildah script to create the Cloudera CDP Private Cloud Base container is at https://github.com/marcredhat/cloudera/blob/master/build.sh
dnf -y update
dnf -y install buildah podman
curl -L https://raw.githubusercontent.com/marcredhat/cloudera/master/build.sh -o build.sh
chmod +x ./build.sh
./build.sh
Ignore errors displayed by the build.sh script; they are expected as we have not yet configured databases and services
Let's have a look at the container created by the script above

sudo buildah containers
CONTAINER ID  BUILDER  IMAGE ID     IMAGE NAME                       CONTAINER NAME
82ebfa94f1ea     *     f142359e2130 registry.centos.org/centos/ce... centos-working-container
Commit the container to a new image

sudo buildah commit centos-working-container marccdp
Publish the container to your favorite registry

sudo podman  login -u="<quay.io user>" -p="<quay.io encrypted password>" quay.io
sudo podman push localhost/marccdp  quay.io/marcf5/marccdp
Starting services within the container using systemd
(from https://access.redhat.com/documentation/en-us/red_hat_enterprise_linux/8/html/building_running_and_managing_containers/using-systemd-with-containers_building-running-and-managing-containers)

Applications created to be managed with systemd can be started and managed inside a container.
A container running systemd will:

Start the /sbin/init process (the systemd service) to run as PID 1 within the container.
Start all systemd services that are installed and enabled within the container, in order of dependencies.
Allow systemd to restart services or kill zombie processes for services started within the container.
The general steps for building a container that is ready to be used as a systemd services is:

Install the package containing the systemd-enabled service inside the container.

Use the systemctl command to enable the service inside the container.

Expose any ports needed to access the service.
sudo podman run -p 7180:7180 --systemd=true --privileged -it --name marccdp localhost/marccdp:latest /sbin/init
We can now connect to the Cloudera trial environment container and
configure databases, enable service etc
as shown at https://github.com/marcredhat/CDPDCTrial/blob/master/centosvmCDP.sh

In a new terminal window,
sudo podman exec -it marccdp /bin/bash

Check that DNS resolution works inside the container

[root@036bfc743a56 data]# hostname cloudera

In /etc/hosts, map the IP address of the CDP container to the "cloudera" hostname as follows:
<IP address of the CDP container>       cloudera

In /etc/cloudera-scm-agent/config.ini, replace the value for listening_ip with the IP address of the CDP container:
listening_ip=<IP address of the CDP container>
In /etc/cloudera-scm-agent/config.ini, replace the value for server_host with cloudera:
server_host=cloudera

[root@036bfc743a56 data]# service cloudera-scm-agent restart

[root@036bfc743a56 data]#systemctl start cloudera-scm-server

[root@036bfc743a56 data]#systemctl daemon-reload

[root@036bfc743a56 data]#systemctl start rngd

[root@036bfc743a56 data]#systemctl enable rngd

[root@036bfc743a56 data]# mysql -u root < /CDPDCTrial/scripts/create_db.sql

[root@036bfc743a56 data]# mysql -u root < /CDPDCTrial/scripts/secure_mariadb.sql

Check the logs
[root@036bfc743a56 data]# tail -f /var/log/cloudera-scm-server/cloudera-scm-server.log

[root@036bfc743a56 data]# /opt/cloudera/cm/schema/scm_prepare_database.sh mysql scm scm cloudera
JAVA_HOME=/usr/lib/jvm/java-1.8.0-openjdk-1.8.0.262.b10-0.el7_8.x86_64
Verifying that we can write to /etc/cloudera-scm-server
Creating SCM configuration file in /etc/cloudera-scm-server
Executing:  /usr/lib/jvm/java-1.8.0-openjdk-1.8.0.262.b10-0.el7_8.x86_64/bin/java -cp /usr/share/java/mysql-connector-java.jar:/usr/share/java/oracle-connector-java.jar:/usr/share/java/postgresql-connector-java.jar:/opt/cloudera/cm/schema/../lib/* com.cloudera.enterprise.dbutil.DbCommandExecutor /etc/cloudera-scm-server/db.properties com.cloudera.cmf.db.
[                          main] DbCommandExecutor              INFO  Successfully connected to database.
All done, your SCM database is configured correctly!

Create the folder /var/lib/postgres/data

[root@6de36c33185f /]# chown -R postgres /var/lib/postgres/data
[root@6de36c33185f /]# su - postgres -c "/usr/pgsql-9.6/bin/initdb --locale en_US.UTF-8 -D '/var/lib/postgres/data'"
[root@6de36c33185f /]# su - postgres -c "/usr/pgsql-9.6/bin/pg_ctl -D /var/lib/postgres/data -l logfile start"


[root@6de36c33185f /]# sudo -u postgres psql <<EOF
CREATE DATABASE ranger;
CREATE USER ranger WITH PASSWORD 'cloudera';
GRANT ALL PRIVILEGES ON DATABASE ranger TO ranger;
CREATE DATABASE das;
CREATE USER das WITH PASSWORD 'cloudera';
GRANT ALL PRIVILEGES ON DATABASE das TO das;
EOF

[root@6de36c33185f /]# find / -name create_cluster.py
/CDPDCTrial/scripts/create_cluster.py

In /CDPDCTrial/scripts/create_cluster.py, replace 10.0.2.15 with the IP address of your Cloudera container

[root@6de36c33185f /]# python /CDPDCTrial/scripts/create_cluster.py /CDPDCTrial/conf/cdpsandbox.json &
[root@6de36c33185f /]# ss -anpt | grep java | grep LISTEN
LISTEN     0      50           *:7180                     *:*                   users:(("java",pid=14718,fd=400))
LISTEN     0      50           *:7182                     *:*                   users:(("java",pid=14718,fd=392))
[root@6de36c33185f /]# systemctl status cloudera-scm-agent
[root@6de36c33185f /]# systemctl status cloudera-scm-server
[root@6de36c33185f /]# curl -u "admin:admin"  http://127.0.0.1:7180/api/version
v41
[root@6de36c33185f /]# tail -f /var/log/cloudera-scm-server/cloudera-scm-server.log
If you are installing CDP on a baremetal server and you SSH into it from your laptop,
you can use port forwarding as follows:

ssh root@<baremetal server> -L 7180:localhost:7180
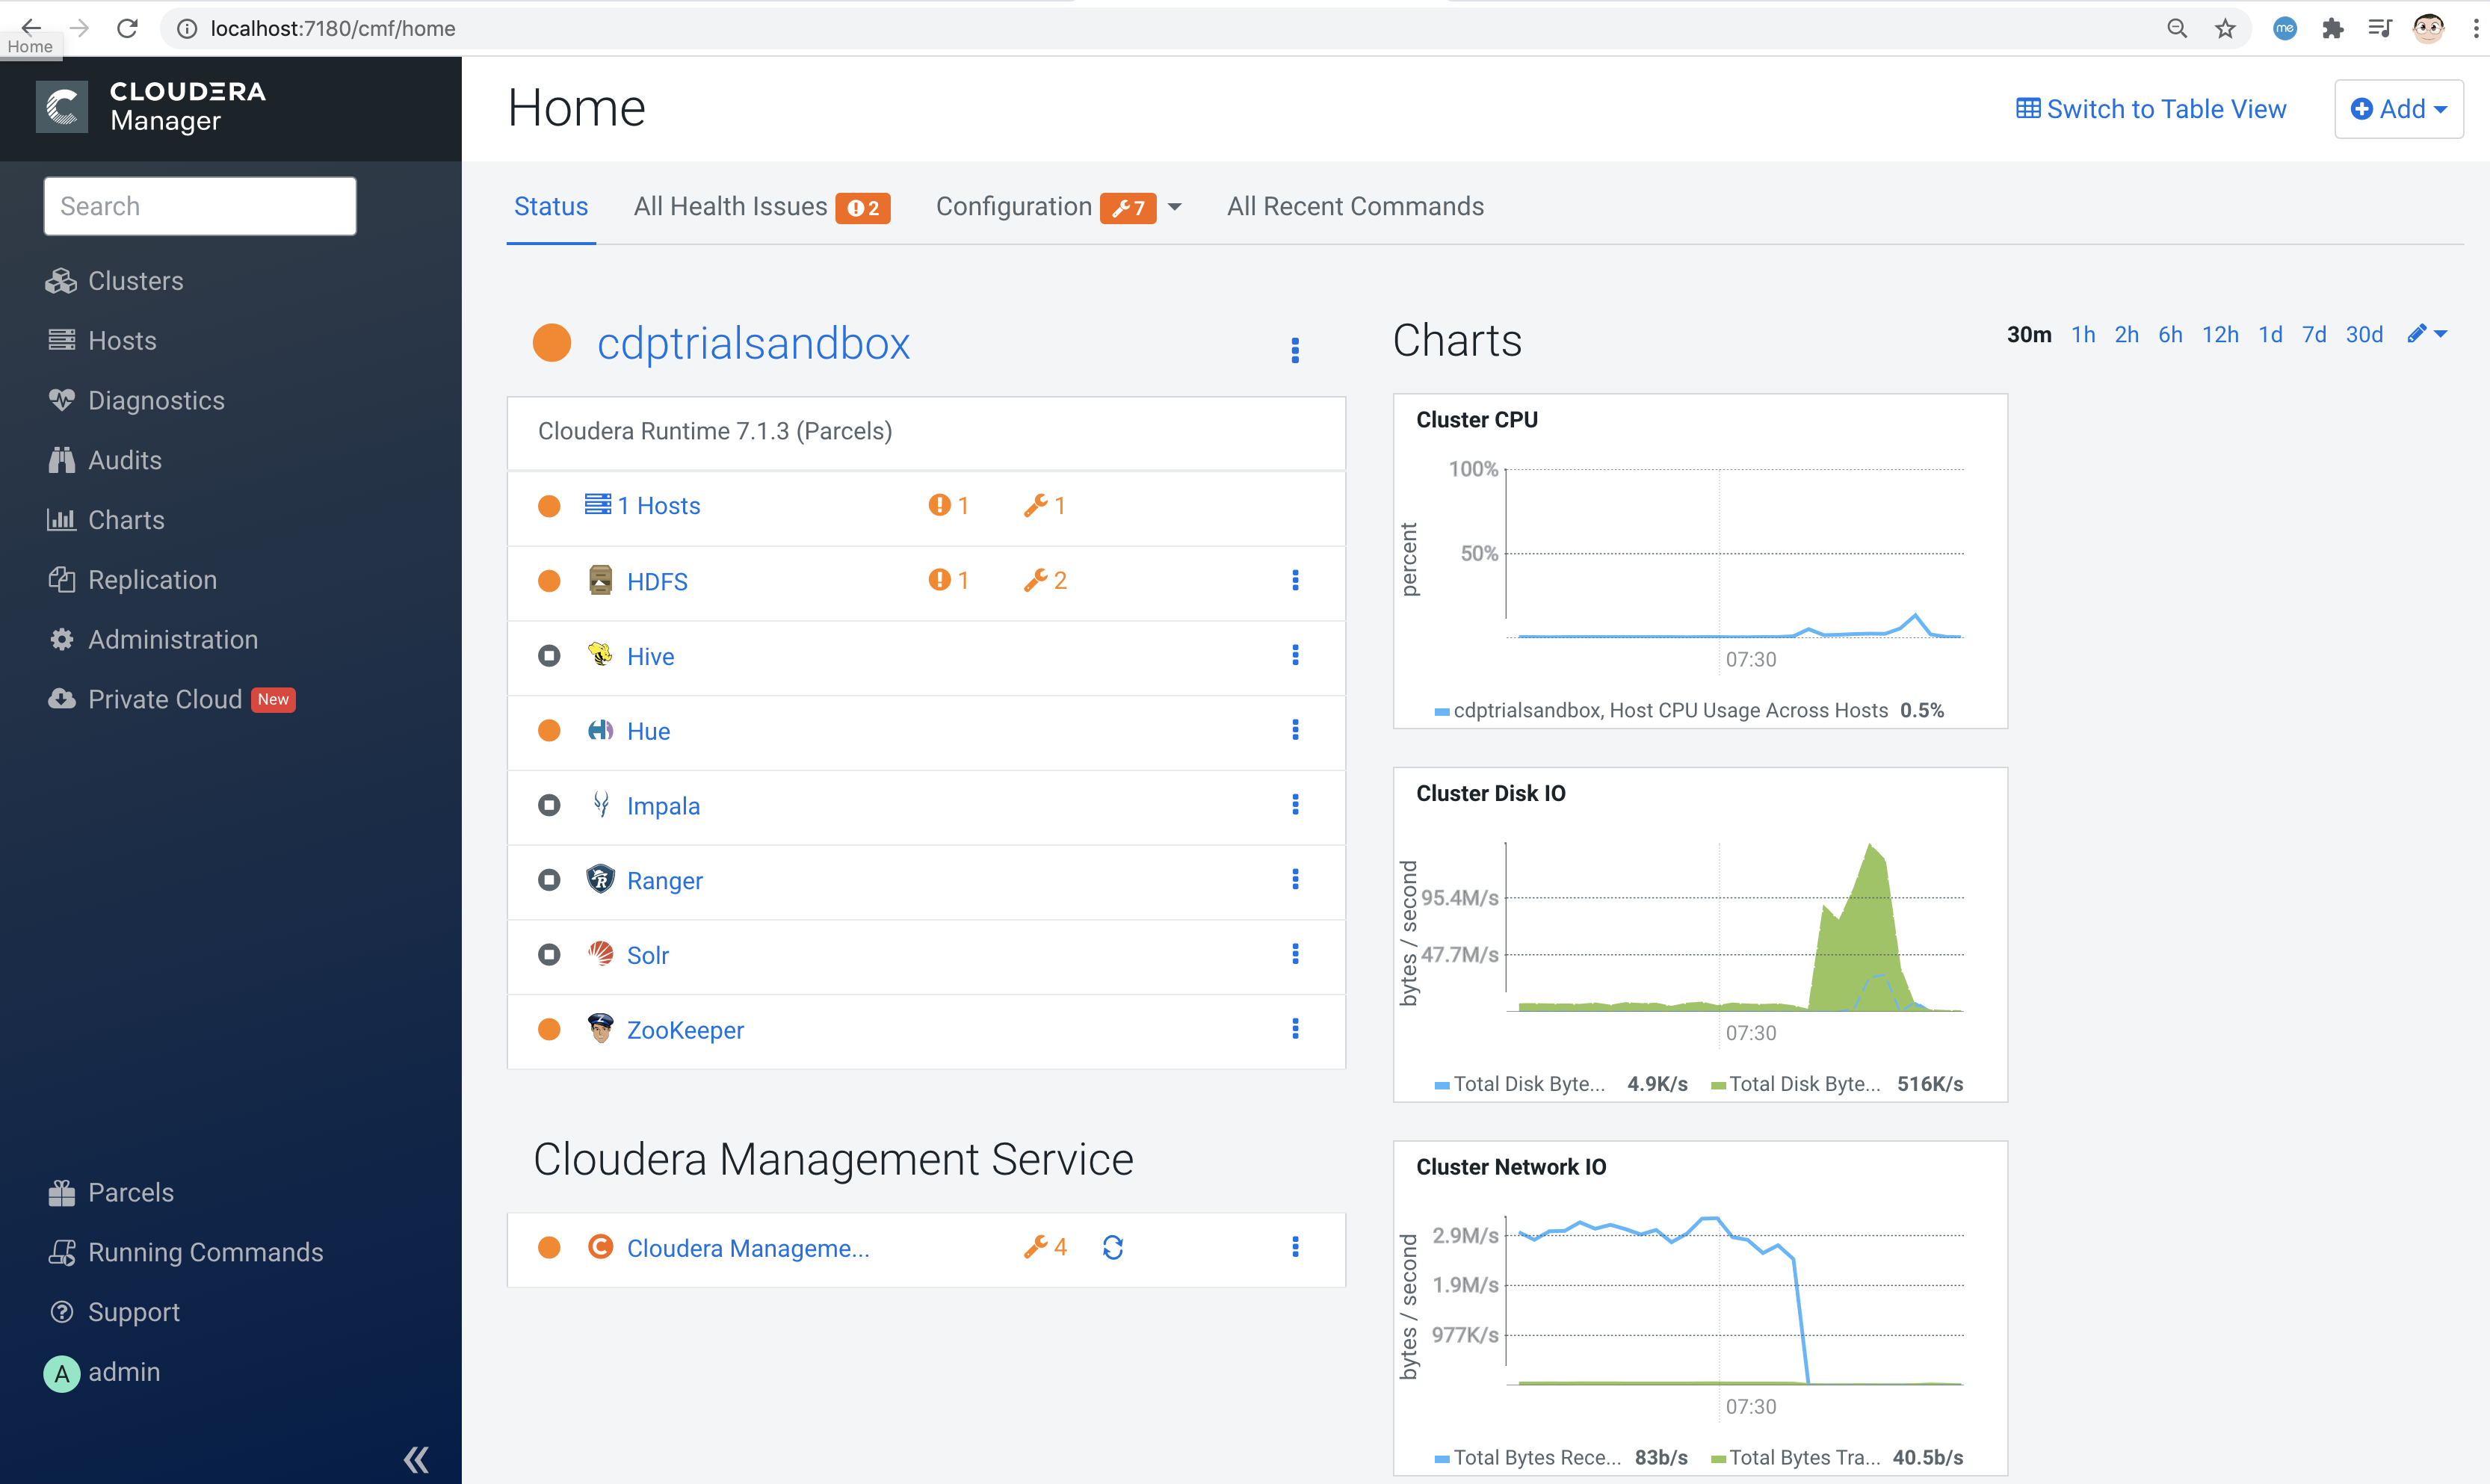
On your laptop, browse to http://localhost:7180 and connect as admin/admin
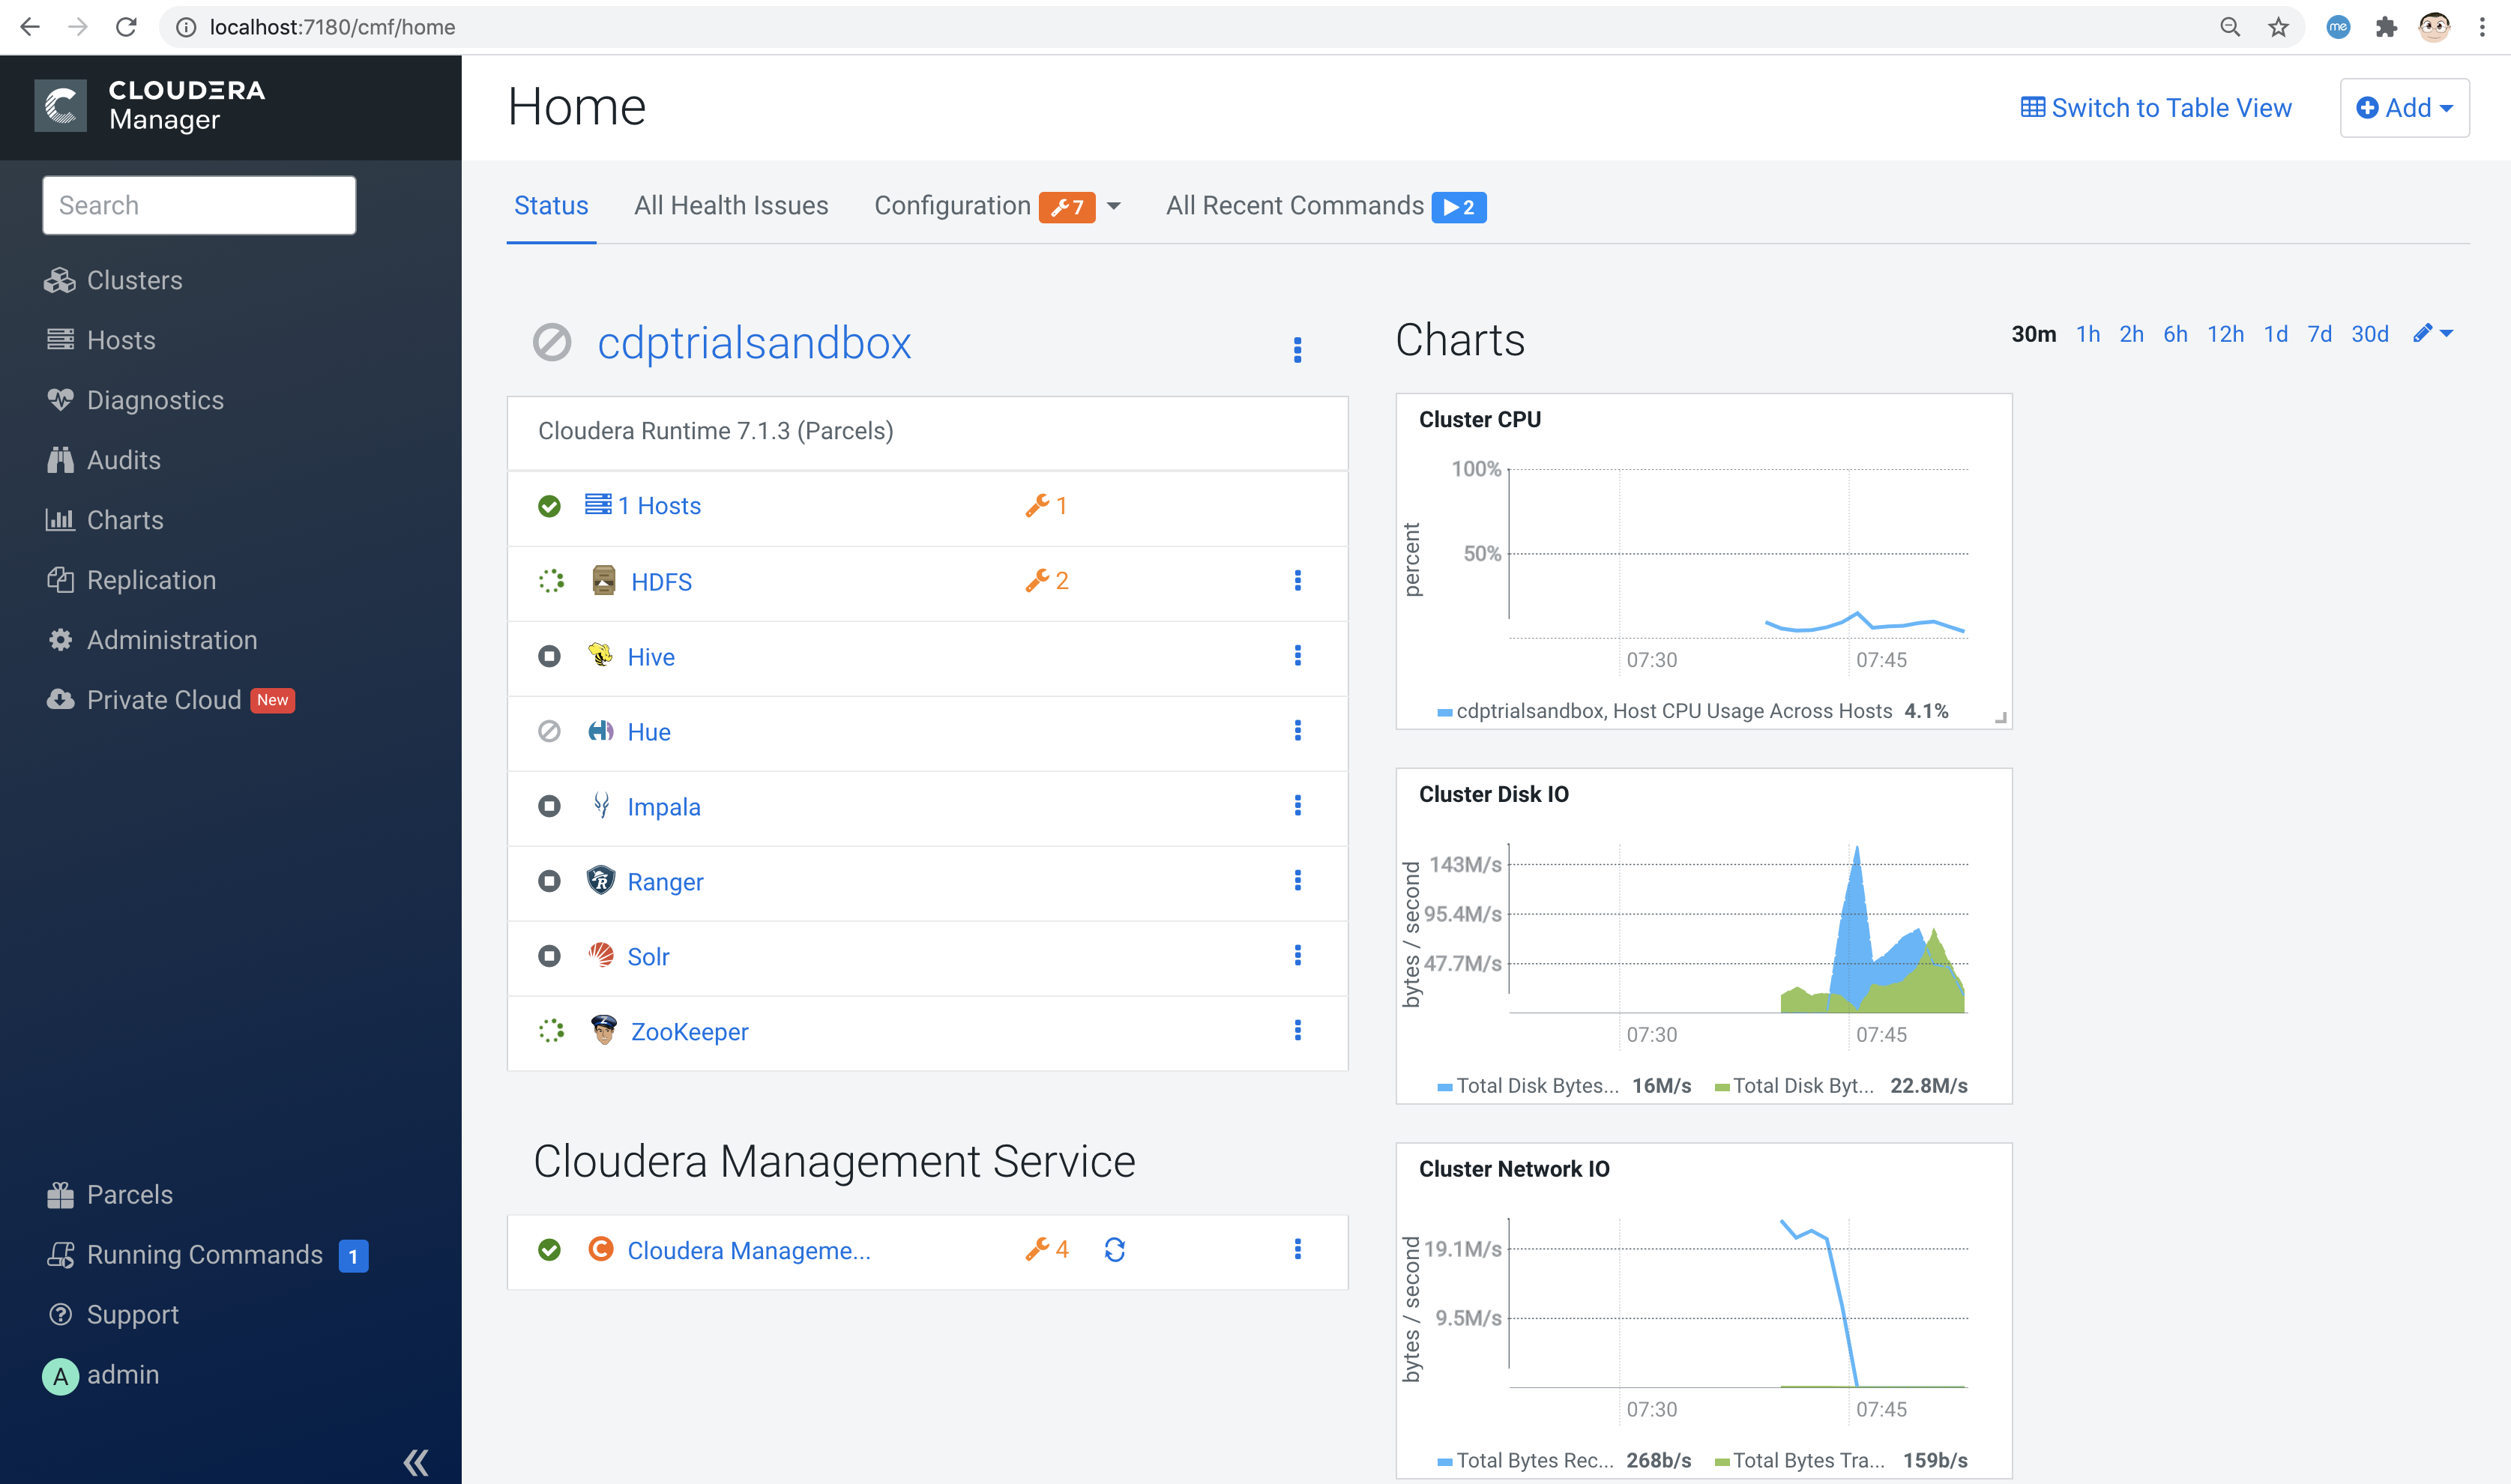
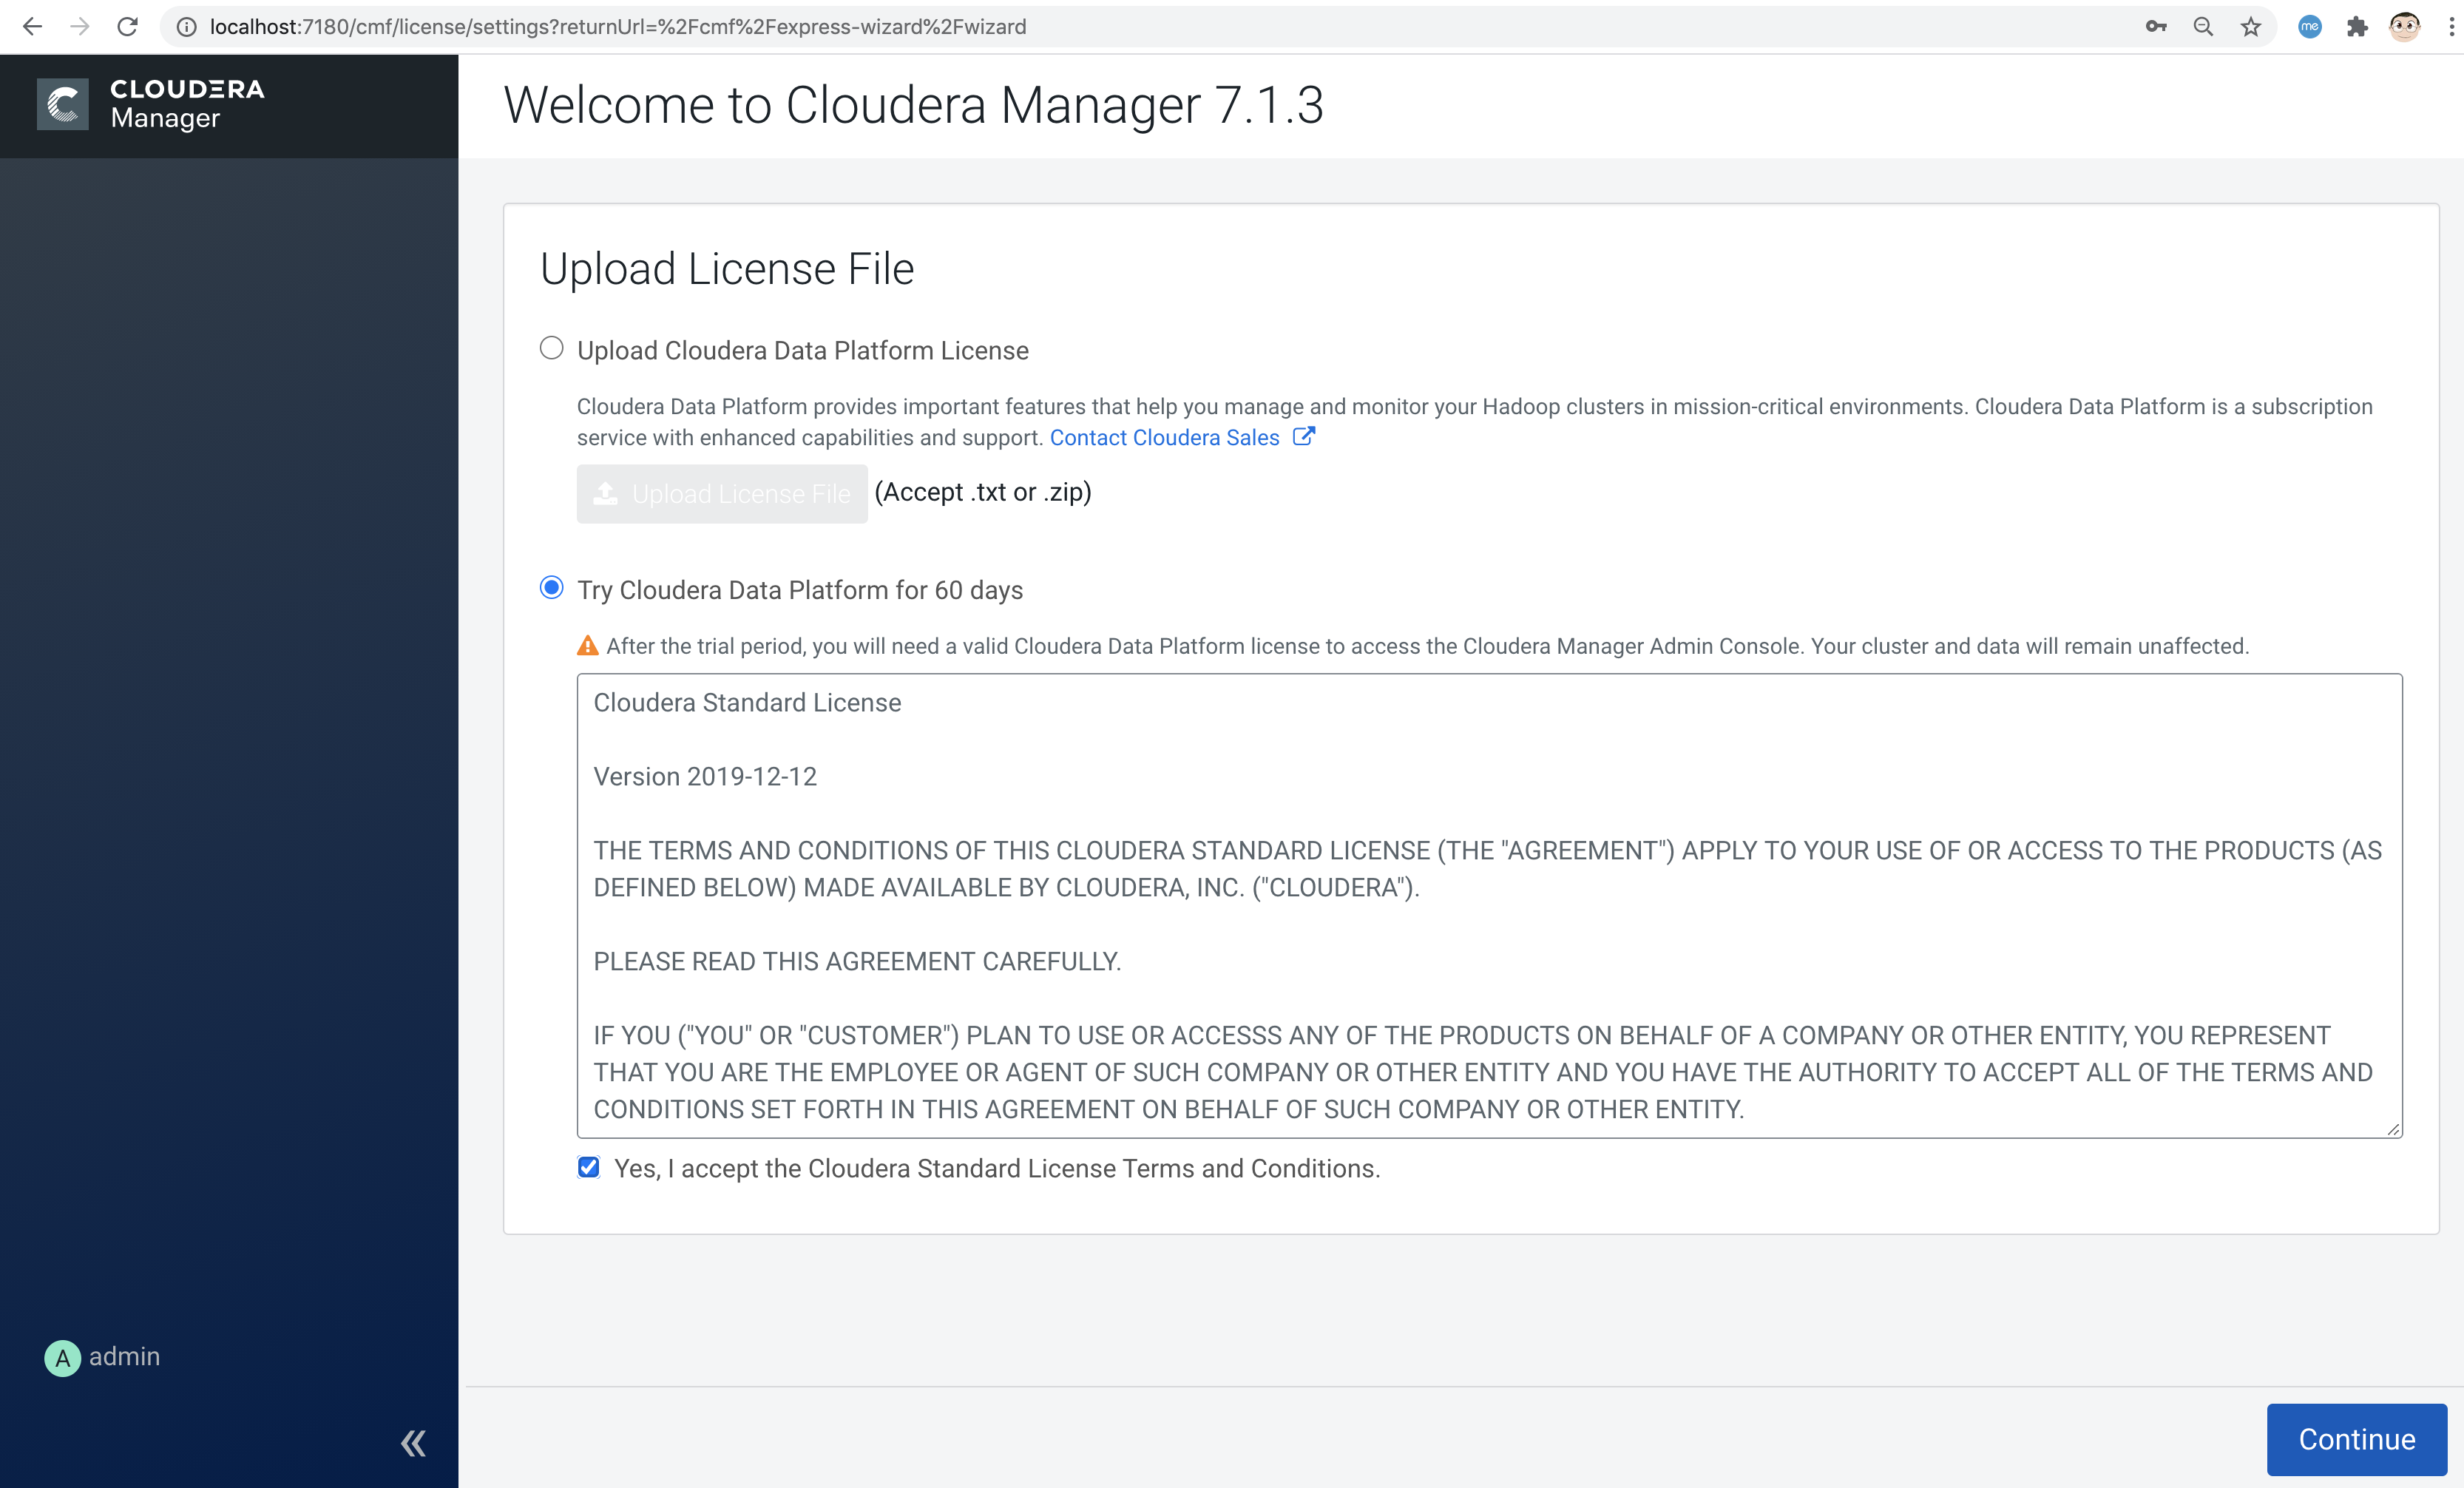
Click on "Continue" then on "Cloudera Manager" (top left corner)
|
Note
|
Current podman can’t change tmpdir from /var/tmp to any other directory. See https://access.redhat.com/solutions/5413281 |
podman container stop marccdp

Choose a tmpdir where you have sufficient disk space
podman container commit -p marccdp marccdpconfigured --tmpdir=/home

podman save -o marccdpconfigured.tar marccdpconfigured
To create an image from the backup file that was made above, you do it with the command podman load -i backup_filename.

podman load -i marccdpconfigured.tar
You can also upload the image to your favorite registry
sudo podman push localhost/marccdpconfigured  quay.io/marcf5/marccdpconfigured
See more on backup and restore with podman at https://fedoramagazine.org/backup-and-restore-toolboxes-with-podman/
When you restart your CDP container (podman container start marccdp) or
you restore it from a backup, make sure that:

1. You connect to the CDP container sudo podman exec -it marccdp /bin/bash
and write down its new IP address ("ip a" command)

The following actions (2 to 5) changes are to be made from inside the CDP container.

2. Set the hostname to cloudera ("hostname cloudera" command)

3. Ensure /etc/hosts has the following line:

<IP address of CDP container>  cloudera

4. Ensure /etc/cloudera-scm-agent/config.ini has the following lines:
server_host=cloudera
listening_ip=<IP address of CDP container>

5. Restart the Cloudera SCM agent and server
[root@774251cd0772 /]# systemctl restart cloudera-scm-server
[root@774251cd0772 /]# systemctl restart cloudera-scm-agent
For container migration best practices, please see
Additional detailed practical examples:
|
Note
|
You can automate the install of OpenShift 4.5+ with YuniKorn scheduler for BigData and ML on your laptop, virtual machine or baremetal server using CodeReady Containers |
See https://issues.apache.org/jira/browse/YUNIKORN-422 and https://github.com/marcredhat/crcdemos/blob/master/yunikorn/README.adoc
|
Note
|
Another option is to fully automate the installation of OpenShift 4.5+ (for lab/test purposes) on a baremetal server with KVM/libvirt; please see https://github.com/marcredhat/z/blob/master/zdt.adoc, starting at the "Install OpenShift 4" paragraph. |
YuniKorn brings a unified, cross-platform scheduling experience for mixed workloads
consisting of stateless batch workloads and stateful services,
with support for, but not limited to, YARN and Kubernetes.
