AlexaLamp
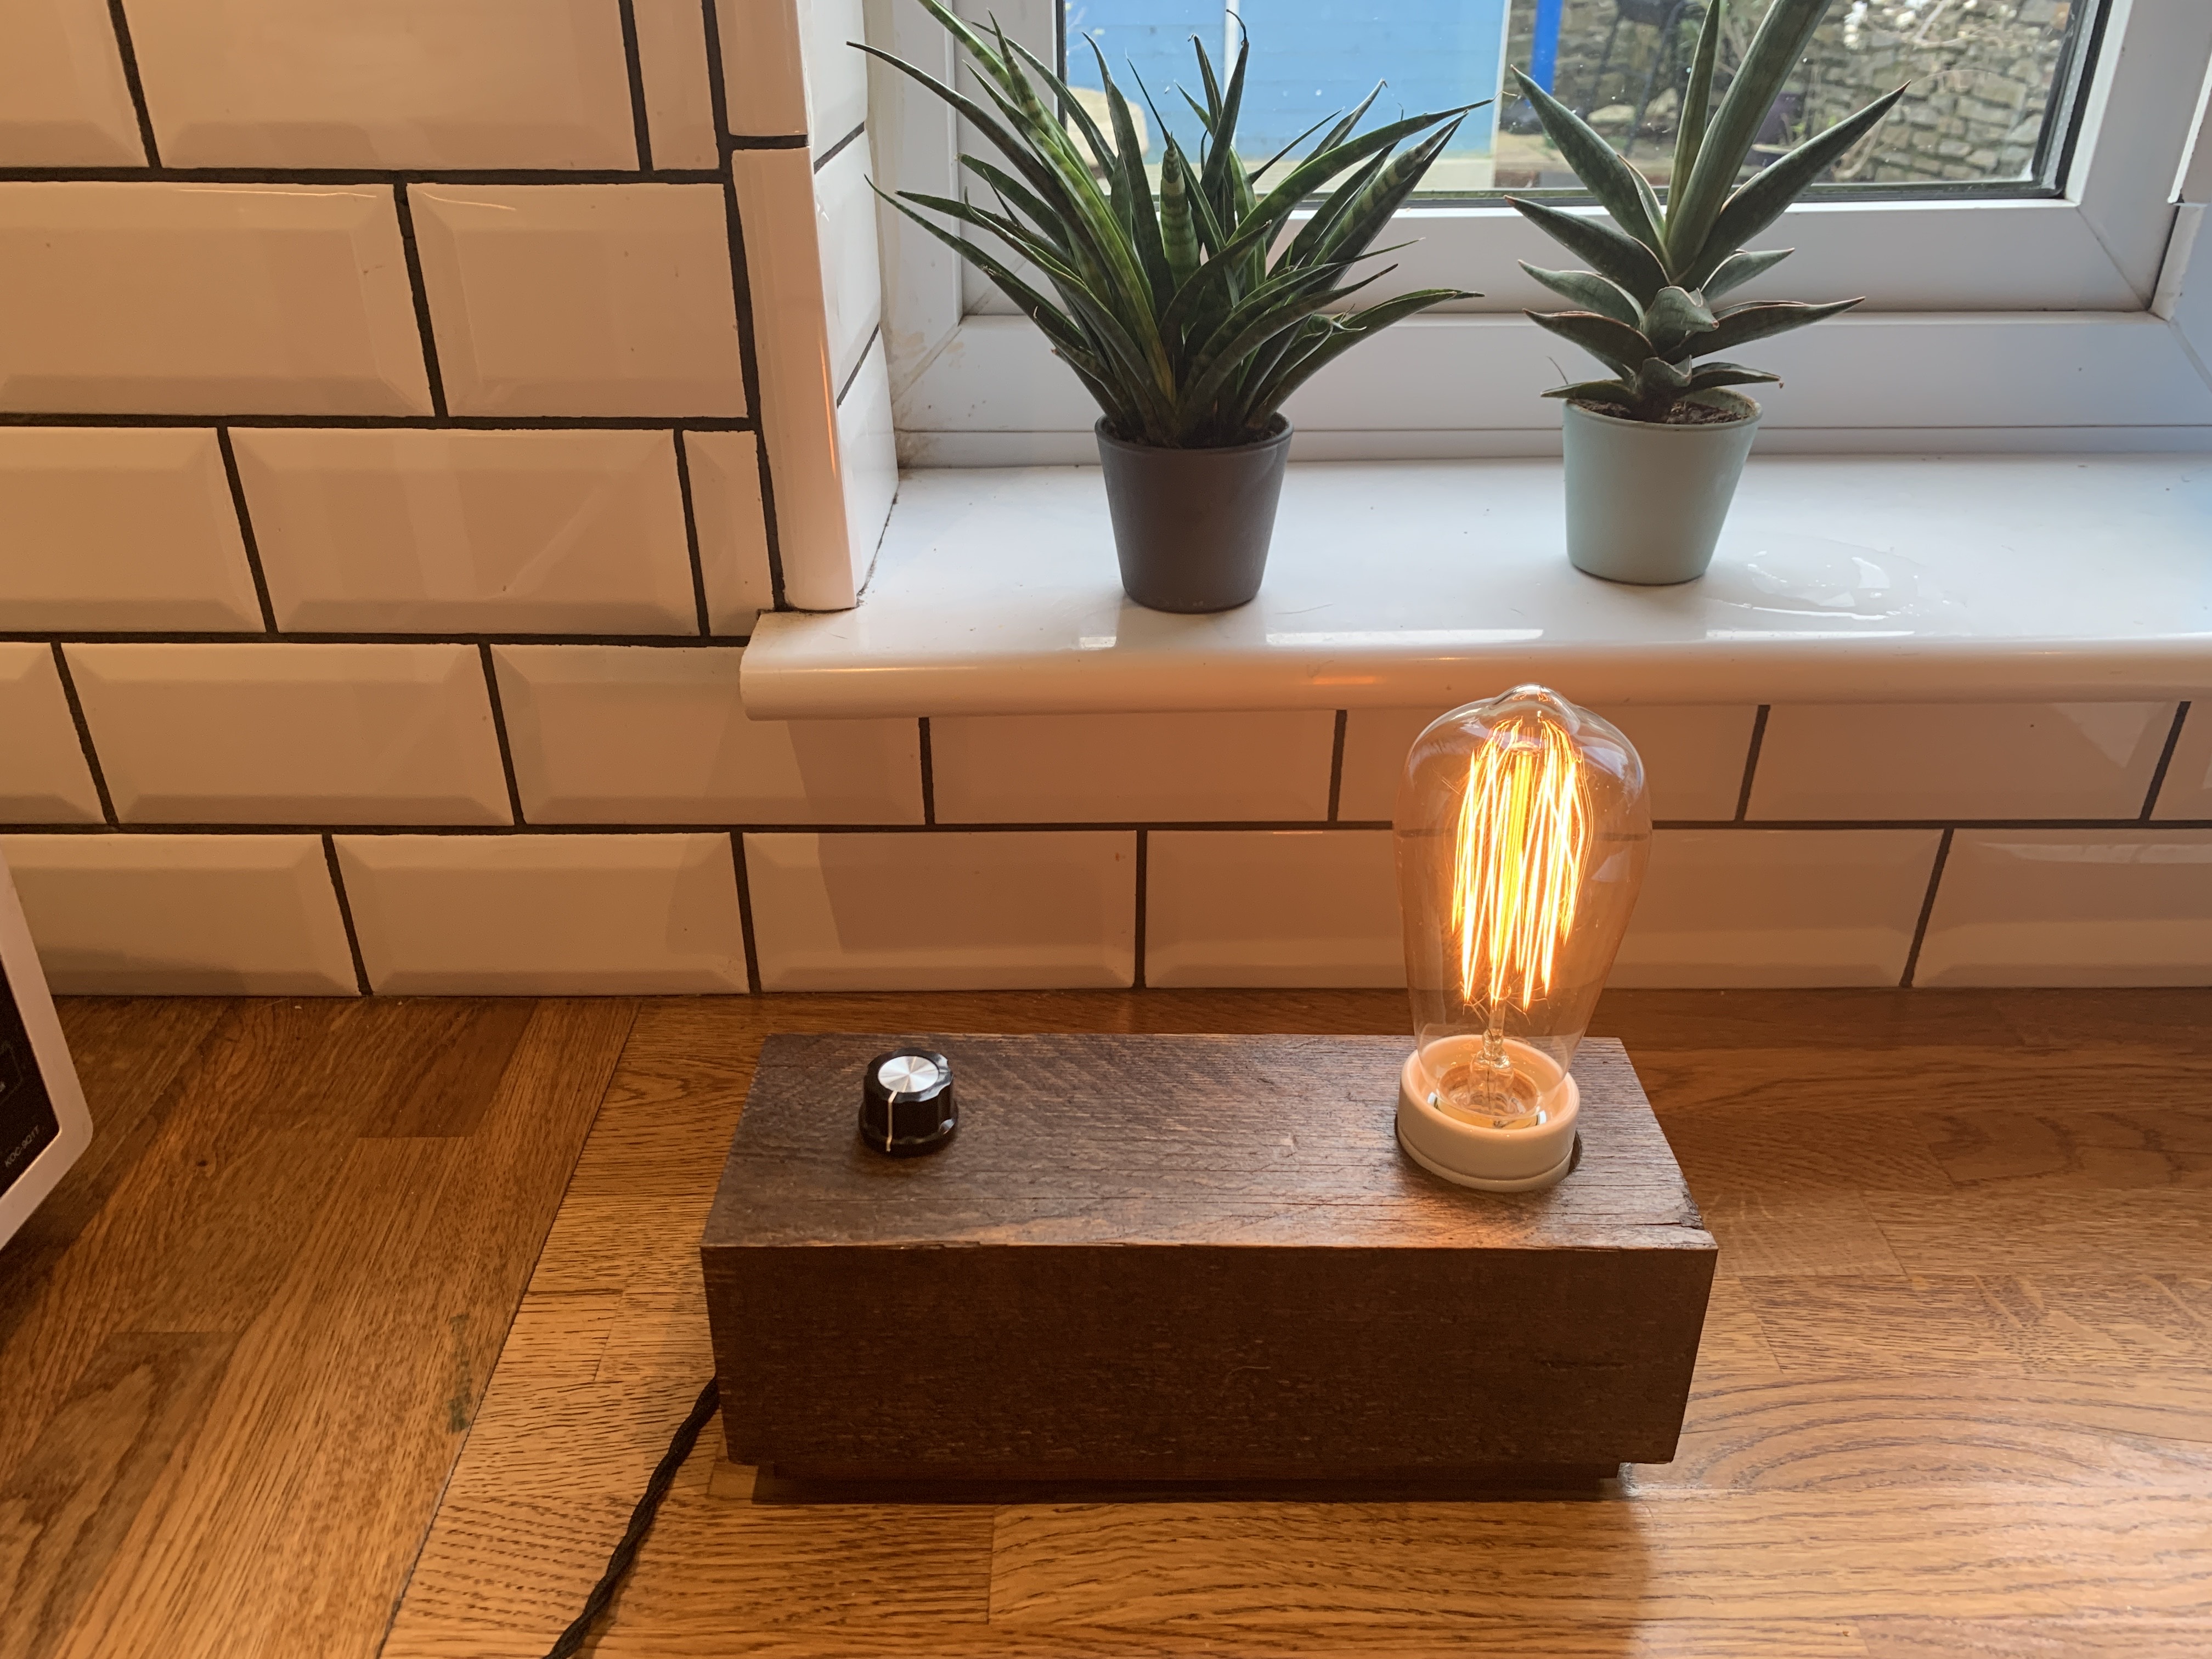
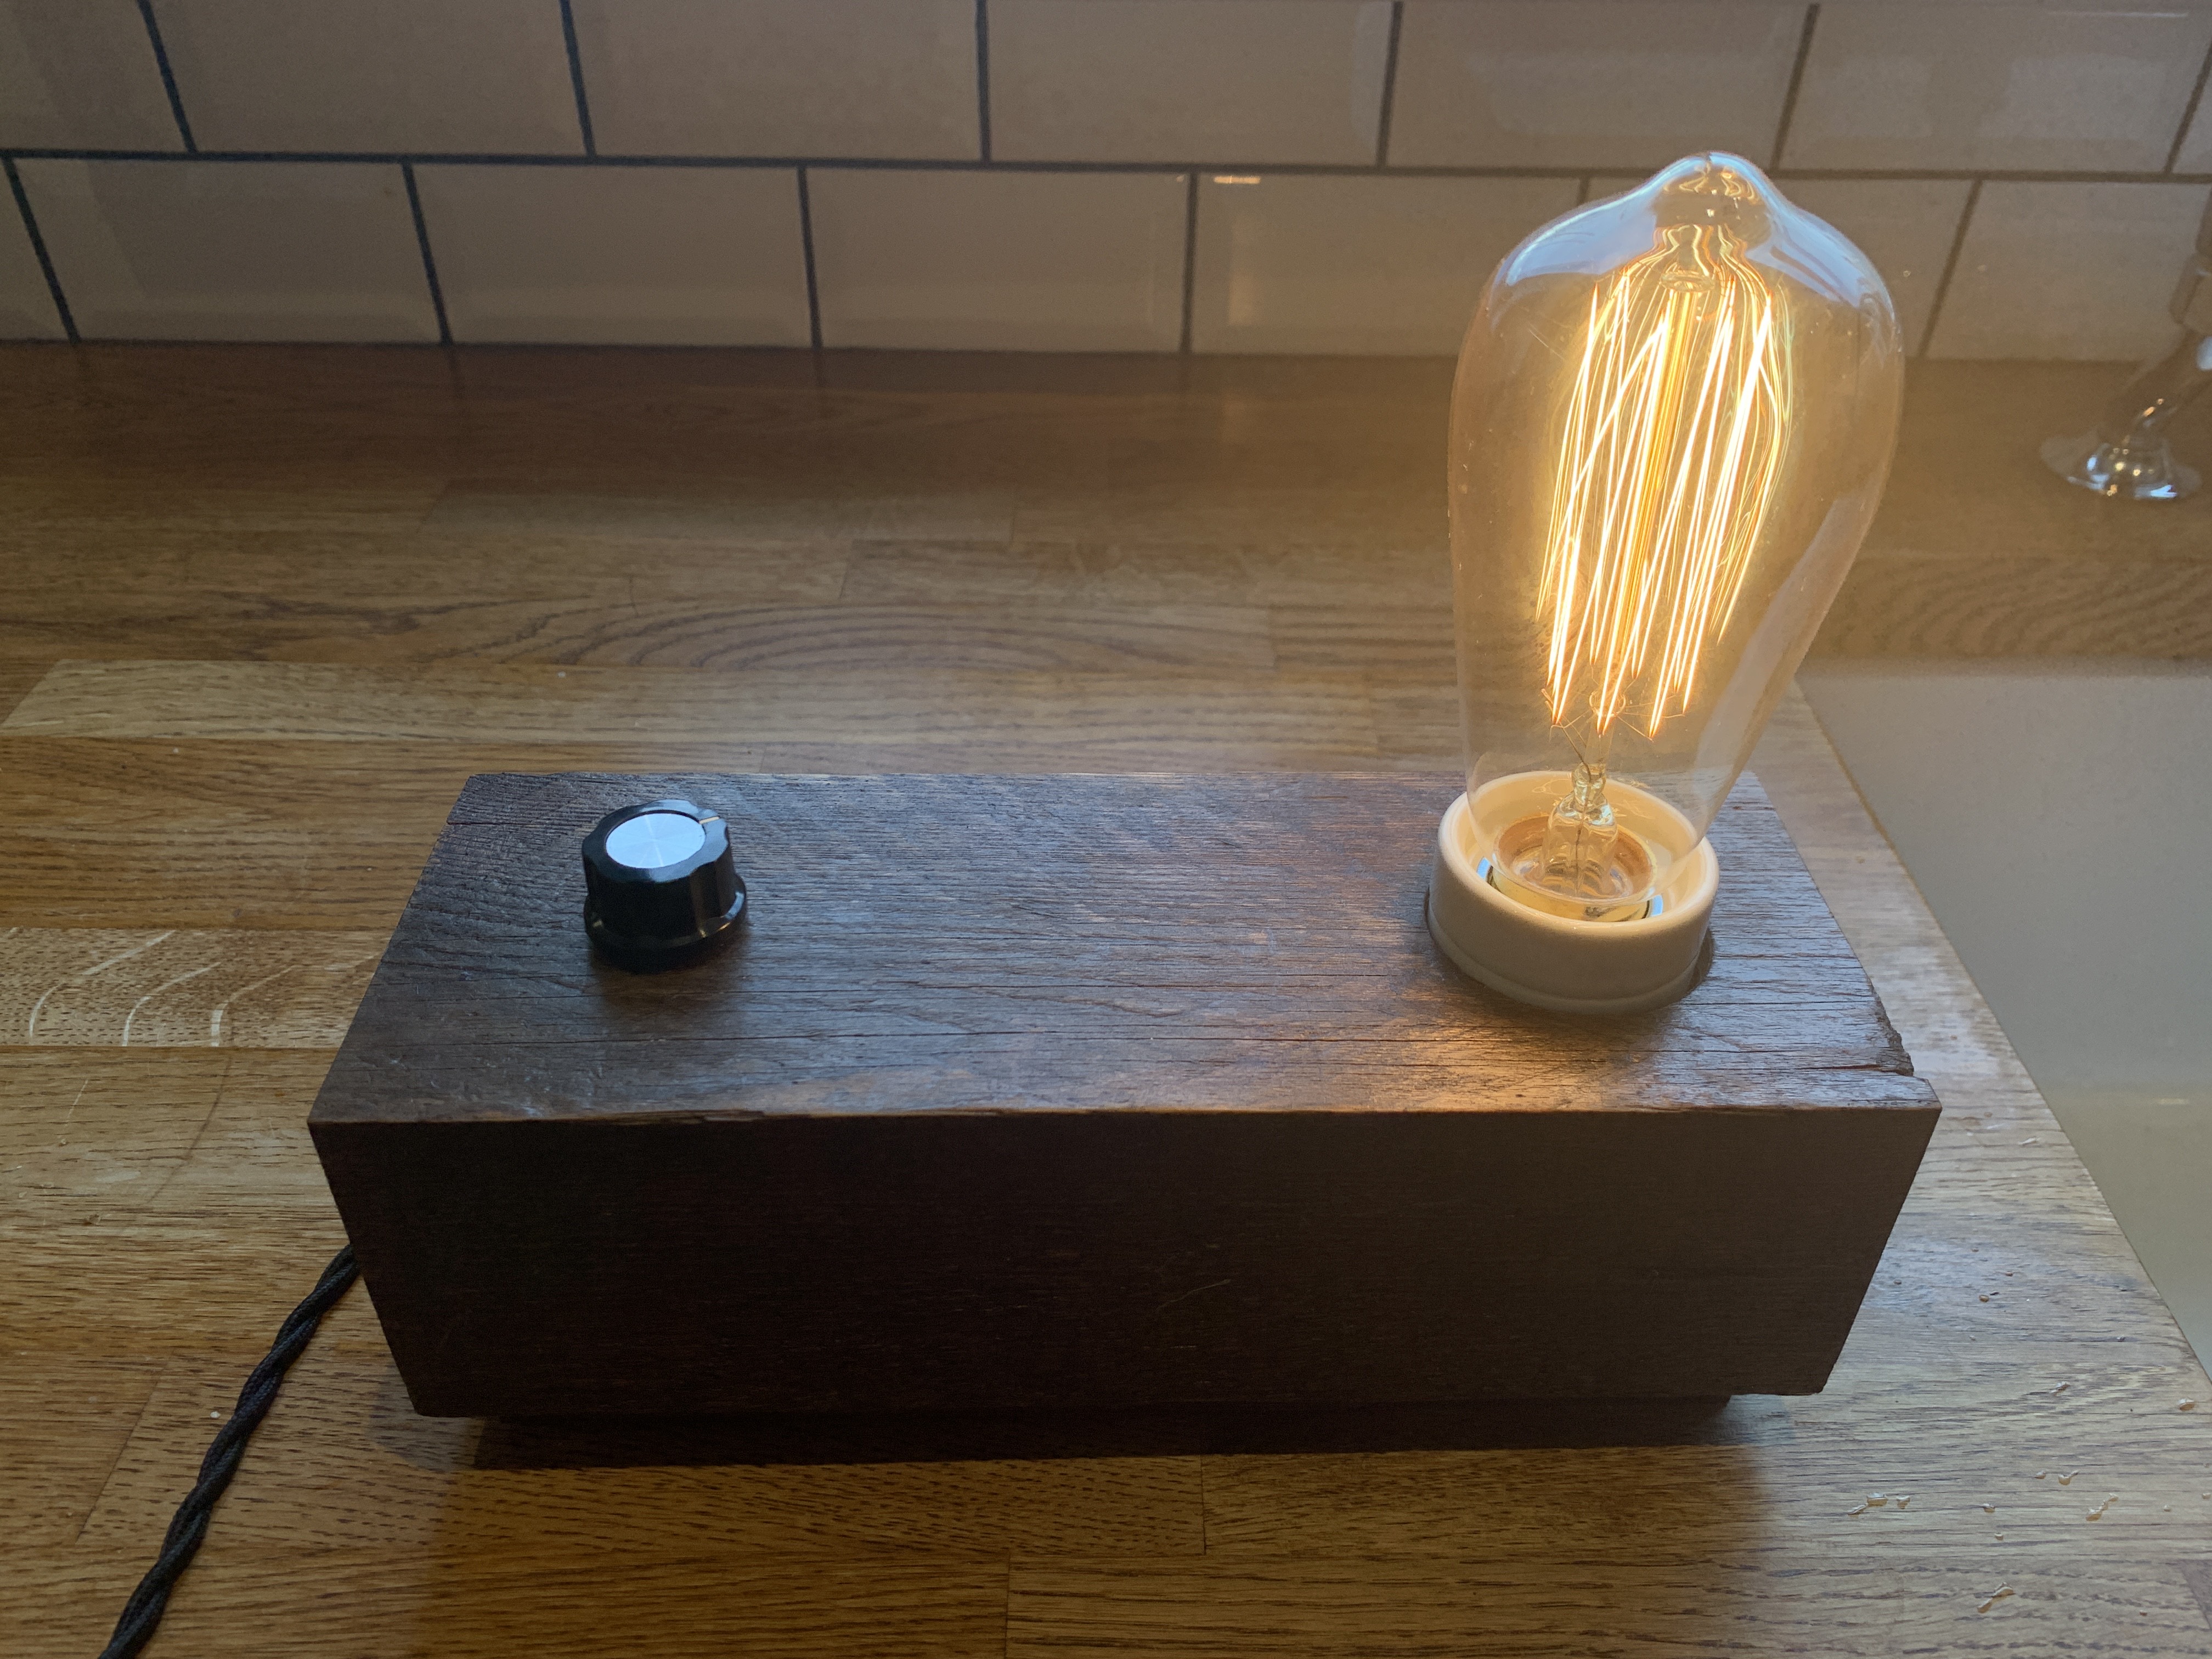
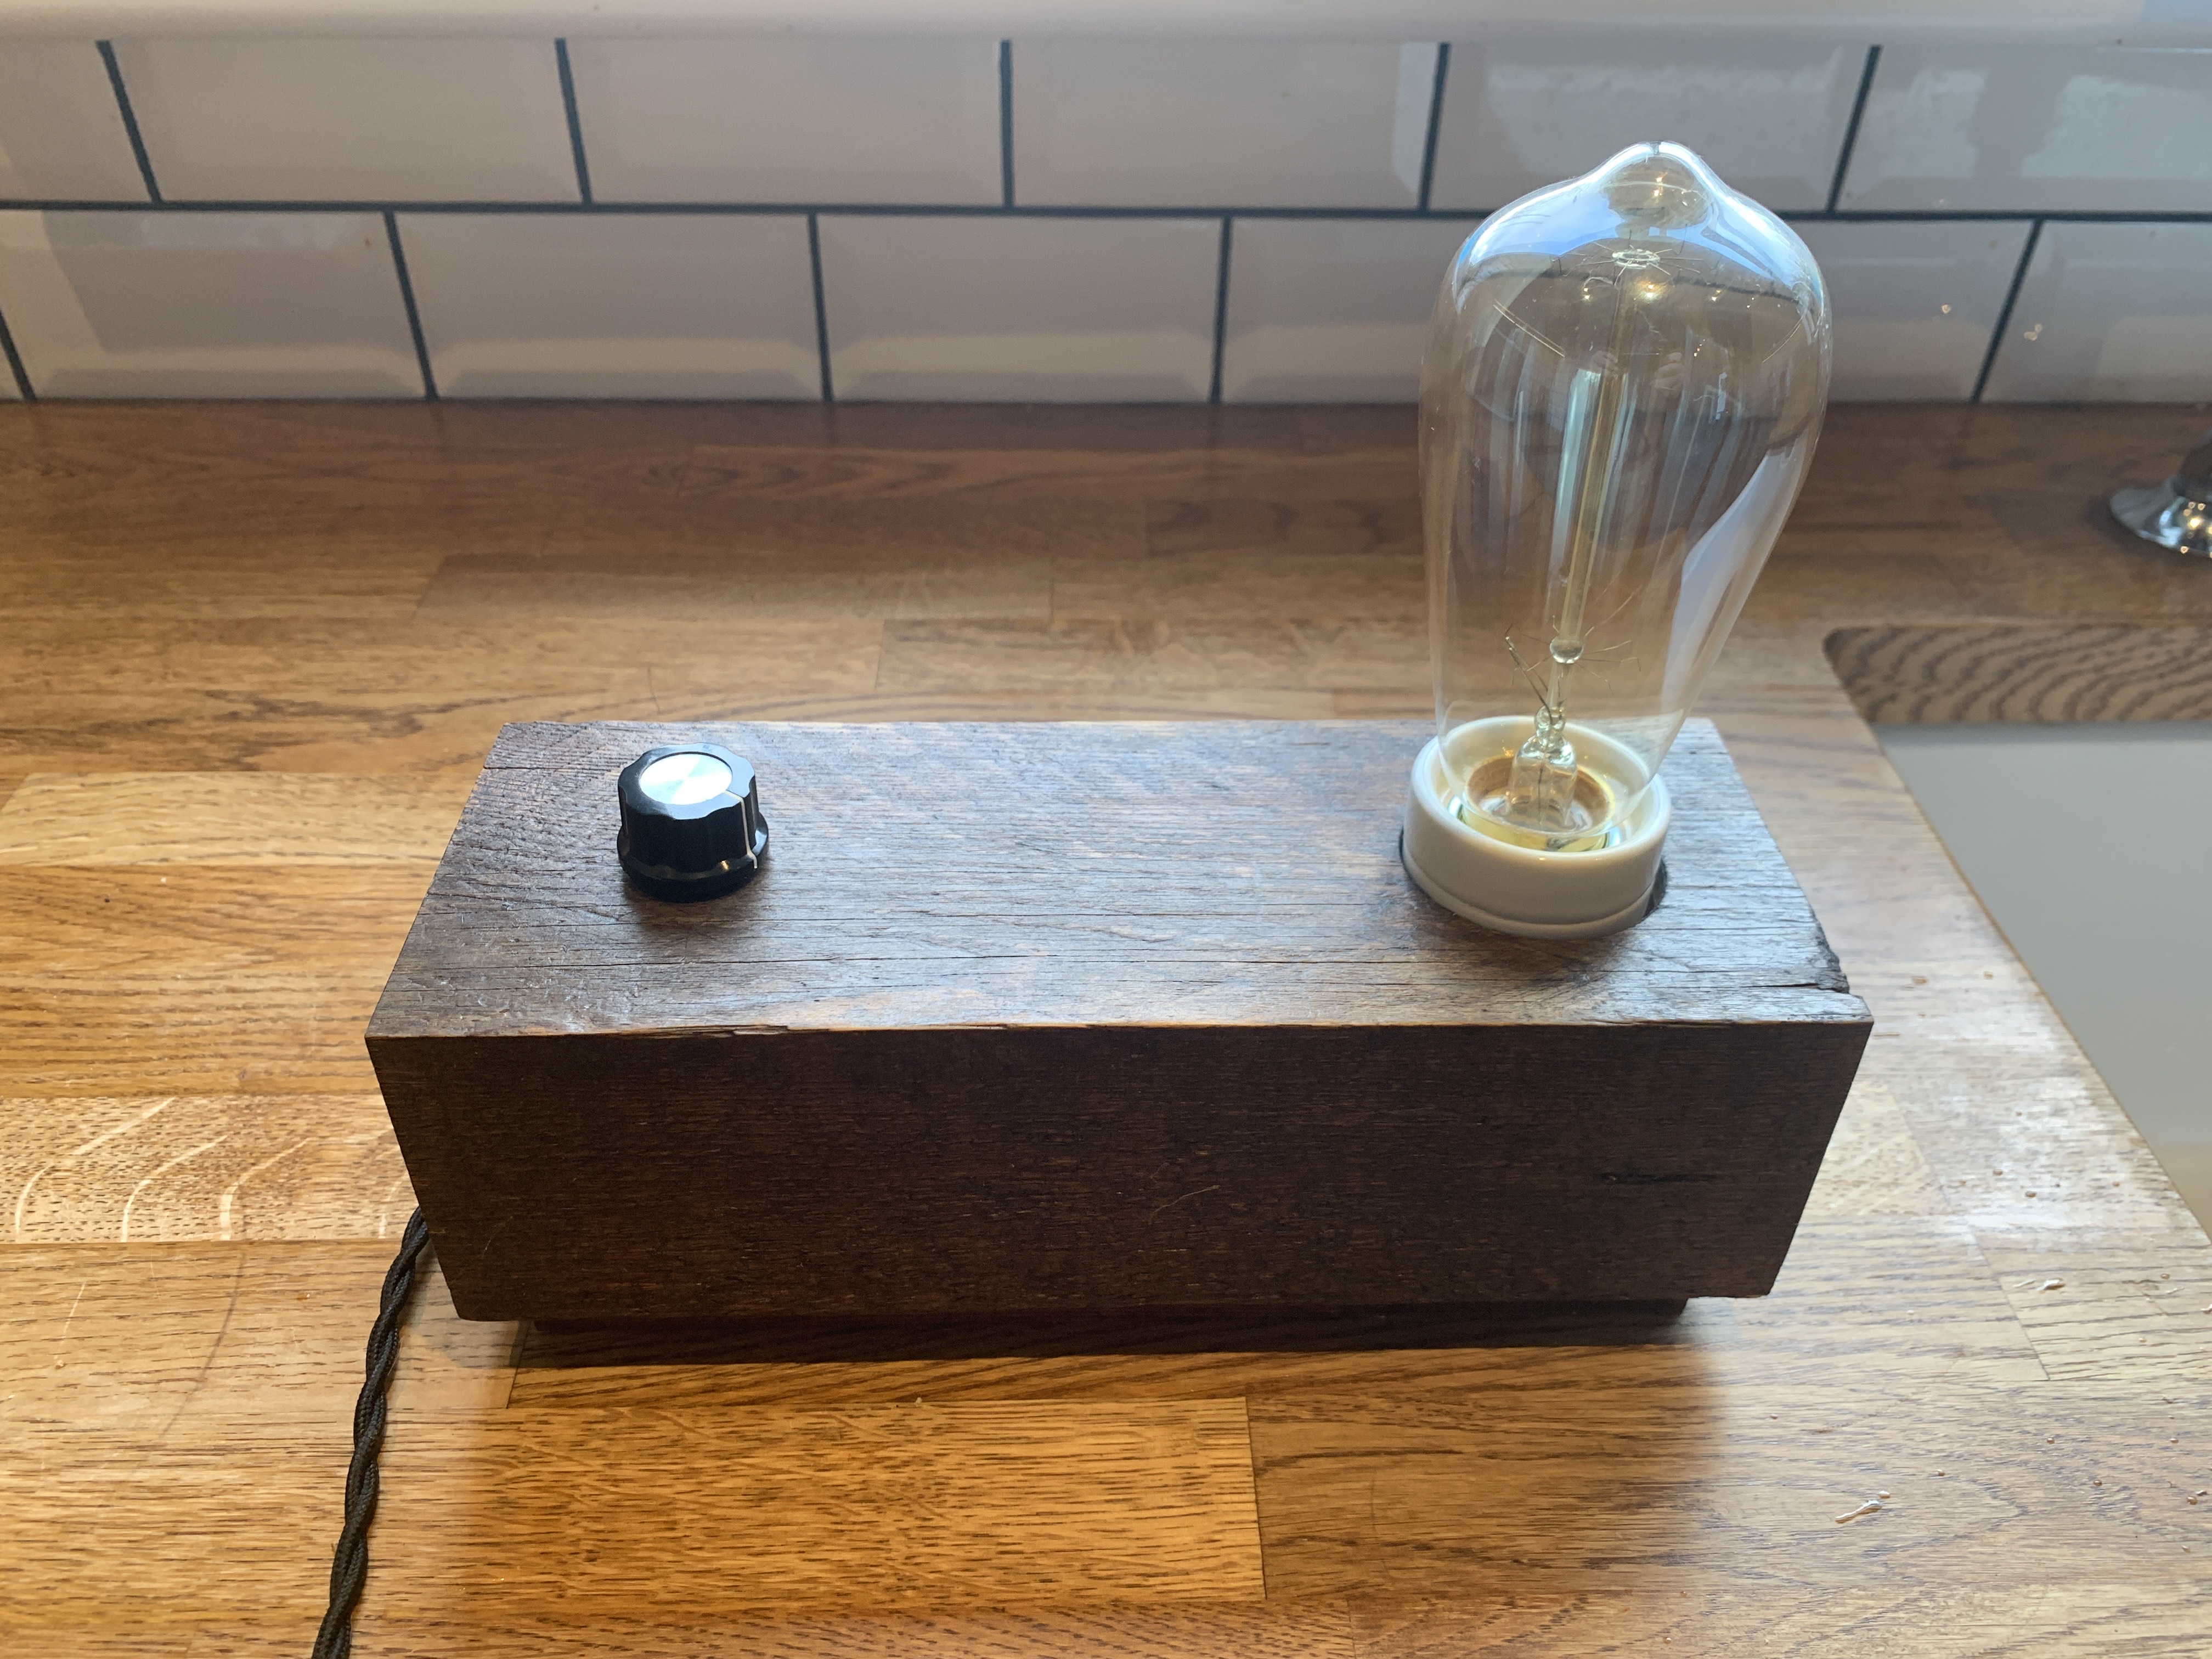
This project was to create an Alexa voice controlled lamp with adjustable brightness. The lamp can also controlled using a rotary encoder with built in push switch or via a web page provided
Components
Here is a list of the essential components you will need. Shop around for the components as you should be able to find some good deals if you purchase from China/Banggood.
Essential
- Echo Dot - for testing or final use but not mandatory as the lamp has a standalone mode and local website
- Wemos D1 Mini or compatible - I used a cheap clone
- HLK-PM01 AC-DC 220V to 5v mini power supply module
- Robotdyn AC Light Dimmer Module
- Rotary encoder with push switch or KY-040 rotary encoder module
- Vintage E27 bulb holder ceramic you could use a bayonet holder if you preferred
- MF-A03 control knob or something similar
- 2 core twisted cable because it's pretty
- 240v mains plug for UK builders
Optional
These depend on how you are going to mount your bulb and what finish you fancy for your enclosure.
- M10 hollow threaded rod
- M10 threaded nut
- M10 penny washer
- Liberon based wood dye dark oak
- Liberon superior Danish oil clear
- Felt pads
Schematic
NOTE: the direction that the rotary encoder affects lamp brightness can be reversed by swapping digital inputs 6 & 7 or can be configured in the web front end
Wooden Enclosure
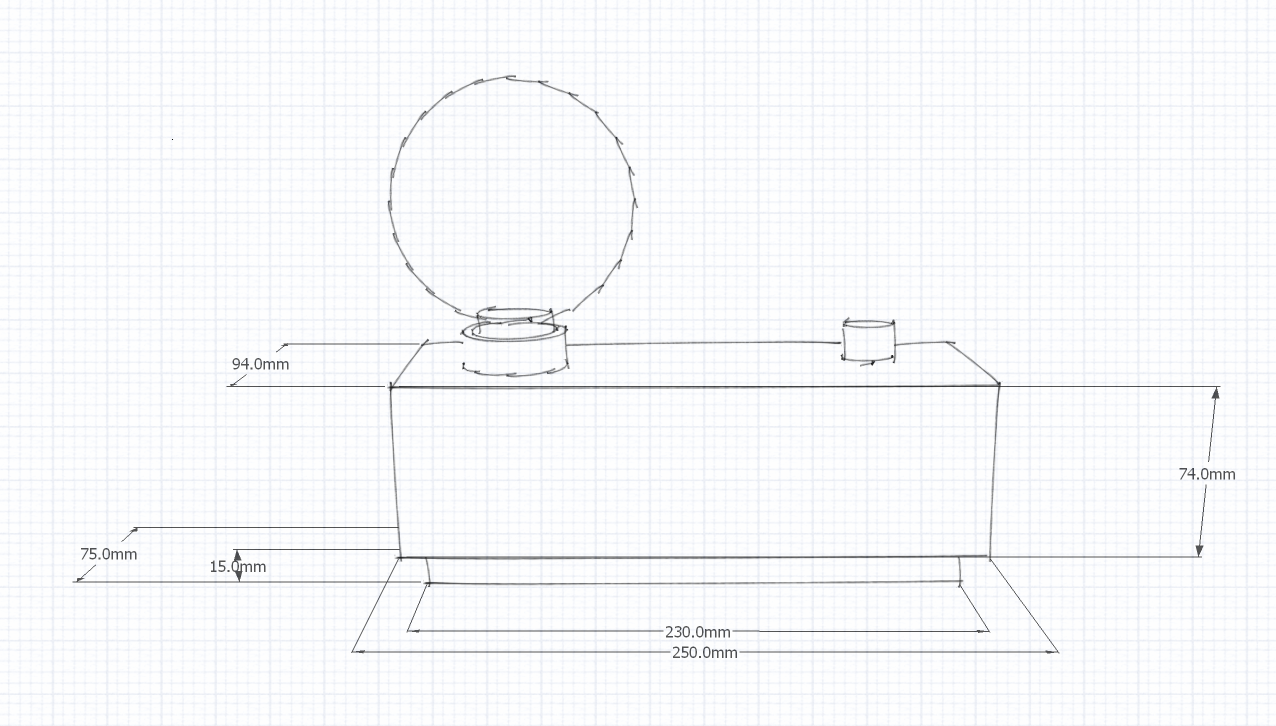
- The enclosure is made up of 2 parts: a wooden block (roughly 4 inches by 3 inches) and a planed wood base that screws into the block and locks the electronics away
- The wooden block is hollowed out so that there is enough space for all the components
- The components are arranged inside the cavity ensure that wires carrying 240v are kept short and well away from the low voltage Wemos and dimmer control circuitry. The high voltage can cause flickering with brightness control if the wires were too close!
- A cloth was used to apply 3 coats of Liberon based wood dye dark oak to give some colour. You can also use Liberon based wood dye light oak or mix them both dyes to create a new shade
- A peice of wirewool was used to apply 3 coats of Liberon superior Danish oil clear which gave the wood a shine and made it waterproof
- Once I was certain everything worked, the wooden base was screwed into the block and felt pads were used to hide the screws
- If there is a problem you can always update the system over-the-air by navigating to the update page (http://lamp.local:81/update) and uploading a custom firmware (.bin file from the build process)
Instructions
- Build the circuit on a breadboard be careful with the 240v side - turn it off when not in use
- Download and install the following Arduino libraries
- Set IwIP Varaint: "v1.4 Higher Bandwidth"
- Set board to: D1 R2 & mini
- Download the AlexaLamp code, compile and upload code to Wemos D1 or compatible device
- Test everything works as expected (see below for how to setup wifi and change modes)
- Make the circuit permenant by installing into your wooden block or whatever space you have.
How to use
The lamp has 2 modes: wifi (default) and standalone.
To change the mode:
- Turn off the 240v supply to the lamp
- Hold the rotary encoder push switch down
- Turn on 240v supply
- Wait until the lamp starts to slowly flash
- Release the push switch
- The number of flashes seen will tell you which mode the lamp is in. 1 flash indicates standalone and 2 flashes for wifi/Alexa voice control mode.
Wifi mode (default)
- When the lamp is turned on for the first time it will create an unsecured wifi hotspot called lamp-setup
- You can use your phone to connect to the hotspot and enter your wifi network credentials
- Once your credentials are verified, the hotspot will disappear and your wifi settings will be stored on the device
- The lamp will now connect to your network and you will be able to control the lamp using the rotary encoder
- Say "Alexa, discover devices" or go to the Alexa app and hit "Add Device", "Other", "Discover devices"
- Your lamp is now ready!
If you connect the lamp to the mains and it cannot connect to a network using its stored settings then it will create a new hotspot and wait for new credentials. While in this state, the rotary encoder will not work until the new wifi credentials are entered but you can still change the lamp's mode using the method described previously.
Standalone mode
- This mode does not connect to any wifi networks or create any hotspots
- Plain old lamp
- Rotary encoder works straight away
Lamp Webpages
- When in wifi mode you may navigate to lamp.local to access the lamp's web frontend.
- If you can't access the device this way then use a network discovery program to find the local IP address.
UI - Home Page
- Control state and brightness
- Change the device's Alexa name
UI - Settings
- Change mode: wifi or standalone
- Invert the rotary encoder, if you turning the knob does the opposite to what you want it to
- Change encoder knob sensitivity
- Change the frequency the device verifies its wifi connection.
- Enable atomatic updates (checked every 24 hours)
UI - Update
- Manually upload custom firmware (arduino .bin file) or start a remote update (if available)
- View the devices
UI - About
- Displays system version and information
Alexa voice controls
Once setup, you can use different ways to invoke Alexa to modify the lamp's state:
- Alexa, turn lamp on
- Alexa, turn on lamp
- Alexa, set lamp to fifty (50% of brightness)
- Alexa, set lamp to one hundred (100% brightness)
Credits
Developed on a WeMos D1 mini clone, using Arduino IDE 1.8.1 with ESP8266 Core 2.7.4
This project would not have been possible without the kind development of others on GitHub! Click on a name to see the authors' GitHub page


