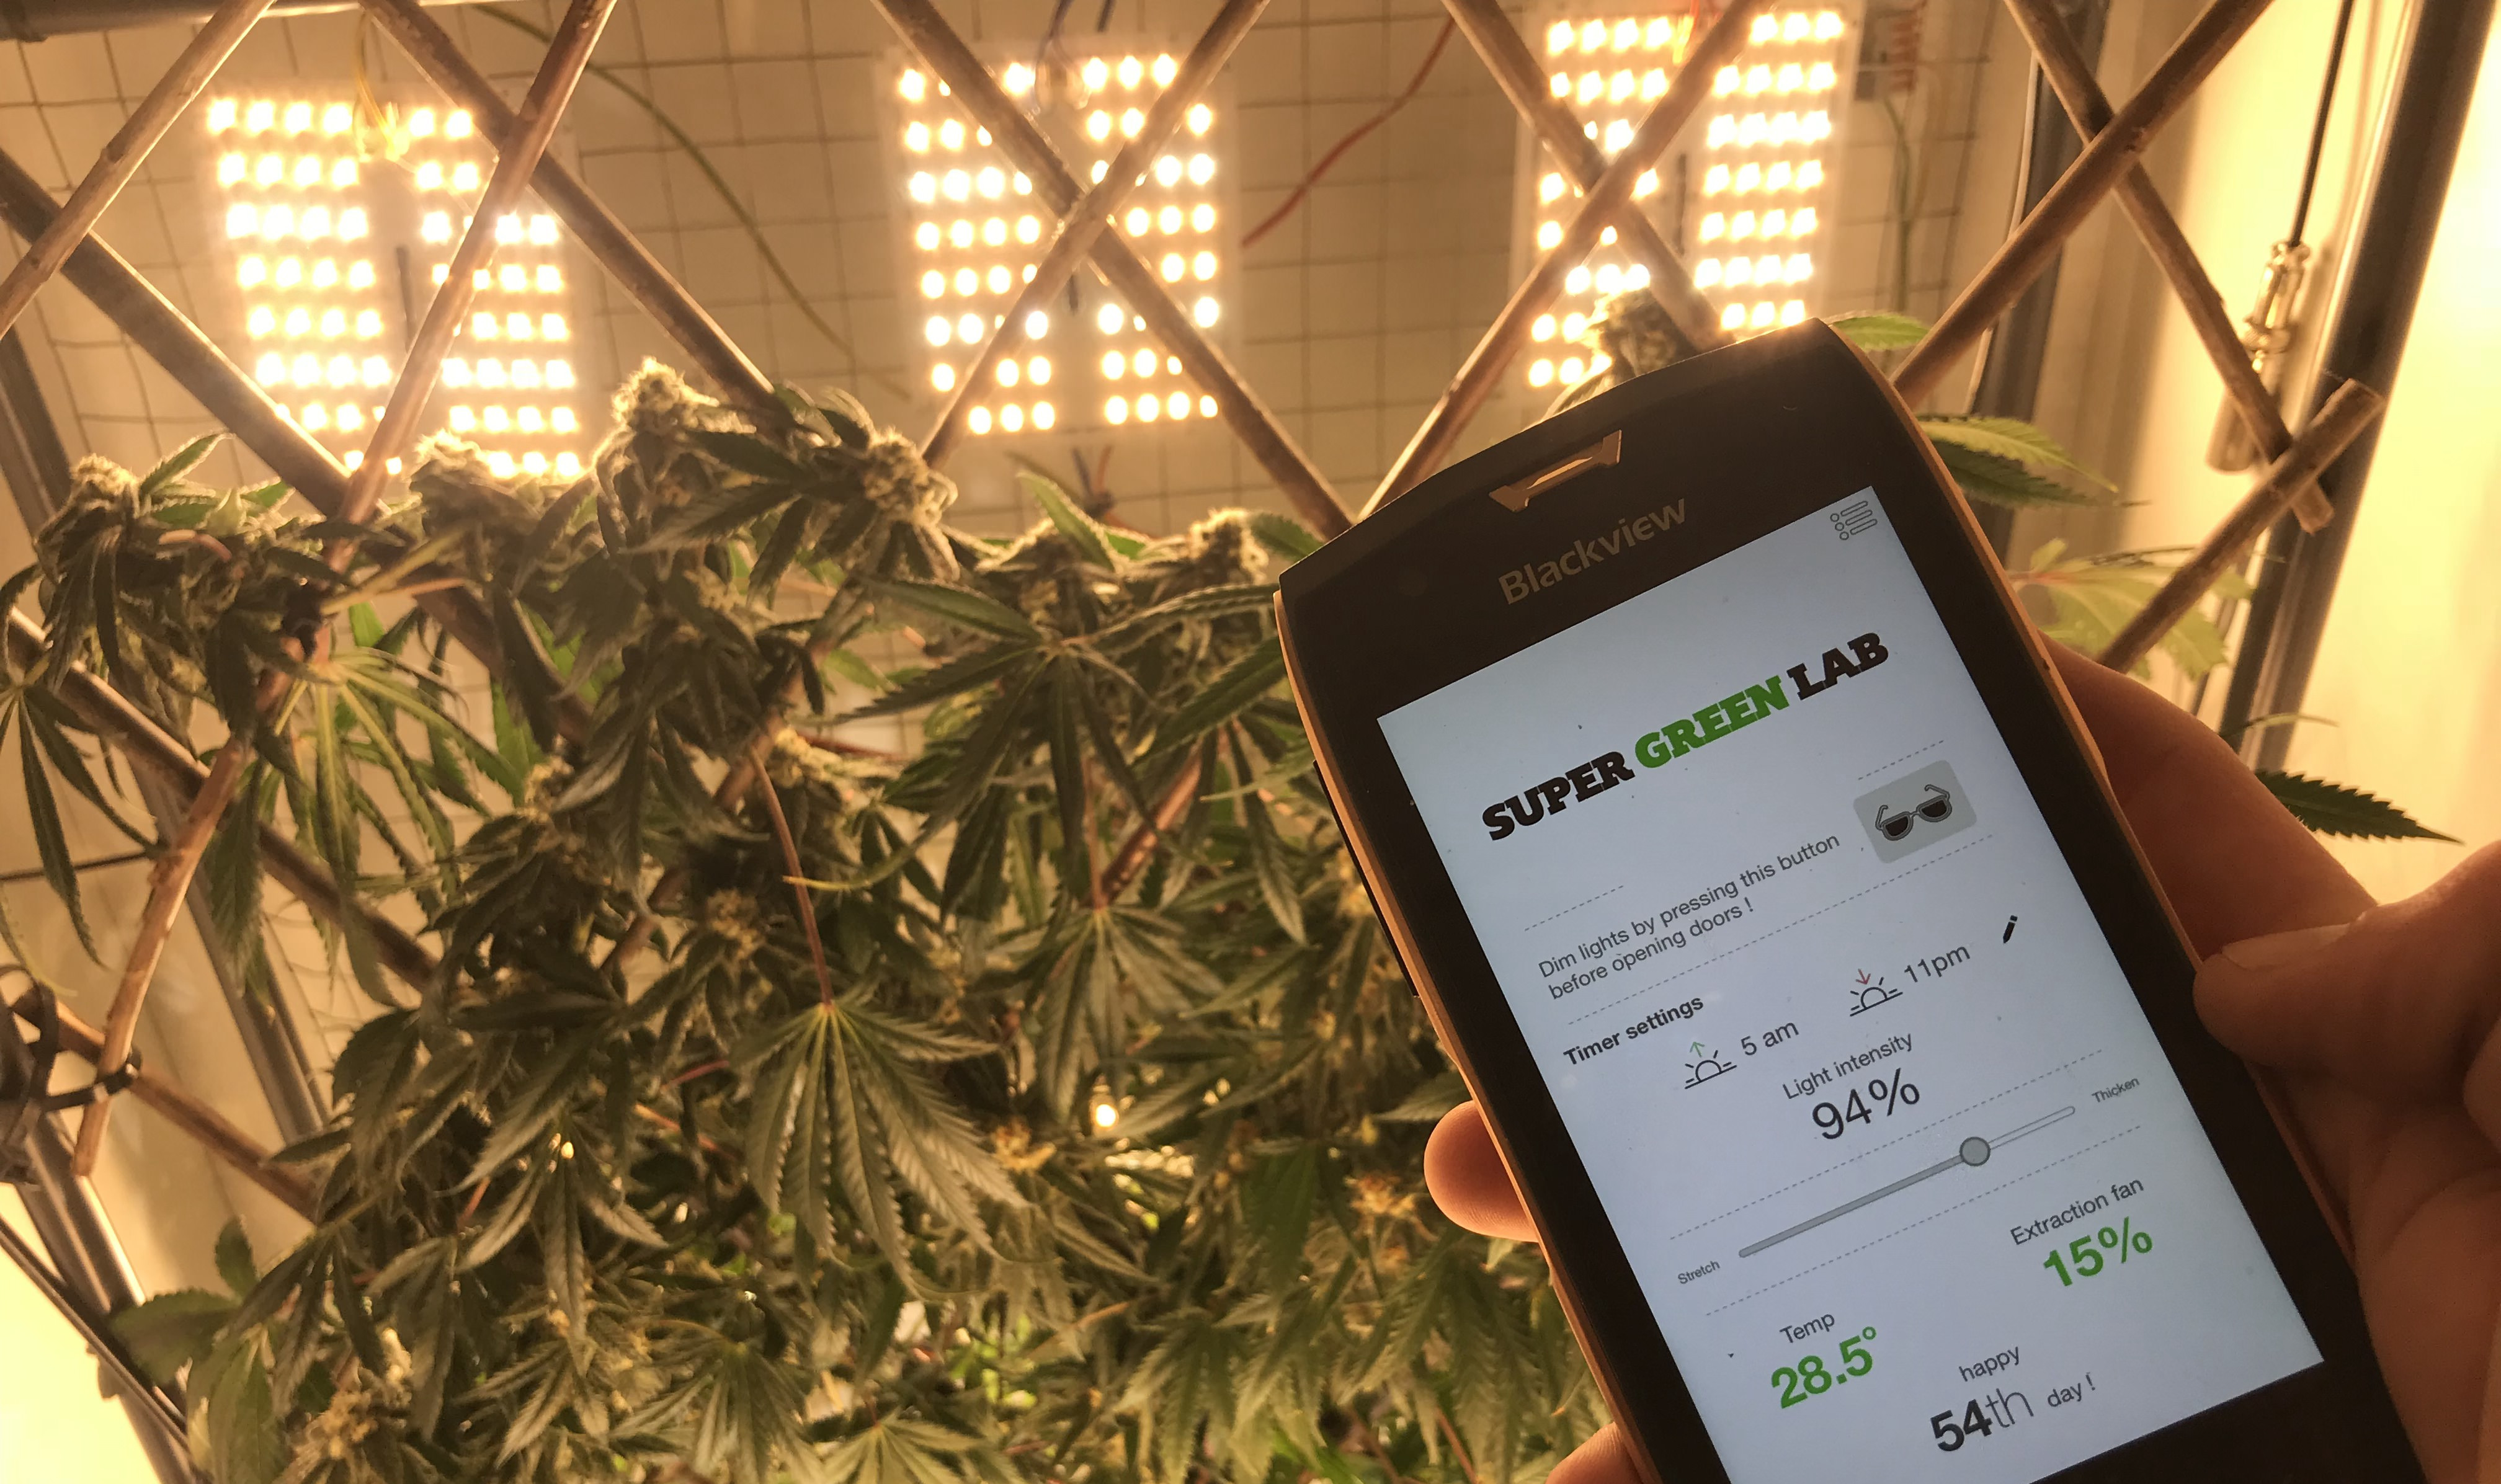
SuperGreenOS provides most features used when growing cannabis, all in one package, and controllable from your smartphone, pc, mac, linux, toaster, plumbus, whatnot...
It is the official firmware for the SuperGreenController.
This document is for developpers that want to start playing with there controller's internal stuffs, or just setup their own hardware. This repository is based on SuperGreenOSBoilerplate, please read the doc here first.
Here's what it can (or will) do:
- Lights on and off schedules
- Up to 6 separate led channels (you can put multiple leds behind one channel)
- Up to 3 separate timers, for full-cycle setups (veg + flo)
- Monitoring a wide range of sensors
- Data sent to a MQTT server
- Produce alerts based on sensor values
- Allows remote control
- Manual ventilation control
- Automatic ventilation control based on temperature and humidity
Stretchmode, allows to choose how much you want your plant to stretch or thickenSunglassmode, so you don't burn your eyes when you work on your plants- More to come..
This is the firmware that runs the SuperGreenController.
If you haven't already done it, you'll to setup esp-idf's toolchain and sdk.
They have a very good quickstart here.
Now you should be able to clone and build the firmware:
git clone https://github.com/supergreenlab/SuperGreenOS.git
cd SuperGreenOS
./update_templates.sh config.controller.json
./update_htmlapp.sh config.controller.json
make -j4
The plug your controller or any esp32 based board and run the commands:
make -j4 flash monitor
./write_spiffs.sh
The first command flashes the firmware, the second writes the embedded admin interface on the tiny file system (~20KB available).
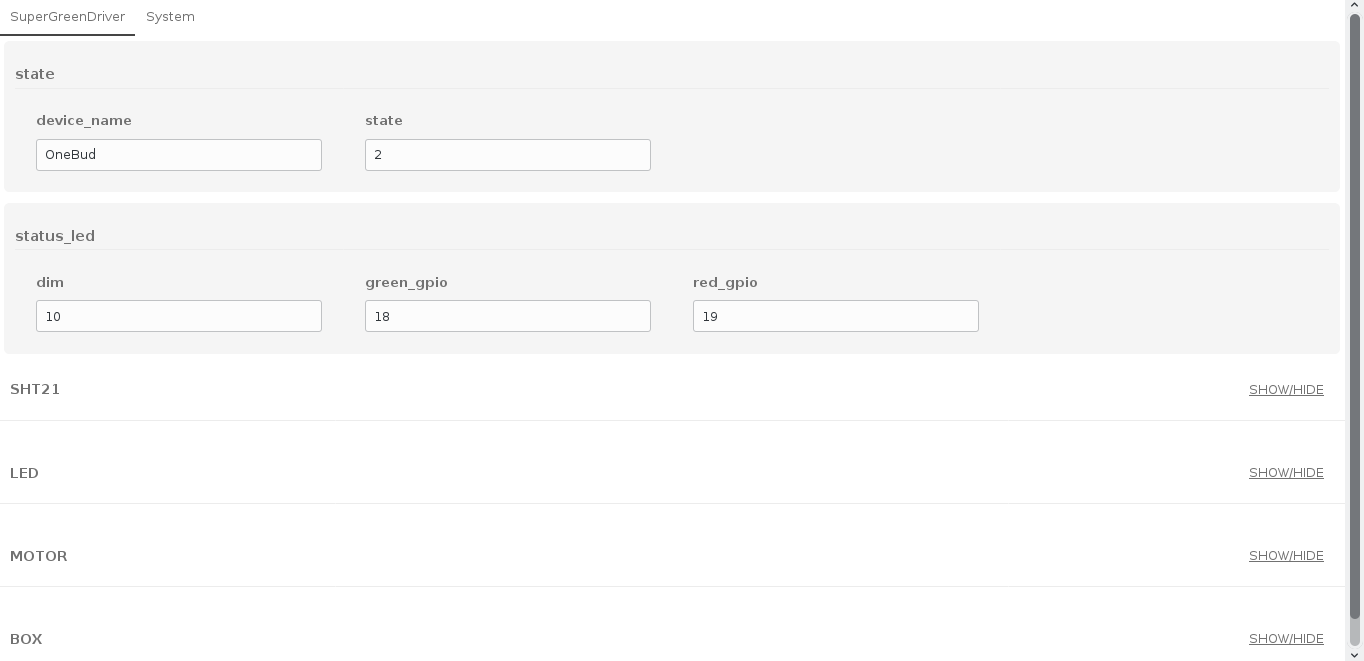
Once the firmware is flashed you can access the controller's wifi network, once connected go to http://192.168.4.1/fs/app.html, this will display the html embedded admin interface, which allows you to easily modify any of the controller's parameter.
brew install python@2mkdir -p $HOME/esp && cd $HOME/esp
git clone --recursive https://github.com/espressif/esp-idf.git esp-idf_release_3.3.1
cd esp-idf_release_3.3.1
git checkout 143d26aa49df524e10fb8e41a71d12e731b9b71dInstall Docs reference: https://docs.espressif.com/projects/esp-idf/en/v3.3.2/get-started/index.html
python2.7 -m pip install --user -r $IDF_PATH/requirements.txtPractically, a virtualenv is created in ~/.espressif where packages are installed and will be activated with the following addition to shell (.bashrc / .zshrc)
export IDF_PATH=$HOME/esp/esp-idf_release_3.3.1
source $IDF_PATH/export.shnpm -g install ejs-cliPlease pay attention to Build configuration name: generic and version.
https://github.com/igrr/mkspiffs/releases
mkspiffs ver. 0.2.3
Build configuration name: generic
SPIFFS ver. 0.3.7-5-gf5e26c4
Extra build flags: (none)
SPIFFS configuration:
  SPIFFS_OBJ_NAME_LEN: 32
  SPIFFS_OBJ_META_LEN: 0
  SPIFFS_USE_MAGIC: 1
  SPIFFS_USE_MAGIC_LENGTH: 1
SPIFFS_ALIGNED_OBJECT_INDEX_TABLES: 0https://github.com/cuelang/cue/releases
cue version 0.0.8 darwin/amd64

