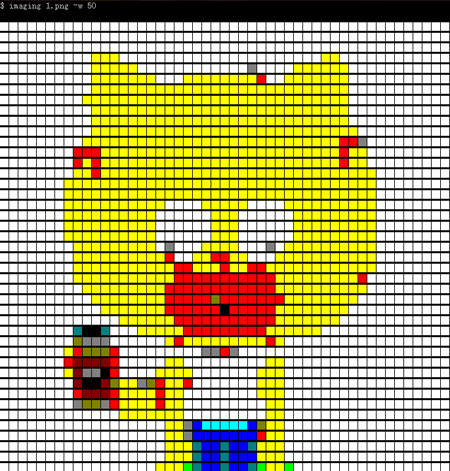
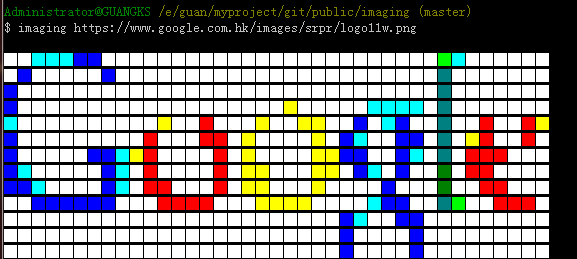
Drawing image in your terminal whithout node-canvas,and the outputing image is more clear than using picture-tube.
Imaging, let your terminal outputs more interesting.
windows
npm install imaging -gMac/Linux
sudo npm install imaging -gNode.js Module
npm install imaging --saveimaging https://www.google.com.hk/images/srpr/logo11w.pngUsing piping:
echo 'https://www.google.com.hk/images/srpr/logo11w.png' | imagingoptions
Set image width:
imaging example.png -w 20
## or
imaging example.png --width 20
Set offset left:
imaging example.png -l 20
## or
imaging example.png --left 20
custom pixel char:
imaging example.png -c @
## or
imaging example.png --char #
## if error or don't take effect, try wrapping the char with ""
imaging example.png -c "*"
imaging char names:
- charmap specific color with specific char, enjoy it.
- square "▇"
- circle "●"
- rectangle" "█"
imaging example.png -c square equal imaging example.png -c ▇
var imaging = require('imaging');
imaging.draw('example.jpg', function (resp, status) {
    /*
      if status == 'success', resp is the image charater string.
      conols.log(resp) to render the image in your terminal
      else if if status == 'fail', resp is the error message
    */
    console.log(status);
    console.log(resp);
});

// limit the width for rendering
imaging.draw('example.jpg', { width: 50}, function (resp, status) {
    /*
      if status == 'success', resp is the image charater string.
      conols.log(resp) to render the image in your terminal
      else if if status == 'fail', resp is the error message
    */
    (status == 'success') && console.log(resp);
});imaging.draw(path, [options], callback) //path could be a remote link or local resourceoptions: object
width- the width of image for renderingleft- set the left offset of imagechar- set the char as pixel of rendered image
callback: function (resp, status)
status == "fail"- resp: error msgstatus == "success"- resp:imaging string in color format
Source image:
Draw into terminal:
Now, it dosn't support rendering images with batch processing. So when you want to render multiple images, only the way to imaging image for each.


