Gameboy.Live
🕹️ Gameboy.Live is a Gameboy emulator written in go for learning purposes. You can simply play Gameboy games on your desktop:
Or, "Cloud Game" in your terminal with a single command (The demo server is down now, you have to deploy on you own server):
telnet gameboy.live 1989
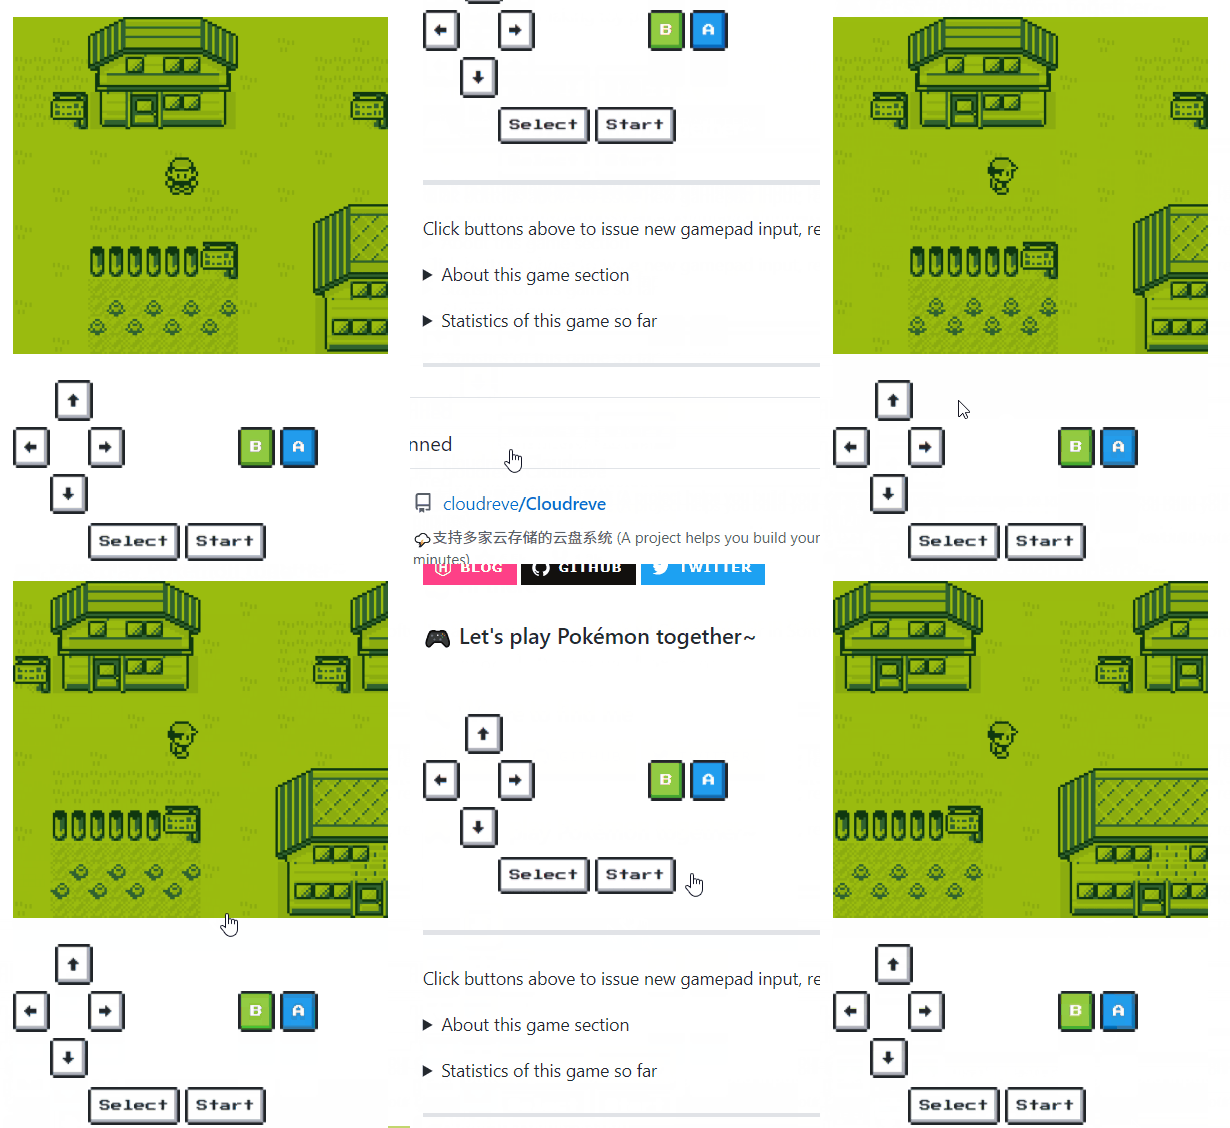
Even play with other visitors together on someone's GitHub profile:
Installation
You can directly download the executable file from the Release page, or build it from the source. Go Version 1.11 or higher is required. Run go version to check what the version currently installed is. On Debian based systems, the packages libasound2-dev and libgl1-mesa-dev must be installed.
git clone https://github.com/HFO4/gameboy.live.git
cd gameboy.live
go build -o gbdotlive main.go
Usage
Usage of gbdotlive:
  -G    Play specific game in Fyne GUI mode
  -S    Start a static image cloud-gaming server
  -c config
        Set the game option list config file path
  -d    Use Debugger in GUI mode
  -f FPS
        Set the FPS in GUI mode (default 60)
  -g    Play specific game in GUI mode (default true)
  -h    This help
  -m    Turn on sound in GUI mode (default true)
  -p port
        Set the port for the cloud-gaming server (default 1989)
  -r ROM
        Set ROM file path to be played in GUI mode
  -s    Start a cloud-gaming server
GUI mode
Play a specified ROM file in GUI mode:
gbdotlive -G -r "Tetris.gb"
Set up a telnet Cloud Gaming server
You can use Gameboy.Live as a "Cloud Gaming" server, where players use telnet to play Gameboy games in terminal without additional software installation required. (Except telnet itself xD)
A gamelist.json config file is required to specify game options. This is a typical example:
[{
	"Title": "Tetris",
	"Path": "test.gb"
}, {
	"Title": "Dr. Mario",
	"Path": "Dr. Mario (JU) (V1.1).gb"
}, {
	"Title": "Legend of Zelda - Link's Awakening",
	"Path": "Legend of Zelda, The - Link's Awakening (U) (V1.2) [!].gb"
}]
It is recommended to test every ROM before putting them in the config file.
Next, start a Gameboy.Live server with the config file from the previous step:
gbdotlive -s -c "gamelist.json"
You will see an output like this, which means your server has started successfully:
2019/04/30 21:27:56 Listen port: 1989
Now, you can play games anywhere you want! The simulation and rendering process is done entirely on the server.
telnet <ip of your server>:<port>
"Cloud Gaming" is only supported in terminals which support standard ANSI and the UTF-8 charset. You can use WSL instead of CMD on Windows.
Set up a static Cloud Gaming server
You can also set up a static cloud gaming server, where one specific game is emulated, everone can play it cooperatively by clicking hyperlinks. Start such a server with folowing command:
gbdotlive -S -r "Pokemon - Red Version (USA, Europe) (SGB Enhanced).gb"
A HTTP server will start up on default port 1989, these HTTP routes is avaliable to use:
| Routes | Method | Description |
|---|---|---|
/image |
GET | Show the latest game screenshot. |
/svg?callback=[Redirect URL] |
GET | Show the latest game screenshot with Gameboy style border and clickable gamepad. An SVG template gb.svg is required. |
/control?button=[Button ID]&callback=[Redirect URL] |
GET | Send new gamepad input. |
WebSockets streaming
Thanks to szymonWojdat, you can use websockets interface for sending static images so that you don't need to reload the website after each button press.
Make sure the static server above is already started up on default port 1989.
- Use
ws://localhost:1989/streamroute in order to start a websocket communication channel. - Images will be streamed to the client in PNG encoding.
- The client can send their input commands in text format using one of these codes:
- Right Arrow:
0 - Left Arrow:
1 - Up Arrow:
2 - Down Arrow:
3 - A:
4 - B:
5 - Select:
6 - Start:
7
- Right Arrow:
- check out
client_demo.htmlfor a simple demo and don't forget to run the server before by using the command above 🌝
Debug
Gameboy.Live has a simple built-in debugger. To turn on debug mode, set the d flag to true:
gbdotlive -r "test.gb" -d=true
The emulator will firstly break at the ROM entry point 0x0100 in debug mode, which is the entry point of the game program. You can type the address of next breakpoint. The emulator will continue to run until the next breakpoint is reached. At each breakpoint, the emulator will print the register's contents like above and dump the main memory into memory.dump (ROM and RAM bank not included)
[OP:NOP]
AF:01B0  BC:0013  DE:00D8  HL:014D  SP:FFFE
PC:0100  LCDC:91  IF:E1    IE:00    IME:false
LCD:100
Keyboard instruction
| Keyboard | Gameboy |
|---|---|
| Enter | Start |
| Backspace | Select |
| ↑ | Up |
| ↓ | Down |
| ← | Left |
| → | Right |
| X | A |
| Z | B |
Features & TODOs
- CPU instruction emulation
- Timer and interrupt
- Support for ROM-only, MBC1, MBC2, MBC3 cartridge
- Sound emulation
- Graphics emulation
- Cloud gaming
- ROM debugger
- Game saving & restore in cartridge level
There are still many TODOs:
- Support Gameboy Color emulation
- Support for MBC4, MBC5, HuC1 cartridge
- Sound simulation is incomplete, still got differences compared to the Gameboy real machine
- Sprite priority issue (see
Wario Land IIandMetroid II: Return of Samus) - Failed to pass Blargg's instruction timing test
- Game saving & restore in emulator level
- Multiplayer support in cloud gaming mode
Testing
Contribution
This emulator is just for learning and entertainment purposes. There are still many places to be perfected. Any suggestions or contributions is welcomed!
Credits
Thanks:
- szymonWojdat Adding a WebSockets implementation.
- andydotxyz Adding Fyne GUI driver and saving support for cartridges, also fixing some bugs.
- maxolasersquad and tilkinsc Polishing README and documents.


