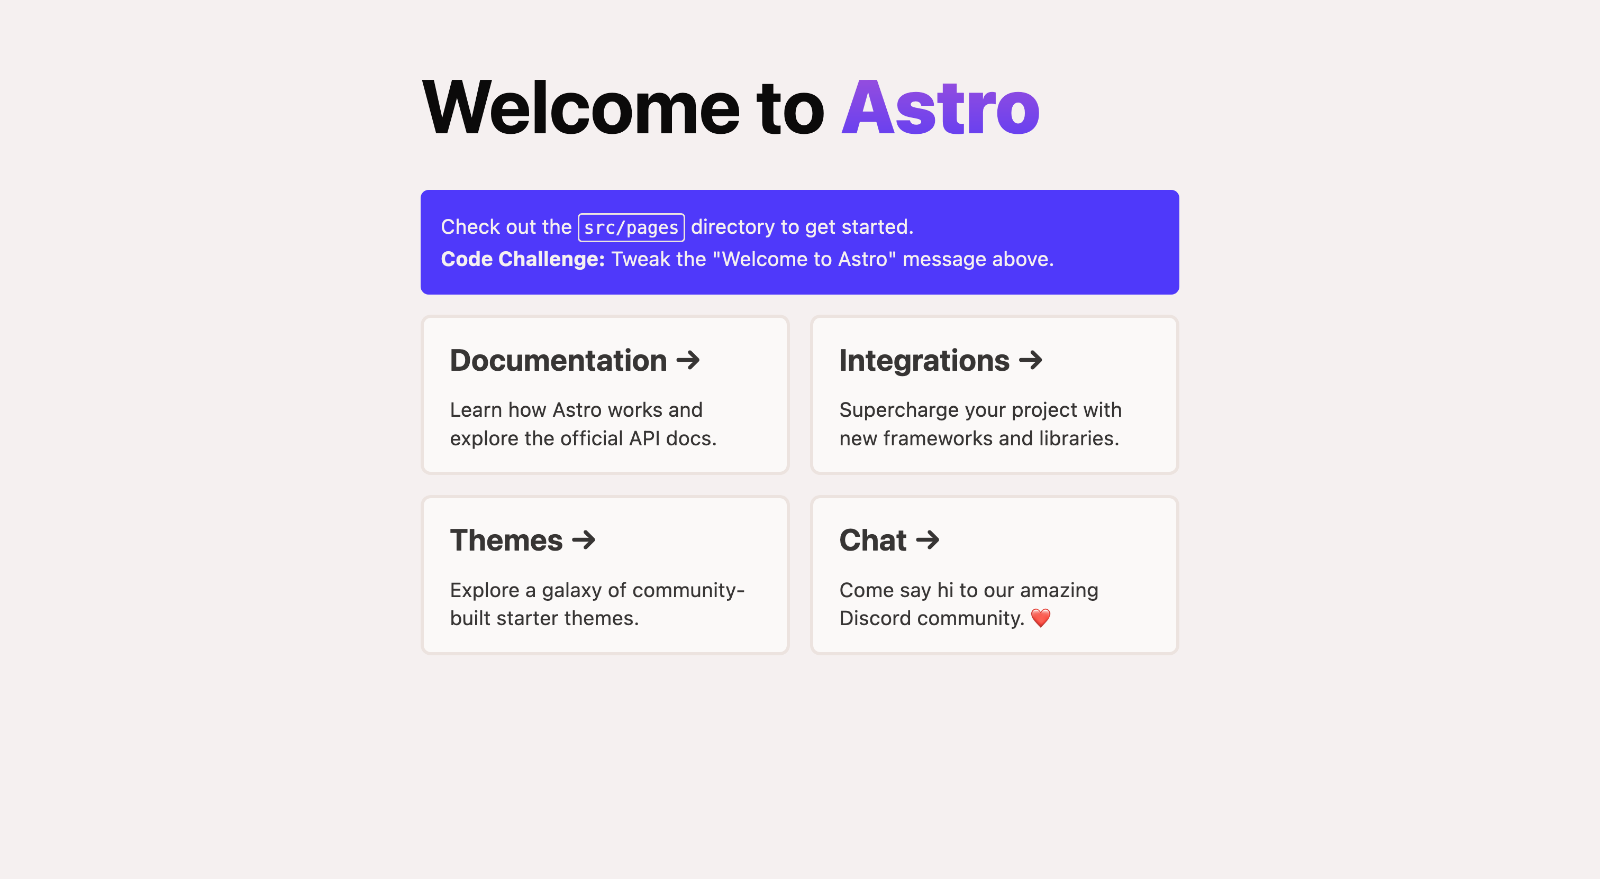
npm create astro@latest -- --template basics
🧑🚀 Seasoned astronaut? Delete this file. Have fun!
Inside of your Astro project, you'll see the following folders and files:
/
├── public/
│   └── favicon.svg
├── src/
│   ├── components/
│   │   └── Card.astro
│   ├── layouts/
│   │   └── Layout.astro
│   └── pages/
│       └── index.astro
└── package.json
Astro looks for .astro or .md files in the src/pages/ directory. Each page is exposed as a route based on its file name.
There's nothing special about src/components/, but that's where we like to put any Astro/React/Vue/Svelte/Preact components.
Any static assets, like images, can be placed in the public/ directory.
All commands are run from the root of the project, from a terminal:
| Command | Action |
|---|---|
npm install |
Installs dependencies |
npm run dev |
Starts local dev server at localhost:3000 |
npm run build |
Build your production site to ./dist/ |
npm run preview |
Preview your build locally, before deploying |
npm run astro ... |
Run CLI commands like astro add, astro check |
npm run astro --help |
Get help using the Astro CLI |
- Set the
siteand, if needed,baseoptions inastro.config.mjs.
import { defineConfig } from 'astro/config'

export default defineConfig({
+  site: 'https://astronaut.github.io',
+  base: '/my-repo',
})-
siteshould behttps://<YOUR_USERNAME>.github.ioorhttps://my-custom-demain.com -
baseshould be your repository’s name starting with a forward slash, for example/my-repo. This is so that Astro understands your website’s root is/my-repo, rather than the default/.
- Create a new file in your project at
.github/workflows/deploy.ymland paste in the YAML below.
name: Deploy to GitHub Pages

on:
  # Trigger the workflow every time you push to the `main` branch
  # Using a different branch name? Replace `main` with your branch’s name
  push:
    branches: [ main ]
  # Allows you to run this workflow manually from the Actions tab on GitHub.
  workflow_dispatch:

# Allow this job to clone the repo and create a page deployment
permissions:
  contents: read
  pages: write
  id-token: write

jobs:
  build:
    runs-on: ubuntu-latest
    steps:
      - name: Checkout your repository using git
        uses: actions/checkout@v3
      - name: Install, build, and upload your site
        uses: withastro/action@v0
        # with:
            # path: . # The root location of your Astro project inside the repository. (optional)
            # node-version: 16 # The specific version of Node that should be used to build your site. Defaults to 16. (optional)
            # package-manager: yarn # The Node package manager that should be used to install dependencies and build your site. Automatically detected based on your lockfile. (optional)

  deploy:
    needs: build
    runs-on: ubuntu-latest
    environment:
      name: github-pages
      url: ${{ steps.deployment.outputs.page_url }}
    steps:
      - name: Deploy to GitHub Pages
        id: deployment
uses: actions/deploy-pages@v1-
On GitHub, go to your repository’s Settings tab and find the Pages section of the settings.
-
Choose GitHub Actions as the Source of your site.
-
Commit the new workflow file and push it to GitHub.
Your site should now be published! When you push changes to your Astro project’s repository, the GitHub Action will automatically deploy them for you.
Feel free to check our documentation or jump into our Discord server.


