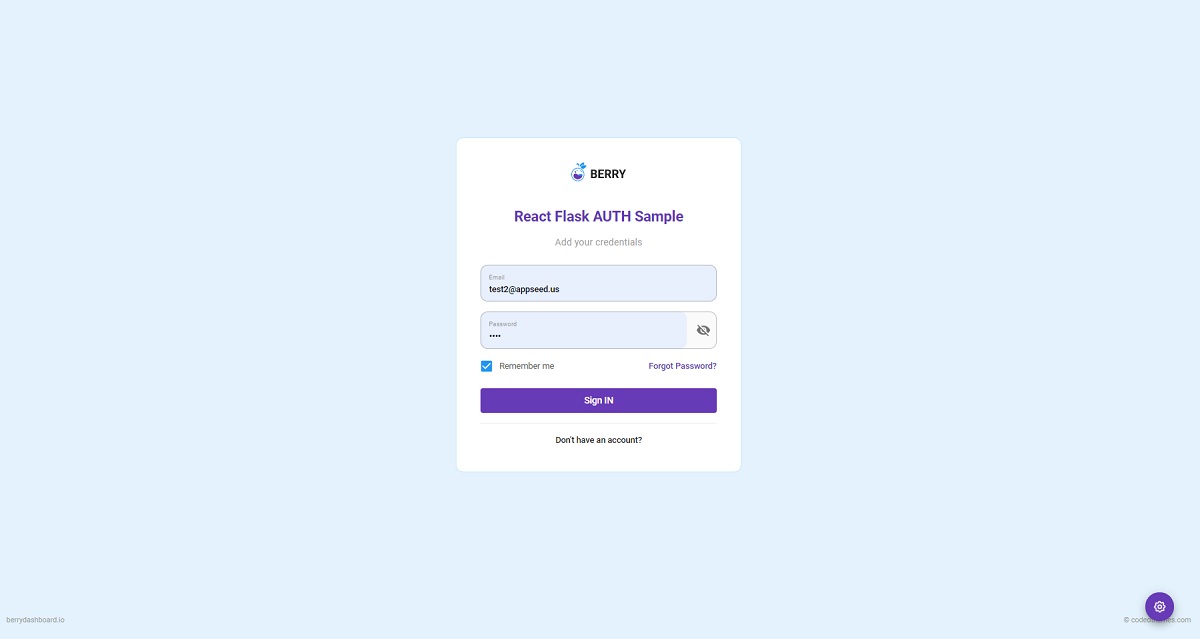
Open-source full-stack seed project that uses a React UI powered by a simple Flask API Server. React Flask Authentication sample can be used to bootstrap fast a new project using a tested development-ready stack or simply for eLearning purposes by beginners. For newcomers, React is a popular Javascript library for coding user interfaces baked by Facebook and Flask is a leading web framework written in Python.
- 👉 React Flask Authentication - LIVE Demo
- 👉 LIVE Support via Discord - provided by AppSeed
$ cd api-server-flask
$ docker-compose up --build  # Start with Docker
At this point, the API should be up & running at http://localhost:5000, and we can test the interface using POSTMAN or curl.
👉 Step 1 - Once the project is downloaded, change the directory to
react-ui.
$ cd react-ui👉 Step 2 - Install dependencies via NPM or yarn
$ npm i
// OR
$ yarn
👉 Step 3 - Start in development mode
$ npm run start
// OR
$ yarn start
Once all the above commands are executed, the React UI should be visible in the browser. By default, the app redirects the guest users to authenticate.
After we register a new user and signIN, all the private pages become accessible.
The product is built using a two-tier pattern where the React frontend is decoupled logically and physically from the API backend. In order to use the product in a local environment, a few simple steps are required:
Compile and startthe Flask API Backend- be default the server starts on port
5000
- be default the server starts on port
Compile and startthe React UI- UI will start on port
3000and expects a running backend on port5000
- UI will start on port
Configuration(Optional)- Change the API port
- Configure the API port used by the React UI to communicate with the backend
👉 Start the Flask API
$ cd api-server-flask
$
$ # Create a virtual environment
$ virtualenv env
$ source env/bin/activate
$
$ # Install modules
$ pip install -r requirements.txt
$
$ # Set Up the Environment
$ export FLASK_APP=run.py
$ export FLASK_ENV=development
$
$ # Start the API
$ flask run
👉 Compile & start the React UI
$ cd react-ui
$
$ # Install Modules
$ yarn
$
$ # Start for development (LIVE Reload)
$ yarn start Change the port exposed by the Flask API
$ flask run --port 5001Now, the API can be accessed on port 5001
Update the API port used by the React Frontend
API Server URL - src/config/constant.js
const config = {
    ...
    API_SERVER: 'http://localhost:5000/api/'  // <-- The magic line
};For a fast set up, this POSTMAN definition can be used.
Register -
api/users/register(POST request)
POST api/users/register
Content-Type: application/json

{
    "username":"test",
    "password":"pass",
    "email":"test@appseed.us"
}
Login -
api/users/login(POST request)
POST /api/users/login
Content-Type: application/json

{
    "password":"pass",
    "email":"test@appseed.us"
}
Logout -
api/users/logout(POST request)
POST api/users/logout
Content-Type: application/json
authorization: JWT_TOKEN (returned by Login request)

{
    "token":"JWT_TOKEN"
}
React Flask Authentication - Login
React Flask Authentication - Icons
React Flask Authentication - Colors
- Ask for Support on Discord
- See for React Starters - index provided by AppSeed
React Flask Authentication - Open-source full-stack seed project provided by AppSeed


