DIY Time Line cards game
This is a collection of helpers to create a Timeline-like game.
It is not related in any way to the original Timeline game.
Introduction
In 2016, one of my sisters proposed to craft a gift for our parents coinciding with their 50th wedding anniversary that would work as a photo album, but more fun. She proposed that we would make our own game with family pictures following the same idea than Timeline.
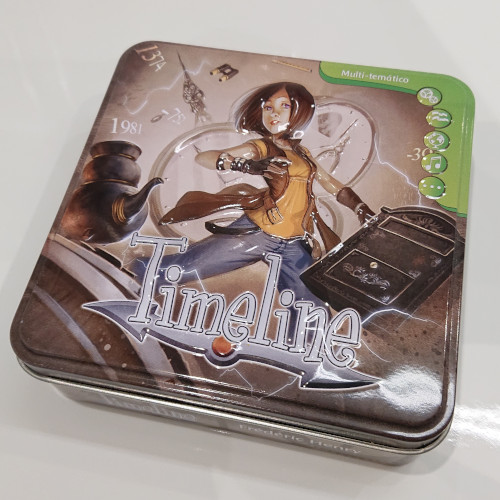
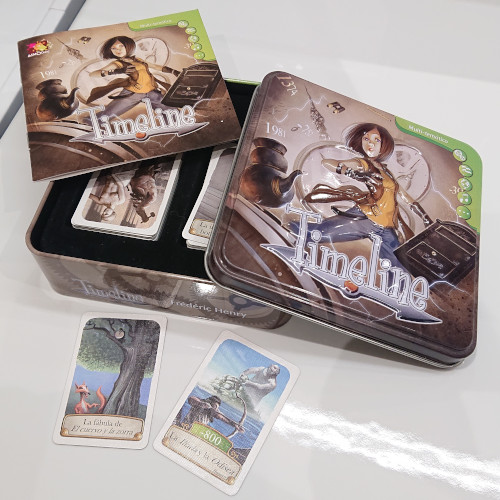
During those years, Timeline was a popular cards game with a very simple mechanic. Each card pictures an event happening in a very specific moment in time. In one side, the card only states the name of the event while in the other side of the card it reveals the year that event happened and, sometimes, further details about the event.
The game consists in placing those cards in a time line from the further past to the present. Hence, its name. Additionally, the game was visually beautiful and, at the time, was done with quality materials in a nice embossed tinbox.
We decided to follow the same style but, since we wanted it to work as a photo album, the cards would be A5 instead of the tiny size of the original game. My sisters did the heavy work of finding the bulk of the pictures while I created the artistic material and selected the best pictures from the very big selection I received. In the end, we expanded from 1942 to 2016, for more than 120 cards.
We would also need a place in which to store the cards. An embossed tin box would have been great but way too expensive to the very limited amount we wanted to order. In the end, we decided to order an A5 cookies box from a provider which would be able to print on the lid.
Usage
The src directory contains raw art I used to create the rest of the material.
In order to create a new game set we will use the files in the templates directory.
Cards
First, we will use the background-picture.xcf.bz2 and the cut-helper-background-picture.xcf.bz2 files to create the background image of our cards.
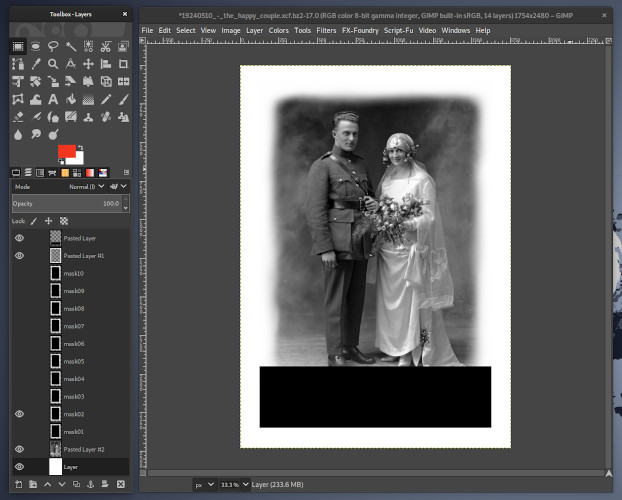
With GIMP, we'll open background-picture.xcf.bz2. This file has several masks to chose a blurry border for our pictures. We will copy our photo and add it as a new layer below the masks. Then, we'll select the mask we want to use to apply the blurry border by making it visible while keeping the rest of the masks not visible. Then, we'll scale and move the new layer with our photo so it correctly sits under the mask in a way that the main focus of the picture is clearly visible.
The blurry border of the masks has several purposes:
- Gives the card a feeling of bringing up memories, events from the past.
- Allows easily sitting pictures in different aspect ratios.
- Fades the hard borders of the pictures.
Then, we will hide the top layer which is showing the bottom black box representing the area that won't be visible in our card because other objects will be on top. Once this is done, we can export our new card as a PNG picture.
The 19240510_-_the_happy_couple.xcf.bz2 file is a sample in which the process described above has been done taking the 19240510_-_the_happy_couple.jpg file as source photography.
We can also open with GIMP cut-helper-background-picture.xcf.bz2 which is a companion file for the background-picture.xcf.bz2 one in a way that we can use both simultaneously so cut-helper-background-picture.xcf.bz2 will help us to place our photo in the best possible size and place in background-picture.xcf.bz2.
Afterwards, we will open card.sla.gz with Scribus.
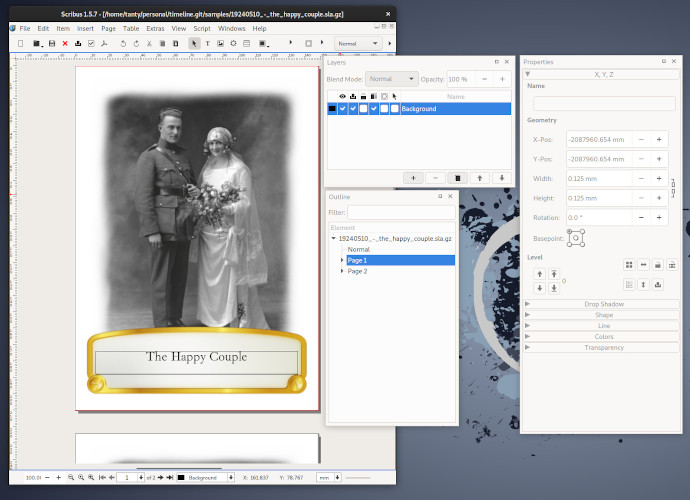
We will add an Image Frame into the first page and load our newly created picture into it. Then, we will Adjust Frame to Image and move it to the x 0.0 and y 0.0 coordinates taking the top left corner as reference (the default). Then, we will Level > Lower to Bottom it. We'll repeat the same steps in the second page.
Next, we will adjust the texts from the banners in the first and second page. The font used for them is Ibarra Real Nova.
Finally, we'll export the document as a PDF X/3. Since I live in Europe, I've used the PSO Coated v3 as the color profile for the export but feel free to use the color profile that works best for your printing service or just export as PDF 1.4 or above if you want to leave the election to them.
The 19240510_-_the_happy_couple.sla.gz file is a sample in which the process described above has been done and 19240510_-_the_happy_couple.pdf is the resulting PDF X/3 file.
Tin box
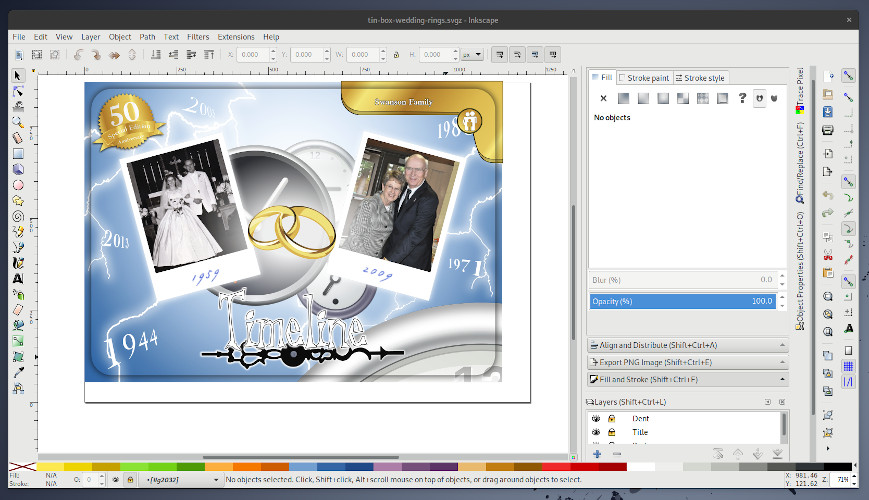
The picture for the tin box can be created from the tin-box-wedding-rings.svgz. Just open the file with Inkscape, import the pictures you want to use for the initial and end date of the 50th anniversary and place them instead of the 2 gray boxes. Then, adjust the text of the dates for the pictures. The fonts used in this design are Ibarra Real Nova, DreadLox, and Tesla.
The tin-box-wedding-rings.svgz file is a sample in which the process described above has been done taking the 1959_-_the_swanson_s_wedding.jpg and 2009_-_the_swanson_s_50th_anniversary.jpg files as source photographies.
Then, export the drawed area as a PNG file with enough resolution for quality printing.
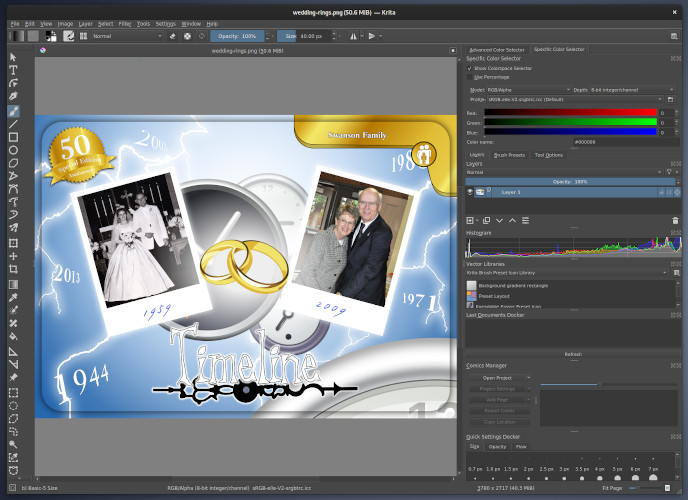
Additionally, with Krita or Cyan, for example, you can convert this PNG file to TIFF format within a CMYK color space. Again, in my case I used the PSO Coated v3 color profile. With Krita you can Image > Convert Image Color Space....
tin-box-wedding-rings.tif is a TIFF picture resulting of doing the process described above.
