Table of contents
Click here to expand
I create this repo for learning, practicing and understanding how to work NestJS, GraphQL & Prisma together. Project also how to build a clean architecture scalable & testable.
Project inspired from Nestjs-prisma-starter of fivethree-team.
Features of project:
- GraphQL with apollo-server-express, solution code first and using GraphQL play ground
- Using PostgreQL for database and Prisma 2 as ORM
- CRUD operations, database relationship, pagination
- NestJS Authentication with Redis
JWT - Refresh token solution
- Role base system: Admin & User
- Database seeding
- Multi-languages with I18n
- Rating limit API with express-rate-limit
- Email verification
- Using custom exceptions filter, custom decorators
- Docker solution for PostgreSQL, PGAdmin, Prisma
- Testing: Unit testing, Integration testing, End to End testing (working in progress)
- CI-CD with Travis-ci, Github actions
- Solve N+1 problem graphql (using @paljs/plugin)
If you want to develop project only on your local, your need have:
- NodeJS: I use NodeJS lts version (14.15.1)
- npm or yarn: yarn recommend
- @prisma/cli
- PostgreSQL
- PgAdmin(optional): UI tool to manage database from PostgreSQL
If you don't want to install all these tools, you can check the docker solution below.
-
Clone project from this repository
-
Create and update
.envfile for variables environment$ cp .env.example .env
Then modify the variables as you want.
Example of
.envfiles:SERVER_PORT=1776 DB_CONNECTOR=postgres DB_HOST=postgres DB_USER=postgres DB_PASSWORD=postgres DB_DATABASE=nest_graphql DB_PORT=5432 PGADMIN_DEFAULT_EMAIL=admin@admin.com PGADMIN_DEFAULT_PASSWORD=admin DATABASE_URL=postgresql://${DB_USER}:${DB_PASSWORD}@${DB_HOST}:${DB_PORT}/${DB_DATABASE}?schema=public
-
Install dependencies
$ yarn # or npm install -
Generate prisma schema Make sure you generate prisma schema before run server:
$ yarn prisma generate
Check Prisma Client for more details how
prisma generate works -
Run server locally
$ yarn start:dev
# or npm run start:dev
Other useful commands to work with project:
-
Run production
$ yarn start:prod
-
Run testing:
$ yarn test # for running the the Unit $ integration testing
$ yarn test:e2e  # for running end to end testing
-
Prisma migrate Prisma migrate is an imperative database schema migration tool that enables you to make changes to your database schema.
Migrate auto your schema:
$ yarn prisma migrate dev --preview-feature
Migrate with the name schema:
$ yarn prisma migrate dev --name initDb --preview-feature
When we run
prisma generateorprisma migrate,prisma/cliwill try connect with your database first. So you need to connect successfully with your database through your variableDATABASE_URLgiven inprisma.schema:For example, you have configuration in your
prisma.schemalike below:// prisma.schema datasource db { provider = "postgresql" url = env("DATABASE_URL") }
So you need to provide this value in
.envfile:DB_HOST=postgres DB_USER=postgres DB_PASSWORD=postgres DB_DATABASE=nest_graphql DB_PORT=5432 DATABASE_URL="postgresql://${DB_USER}:${DB_PASSWORD}@${DB_HOST}:${DB_PORT}/${DB_DATABASE}?schema=public"Check more information at Prisma migrate
-
Seeding database(optional)
$ yarn seed
-
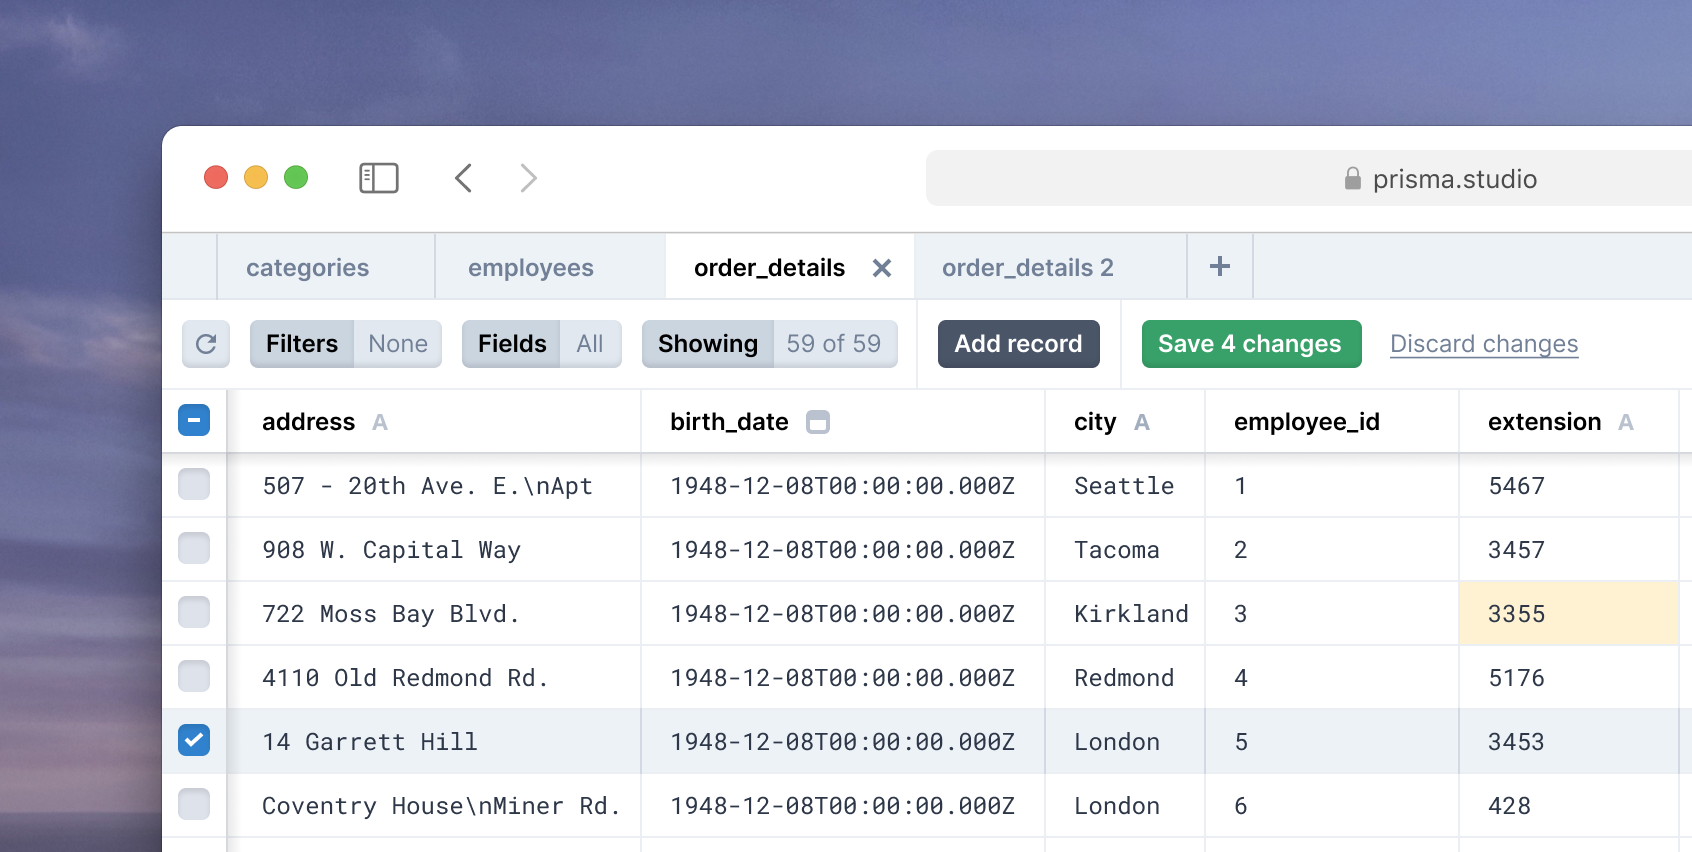
Prisma studio A Visual Interface for Your Database Prisma Studio helps developers manage their application data. We're excited to share that it is now part of the stable Prisma release. Try out the online demo or connect it to your existing database.
So with Prisma studio, you maybe don't need pgAdmin anymore.
Ton run Prisma studio:
$ yarn prisma:studio
# or npx prisma studio
# or yarn prisma studio
Then check out at http://localhost:5555
-
Precommit with husky & lint-staged Two awesome packages help us to improve our git commits. We can run linters and check test before commit changed files.
So now, each time when we make a commit:
$ git add .
# or git add files
$ git commit -m "Message commit"
All files in your projects will be check and fix automatically with Eslint, Prettier. You can also add
run testinprecommitcommand to check test before commit.Hint: Sometime, if you need to commit your code and you don't want to verify them. You can do with flag
--no-verify:$ git commit - "Message commit" --no-verifyYou can check more other commands in section
scriptsofpackage.json.
Click to expand sections
.
├── docker
│   ├── Dockerfile
│   ├── Dockerfile.prod
│   └── nginx
│       ├── Dockerfile.nginx
│       └── nginx.conf
├── docker-compose.production.yml
├── docker-compose.test.yml
├── docker-compose.yml
├── graphql
├── jest.config.js
├── LICENSE
├── nest-cli.json
├── package.json
├── prisma
│   ├── migrations
│   ├── schema.prisma
│   └── seed.ts
├── README.md
├── src
│   ├── app
│   │   ├── app.controller.ts
│   │   ├── app.module.ts
│   │   ├── app.resolver.ts
│   │   ├── app.service.ts
│   ├── common
│   │   ├── abstract-model
│   │   ├── configs
│   │   ├── @generated
│   │   │   ├── category
│   │   │   ├── post
│   │   │   ├── prisma
│   │   │   ├── profile
│   │   │   └── user
│   │   └── types
│   │       └── node.d.ts
│   ├── main.ts
│   ├── modules
│   │   ├── category
│   │   ├── email
│   │   ├── post
│   │   ├── prisma
│   │   ├── profile
│   │   └── user
│   └── schema.gql
├── test
│   ├── app.e2e-spec.ts
│   └── jest-e2e.json
├── tsconfig.build.json
├── tsconfig.json
└── yarn.lock
Click here to expand section
src:app: contains NestJS app filescommon: contains shared or general files, type, model, config ... of application@generated: contains generated inputs graphql that match with input of prisma. Thanks Roman Vasilev for this [https://github.com/unlight/prisma-nestjs-graphql] tool.configs: contains configurations of project as Graphql, Prisma, TypeORM ...types: define general types using for project here
modules: contain modules (NestJS) of projects. We separate module for each unit. Each module contains its own data like: model, interface, dto, service, controller, resolver, repository, types...- model
- service
- resolver
- controller
- module
- interfaces
- dto
- types
- test
- decorator
- args
main.ts: main file to run server
.vscode: debug configuration in vscodedocker: contains all files related Docker asDockerfile,nginx(except docker-compose)prisma: containsprisma.shema, migrations, and seedinggraphql: contains example queries & mutations of graphql for projecttest: for end to end testingdocker-compose*.yml: docker compose files to run different environment docker.env*: different environment variables files.eslint*, prettier*, .editorconfig: Style & format codejest.config.js: configuration for testing with jestpackage.jsontsconfig.json: configuration for TypeScript.circle-ci.yml, .travis.yml, .github/workflows: CI-CD
- Todo
Working in progress: Resolvers or Endpoints of project
To start working with Docker, you need have Docker installed locally and also the package manage as npm ro yarn
In the development mode, we have already PostgreSQL and PgAdmin4 in our docker-compose file. You can use the same values environment in your .env like before.
I think all of you know already how to run docker with docker-compose:
We have some simple commands:
$ docker-compose build # Build all services in docker-compose.yml file
$ docker-compose up # Run all services in docker-compose.yml
$ docker-compose down # Stop all services
$ docker-compose up nest-api # Run only a  service
But that is not the think I want to say here, we need work with docker like we work locally as prisma generate, prisma migration, seeding, run test ...
In that case how it work?
Well we will run directly docker-compose file for our service nest-api and with yarn or npm we use as when we work locally.
$ docker-compose -f docker-compose.yml run --rm nest-api yarn prisma:generate
-f: file --> using with the namedocker-compose.***.ymlfile--rm: flag to stop automatically docker service after executing.nest-api: name service of our server (specify in docker-compose file)yarn prisma:generate: command that we want to execute
But if you always write command like that, it will be take a lot of time and difficult to remember. So we will prepare theme in section scripts of package.json.
Scripts of package.json
{
  "script":{
    // .....
    "docker:build": "docker-compose -f docker-compose.yml build --no-cache",
    "docker:prisma:generate": "docker-compose -f docker-compose.yml run --rm nest-api yarn prisma:generate",
    "docker:migrate": "docker-compose -f docker-compose.yml run --rm nest-api yarn migrate:dev",
    "docker:seed": "docker-compose -f docker-compose.yml run --rm nest-api yarn seed",
    "docker:prisma:studio": "docker-compose -f docker-compose.yml run nest-api -d yarn prisma:studio",
    "docker:start:dev": "docker-compose up",
    "docker:test:seed": "docker-compose -f docker-compose.test.yml run --rm nest-api yarn seed",
    "docker:test:migrate": "docker-compose -f docker-compose.test.yml run --rm nest-api yarn migrate:dev",
    "docker:test:build": "docker-compose -f docker-compose.test.yml build --no-cache",
    "docker:test:run": "docker-compose -f docker-compose.test.yml run --rm nest-api yarn test"

  }
}
--> You can write your own scripts to work better with docker.
Hint: For this moment integration testing or end to end testing with Prisma is not flexible. Because env(DATABASE_URI) take the variable only in .env file. I don't want to change manually it when I want to run integration test and e2e test, so I think Docker is very good solution to solve this issue.
Hint: You can check Portainer tool to manage easier multiple docker services. I think you will find it useful too.
A little information to start with docker PgAdmin.
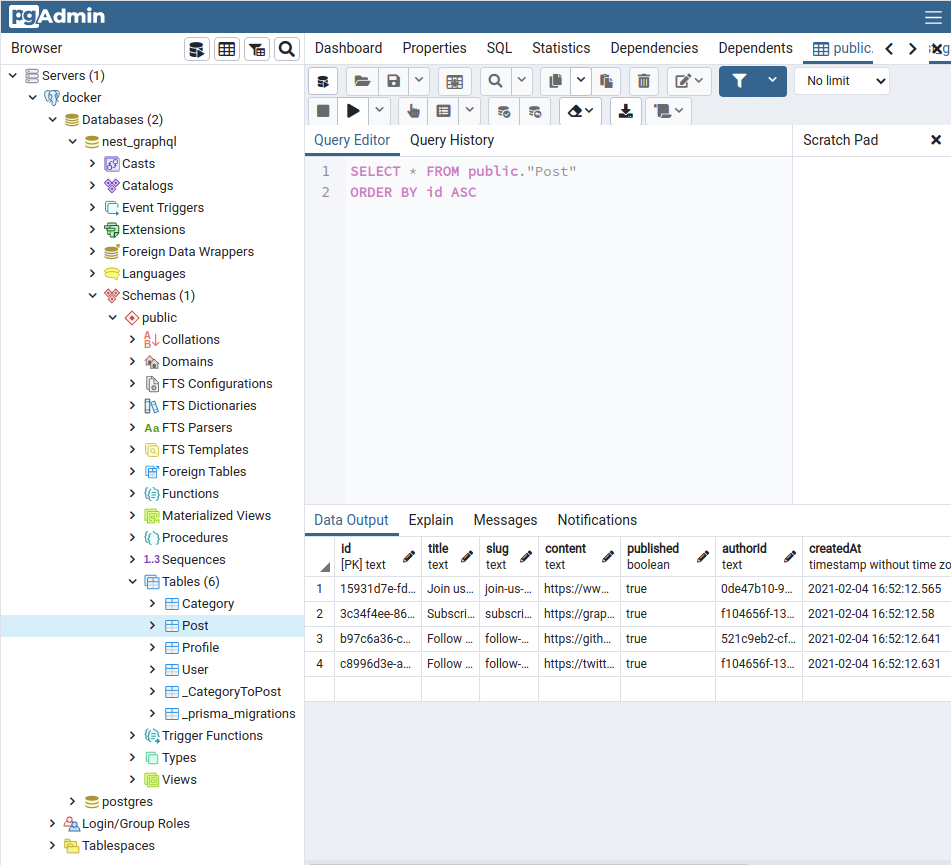
PgAdmin4 is database management tool for PostgreSQL. Because it is a web application based, so PgAdmin is work really well with docker. We can access directly from our browser.
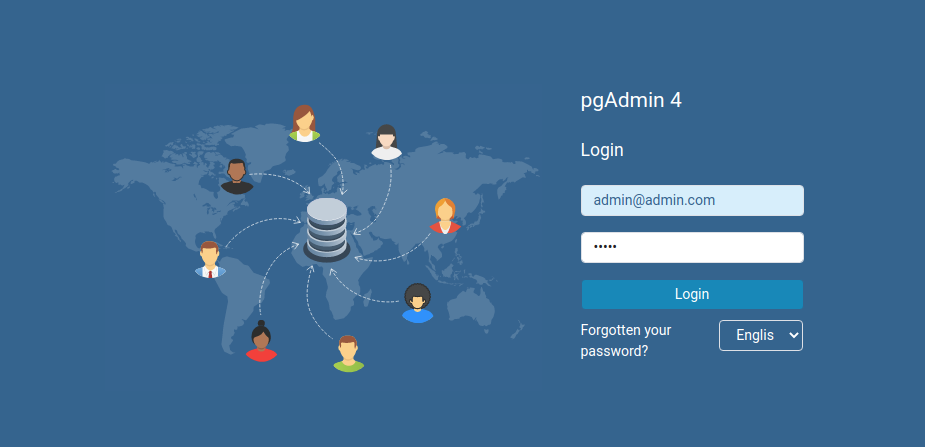
After running successfully server with docker, we will open http://localhost:8080 (Port 8080 is port specified for PgAdmin in docker-compose file).
If you remember, in .env file, we have the variables of PgAdmin:
PGADMIN_DEFAULT_EMAIL=admin@admin.com
PGADMIN_DEFAULT_PASSWORD=admin
We will use these credentials to connect our PgAdmin.
- CI-CD
- Update Auth
- Multi-language with i18n options
- Solve N+1 problem graphql (using @paljs/plugin) (make sure use prisma @id as @cuid(), not @uuid()). @uuid() does not work when we query with Prisma select with join table
- Mailer service
- Integrate with AWS service (S3, RDS)
- Update In-memory caching or caching with Redis ?
- Integration & end to end testing
- Enhanced docker, build images ?
- Add Event/Subscribers module ?
- Integrate with REST API ? --> create controllers
- ...


