This is an example app built with NextJS that uses @telnyx/video SDK.
In this guide, you’ll learn how to get run and deploy Telnyx Meet
Just follow these steps:
- Sign up for a Telnyx Account
- Create an API KEY
- Create a Room ID
- Set up environment variables
- Run the code
- Deploy on Vercel
Head to telnyx.com/sign-up to sign up for your free Telnyx account.
Once signed up you will have access to Telnyx Portal, where you can set up and manage your API KEY, and more.
Go to API Keys section and click on Create API Key button. It will generate a key for you. Copy and save this key in a safe place and don't share it with anyone it is a sensitive value.
You need this API Key to consume the API https://api.telnyx.com/v2/rooms to manage your room ids.
You should read this documentation video/Rooms to learn how to create a new video room id. When you get your roomId you can join in a video meet conference.
Create a new copy of .env.sample with the name .env.local and set the env var TELNYX_API_KEY with your Telnyx API KEY value.
Your .env.local file should look like this:
TELNYX_API_HOST=https://api.telnyx.com/v2
TELNYX_API_KEY="KEYae7df0................"After you have cloned this repo:
% git clone https://github.com/team-telnyx/telnyx-meet.gitRun the commands
1 - yarn to install the dependencies.
2 - yarn dev will initialize the server.
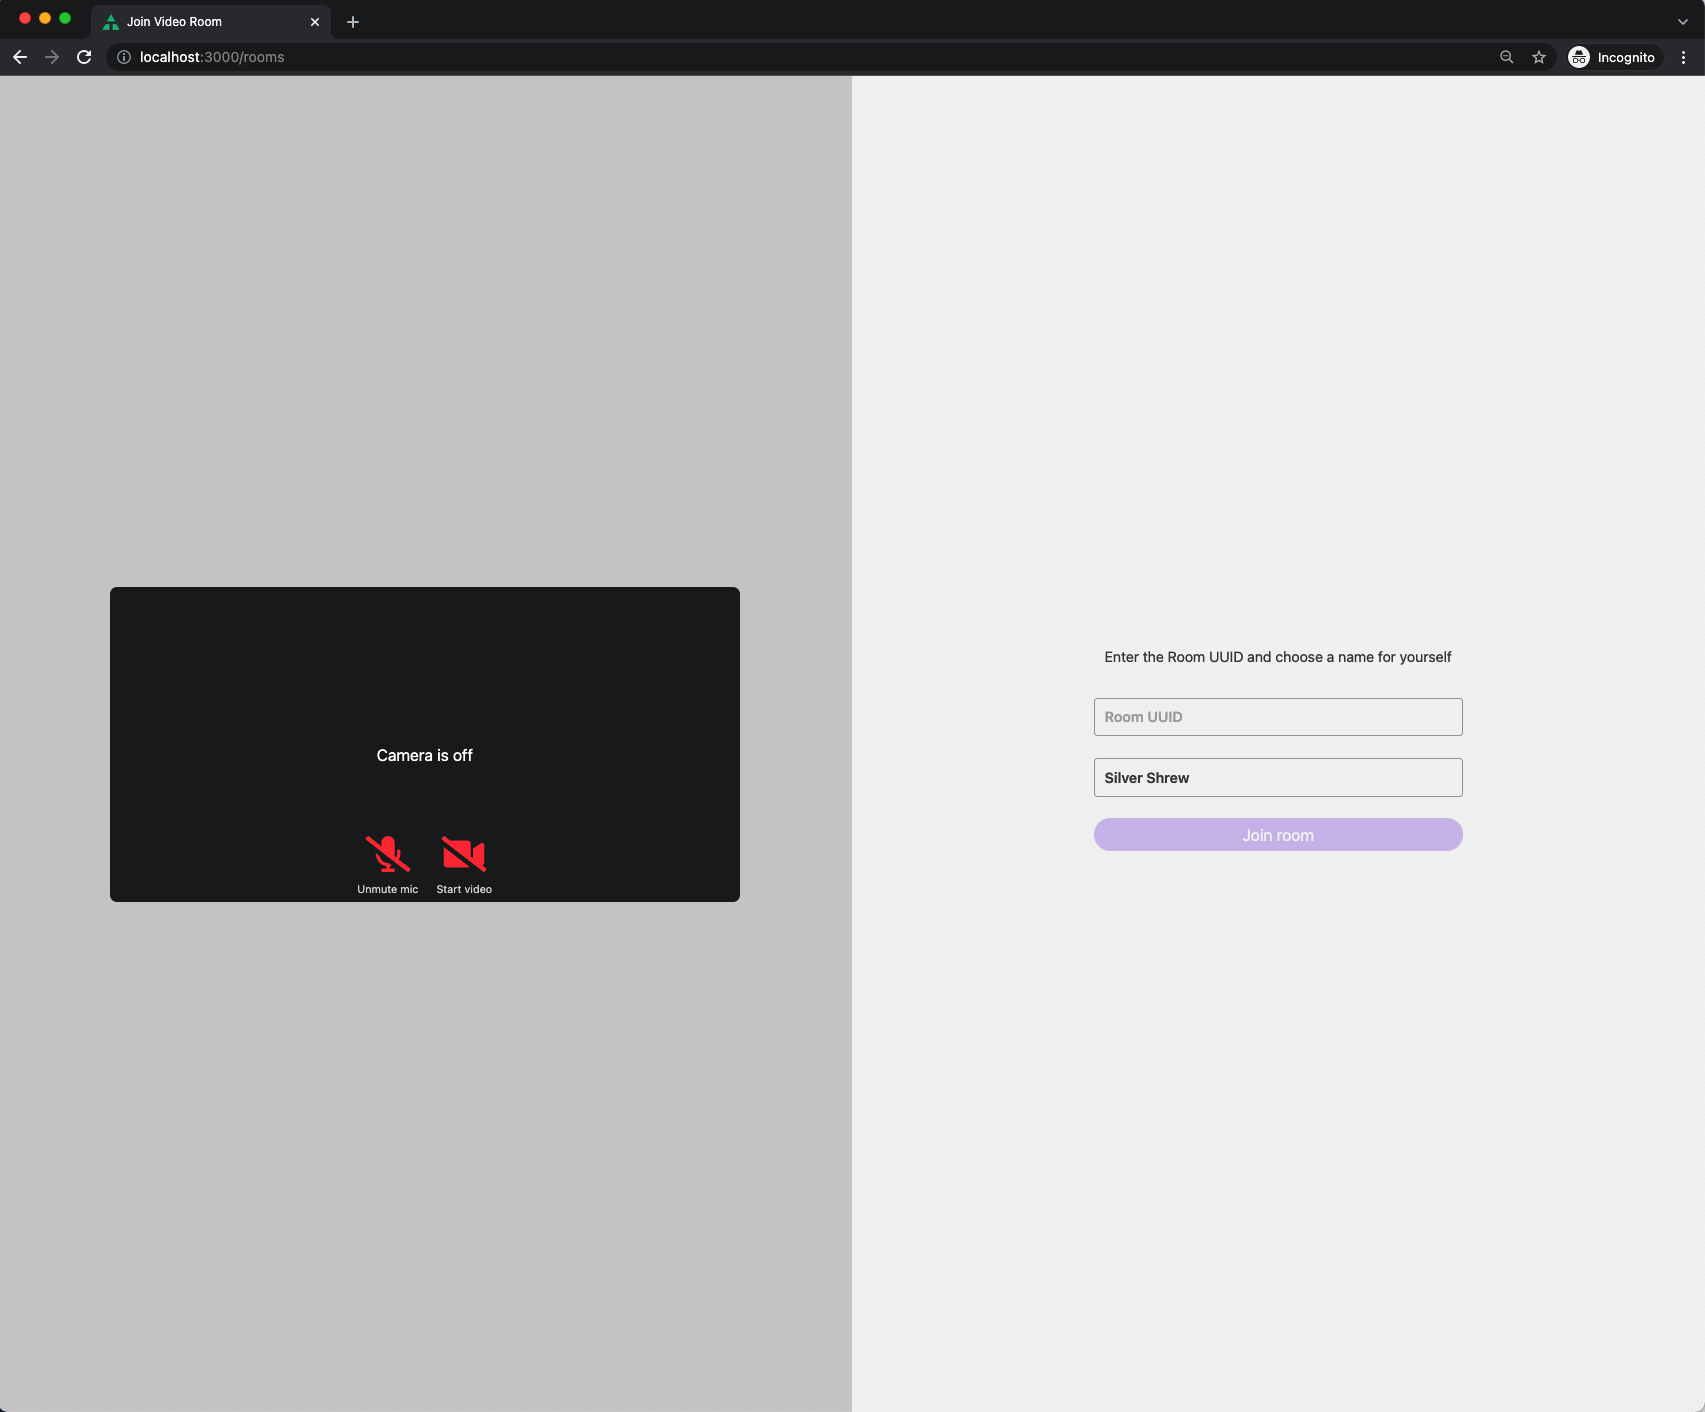
3 - Access the http://localhost:3000/rooms
4 - Fill the input Room UUID with your generated roomId from step 3.
5 - Click on Join Room button to access the meeting.
You can deploy this app with Vercel (Documentation).
To deploy your local project to Vercel, push it to GitHub/GitLab/Bitbucket and import to Vercel.
Important: When you import your project on Vercel, make sure to click on Environment Variables and set them to match your .env.local file.

