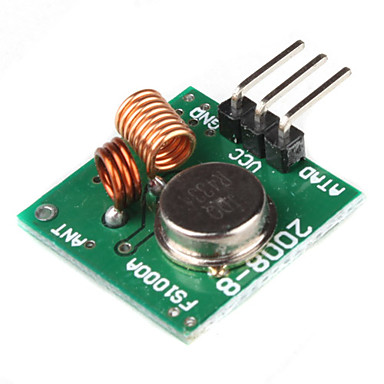
This is an example for the control of simple 433MHz radio sockets as you can buy them e.g. in a DIY store. It only works with models that use 10 little Dip switches to set the codes.
- Arduino Nano
- 433MHz RF send module
Connect the VCC wire of the sender to 5V, GND to GND and Data to Pin 10 (or any free Pin).
- Install the rc-switch library using the arduino library manager
- Edit the Pin Number according to your used Pin
- Upload the sketch 433MHz-Arduino-Sender.ino to the Nano using the Arduino IDE
You can test your Arduino using the serial monnitor, just type
Test and it should respond with I am up and running!.
You can use this Python script to send the wireless power socket codes to the Arduino.
- Install pyserial using
pip3 install pyserial - Open the rfsend.py file in notepad or any other editor and edit the serial port in line 17.
On Linux, you can get the serial port using ls /dev/ttyUSB*,
on Windows, you can just look in the Arduino IDE Port setting on in the Device Manager.
This code only supports power outlets with 10 little switches for setting the codes. Just open the little door on the back of the outlet and look at the switches. The first five (usually labeled as 1-5) are the systemcode and the last 5 (labeled A-E) are the unitcode. Up = 1 and Down = 0
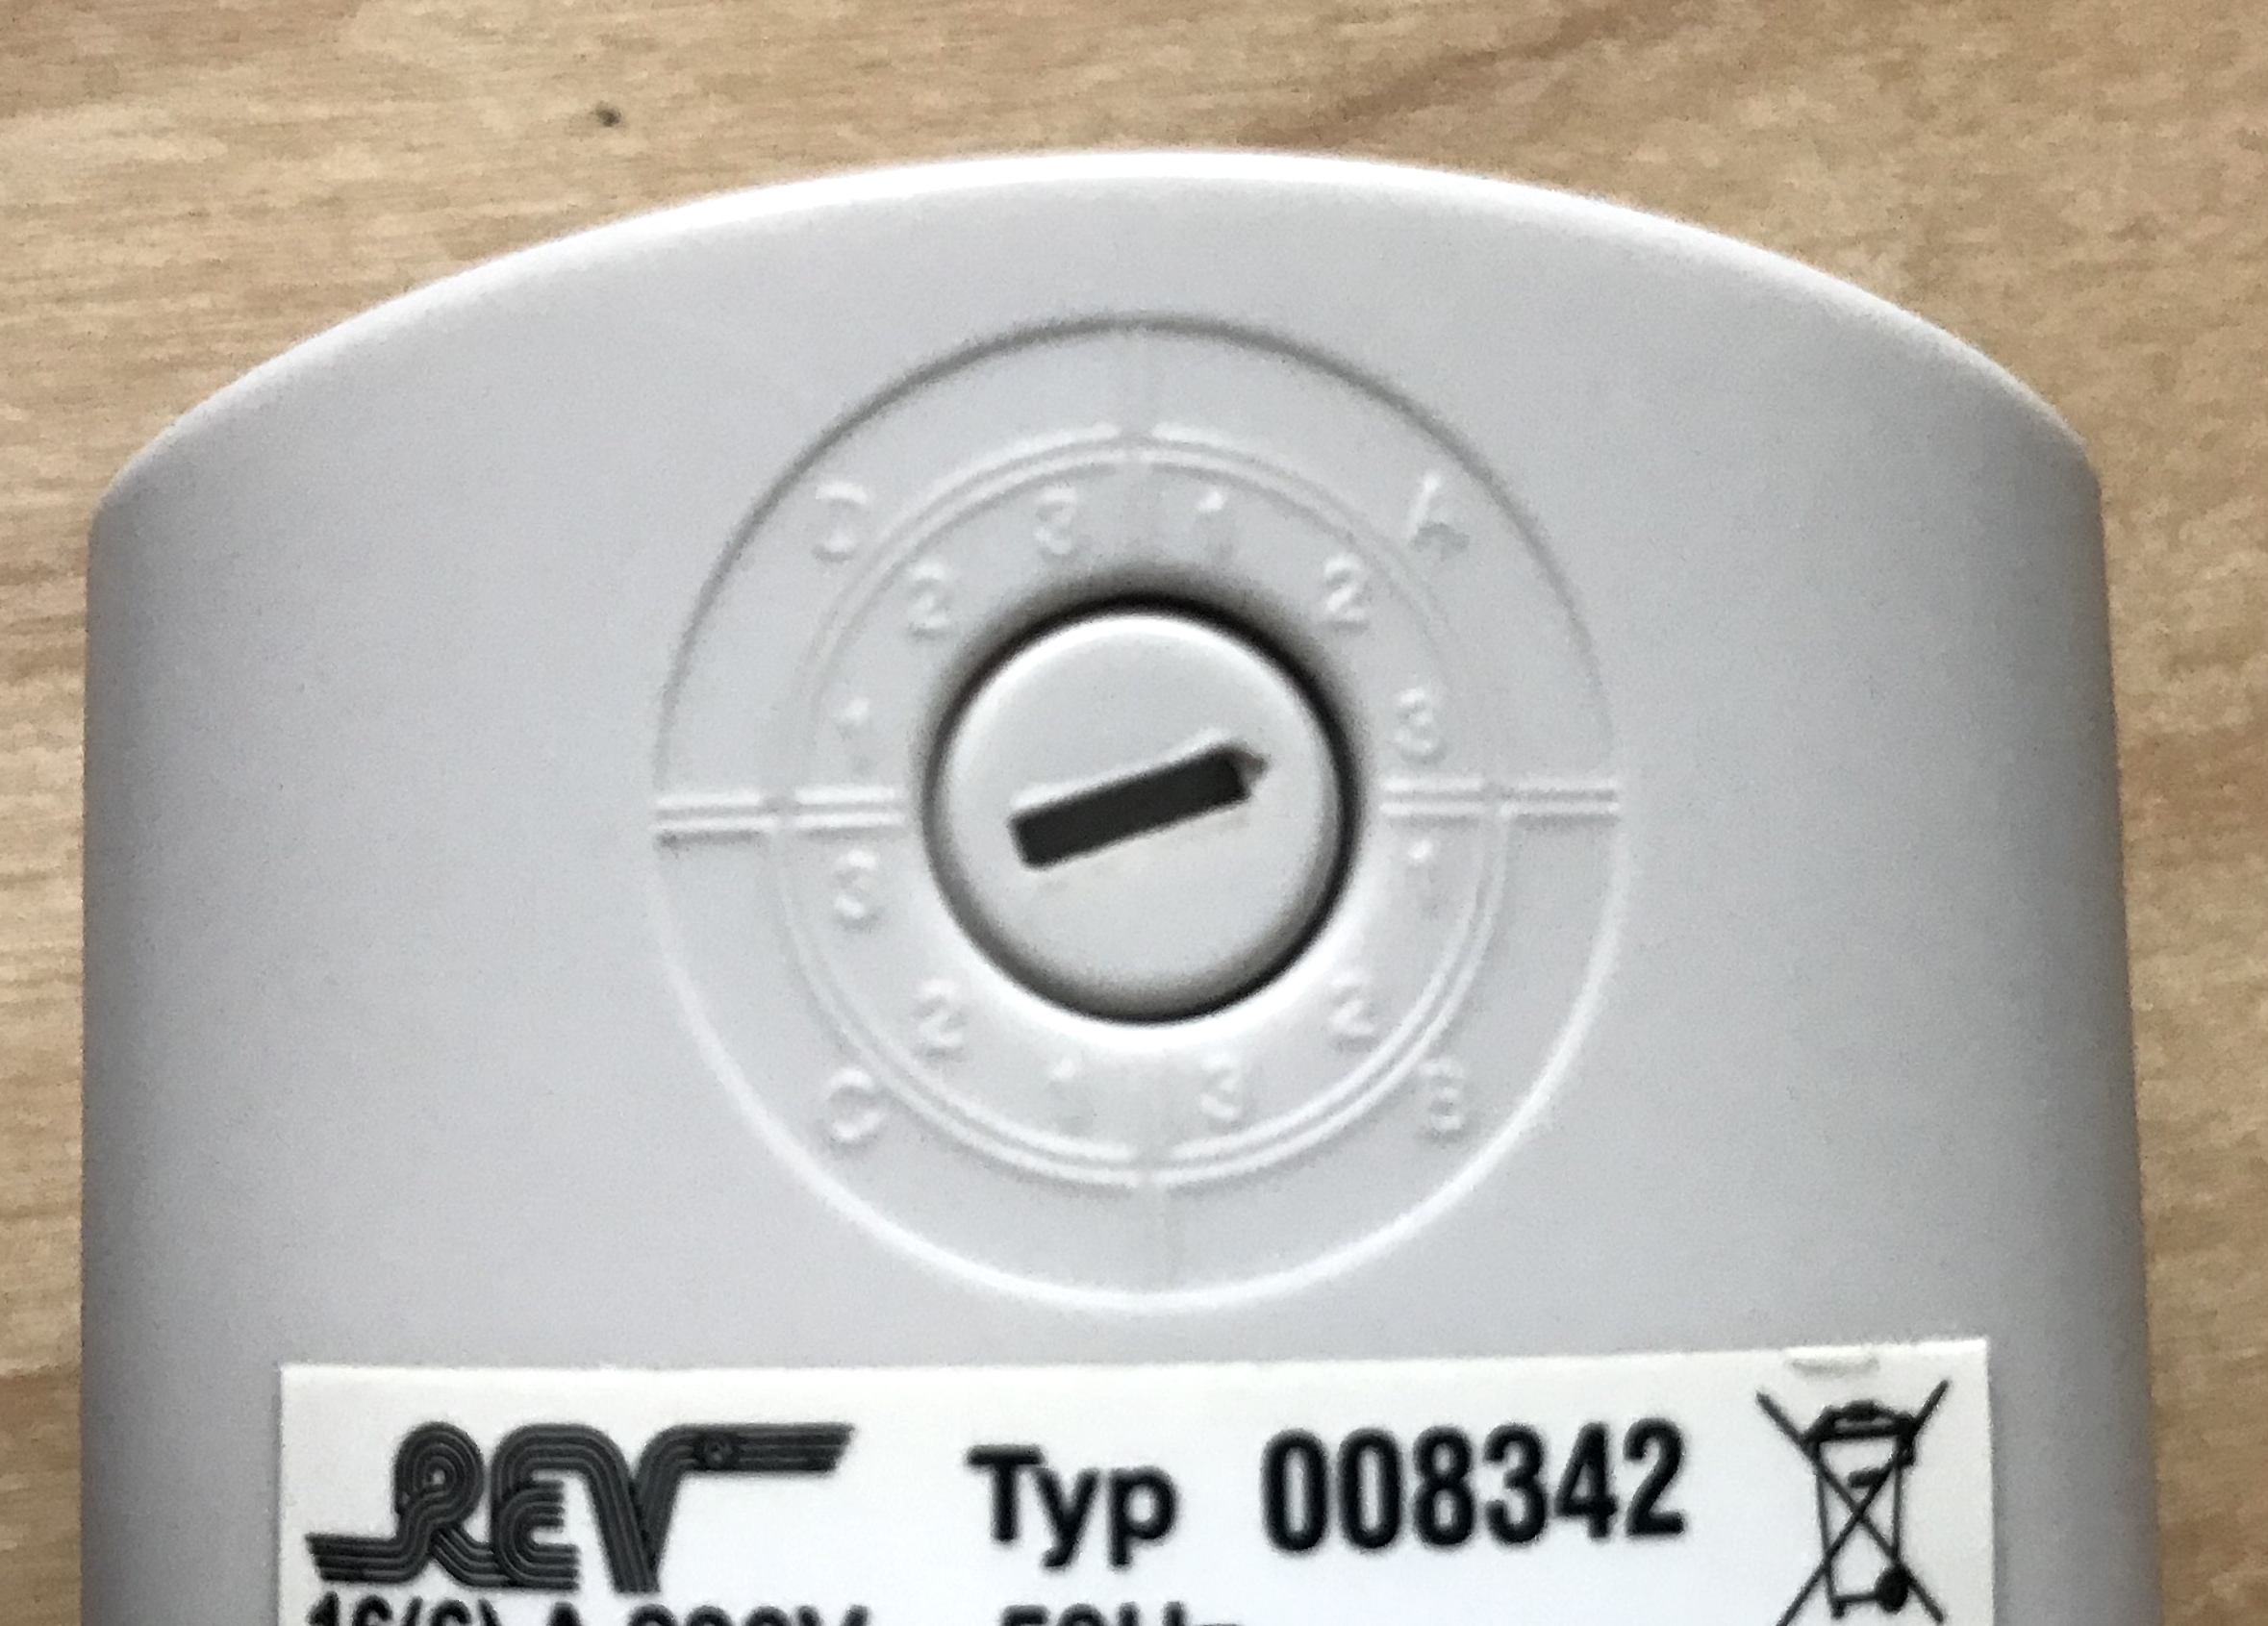
Look at the little wheel at the back of the plug, the category (a,b,c or d) is the systemcode and the number (1-3) is the unitcode.
Run rfsend.py in a terminal using python3 rfsend.py command systemcode unitcode,
for example python3 /path/to/rfsend.py ON 11010 01000
or on Windows: py C:\Users\Path\to\rfsend.py ON 11010 01000
Avaiable commands: ON, OFF, REV_ON, REV_OFF
switch:
  - platform: command_line
    switches:
      my_switch:
        command_on: python3 /path/to/rfsend.py ON 11010 01000
        command_off: python3 /path/to/rfsend.py OFF 11010 01000
Happy switching!


