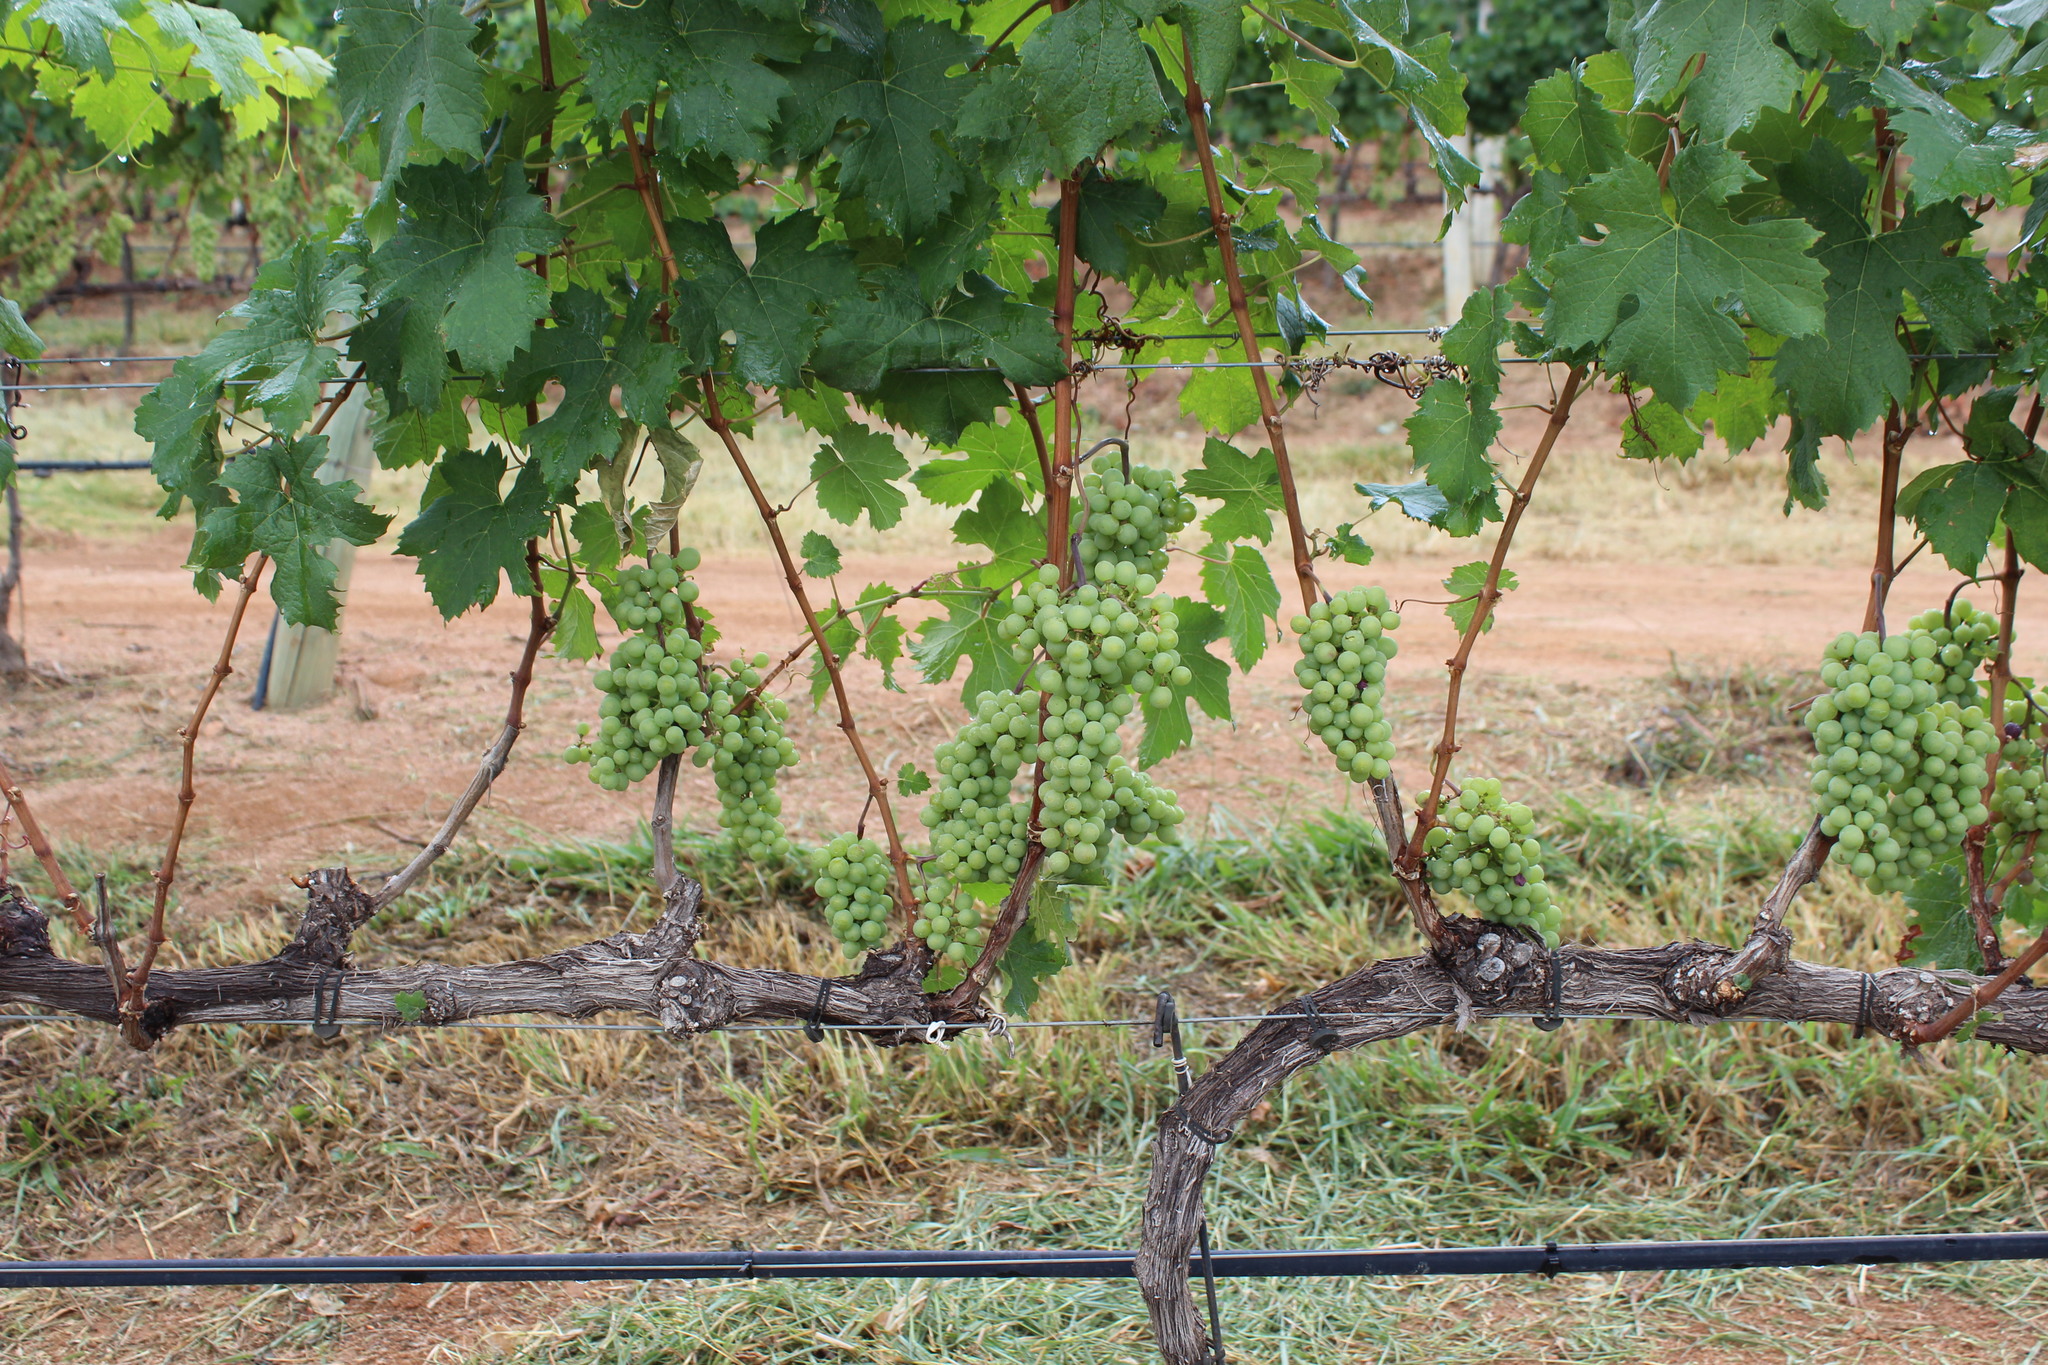
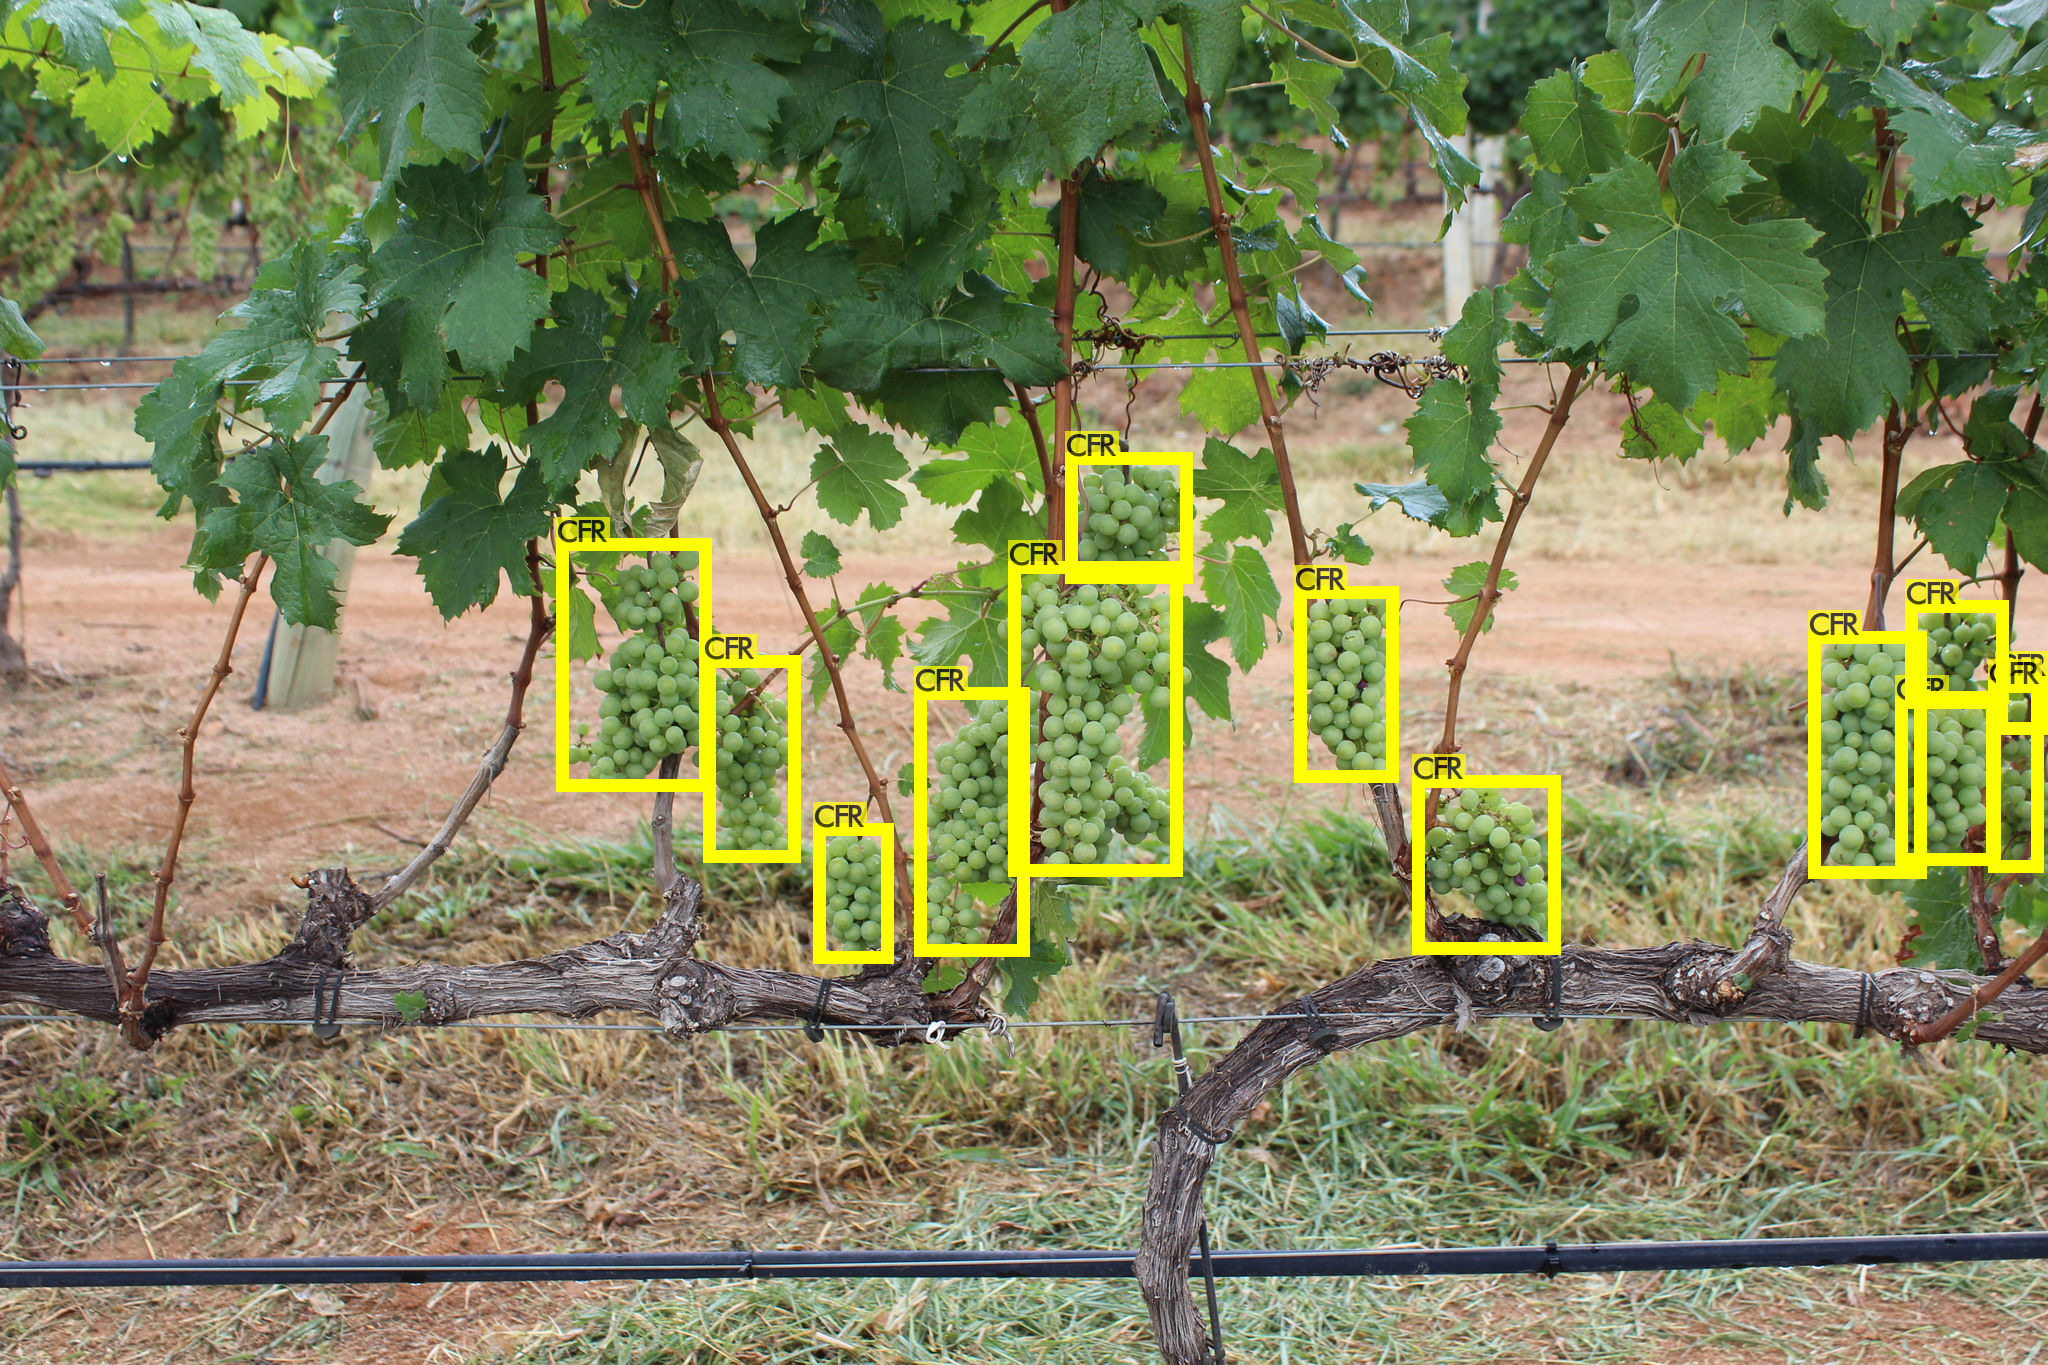
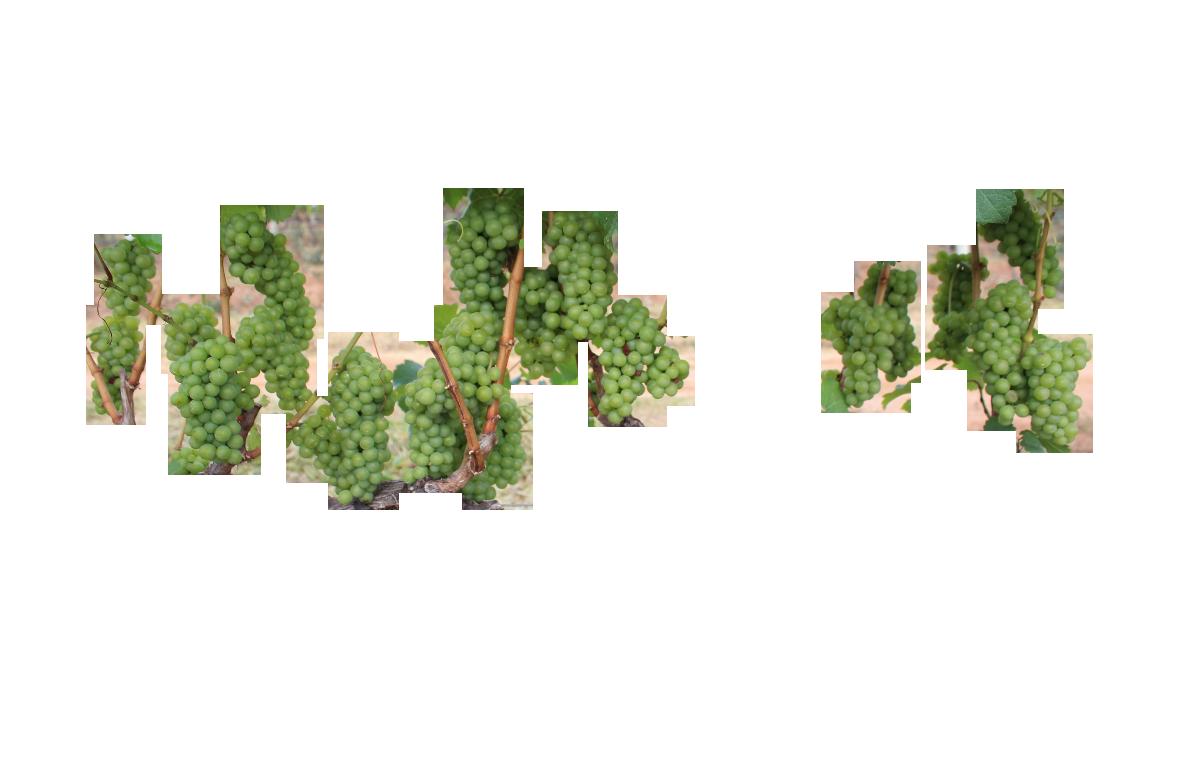
Utilize YOLOv4 for grape cluster detection on WGISD dataset, and annotate 58 images of WGISD test set on Huawei ModelArts platform for evaluating grape counting methods.
WGISD (Wine Grape Instance Segmentation Dataset): https://github.com/thsant/wgisd.
we punctuate the grape berries in each image, and then write all coordinate information into xml files.
GrapeCounting
- raw_images # 58 images from WGISD test set
- detect_images # cluster detecting results based on YOLOv4
- count_label # folder for counting label
Darknet: https://github.com/AlexeyAB/darknet.
YOLOv4
- obj.data # the dataset config file for YOLOv4 training and evaluating
- yolov4-obj-1.cfg # the config file of YOLOv4 training network
- yolov4-obj-1_best.weights # load this network weights, you can detect cluster boxes on WGISD dataset accurately (download link :https://pan.baidu.com/s/14zRQHkQJbEZU3PVXWi85Uw 提取码:nx9z)
After you follow the Darknet guideline to deploy YOLO network. you can predict grape clusters by following code.
./darknet detector test cfg/obj.data cfg/yolov4-obj-1.cfg weights/yolov4/yolov4-obj-1_best.weights
下载YOLO源码:
git clone https://github.com/AlexeyAB/darknet
进入darknet目录
cd darknet
修改编译配置文件MakeFile
GPU=1
CUDNN=1
CUDNN_HALF=1
OPENCV=1
AVX=0
OPENMP=0
LIBSO=1
ZED_CAMERA=0 # ZED SDK 3.0 and above
ZED_CAMERA_v2_8=0 # ZED SDK 2.X

# set GPU=1 and CUDNN=1 to speedup on GPU
# set CUDNN_HALF=1 to further speedup 3 x times (Mixed-precision on Tensor Cores) GPU: Volta, Xavier, Turing and higher
# set AVX=1 and OPENMP=1 to speedup on CPU (if error occurs then set AVX=0)

USE_CPP=0
DEBUG=1
编译运行配置文件
make
看到目录下生成的darknet文件,说明上述步骤成功
data/2007_train.txt
data/2007_val.txt
VOCdevkit
│
└───VOC2007
    │
    └───Annotations # 所有图片的xml标签数据
    │   │   CDY_2015.xml
    │   │   ...
    │
    └───ImageSets   # 数据集的划分
    │   │
    │   └───Main # 所有图片的xml标签数据
    │       │   test.txt  # 测试集图片文件名集合
    │       │   train.txt # 训练集图片文件名集合
    │       │   val.txt   # 验证集图片文件名集合
    │
    └───JPEGImages  # 所有图片的jpg数据
    │   │   CDY_2015.jpg
    │   │   ...
    │
    └───labels      # 所有图片的yolo标签
        │   CDY_2015.txt
        │   ...
VOCdevkit - VOC2007 - Annotations # 所有图片的xml标签数据 - CDY_2015.xml - ImageSets # 数据集的划分 - Main - test.txt # 测试集图片文件名集合 - train.txt # 训练集图片文件名集合 - val.txt # 验证集图片文件名集合 - JPEGImages # 所有图片的jpg数据 - CDY_2015.jpg - labels # 所有图片的yolo标签 - CDY_2015.txt
CDY # 0
CFR # 1
CSV # 2
SVB # 3
SYH # 4
放入cfg/路径下
classes= 5 # 数据集中的类别数
train  = data/2007_train.txt # 训练数据图片文件名汇总
valid  = data/2007_val.txt  # 验证数据图片文件名汇总
names = cfg/obj.names   # class中每一个编号对应的类别名称,需一一对应
backup = backup/ # 权重结果保存路径
放入cfg/路径下
cp cfg/yolov4-custom.cfg cfg/yolov4-obj.cfg
vim cfg/yolov4-obj.cfg
修改yolov4-obj.cfg的内容
Training部分
batch=64
subdivisions=64
width=416
height=416
channels=3
momentum=0.949
decay=0.0005
angle=0
saturation = 1.5
exposure = 1.5
hue=.1

learning_rate=0.001
burn_in=1000
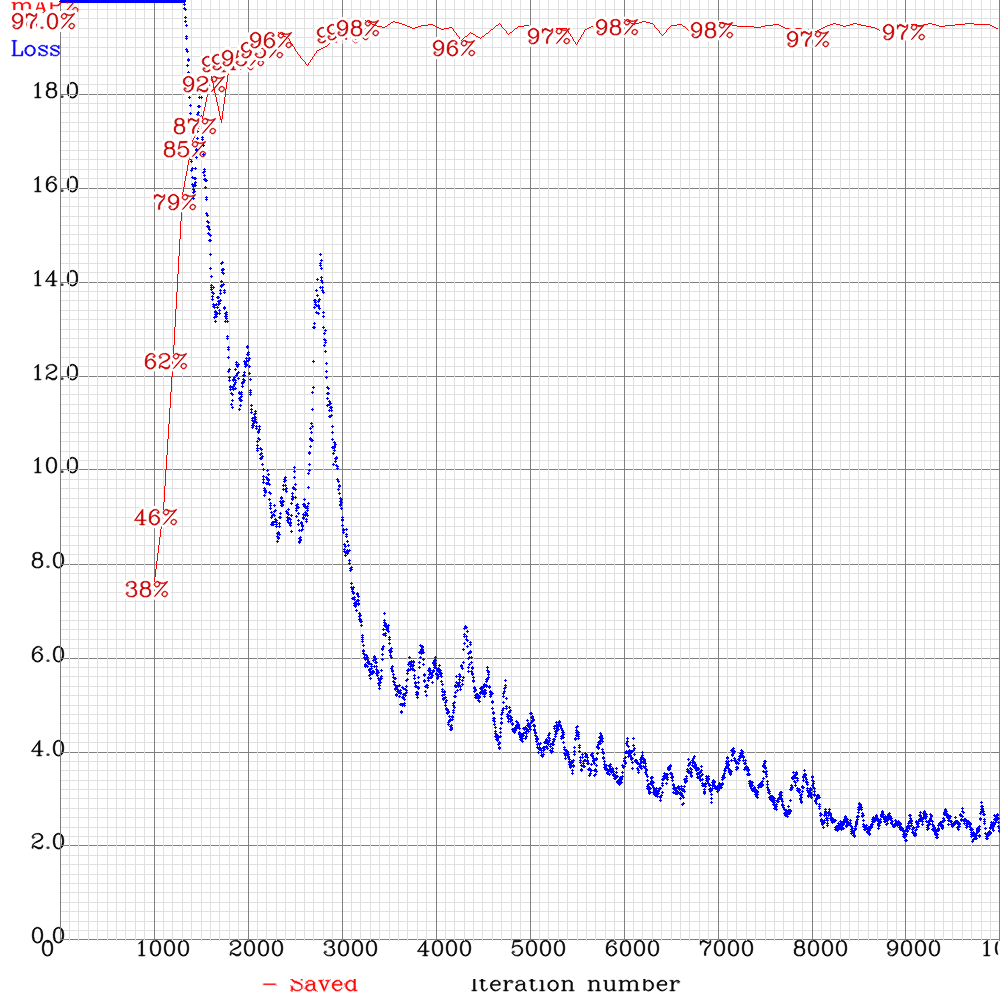
max_batches = 10000 # 迭代训练10000次
policy=steps
steps=8000,9000
scales=.1,.1

#cutmix=1
mosaic=1
修改class和对应的convolutional层layer数
/classes # 关键字搜索找到classes对应的地方
对上面的convolutional层修改layer数
[convolutional]
size=1
stride=1
pad=1
filters=30  # (classes + 5) * 3, 这里classes是5, 所以filter为30
activation=linear


[yolo]
mask = 0,1,2
anchors = 12, 16, 19, 36, 40, 28, 36, 75, 76, 55, 72, 146, 142, 110, 192, 243, 459, 401
classes=5
num=9
需要上述这样操作的地方还有3处,因为有3个yolo层。
下载yolov4.conv.137预训练配置文件 下载链接:https://drive.google.com/open?id=1JKF-bdIklxOOVy-2Cr5qdvjgGpmGfcbp
以上,yolov4训练自己数据集的准备工作已经做好了,需要以下几个部分
- VOC格式的数据 # 划分好训练集和测试集
- obj.names # 数据集中类别的名称
- obj.data # 数据集相关配置信息
- yolov4-obj.cfg # 网络配置和训练文件
- yolov4.conv.137 # 加载的预训练权重
./darknet detector train data/obj.data cfg/yolov4-obj.cfg weights/yolov4.conv.137 -dont_show -map
利用训练好的模型进行预测
./darknet detector test cfg/obj.data cfg/yolov4-obj-1.cfg weights/yolov4/yolov4-obj-1_best.weights
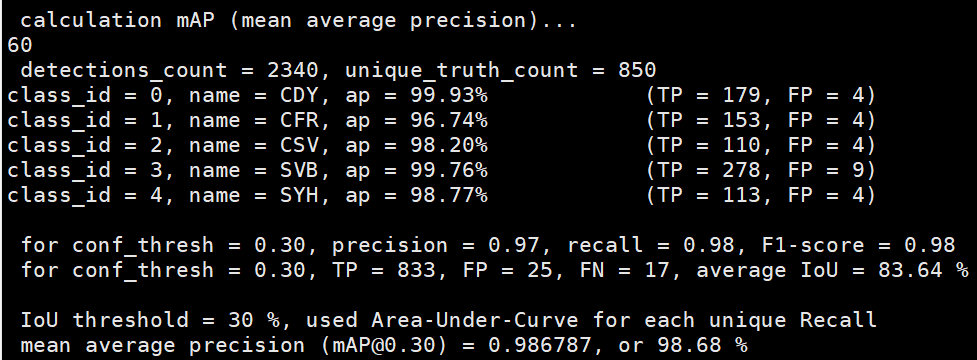
检测训练好的模型在IoU阈值为0.3的条件下,mAP,以及各项准确率的多少。
./darknet detector map cfg/obj.data cfg/yolov4-obj-1.cfg weights/yolov4/yolov4-obj-1_best.weights -iou_thresh 0.30 -thresh 0.30
matlab运行get_density_map_autogaussian.m
产生原图的高斯核密度图,作为groundtruth
利用YOLOv4对图片中的葡萄串进行方框定位,执行mask.m函数,将背景图中方框以外的部分去除
path = 'raw_images\';
filename = strcat(path, 'SVB_1962.jpg');
img = imread(filename) ;
data_box = importdata('SVB_1962.txt') ;
mask_img = getMask(img, data_box);
imshow(mask_img)
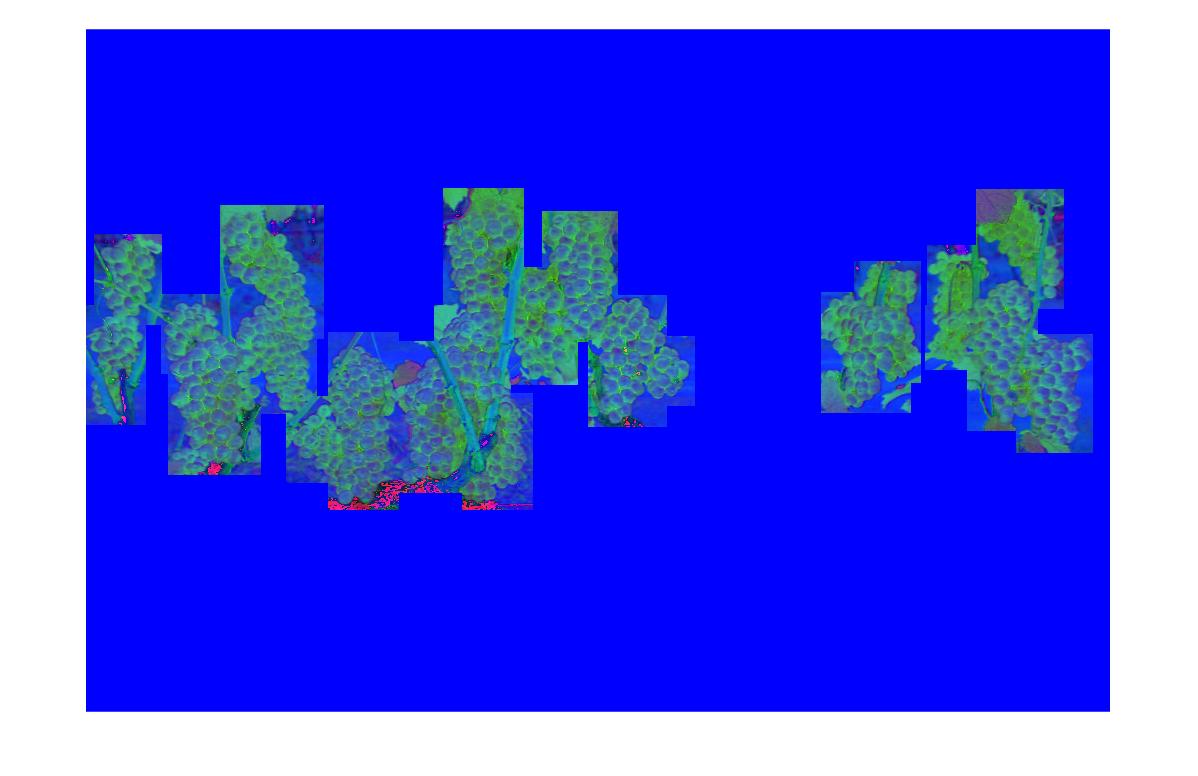
将rgb图片转成hsv三色图形式
newimg = rgb2hsv(mask_img);
% imshow(newimg);
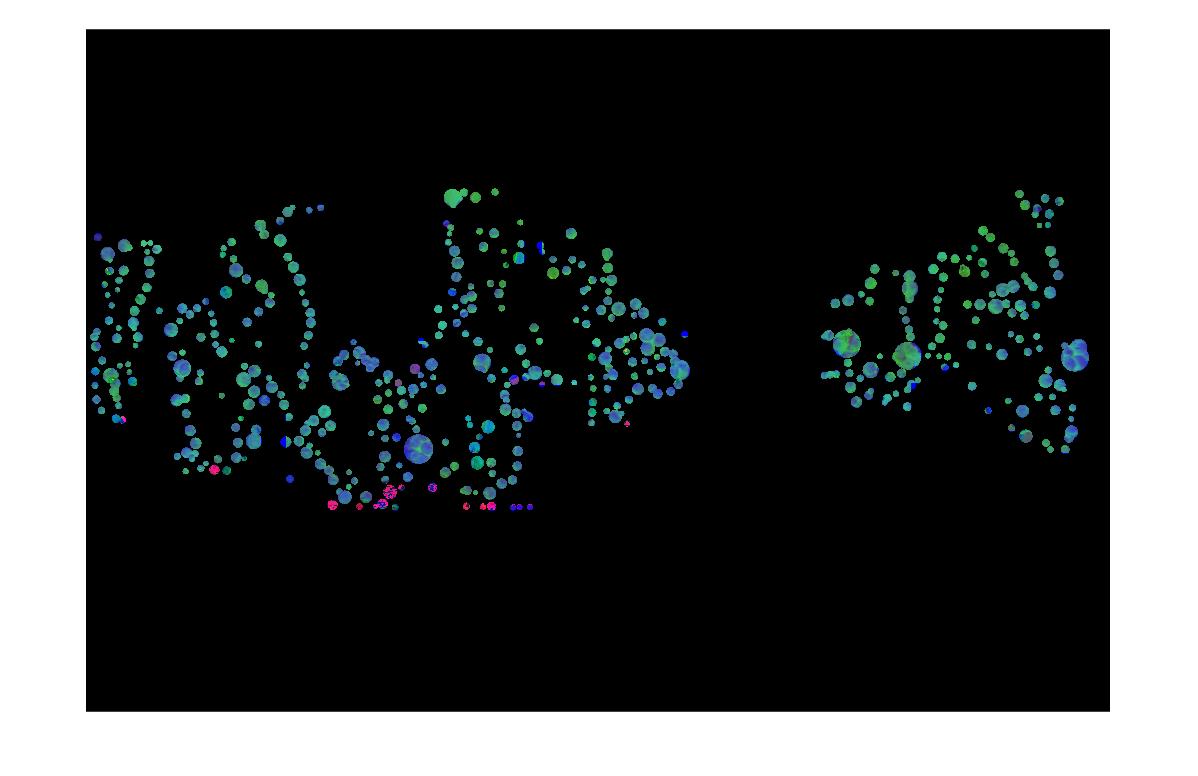
[centers, radiis] = segmentImage(newimg, 5, 30, 0.92);
prefix = strsplit('SVB_1962.jpg', '.');
label = readxml( prefix{1});

