UI for the draco art installation
Important: Run nvm use from the repo directory to ensure you are using the correct version of NodeJS
Run yarn install in the repo directory. You must have Yarn installed. On MacOS, this can be accomplished via brew install yarn.
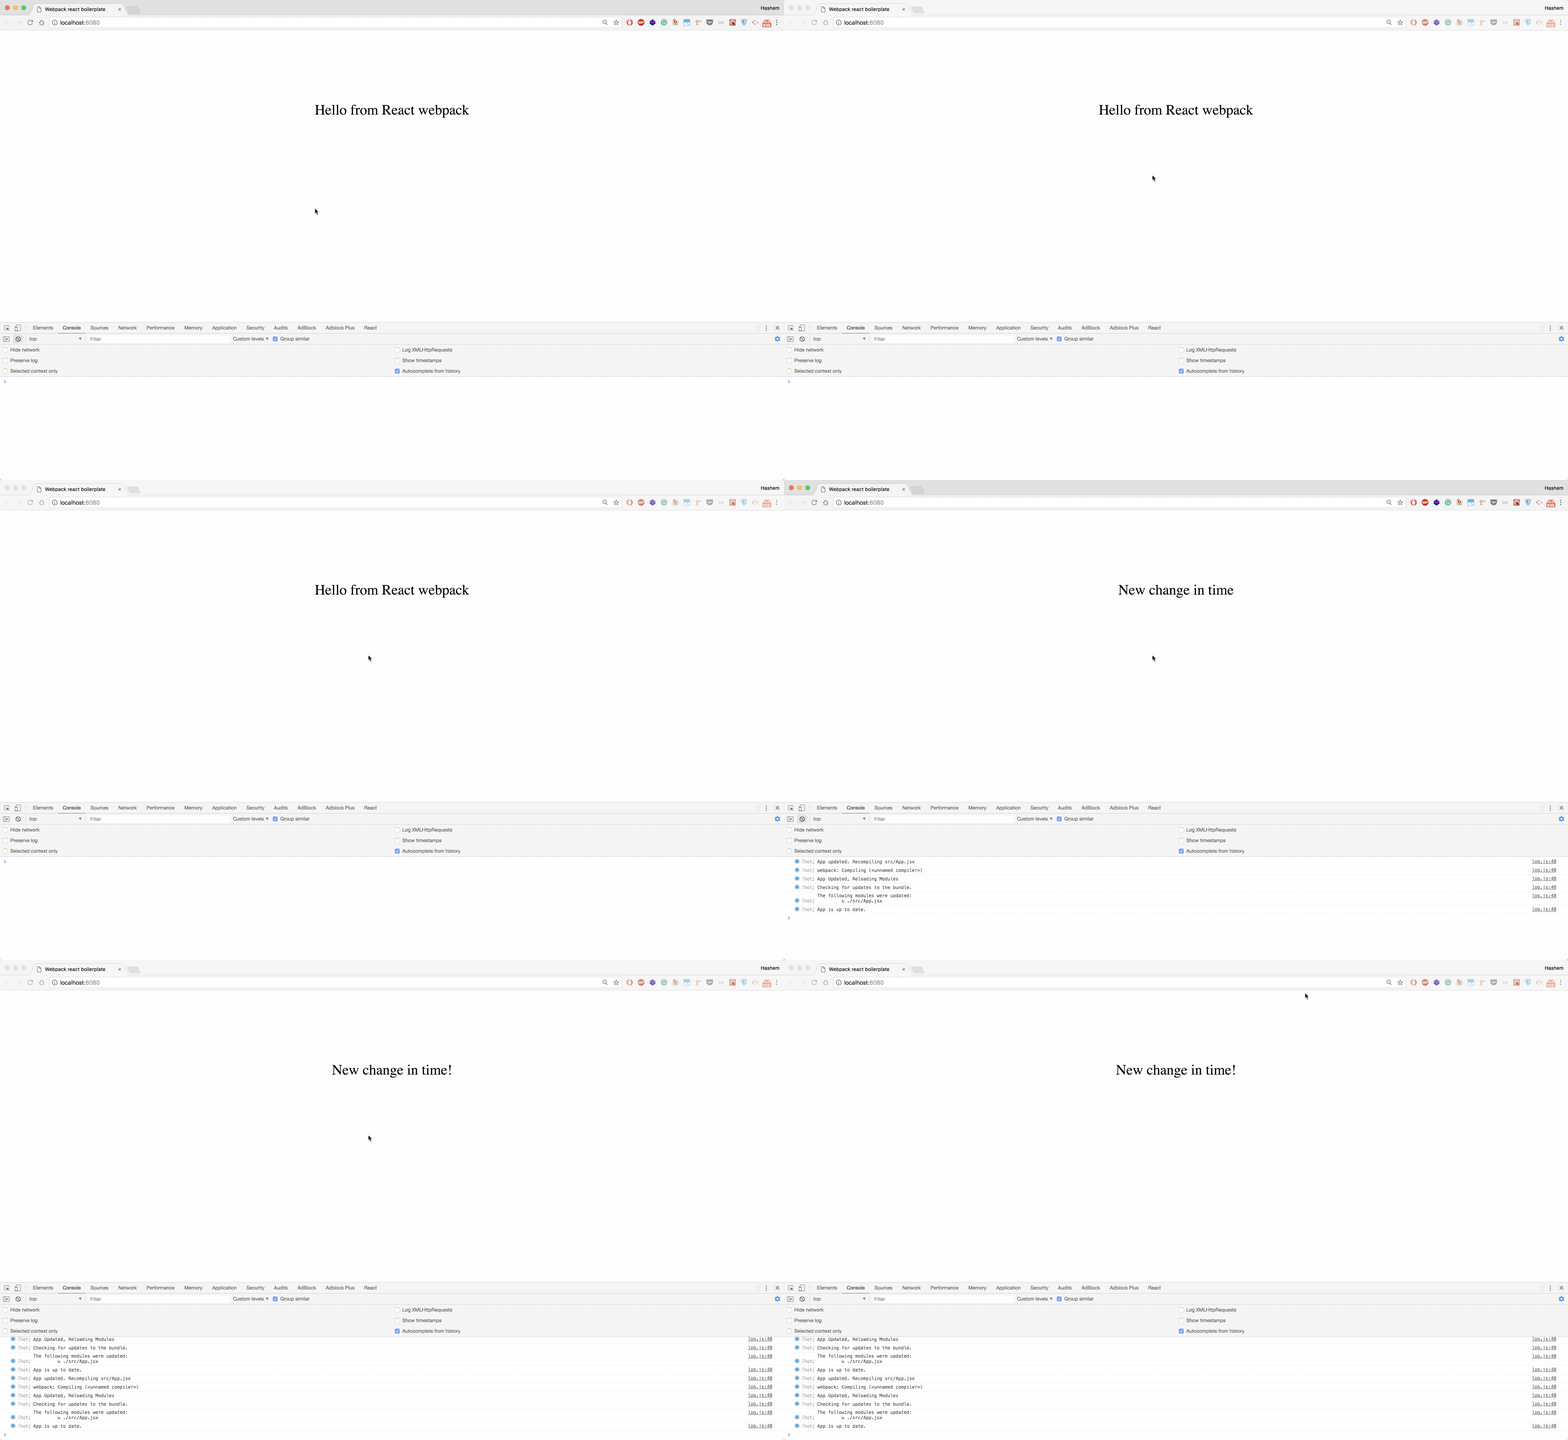
This repo uses a Webpack dev server to provide automatic compilation and hot module reloading. Run it with yarn start.
This will start the Webpack dev server and allow you to see the UI on localhost:8080. However, by default you will only be able to access the server from your local computer.
To make the Webpack server accessible to all devices on your network, run yarn start-all. This allows easily testing changes on any
device (e.g., iPad) on your local network with automatic hot loading of any changes, etc.
WARNING: Opening access to the dev server to anyone on your network can be a security risk if your computer is directly accessible from the internet!
If you are worried about this, use yarn start so the server is only accessible from your own computer. In most cases this shouldn't be an issue.
This project uses jest for testing. Run the tests with yarn test.
To build and bundle the resources for prod, run yarn build.
To allow users to configure defaults in the application at runtime, there is a configuration file where we can set values.
This file is called 'envConfig.js'. It is not part of the webpack bundle, but loaded as a separate file.
This works slightly differently in dev mode (locally via webpack) vs prod mode (running in the docker container).
The webpack dev server will serve files in the 'build' directory. In dev mode, we directly read the file from that directory. Change that file manually if you want to change defaults during development.
When running in the docker container, you can create a file called 'tesseract-config.yml' with your settings. You then volume mount that file into the docker container, and it is read on startup to generate the 'envConfig.js' file. That allows people to configure the application without rebuilding the docker container. See the files in the 'deploy/draco/' directory for an example of using docker compose.
You can also configure the application via environment variables: docker run -ti -p 8080:80 -e "defaultServerAddr=my-server.local" tesseractpixel/tesseract-ui:latest
This repo was originally cloned from:
Minimal webpack and react boilerplate using latest version of react and babel as well as jest and enzyme for more details about technologies used. click with real time server changes ;)
check out Medium article for more details
build/
src/
|- index.jsx _______________________________ # Application entry
|- App.jsx _________________________________ # Application init
|  |- Components/
|    |- hello-world/
|       |- index.jsx _______________________ # Sample component

webpack
|- paths.js ________________________________ # webpack paths needed
|- webpack.common.js _______________________ # common webpack config
|- webpack.dev.js __________________________ # development config
|- webpack.prod.js _________________________ # production config
1- Clone the boilerplate repo
git clone git@github.com:HashemKhalifa/webpack-react-boilerplate.git
2- yarn or npm install to install npm packages
3- start dev server using yarn start or npm start.
3- build and bundling your resources for production yarn build.
4- Unit testing will watch all your changes in the test files as well as create coverage folder for you.
yarn test
- Webpack Config paths based on your file structure you can go to
webpack/paths.jsand modify the source and file names based on your need. webpack/webpack.common.jsconfig common webpack for both dev and production environments.- webpack/webpack.dev.js config webpack for dev environment.
webpack/webpack.prod.jsconfig webpack for production environment./webpack.config.jsmain webpack config that merge common and webpack environment based config.- Enzyme config
/setupTest.jshere you will have all setup for enzyme to test your component. - Prettier config
/.prettierc. - Browsers list config
/.browserslistrc.
- Webpack 4
- Babel 7 [ transforming JSX and ES6,ES7,ES8 ]
- React
16.8 - Lodash
- Jest [ Unit test]
- Enzyme for UI testing.
- Eslint with airbnb config
- Prettier [ Code formatter ]
- Style & CSS Loader & SASS-loader
- CSS modules [ Isolated style based on each component ]
- Browsers list [ Share target browsers between different front-end tools, like Autoprefixer, Stylelint and babel-preset-env ]
- React hot loader
- Webpack dev serve


