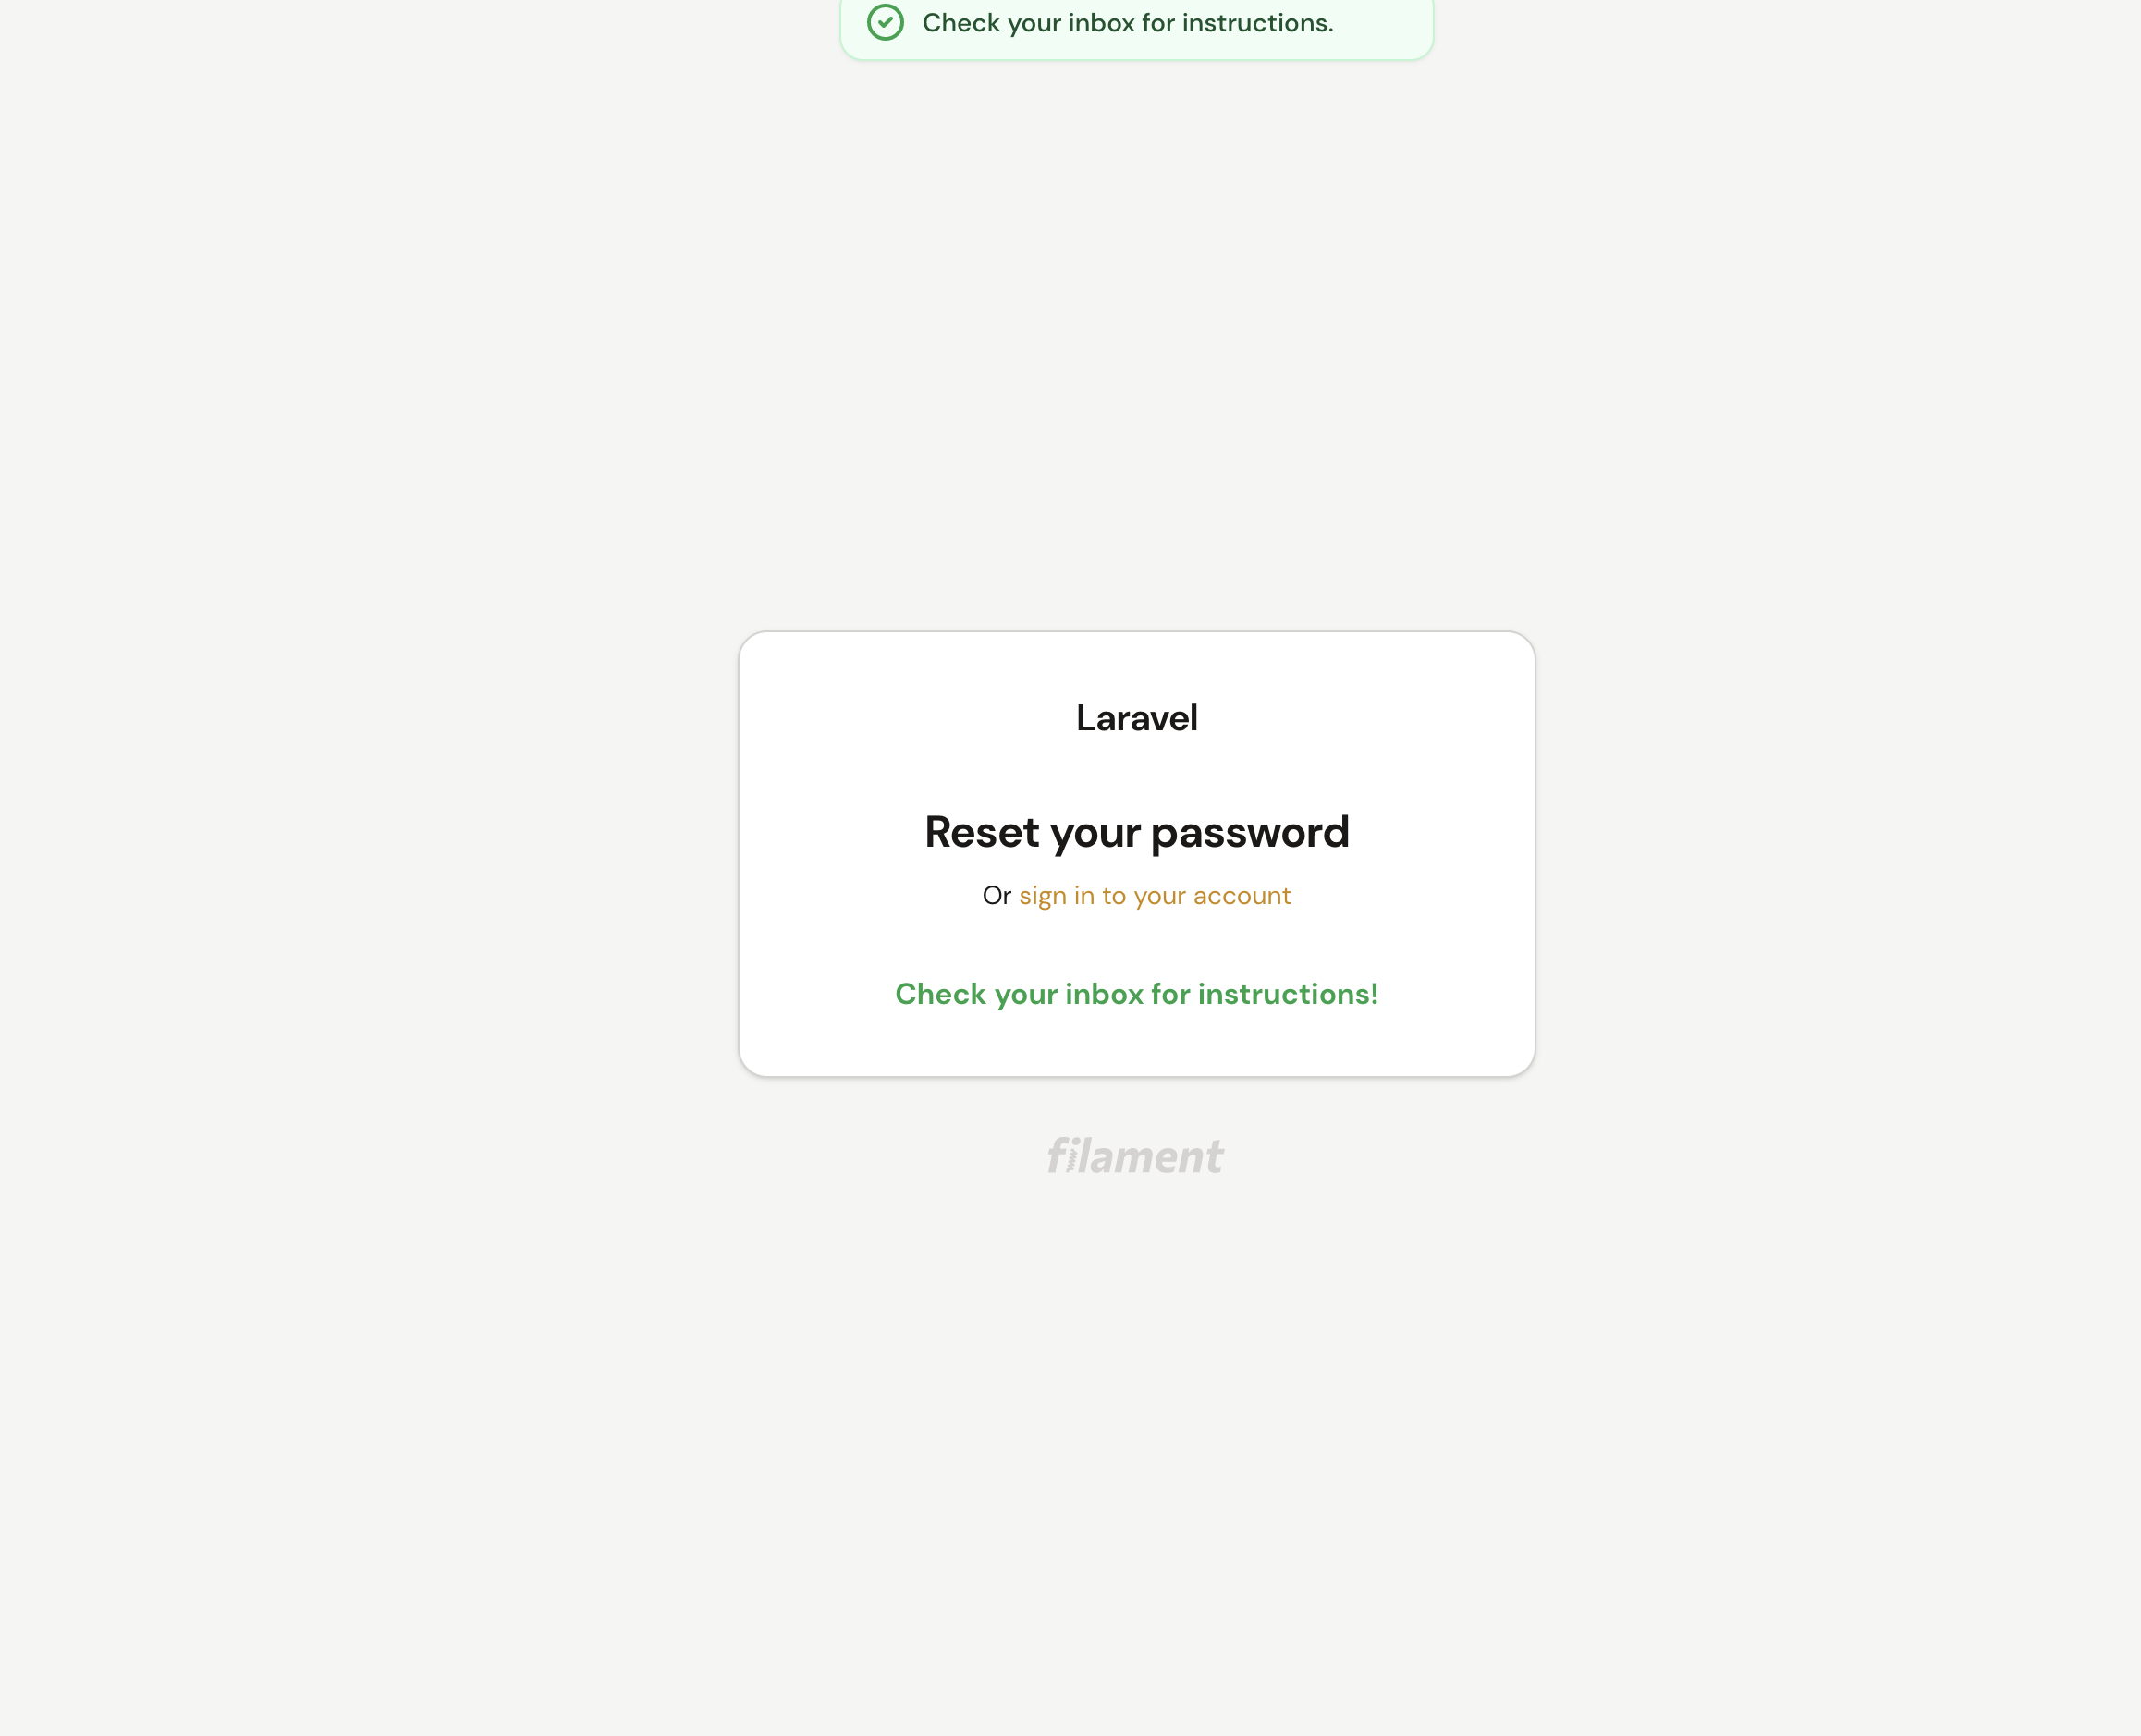
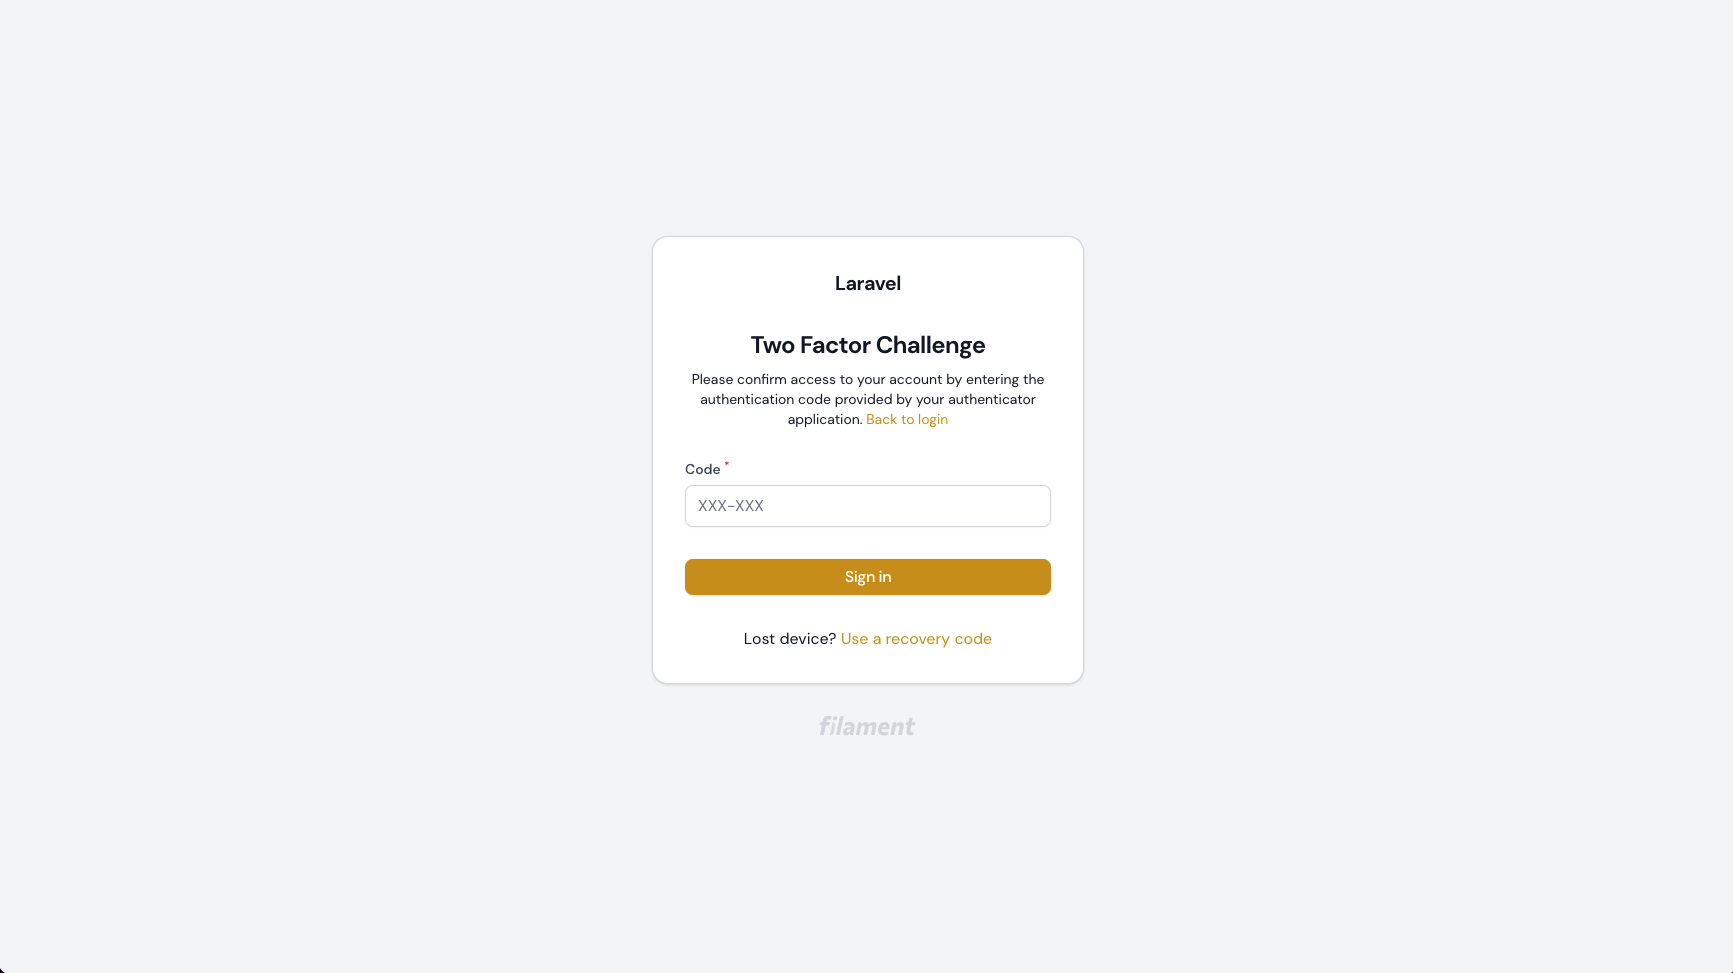
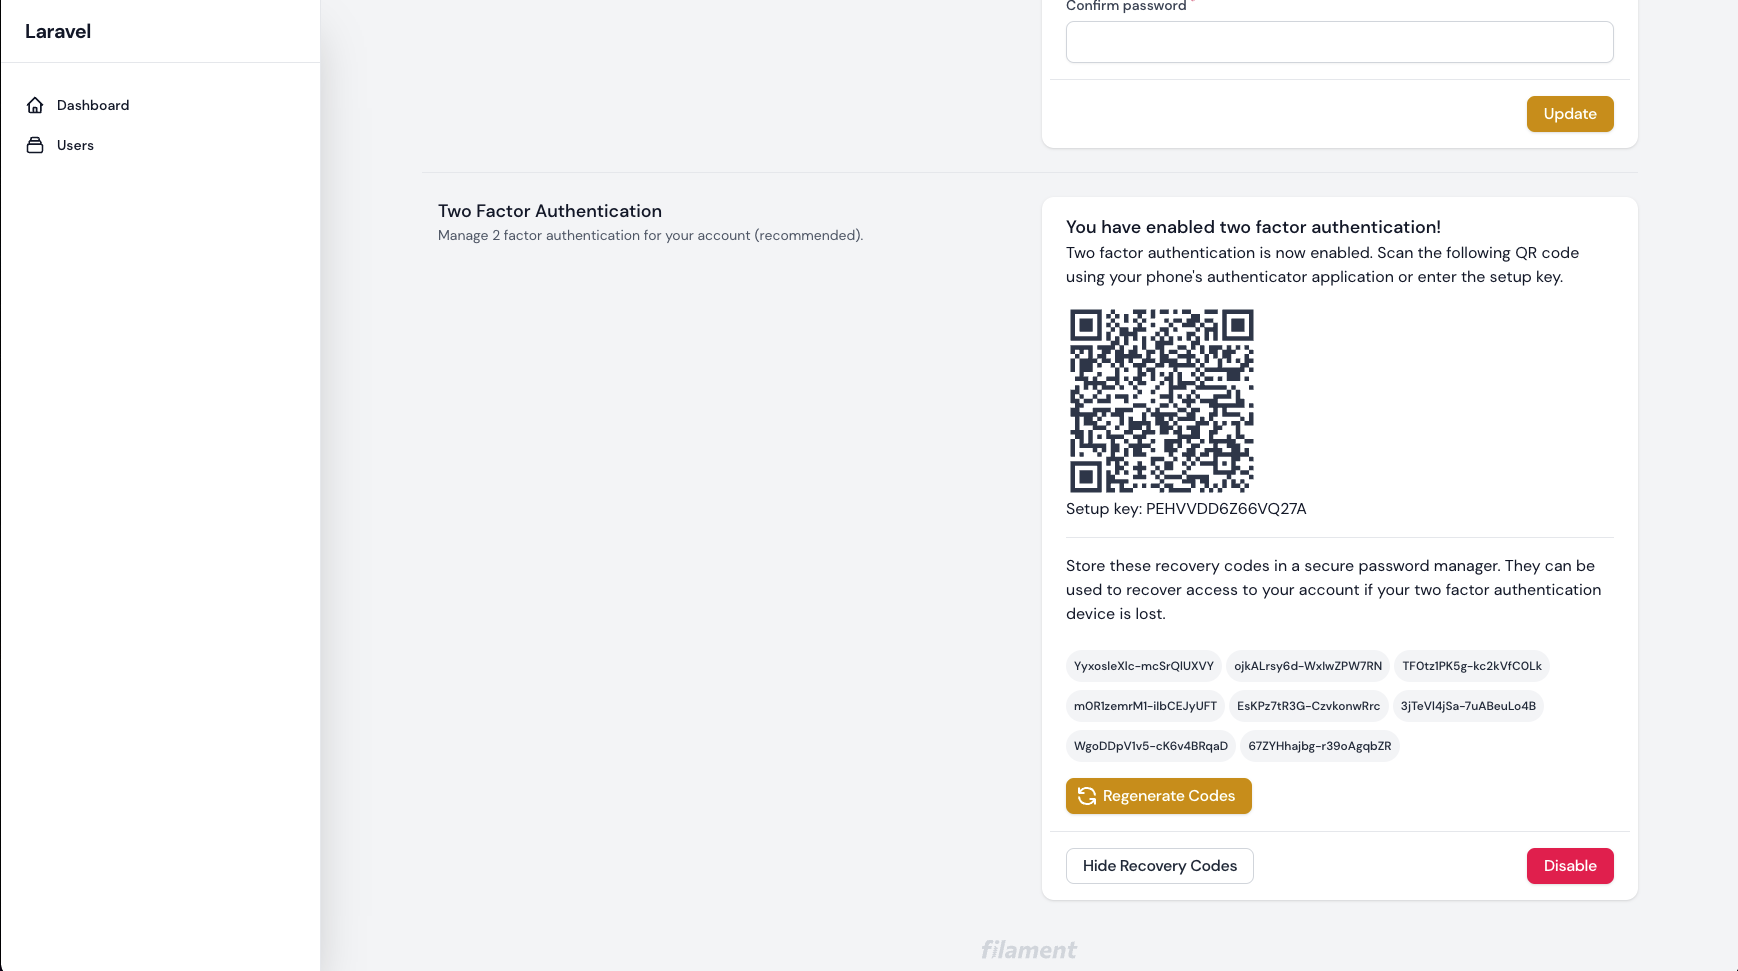
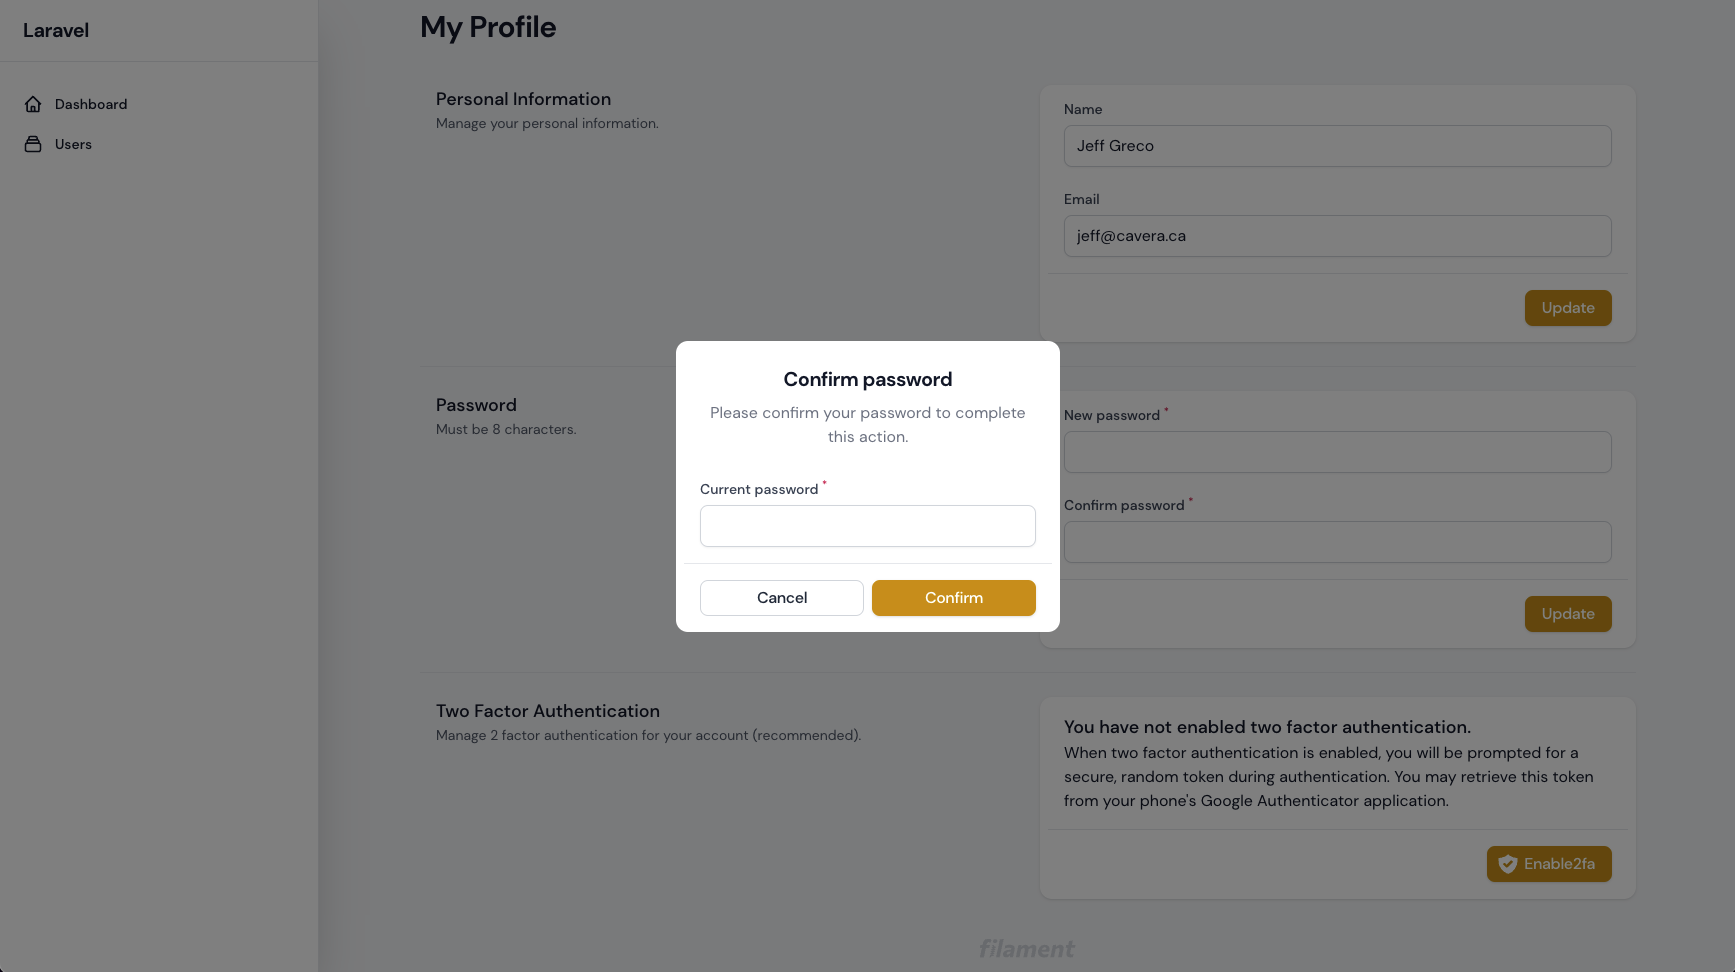
The missing toolkit from Filament Admin with Breeze-like functionality. Includes login, registration, password reset, password confirmation, email verification, and a my profile page. All using the TALL-stack, all very Filament-y.
- Install the package via composer:
composer require jeffgreco13/filament-breezy- Update the
config/filament.phpto point to the Breezy Login::class.
"auth" => [
    "guard" => env("FILAMENT_AUTH_GUARD", "web"),
    "pages" => [
        "login" =>
            \JeffGreco13\FilamentBreezy\Http\Livewire\Auth\Login::class,
    ],
],
Optionally, you can publish the Breezy config file for further customizations, such as Password rules, redirect after registration, and enable/disable the profile page.
php artisan vendor:publish --tag="filament-breezy-config"Optionally, you can publish the views using:
php artisan vendor:publish --tag="filament-breezy-views"By default, 2FA is disabled. To enable it Two Factor Authentication in your app:
- Set
enable_2fa => truein the filament-breezy config:
/*
|--------------------------------------------------------------------------
| Enable Two-Factor Authentication (2FA).
*/
"enable_2fa" => true,
NOTE: if you are using a table other than users, you can update the table name in the filament-breezy config or modify the published migration.
- Publish and run the migrations:
php artisan vendor:publish --tag="filament-breezy-migrations"
php artisan migrate- Add
JeffGreco13\FilamentBreezy\Traits\TwoFactorAuthenticatableto your Authenticatable model:
use JeffGreco13\FilamentBreezy\Traits\TwoFactorAuthenticatable;

class User extends Authenticatable
{
    use HasApiTokens, HasFactory, Notifiable, TwoFactorAuthenticatable;
...Uses the Laravel Email Verification service.
Implement MustVerifyEmail on your User model:
use Illuminate\Contracts\Auth\MustVerifyEmail;

class User extends Authenticatable implements MustVerifyEmail
Then you can add the verified middleware to any of your routes:
Route::get("/profile", function () {
    // Only verified users may access this route...
})->middleware("verified");
Or, force verified emails on your entire Filament Admin by adding the EnsureEmailIsVerified class to the auth middleware in config/filament.php:
"middleware" => [
    "auth" => [
        Authenticate::class,
        Illuminate\Auth\Middleware\EnsureEmailIsVerified::class
    ],
....All pages within the auth flow are full-page Livewire components made to work with Filament Forms. So you can easily extend any component to add your own fields and actions.
You can instruct Breezy to use any custom components by updating the paths in the filament-breezy config file:
/*
|--------------------------------------------------------------------------
| Path to registration Livewire component.
*/
"registration_component_path" => \JeffGreco13\FilamentBreezy\Http\Livewire\Auth\Register::class,
/*
|--------------------------------------------------------------------------
| Path to password reset Livewire component.
*/
"password_reset_component_path" => \JeffGreco13\FilamentBreezy\Http\Livewire\Auth\ResetPassword::class,
/*
|--------------------------------------------------------------------------
| Path to email verification Livewire component.
*/
"email_verification_component_path" => \JeffGreco13\FilamentBreezy\Http\Livewire\Auth\Verify::class,
NOTE: Remember, the Login path is set in the Filament config, not in the filament-breezy config.
Here is an example of extending the BreezyRegister class to add new fields to registration:
use JeffGreco13\FilamentBreezy\Http\Livewire\Auth\Register as FilamentBreezyRegister;


class Register extends FilamentBreezyRegister
{
    // Define the new attributes
    public $consent_to_terms, $team_name;

    // Override the getFormSchema method and merge the default fields then add your own.
    protected function getFormSchema(): array
    {
        return array_merge(parent::getFormSchema(),[
            Forms\Components\Checkbox::make('consent_to_terms')->label('I consent to the terms of service and privacy policy.')->required(),
            Forms\Components\TextInput::make("team_name")->required()
        ]);
    }

    // Use this method to modify the preparedData before the register() method is called.
    protected function prepareModelData($data): array
    {
        $preparedData = parent::prepareModelData($data);
        $preparedData['consent_to_terms'] = $this->consent_to_terms;
        $preparedData["team_name"] = $this->team_name;

        return $preparedData;
    }

    // Optionally, you can override the entire register() method to customize exactly what happens at registration
    public function register()
    {
        $preparedData = $this->prepareModelData($this->form->getState());
        $team = Team::create(["name" => $preparedData["team_name"]]);
        unset($preparedData["team_name"]);
        // ...
    }
...Similar to above, you can add new fields to your Profile forms by extending the Filament Page:
namespace App\Filament\Pages;

use JeffGreco13\FilamentBreezy\Pages\MyProfile as BaseProfile;
use Filament\Forms;

class MyProfile extends BaseProfile
{

  // ..

  protected function getUpdateProfileFormSchema(): array
    {
        return array_merge(parent::getUpdateProfileFormSchema(), [
            Forms\Components\TextInput::make("job_title"),
            Forms\Components\Checkbox::make("marketing_consent")->label(
                "I consent to receive email notifications....."
            ),
        ]);
    }
You will then need to set "enable_profile_page" => false, in filament-breezy config to unregister the default Profile page. When you set "enable_profile_page" => false, then "show_profile_page_in_user_menu" => true is ignored and you will need to manually register a new item for the user menu within your service provider:
use App\Filament\Pages\MyProfile;

Filament::serving(function () {

    // ..

    Filament::registerUserMenuItems([
        'account' => UserMenuItem::make()->url(MyProfile::getUrl()),
    ]);

    // ..

});
NOTE: in order to add new sections to the Profile page, you will need to extend the class and publish/create your own views. The above method will only allow for adding new fields to the existing Personal Information or Password forms.
You may want to authenticate your users using a column other than email in your Authenticatable model. After you have setup your database, you can change the column in the config:
"fallback_login_field" => "username",Optionally, update the field label in your language file:
"fields" => [
   //
   "login" => "Username",
//Since v1.3.0, Breezy has a PasswordButtonAction shortcut which extends the default Page\ButtonAction class. This button action will prompt the user to enter their password for sensitive actions (eg. delete), then will not ask for password again for the # of seconds defined in the filament-breezy config (default 300s).
use JeffGreco13\FilamentBreezy\Actions\PasswordButtonAction;

PasswordButtonAction::make('secure_action')->action('doSecureAction')

// Customize the icon, action, modalHeading and anything else.
PasswordButtonAction::make('secure_action')->label('Delete')->icon('heroicon-s-shield-check')->modalHeading('Confirmation')->action(fn()=>$this->doAction())The most recent version of Laravel include Sanctum, but if you don't already have the package follow the installation instructions here.
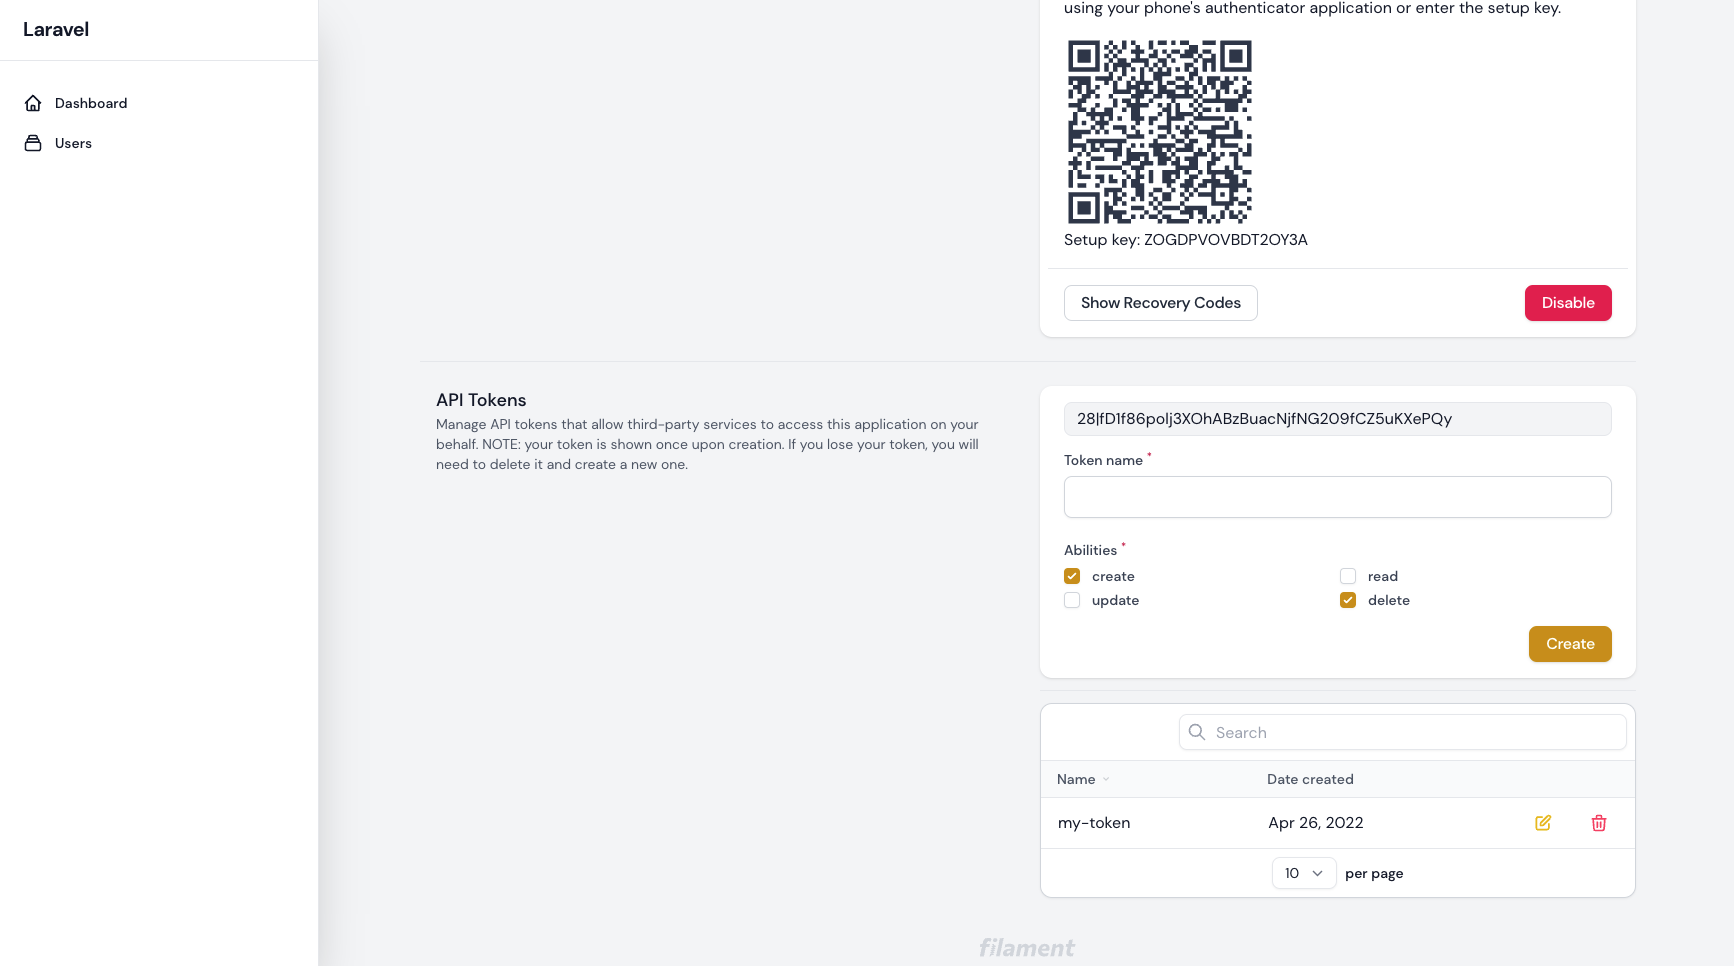
As soon as Sanctum is installed, you are ready to allow users to create new API tokens from the Profile page. Enable this option in the config:
enable_sanctum => true
You can then control the available permissions abilities from the config, which will add each ability as a checkbox:
"sanctum_permissions" => ["create", "read", "update", "delete"]
Follow the Sanctum instructions for authenticating requests as usual.
composer testPlease see CHANGELOG for more information on what has changed recently.
Please see CONTRIBUTING for details.
Please review our security policy on how to report security vulnerabilities.
The MIT License (MIT). Please see License File for more information.


