This is a small task that I gave to a friend of mine that is learning C# but I also decided to implement it on my own way. I know it could be simple, but why not try to match a cloud environment, right?
I told him that I'd like:
- two microservices in .Net core
- services should communicate to each other via a message broker like kafka or rabbitmq.
- the api's should be exposed via an API Gateway (I did suggest kong for this)
- Everything using containers
To quickly get the environment running, do the following:
$ docker swarm init
$ chmod +x ./scripts/deploy-cloud.sh && ./scripts/deploy-cloud.sh
$ chmod +x ./scripts/deploy-playground.sh && ./scripts/deploy-playground.sh
and then check the application results.
For this sample, I'll be using docker in swarm mode. So, let's start by creating our swarm. Along with the swarm, we will also create two networks, one named admin and another network named playground. The admin network will host our cloud tools and the default proxy, and the playground network will host our services. This is important so we know that our services can't mess up with our administration tools. Both networks will be configured as attachable networks, this way we can easily spin containers to perform administrative tasks and sometimes, debugging tasks too.
$ docker swarm init
$ docker network create -d overlay --attachable admin
$ docker network create -d overlay --attachable playground
The first piece of our stack is portainer. Portainer is a management UI for swarm. This comes handy whenever you need to see the status of your custer and which services are running without using a shell. This is not a mandatory tool, but I like to use it to inspect the swarm, check logs, access a container, etc.
$ docker volume create portainer_data
$ docker service create \
    --name portainer \
    --network admin \
    --replicas=1 \
    --constraint 'node.role == manager' \
    --mount 'type=bind,src=/var/run/docker.sock,dst=/var/run/docker.sock' \
    --mount 'type=volume,src=portainer_data,dst=/data' \
    portainer/portainer:1.19.1 -H unix:///var/run/docker.sock
After you have created both the volume and the service, you can inspect the status of the service by running docker service ls. The output should be something like shown below:
ID                  NAME                MODE                REPLICAS            IMAGE                        PORTS
4ivc2kw4uoes        portainer           replicated          1/1                 portainer/portainer:1.19.1
Running docker service ls is how we check the status of the services in our swarm.
The next step is to deploy our API Gateway. Here I will use kong community edition. For this example, I'm using volumes for everything, but you can also bind to local folders and use your backup procedures as well. Kong runs on top of nginx and acts as a proxy for your services. We will not go deep on it's features, but I really encourage you to read the docs.
The deployment for kong will happen in three steps:
-
Kong Database
Kong can run on top of cassandra or postgres. I'm using postgres here, so we don't need to fetch another image...
$ docker volume create kong_data $ docker service create \ --name kong-database \ --network admin \ --mount 'type=volume,src=kong_data,dst=/data' \ -e 'POSTGRES_USER=kong' \ -e 'POSTGRES_DB=kong' \ -e 'POSTGRES_DB=kong' \ -e 'PGDATA=/data' \ postgres:10 -
Kong Database Migration
As an intermediate step, we will seed/prepare the database to run kong. We will use an ephemeral container attached to the same network. This container will get destroyed once it finishes running.
$ docker run --rm \
    --name kong-migrations \
    --network admin \
    --link kong-database:kong-database \
    -e 'KONG_DATABASE=postgres' \
    -e 'KONG_PG_HOST=kong-database' \
    -e 'KONG_PG_USER=kong' \
    -e 'KONG_PG_PASSWORD=kong' \
    -e 'KONG_PG_DATABASE=kong' \
    kong:0.14.0 kong migrations up
You will see several messages about migrations and in the end your terminal will be freed. This is a sign that we are okay to proceed.
-
Kong
This is basically the deployment of kong. It needs to be attached to both admin and playground networks, as it needs to access the database, and be exposed by our proxy (more on this later), and also be able to access our services.
$ docker service create \
    --name kong \
    --network admin \
    --network playground \
    -e 'KONG_DATABASE=postgres' \
    -e 'KONG_PG_HOST=kong-database' \
    -e 'KONG_PG_USER=kong' \
    -e 'KONG_PG_PASSWORD=kong' \
    -e 'KONG_PG_DATABASE=kong' \
    -e 'KONG_PROXY_ACCESS_LOG=/dev/stdout' \
    -e 'KONG_ADMIN_ACCESS_LOG=/dev/stdout' \
    -e 'KONG_PROXY_ERROR_LOG=/dev/stderr' \
    -e 'KONG_ADMIN_ERROR_LOG=/dev/stderr' \
    -e 'KONG_ADMIN_LISTEN=0.0.0.0:8001' \
    -e 'KONG_ADMIN_LISTEN_SSL=0.0.0.0:8444' \
    -e 'KONG_PROXY_LISTEN=0.0.0.0:8000' \
    -e 'KONG_PROXY_LISTEN_SSL=0.0.0.0:8443' \
    kong:0.14.0
Kong is done, but the community version doesn't come with a UI. So, let's grab an open-source solution for it. We will use konga.
-
Konga Database
Konga uses a postgres database to store some credentials and preferences.
$ docker volume create konga_data $ docker service create \ --name konga-database \ --network admin \ --mount 'type=volume,src=konga_data,dst=/data' \ -e 'POSTGRES_USER=konga' \ -e 'POSTGRES_DB=konga' \ -e 'POSTGRES_DB=konga' \ -e 'PGDATA=/data' \ postgres:10 -
Konga deployment
Konga needs the database to be seeded/updated. To do this we need to run it as a temporary container attached to the admin network, so it can reach the proper database.
docker run --rm \
--network admin \
pantsel/konga:0.12.0 -c prepare -a postgres -u konga:konga@konga-database/konga -p 5432
Once the seeding is done, it's time to deploy the service. Remember to change the TOKEN_SECRET to a safe salt, as it will be used to generate the JWT token used on the authentication mechanism of Konga.
$ docker service create \
    --name konga \
    --network admin \
    -e 'DB_ADAPTER=postgres' \
    -e 'DB_HOST=konga-database' \
    -e 'DB_PORT=5432' \
    -e 'DB_USER=konga' \
    -e 'DB_PASSWORD=konga' \
    -e 'DB_DATABASE=konga' \
    -e 'TOKEN_SECRET=THIS_SHOULD_BE_A_RANDOM_TOKEN' \
    pantsel/konga:0.12.0 npm run prepare
Finally, we are done with most of the admin services. When I most is because we didn't expose any ports yet, which means we can't access Kong, Konga nor Portainer from our browser. To achieve that, I like to spin an haproxy container with some basic configuration. The haproxy.cfg file contains all those three backends responding to:
- swarm.yourdomain - Exposes Portainer
- admin.yourdomain - Exposes Konga
- yourdomain - exposes kong services
Since this is a customized haproxy, we need to build the image and deploy it.
$ docker build -f haproxy.dockerfile . -t playground/haproxy:0.1.0
$ docker service create \
    --name haproxy \
    --network admin \
    --publish 80:80 \
playground/haproxy:0.1.0In my case, I'm using cloud.local pointing to 127.0.0.1 on my hosts file. So, to have everything working properly on your end as well, let's add the following to the hosts file.
127.0.0.1       cloud.local
127.0.0.1       admin.cloud.local
127.0.0.1       swarm.cloud.local
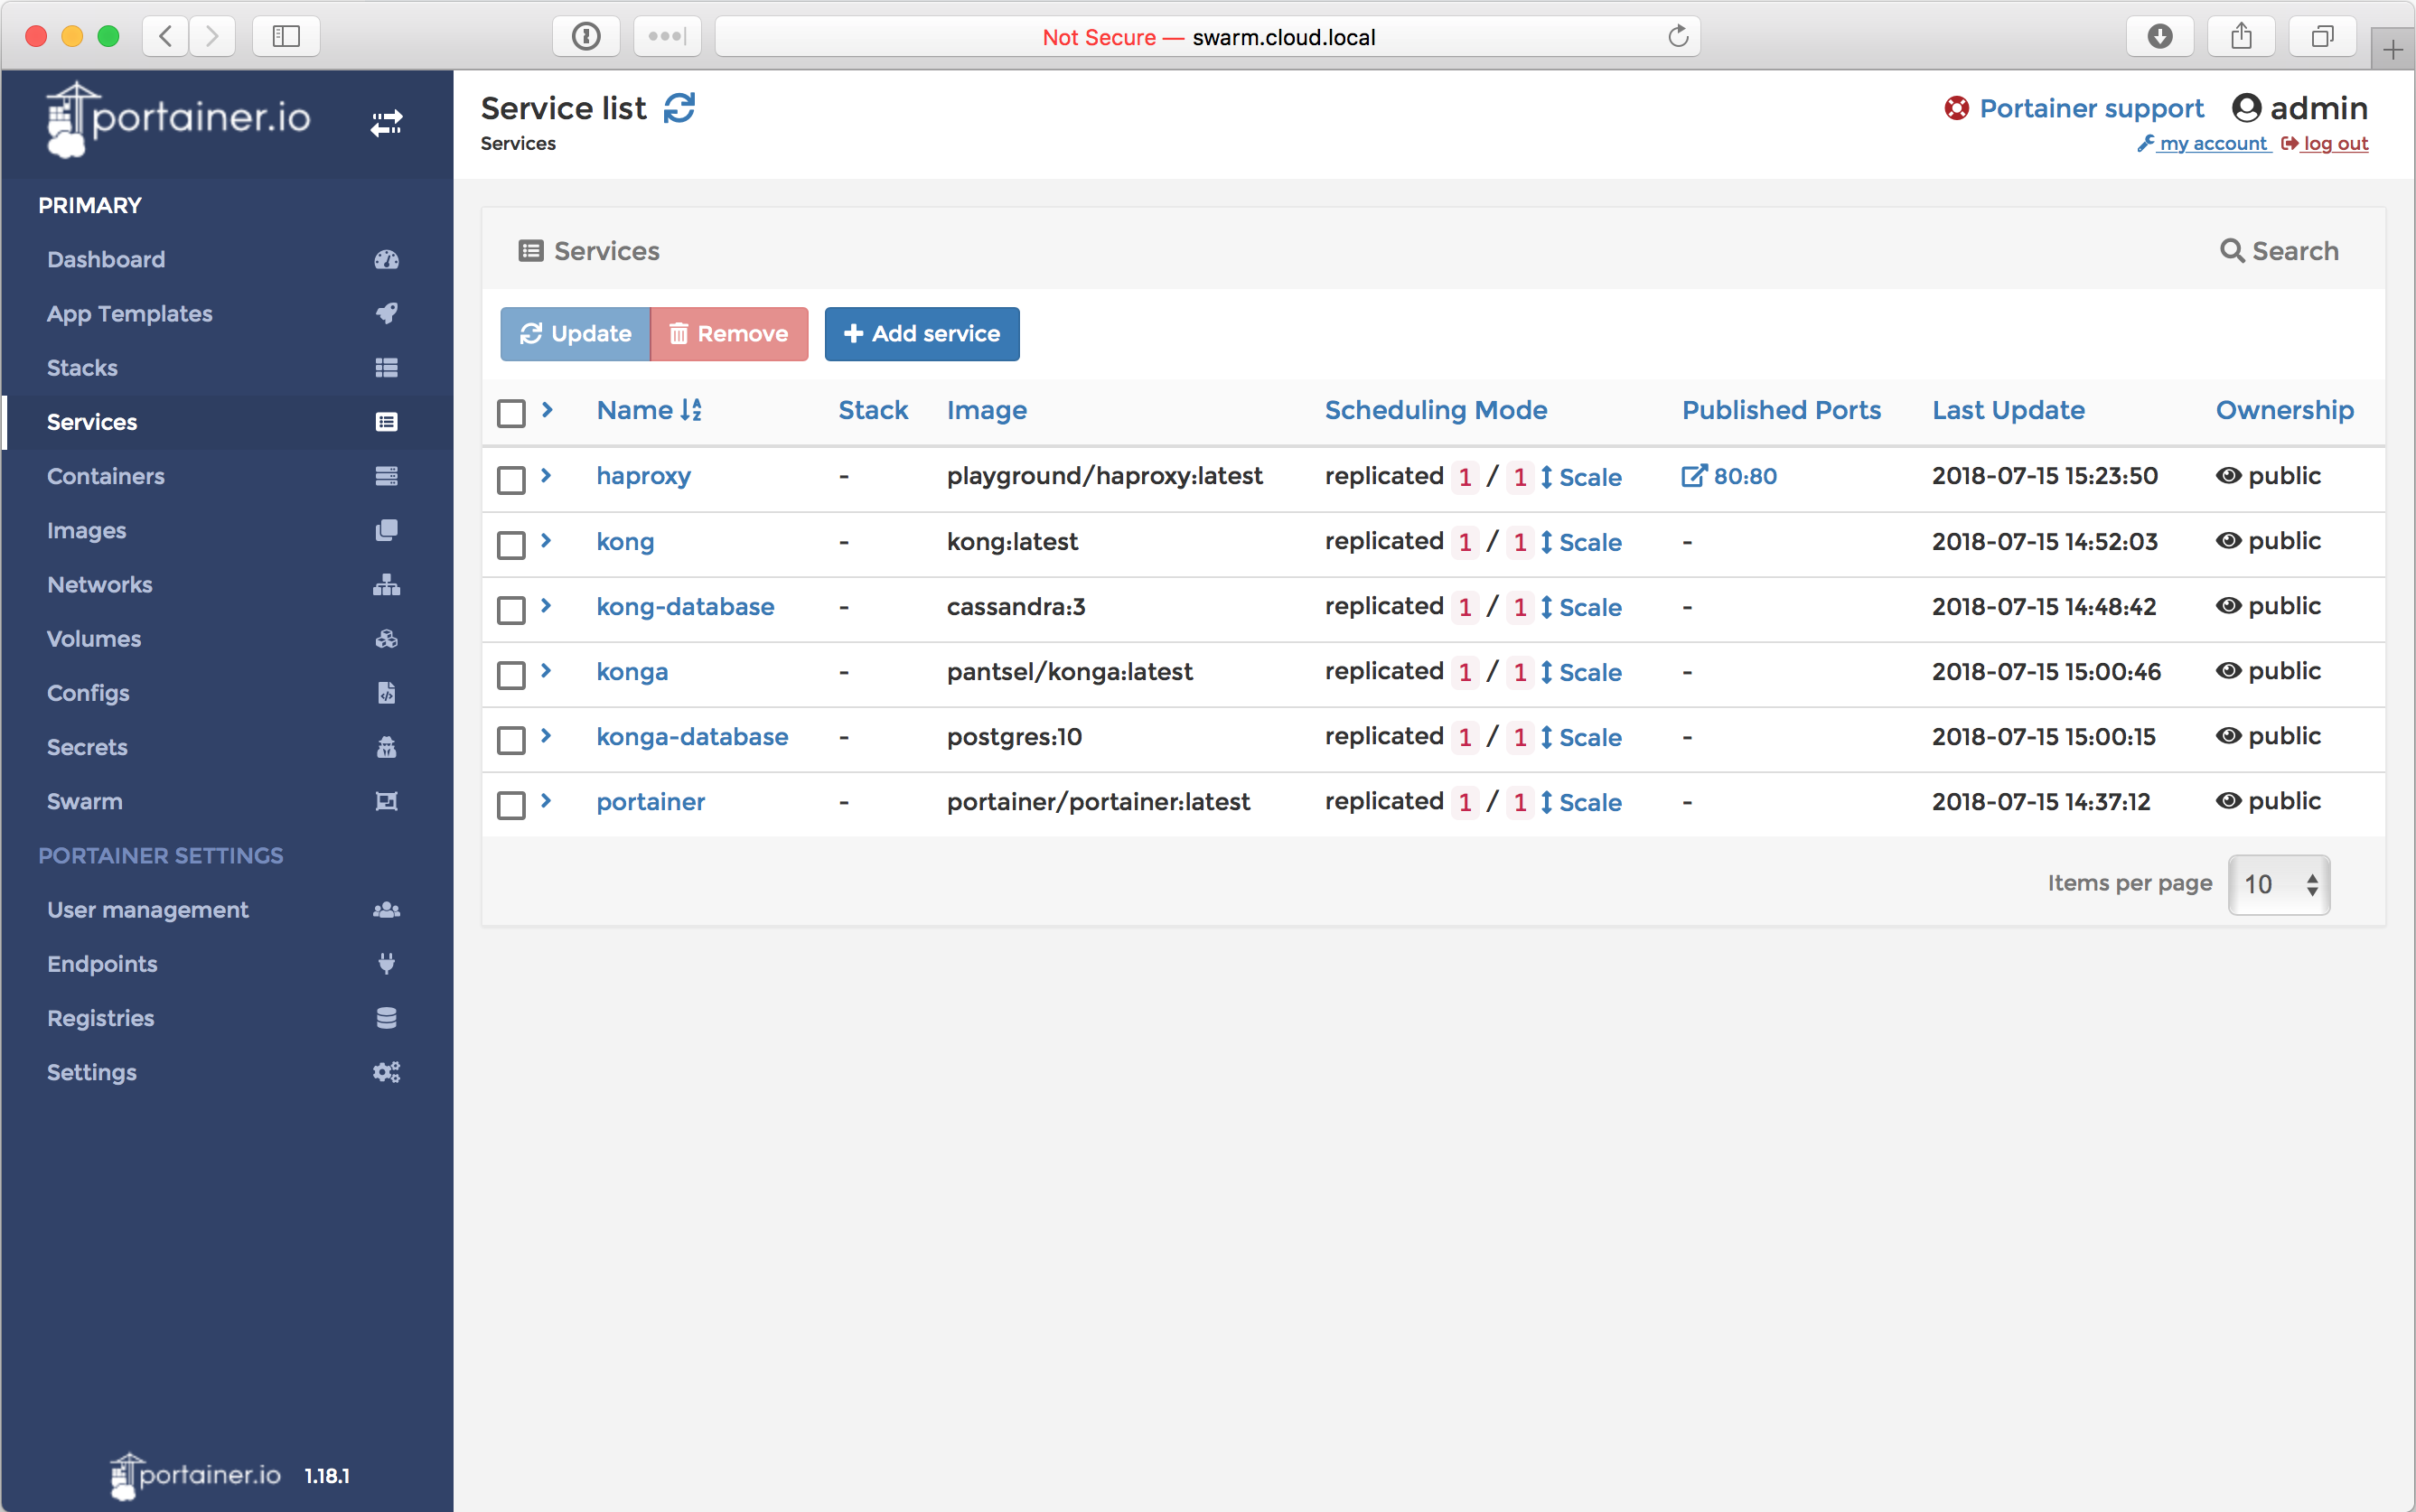
Now, finally you should be able to access all three services. Go to admin.cloud.local and portainer will prompt you to create a user and password. Do it and, and go to the services section. YOu should see something like this:
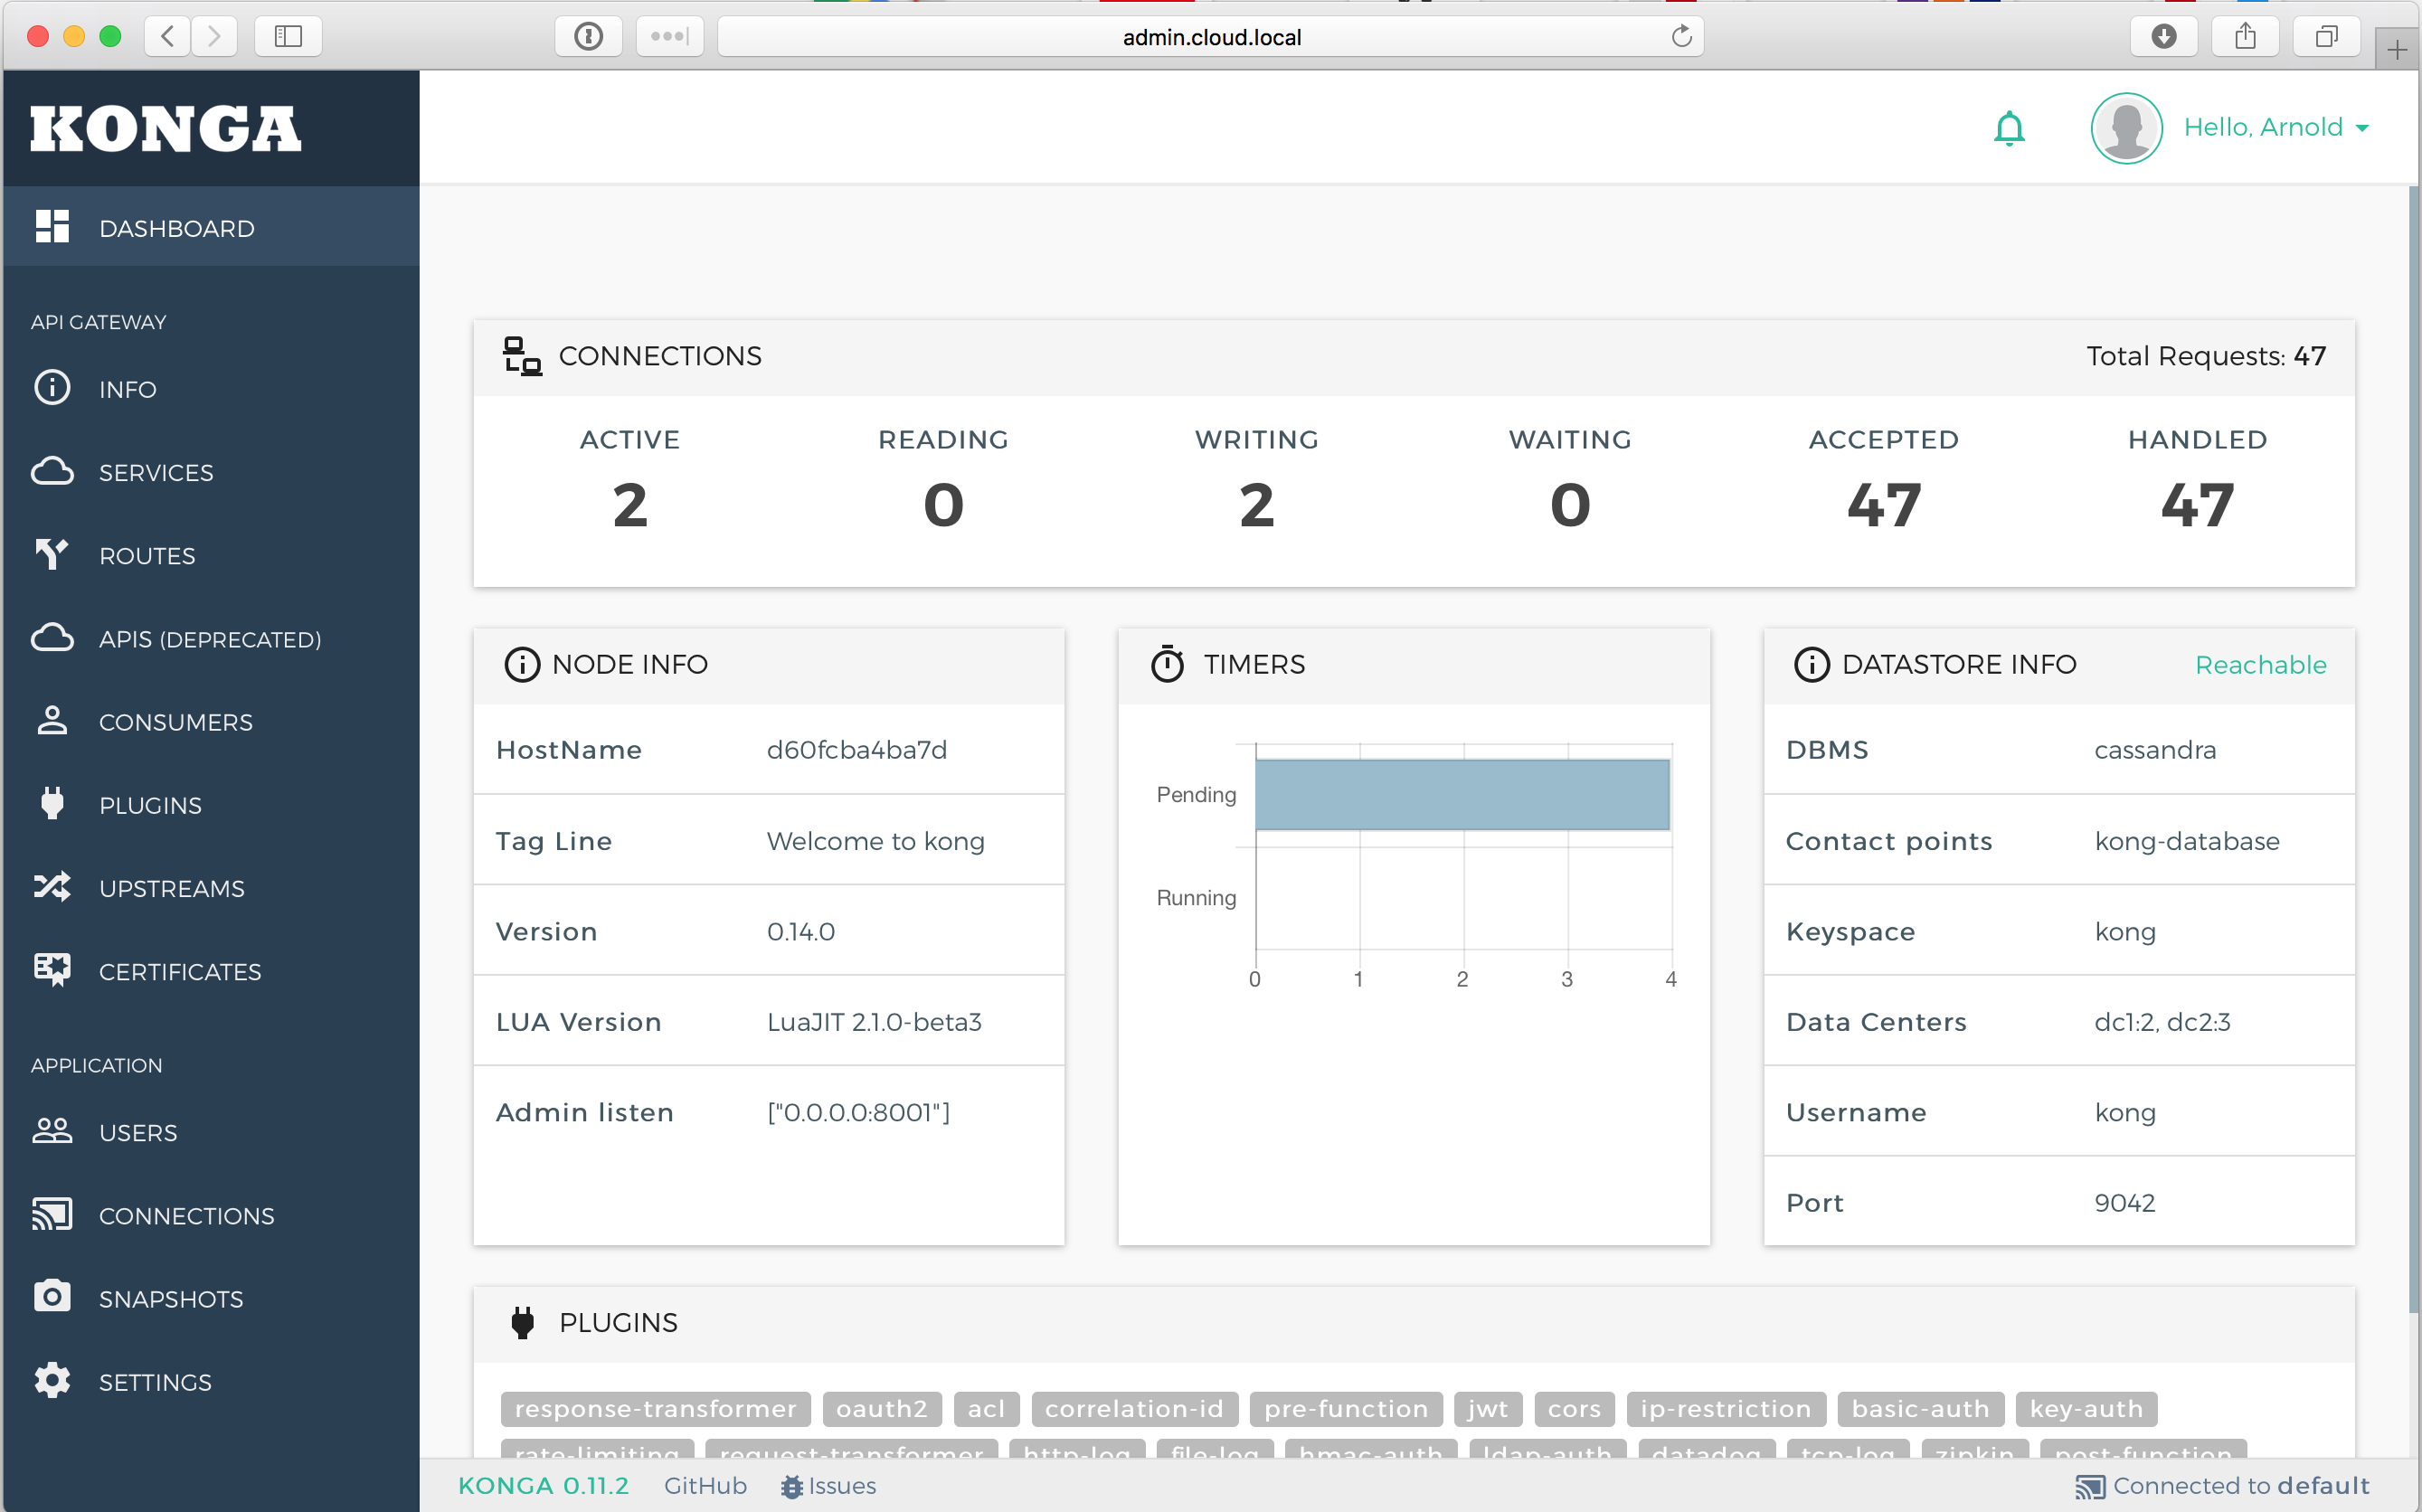
Great, we can see all of our services, now head to admin.cloud.local, and login with the default admin user, which is admin with the password as adminadminadmin. Click the connections link, on the left menu, and click the activate button. It should just activate the default kong backend on your UI.
To verify kong, just go to http://cloud.local and a message like {"message":"no route and no API found with those values"} should be displayed.
Yeah, I almost forgot that we needed to deploy the .net application. This is a basic example using RabbitMQ and two aspnet core applications. One acting as a producer, and another acting as a consumer using a hosted service for the consumer. You can check the code in the sources folder.
IMPORTANT: Remember that from this point onwards we should only use the playground network.
-
Let's build the images
$ docker build -f service1.dockerfile . -t playground/service1:0.1.0
$ docker build -f service2.dockerfile . -t playground/service2:0.1.0
-
And deploy RabbitMQ along with the services.
$ docker service create \
    --name rabbitmq \
    --network playground \
    -e 'RABBITMQ_DEFAULT_USER=playground' \
    -e 'RABBITMQ_DEFAULT_PASS=letsplay' \
    rabbitmq:3.7.7-alpine

$ docker service create \
    --name service1 \
    --network playground \
    -e 'RabbitMQConnectionString=host=rabbitmq;username=playground;password=letsplay' \
    -e 'ASPNETCORE_ENVIRONMENT=Development' \
    playground/service1:0.1.0

$ docker service create \
    --name service2 \
    --network playground \
    -e 'RabbitMQConnectionString=host=rabbitmq;username=playground;password=letsplay' \
    -e 'ASPNETCORE_ENVIRONMENT=Development' \
    playground/service2:0.1.0
Okay, applications deployed, and now what? How to test it?
- Go to admin.cloud.local, go to services and click ADD NEW SERVICE;
- Set the service name as service1, and fill the URL field with http://service1/api, then click the button SUBMIT SERVICE;
- Now, click services, go to ROUTES and click ADD ROUTE;
- Just fill the field Paths with /service1, hit enter (yes, you do need to press enter here), then click SUBMIT ROUTE;
Now if you go to http://cloud.local/service1/values you should see the default output from the api exposed by service1.
To check that the Pub/Sub works, go to http://cloud.local/service1/values/15 and run the following command:
$ docker service logs service2You will see something like this:
service2.1.qg4vl0cgrz1a@linuxkit-025000000001    | dbug: service2.Handlers.SampleEventHandler[0]
service2.1.qg4vl0cgrz1a@linuxkit-025000000001    |       AddItem => 15
This means that it heard the event with value 15 posted by service1 to RabbitMQ.
Hope you liked it...

