This guide demonstrates the process of integrating Vansah into your basic workflow in UiPath Studio.
In this example, a browser is launched to navigate to Vansah.com, proceed to the Book A Demo page to select a specific timeslot for a demo, and concurrently log the test result in the Vansah Test Management App.
- UiPath Studio is installed.
- UiPath Extension is installed in your Chrome browser.
Vansahis installed in your Jira workspace.- Vansah
Connecttoken is obtained and stored in the Environment variable named:VANSAH_TOKEN
- Download project from this repo or Open your Existing Process in UIPath Studio.
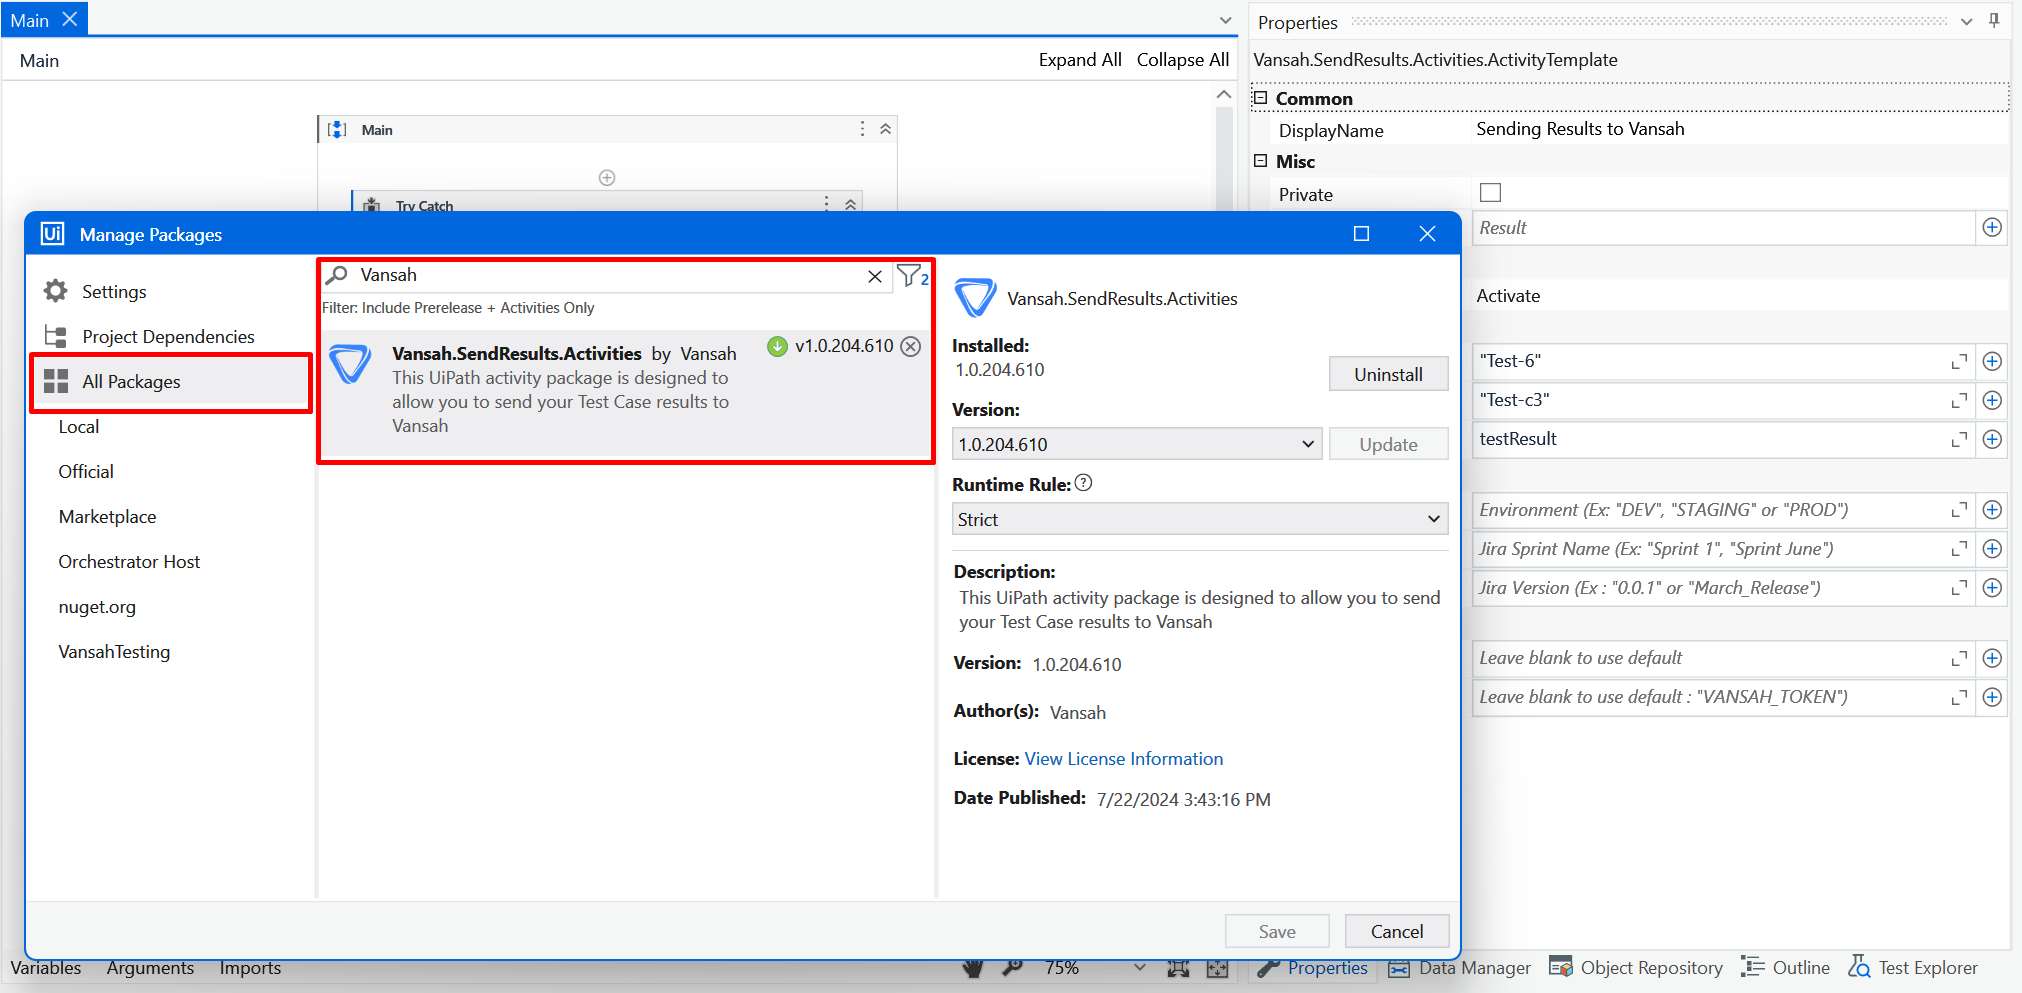
- In order to send results to Vansah, we need to download Vansah Send Results Activity from
Manage Packages.
- Search
Vansahactivity and add it to your Sequence .
Note : Use Try, Catch and finally block to send results to Vansah on failure of your sequence.
4.Update Vansah Configuration.
- API URL: Leave blank to use the default API URL.
Note : If your Jira instance is set to a specific location, the URL will be different. Update the URL by verifying it in the Vansah API Tokens section.
- Token: Leave blank to use the environment variable option to store the token with the name
VANSAH_TOKEN, or provide your token directly here.
Note : Using environment variables in your system is more secure than providing sensitive information directly in your Activity.
- Update the following fields in the activity.
- Asset Key: The Jira Issue Key or Test Folder ID. ( "Test-6" or "b97fe80b-0b6a-11ee-8e52-5658ef8eadd5")
- Test Case Key: The Vansah Test Case Key (e.g., "TEST-C1").
- Test Result: The result of the test (e.g., "Passed" or "Failed").
- Set Operation status to
Activatein Properties.
- Provide the following optional fields if required in the 'Properties'.
- Execute Main.xaml file and verify whether the results are logged in Vansah Test Management app from the Output Console.
- Ensure all required fields are filled out correctly.
- Make sure to set the Operation field as Activate.
- Verify the format of the
Test Case KeyandAsset Key. - Make sure the
Test Resultis either "Passed" or "Failed". - If there are issues with the authentication, check the
TokenandAPI URLif they are customized.
You will now be able to run your process and send the test results of your to Vansah using the Vansah.SendResults.Activity in UiPath successfully. Make sure to configure all required parameters accurately and refer to the Vansah documentation for additional details if necessary.


