This guide gives you a basic overview how you can decrypt and read your tags. Since we don't know how Bambulab will react on this guide and the general reverse engineering of the tags: Please don't share you tag's UID and the related keys for now.
We are currently working on a way to submit the tag data in a secure way so analysis on the data could be done.
- Todos/Timeline/Next steps
- Required Equipment
- Hacking a Bambulab Tag and readout of its data
- Data Readout
- Generate Keys based on random UID
- Tag stucture
- Compatible RFID tags - By generation
- Tool for automatic trace analysis
- Web service for tag submisson with automatic anonymized data publishing to github
- Tag content analysis
- Bambulab 3D Printer with AMS
- Bambulab Filament spool or the related tags
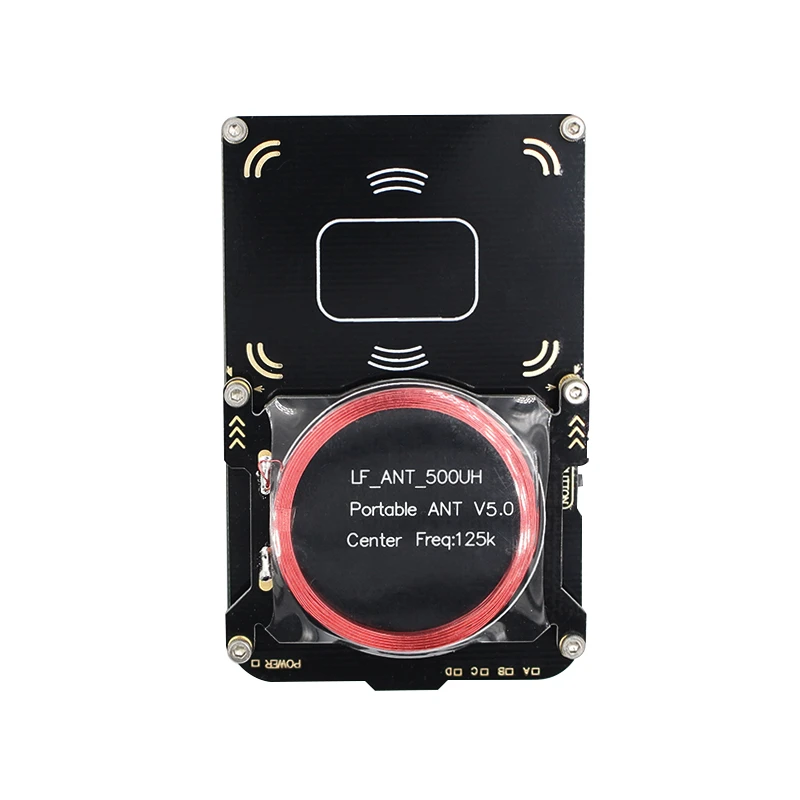
- A proxmark3 compatible rfid reader
- proxmark3 installed on your computer
A Proxmark 3 easy is sufficient for all the tasks that need to be done. You can buy a clone from alixepress, amazon or dangerous things.
We document here the most simple approach to get all required A-Keys and the data of the tag. The easiest way is to sniff the data.
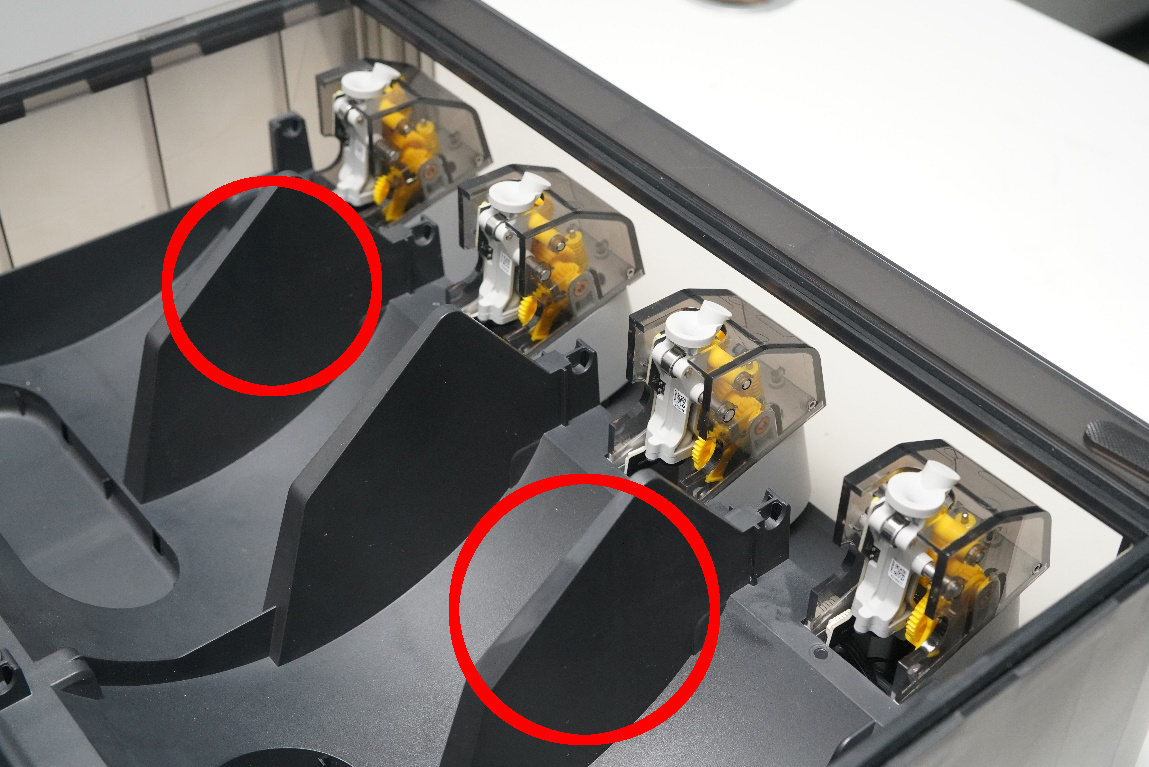
The Bambulab AMS RFID readers are locate between slot 1&2 and slot 3&4
For sniffing you can place a bambulab spool in slot 1 and place the reader next to the AMS reader. If you have already a single tag you need to place a spool without a tag in slot one and tape a tag on the top side of the reader and hold the proxmark3 next to the reader in such a way that the proxmark3 reader's bottom side is directed to the AMS reader so the proxmark3 reader is between the tag and the AMS reader. It is recommended to rotate the proxmark3 reader similar to the spool. Details can be found in the next steps.
To start the sniffing connect your rfid reader and open your proxmark3. Start sniffing with:
hf 14a sniff -c -r
Hold the proxmark3 reader next to the AMS reader and load the filament, or if already loaded tap the update icon on the screen.
When you are done, you can press the button on the side of the Proxmark3 to stop the trace. To visualize the trace you just enter:
trace list -t mf
You should be able to already see the first keys. Until you see a message:
"Nested authentication detected." with some bruteforce command: tools/mf_nonce_brute/mf_nonce_brute <parameters>
Execute this command in the proxmark3 directory in an other terminal and write down or save the found key.
Check the date for crc errors and if it's fine save the trace with the following command.
trace save -f <trace-name>
You can now record all your tags. If you want to load the traces later
trace load -f <trace-name>
To view the loaded trace just enter the following command.
trace list -1 -t <trace-name>
If you are using traces in the next steps you need to add the -1 option when you analyze the traces.
Remove the spool/tag from the printer and place it on the reader so we can check all the keys.
Now a dictionary (*.dic) file with all the already found and bruteforced keys must be created.
Enter the keys line by line into that file.
The next steps need to be repeated until you have all the keys. (A script for this is already WIP)
trace list -t mf -f <dic_file>- bruteforce the new keys with the displayed command in a separate terminal and add all new keys to the dict file
- verify the keys:
hf mf fchk --1k -f <dic_file> - Go to 1 until you found all keys
Before the data can be read we need to generate a key file
hf mf fchk --1k -f <dic_file> --dump
The output is a binary key file: hf-mf-<TAG UID>-key.bin
Dump now the data:
hf mf dump --1k --keys hf-mf-<TAG UID>-key.bin
This can be viewed now in a hex or binary editor or you can view it with:
hf mf view -f hf-mf-<TAG UID>-dump.bin
TODO
The following infos are already known
| sec | blk | Data |
|---|---|---|
| 0 | 0 | UID and Manufacturing Data - Tag specific |
| 0 | 1 | Unknown ASCII string |
| 0 | 2 | Filament type in ASCII (PLA, ..) |
| 0 | 3 | A-Keys Sector 0 (6 bytes), Permission Sector 1 (4 bytes), B-Keys Sector 0 (6 bytes) |
| 1 | 4 | ASCII string of detailed Filament type (PLA Basic, ...) |
| 1 | 5 | Color in hex (first 3 Bytes) & Unknown binary data |
| 1 | 6 | Unknown binary data |
| 1 | 7 | A-Keys Sector 1 (6 bytes), Permission Sector 1 (4 bytes), B-Keys Sector 1 (6 bytes) |
| 2 | 8 | Unknown binary data |
| 2 | 9 | Unknown binary data and ASCII string |
| 2 | 10 | Unknown binary data |
| 2 | 11 | A-Keys Sector 2 (6 bytes), Permission Sector 2 (4 bytes), B-Keys Sector 2 (6 bytes) |
| 3 | 12 | Production Date and Time in ASCII ? <year>_<month>_<day>_<hour>_<minute> |
| 3 | 13 | Unkown binary data could be part of production date/time |
| 3 | 14 | Unkown binary data |
| 3 | 15 | A-Keys Sector 3 (6 bytes), Permission Sector 3 (4 bytes), B-Keys Sector 3 (6 bytes) |
| 4 | 16 | Empty |
| 4 | 17 | Empty |
| 4 | 18 | Empty |
| 4 | 19 | A-Keys Sector 4 (6 bytes), Permission Sector 4 (4 bytes), B-Keys Sector 4 (6 bytes) |
| 5 | 20 | Empty |
| 5 | 21 | Empty |
| 5 | 22 | Empty |
| 5 | 23 | A-Keys Sector 5 (6 bytes), Permission Sector 5 (4 bytes), B-Keys Sector 5 (6 bytes) |
| 6 | 24 | Empty |
| 6 | 25 | Empty |
| 6 | 26 | Empty |
| 6 | 27 | A-Keys Sector 6 (6 bytes), Permission Sector 6 (4 bytes), B-Keys Sector 6 (6 bytes) |
| 7 | 28 | Empty |
| 7 | 29 | Empty |
| 7 | 30 | Empty |
| 7 | 31 | A-Keys Sector 7 (6 bytes), Permission Sector 7 (4 bytes), B-Keys Sector 7 (6 bytes) |
| 8 | 32 | Empty |
| 8 | 33 | Empty |
| 8 | 34 | Empty |
| 8 | 35 | A-Keys Sector 8 (6 bytes), Permission Sector 8 (4 bytes), B-Keys Sector 8 (6 bytes) |
| 9 | 37 | Empty |
| 9 | 38 | Empty |
| 9 | 39 | Empty |
| 9 | 15 | A-Keys Sector 9 (6 bytes), Permission Sector 9 (4 bytes), B-Keys Sector 9 (6 bytes) |
| 10-15 | * | Unknown binary data Maybe CRC |
The first part of the filament serial number seems to be the Tag UID.
Gen 1 --> Not compatible(due to AMS checking if tag is unlockable with command 0x40)
Gen 2 --> Works
Gen 2 OTW --> Not tested
Gen 3 --> Not tested
Gen 4 --> Not tested(The best option but pricey and hard to source in small chip formfactor)

