This repository contains the material used in the hands-on session of the tutorials on Sequence-Aware Recommenders we gave at TheWebConf 2019 and ACM RecSys 2018.
Sequence-Aware Recommender Systems
Massimo Quadrana, Paolo Cremonesi, Dietmar Jannach
ACM Computing Surveys (CSUR), 2018
You have two options to run the code contained in this repository:
- Setup a new environment on your local machine and run the code locally (highly recommended).
- Launch a new Binder instance by clicking on this badge
.
While we all know that setting up a new local environment is a slightly tedious process, Binder instances have strict resource limits (1-2GB of memory, max 100 concurrent users per repository).
Also beware that Binder sessions automatically expire after 10 minutes of inactivity!
So we highly recommend to set up a new local environment in advance by following the Setup instructions.
-
First of all, clone this project to your local machine:
git clone https://github.com/mquad/sars_tutorial.git
-
Now you need to set up a new python3 environment. We will use Anaconda/Miniconda for doing so. If you don't have Anaconda/Minicoda already installed on your machine, click here to download Miniconda or Anaconda (Python 3 version).
-
After that, install the environment for this hands-on by running:
cd sars_tutorial/ conda env create --file environment.yml -
(Miniconda users only) If you choose to install Miniconda before, you will now have to install Jupyter Notebook on your machine, just by running
conda install jupyter. You can do it in your main python environment (necessarily in thesrsenv), as long as you setup the kernel as explained after. Anaconda users should already have Jupyter Notebook installed, so they can skip this step. -
Then activate the environment with
source activate srsorconda activate srs, and install a newiptyhonkernel by running:python -m ipykernel install --name srs
If you get "Permission denied" error with the above command, try with
python -m ipykernel install --name srs --user
-
Finally, launch the Jupyter Notebook with
jupyter notebook --port=8888
and open it your browser at the address localhost:8888.
(Beware, if port 8888 is already taken by another service, Jupyter Notebook will automatically open on a different one. Check out the startup log!).
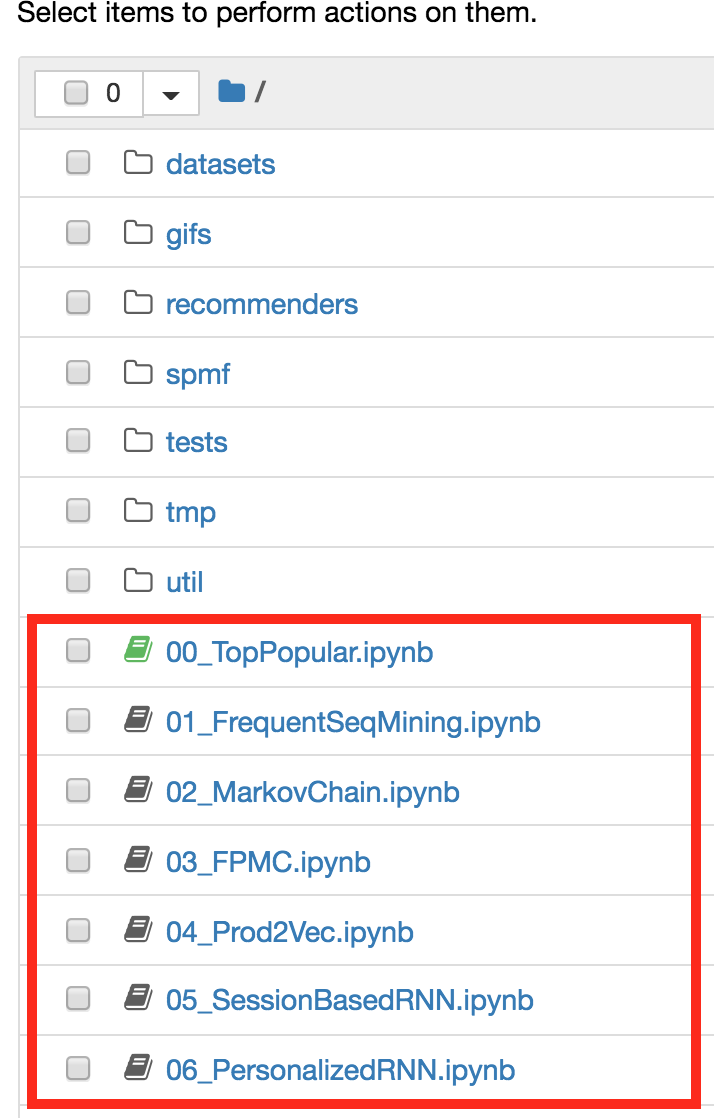
The notebooks used in this hands-on are listed in the main directory of this project, as shown below:
Click on the name of the notebook to open it in a new window. The name of each running notebook is highlighted in green
(in the screen above, the notebook 00_TopPopular is the only one running).
Before starting to execute the notebook cells, you have to ensure that the kernel is properly set to srs, like in the screen below:
If it's not your case, change the kernel to srs by clicking on Kernel > Change kernel > srs in the menu bar, as shown below:
NOTE: this requires the installation of the srs kernel, as explained in the Setup instructions.
You can now start running the cells in the notebook! Yay!
We want to sincerely thank Umberto Di Fabrizio for the help in the development of this repository back when he was a MSc student at Politecnico di Milano. Great job Umberto!


