arXiv | BibTeX | Project Page
 |
|---|
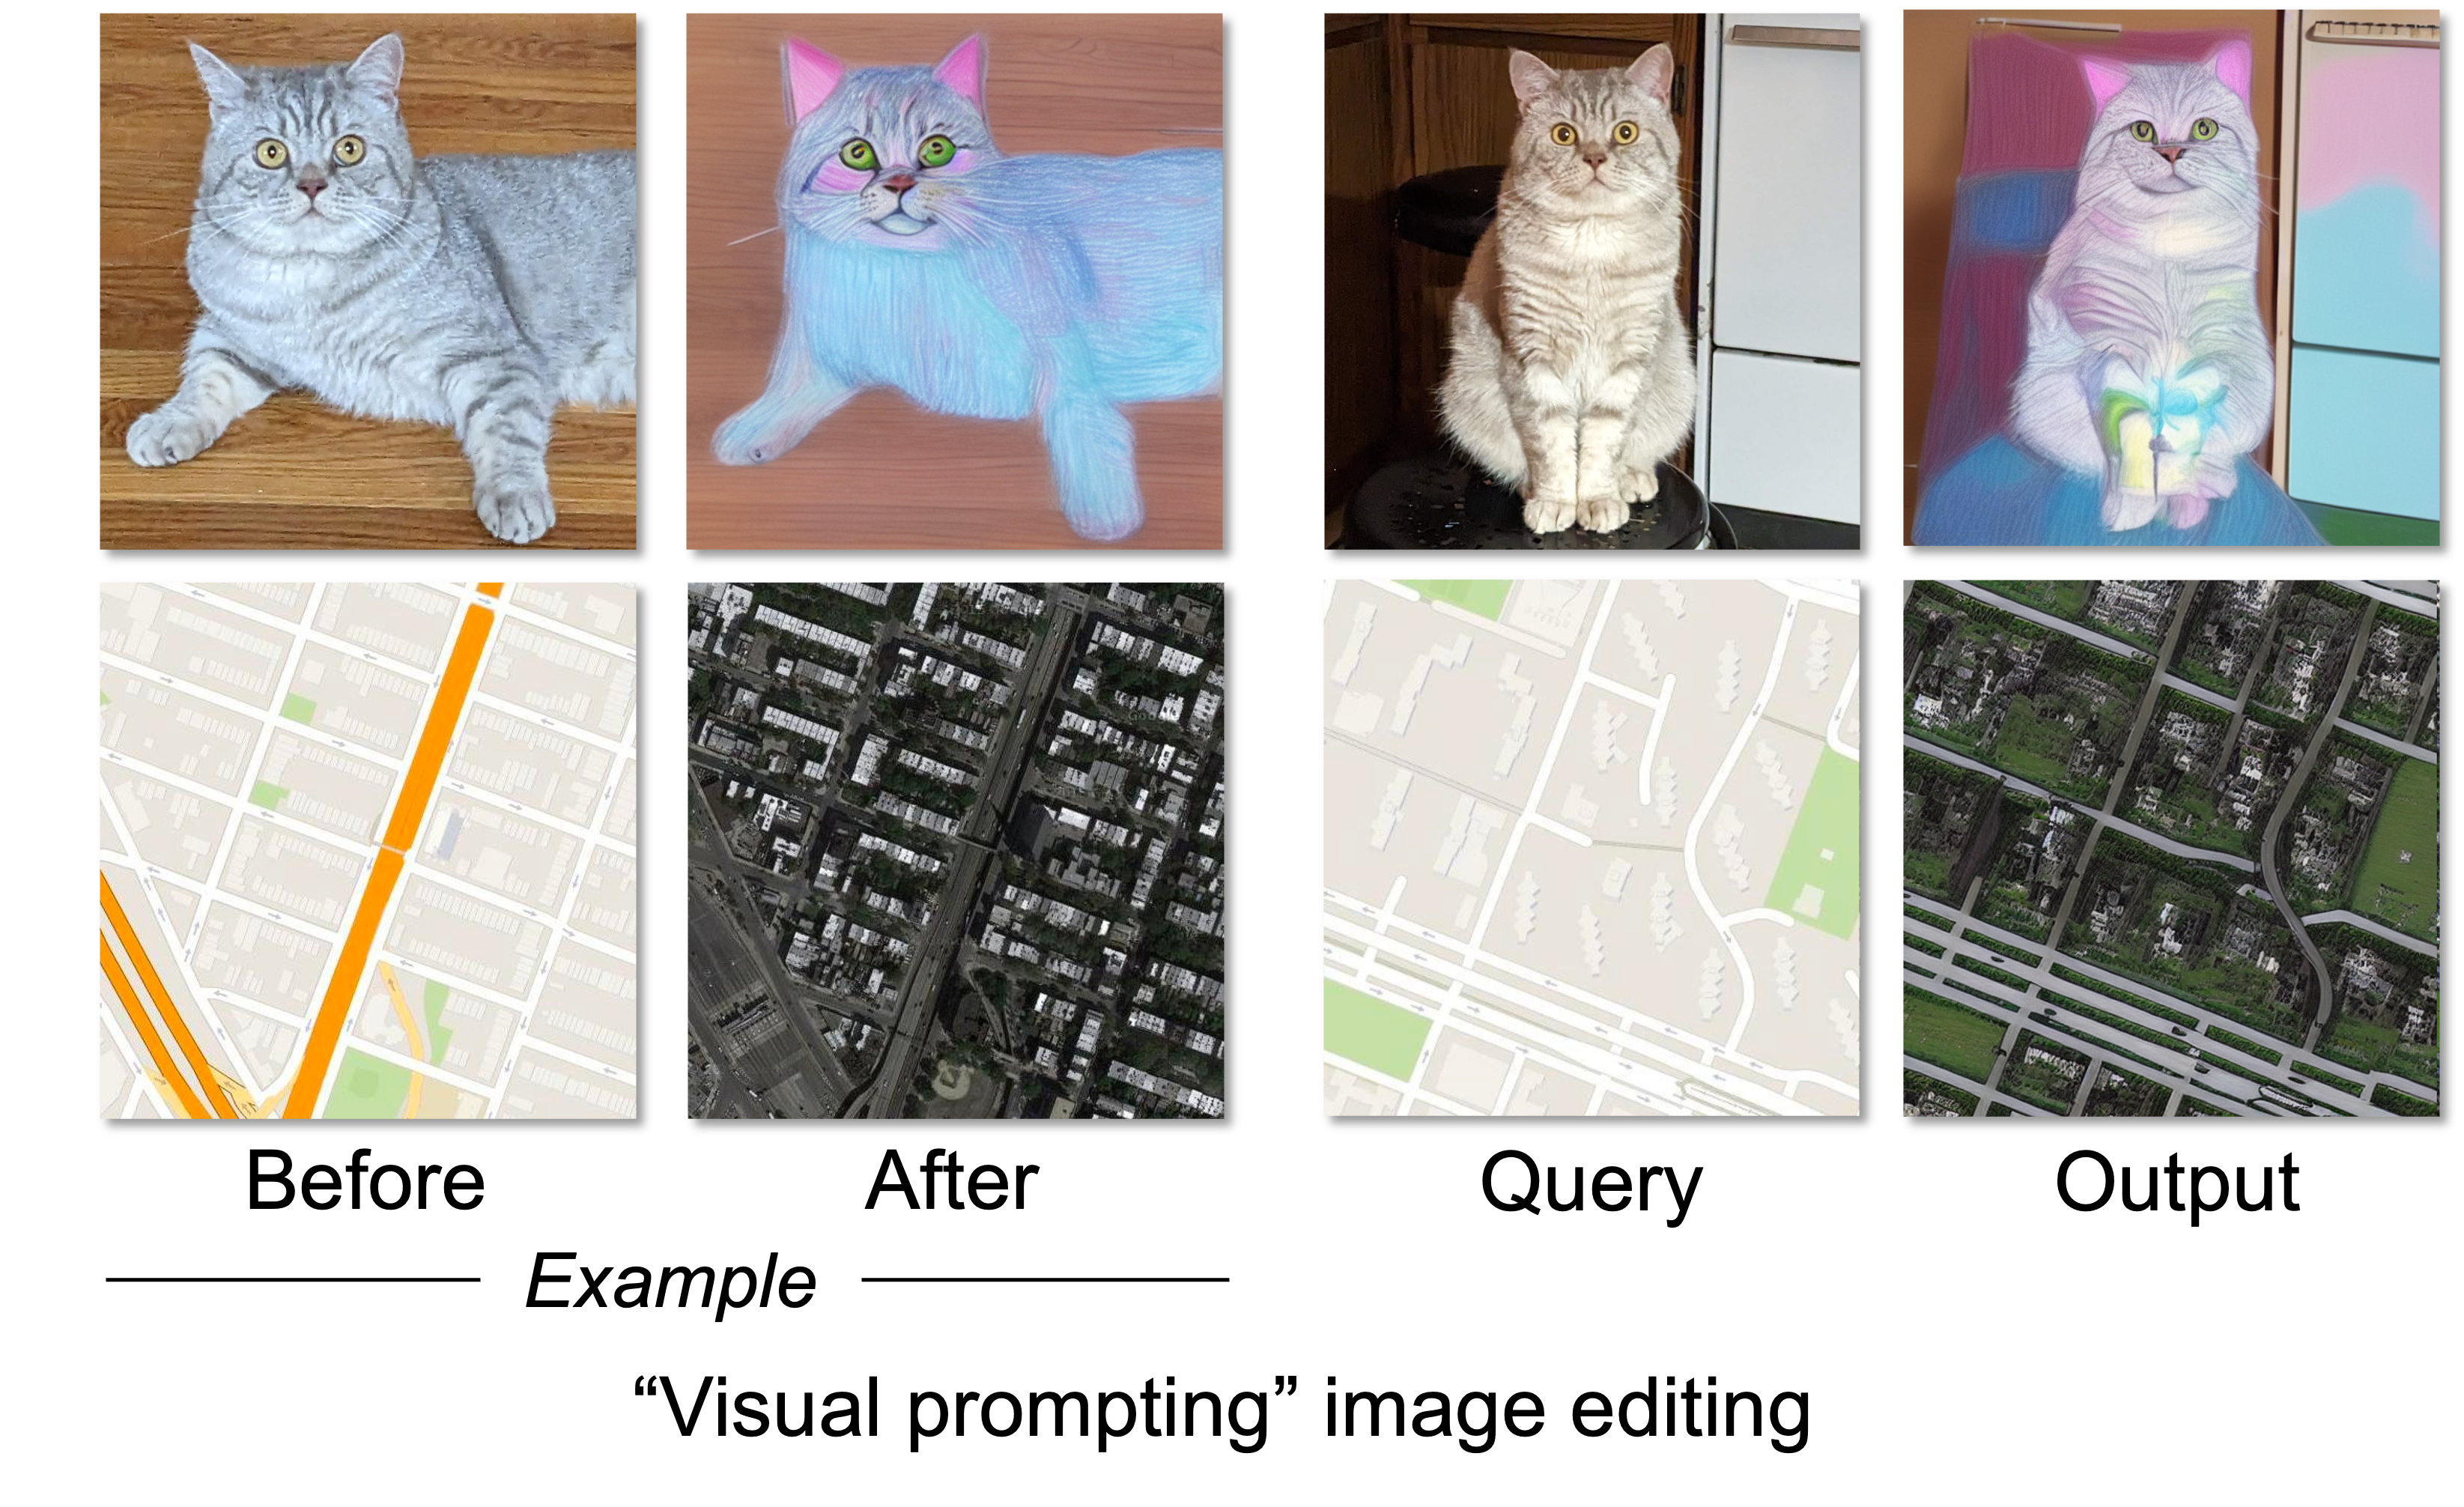
| Visii learn instruction from before → after image, then apply to new images to perform same edit. |
👀 Visual Instruction Inversion: Image Editing via Image Prompting (NeurIPS 2023)
Thao Nguyen, Yuheng Li, Utkarsh Ojha, Yong Jae Lee
🦡 University of Wisconsin-Madison
TL;DR: A framework for inverting visual prompts into editing instructions for text-to-image diffusion models.
ELI5 👧: You show the machine how to perform a task (by images), and then it replicates your actions. For example, it can learn your drawing style 🖍️ and use it to create a new drawing 🎨.
🔗 Jump to: Requirements | Quickstart | Visii + Ip2p | Visii + ControlNet | BibTeX | 🧚 Go Crazy 🧚
This script is tested on NVIDIA RTX 3090, Python 3.7 and PyTorch 1.13.0 and diffusers.
pip install -r requirements.txtVisual Instruction Inversion with InstructPix2Pix.
# optimize <ins> (default checkpoint)
python train.py --image_folder ./images --subfolder painting1
# test <ins>
python test.py
# hybrid instruction: <ins> + "a squirrel" (default checkpoint)
python test.py --hybrid_ins True --prompt "a husky" --guidance_scale 10
Result image will be saved in ./result folder.
Before: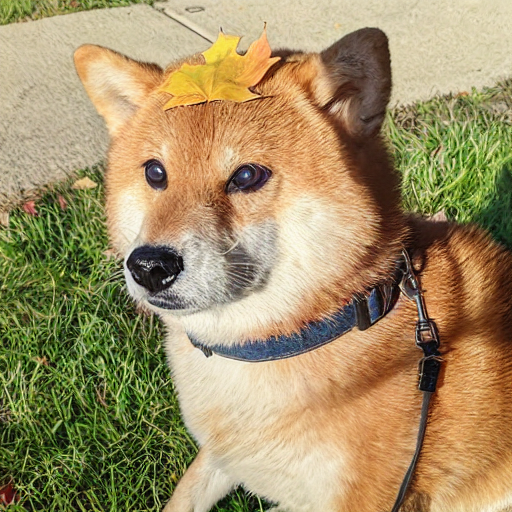 |
After: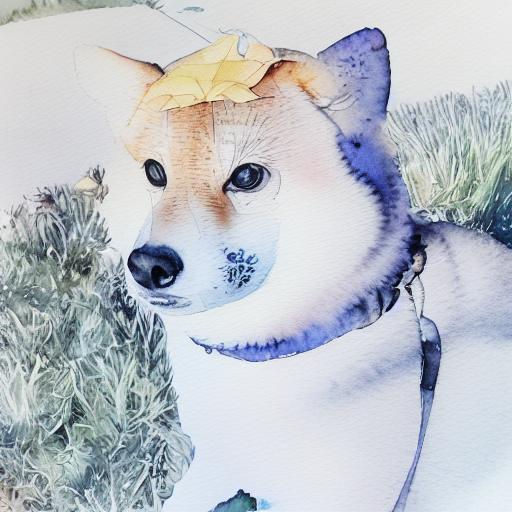 |
Test: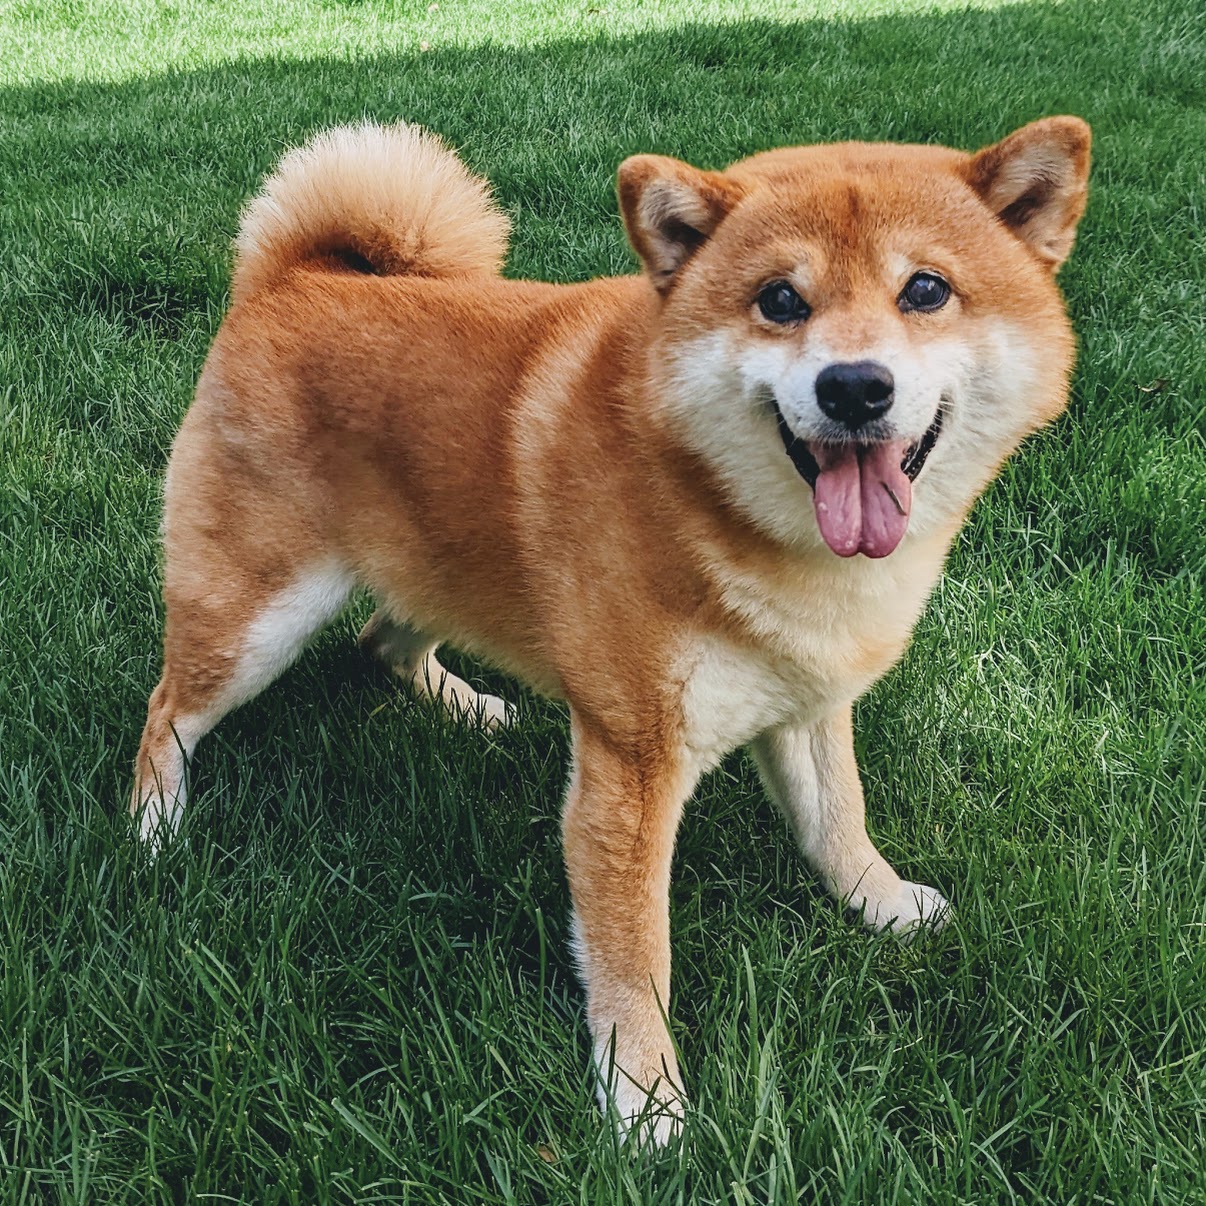 |
Visii learns editing instruction from dog → watercolor dog image, then applies it into new image to perform same edit. You can also concatenate new information to achieve new effects: dog → watercolor husky.
⚠️ If you're not getting the quality that you want... You might tune the guidance_scale.
 |
| <ins> + "a poodle": From left to right: Increase the guidance scale (4, 6, 8, 10, 12, 14) |
🧚🧚🧚 Inspired by this reddit, we tested Visii + InstructPix2Pix with Starbucks and Gandour logos.
Before: |
After: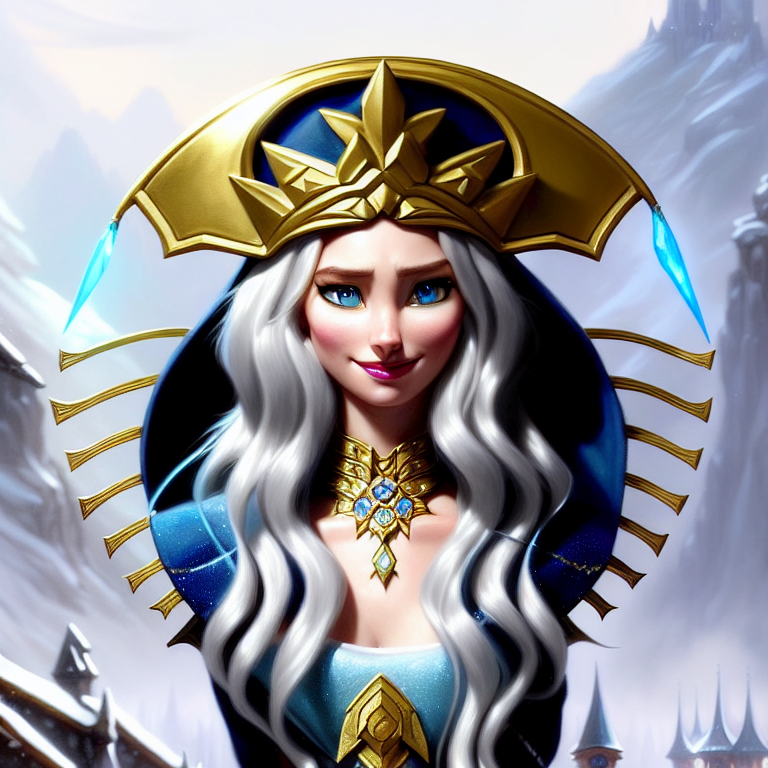 |
||
Test: 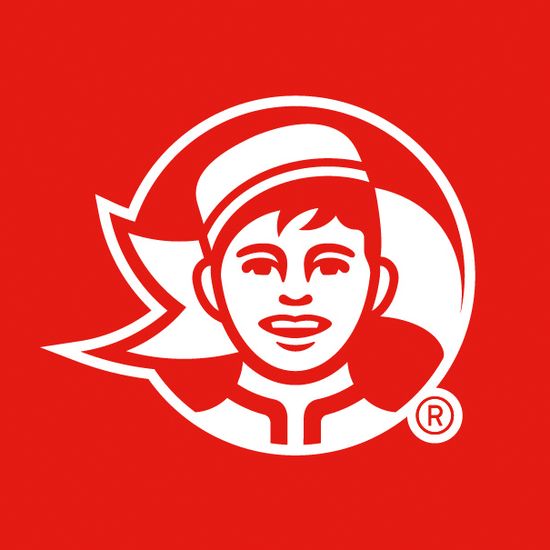 |
<ins> + "Wonder Woman" 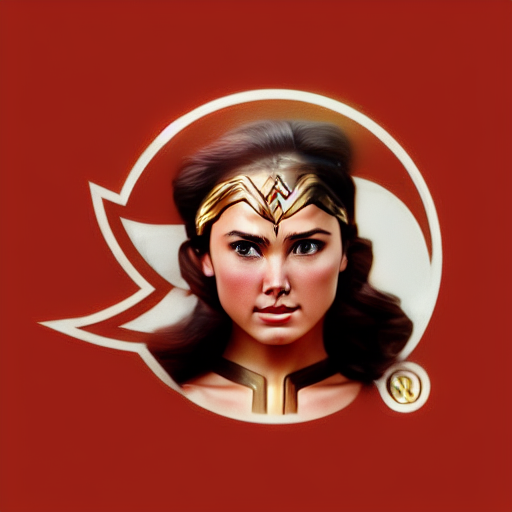 |
<ins> + "Scarlet Witch" 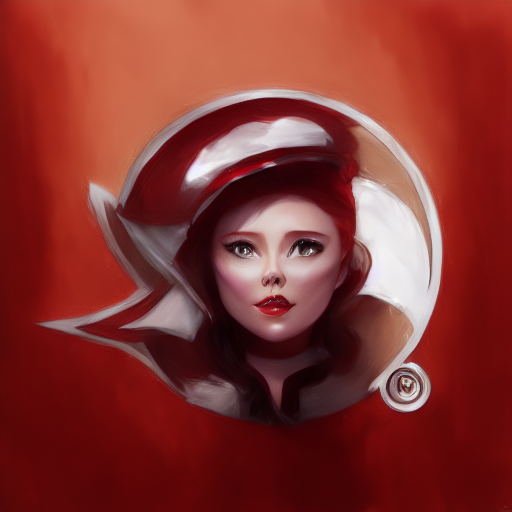 |
<ins> + "Daenerys Targaryen" 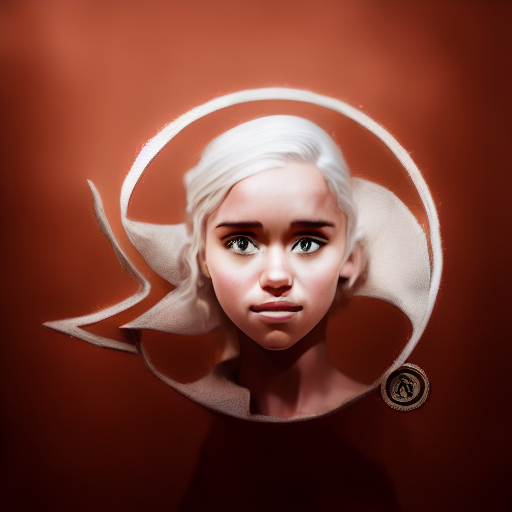 |
| <ins> + "Neytiri in Avatar" |
<ins> + "She-Hulk" 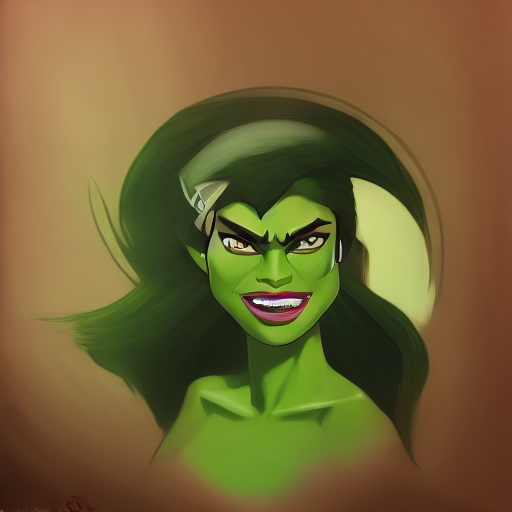 |
<ins> + "Maleficent" 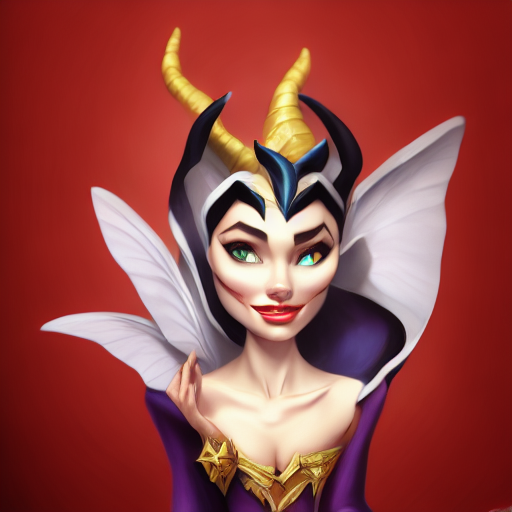 |
|
(If you're still not getting the quality that you want... You might tune the InstructPix2Pix parameters. See Tips or Optimizing progress
1. Prepare before-after images: A basic structure for image-folder should look like below.
{image_name}_{0}.png denotes before image, {image_name}_{1}.png denotes after image.
By default, we use 0_0.png as the before image and 0_1.png as the after image. 1_0.png is the test image.
{image_folder}
└───{subfolder}
    │   0_0.png # before image
    │   0_1.png # after image
    │   1_0.png # test image
Check ./images/painting1 for example folder structure.
2. Instruction Optimization: Check the ./configs/ip2p_config.yaml for more details of hyper-parameters and settings.
# optimize <ins> (default checkpoint)
python train.py --image_folder ./images --subfolder painting1
# test <ins>
python test.py --log_folder ip2p_painting1_0_0.png
# hybrid instruction: <ins> + "a squirrel" (default checkpoint)
python test_concat.py --prompt "a husky"We plugged Visii with ControlNet 1.1 InstructPix2Pix.
# optimize <ins> (default checkpoint)
python train_controlnet.py --image_folder ./images --subfolder painting1
# test <ins>
python test_controlnet.py --log_folder controlnet_painting1_0_0.pngBy default, we use the lowest MSE checkpoint (./logs/{foldername}/best.pth) as the final instruction.
Sometimes, the best.pth checkpoint might not yield the best result.
If you want to use a different checkpoint, you can specify it using the --checkpoint_number argument.
A visualization of the optimization progress is saved in ./logs/{foldername}/eval_100.png
# test <ins> (with specified checkpoint)
python test.py --log_folder ip2p_painting1_0_0.png --checkpoint_number 800
# hybrid instruction: <ins> + "a squirrel" (with specified checkpoint)
python test_concat.py --prompt "a husky" --checkpoint_number 800 |
| From left to right: [Before, After, Iter 0, Iter 100, ..., Iter 900]. You can visually select the best checkpoint for testing. |
- Side note: Before-after image should be algined for better results.
Ours code is based on InstructPix2Pix, Hard Prompts Made Easy, Imagic, and Textual Inversion. You might also check awesome Visual Prompting via Image Inpainting. Thank you! 🙇♀️
Photo credit: Bo the Shiba & Mam the Cat 🐕🐈.
@inproceedings{
nguyen2023visual,
title={Visual Instruction Inversion: Image Editing via Image Prompting},
author={Thao Nguyen and Yuheng Li and Utkarsh Ojha and Yong Jae Lee},
booktitle={Thirty-seventh Conference on Neural Information Processing Systems},
year={2023},
url={https://openreview.net/forum?id=l9BsCh8ikK}
}
