English | 简体中文
RELEASE RELEASE
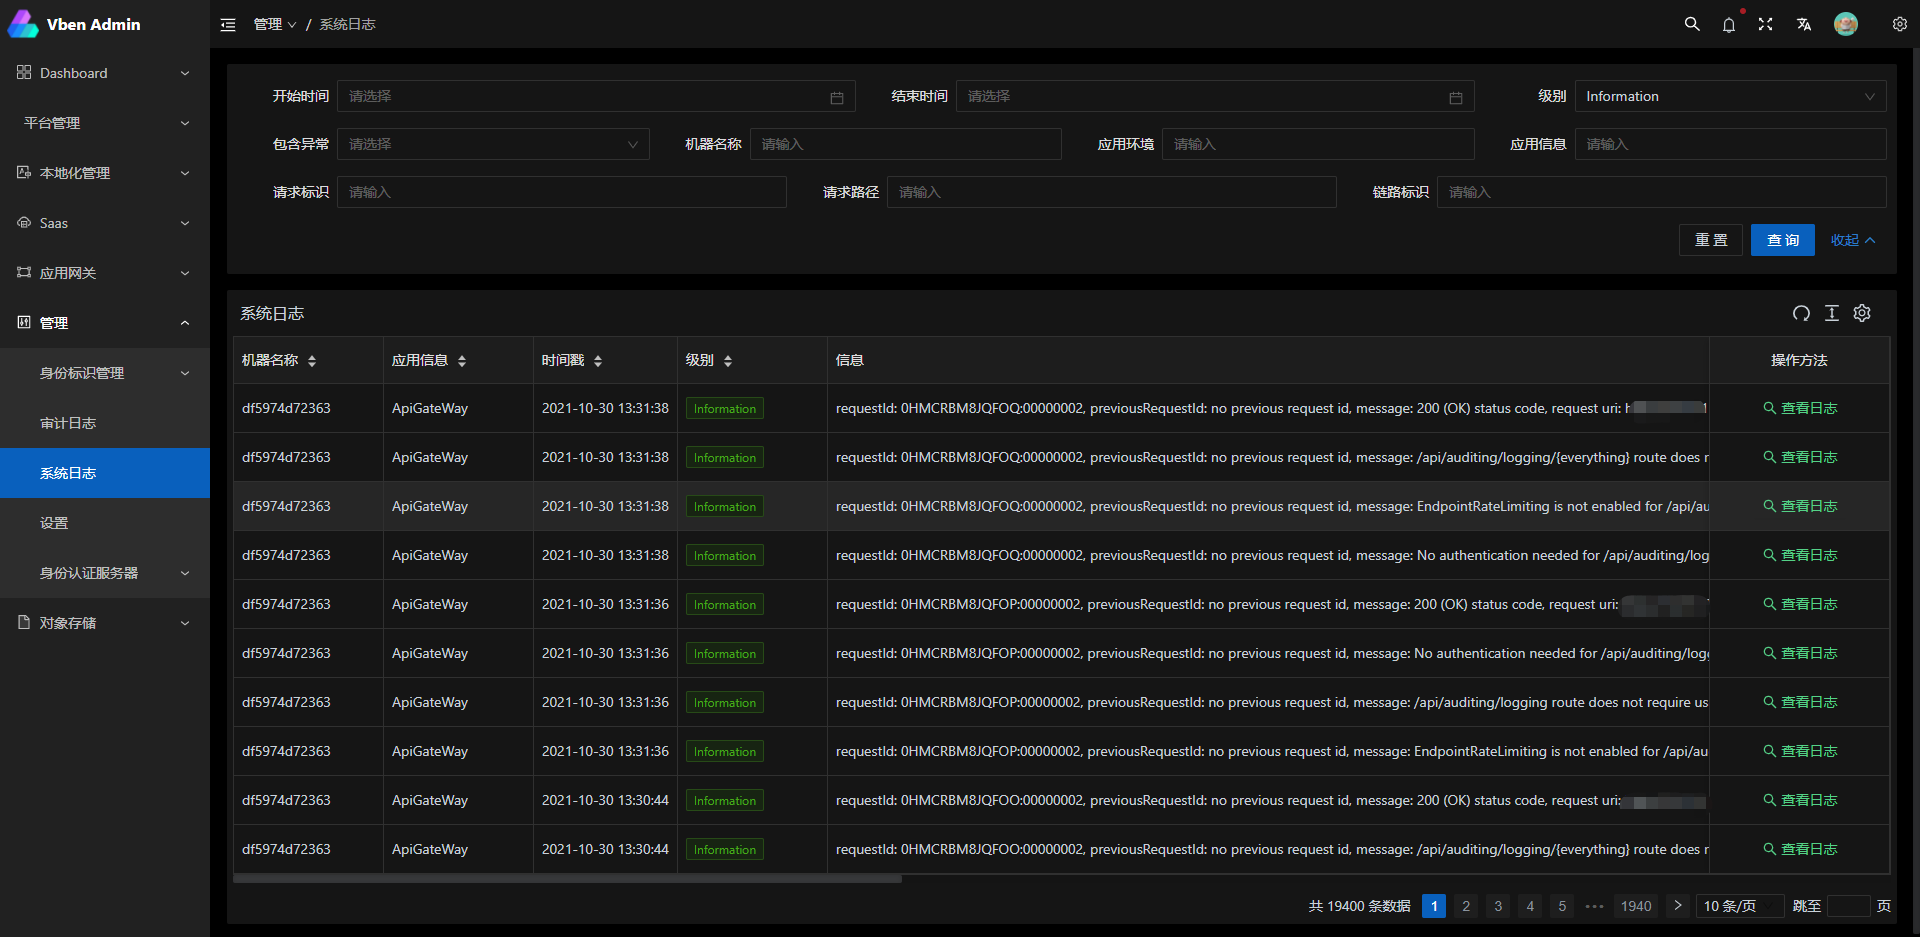
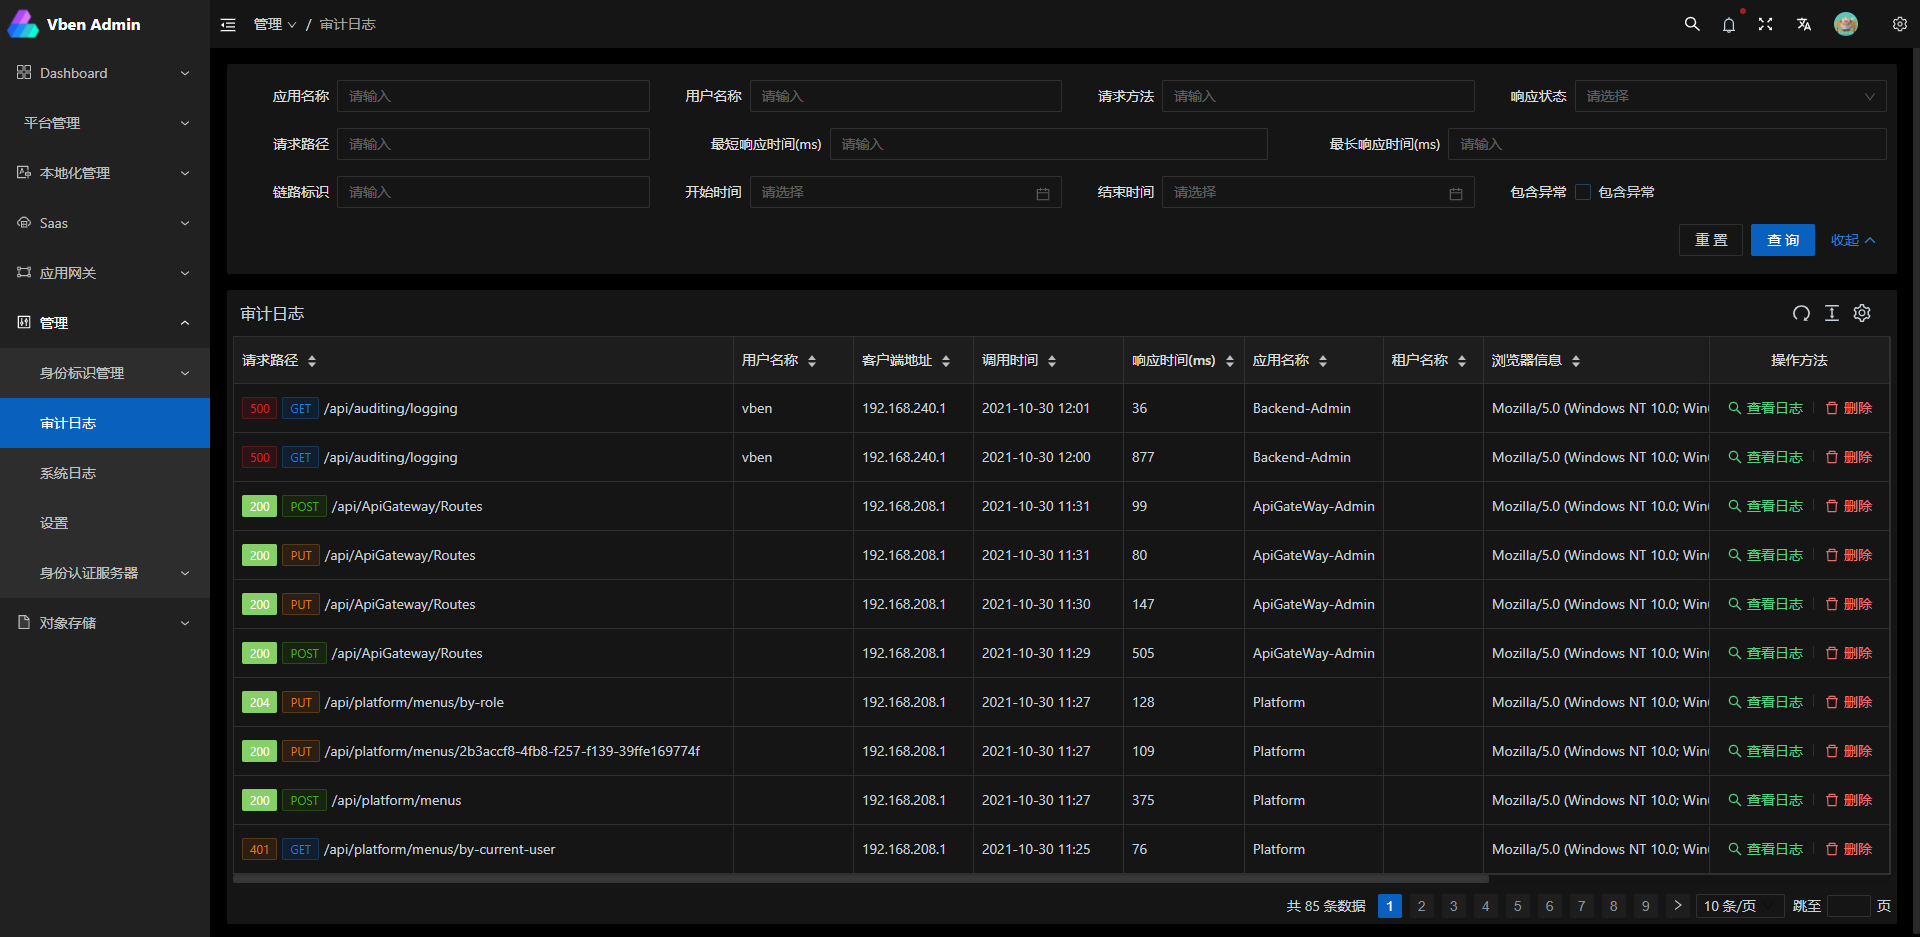
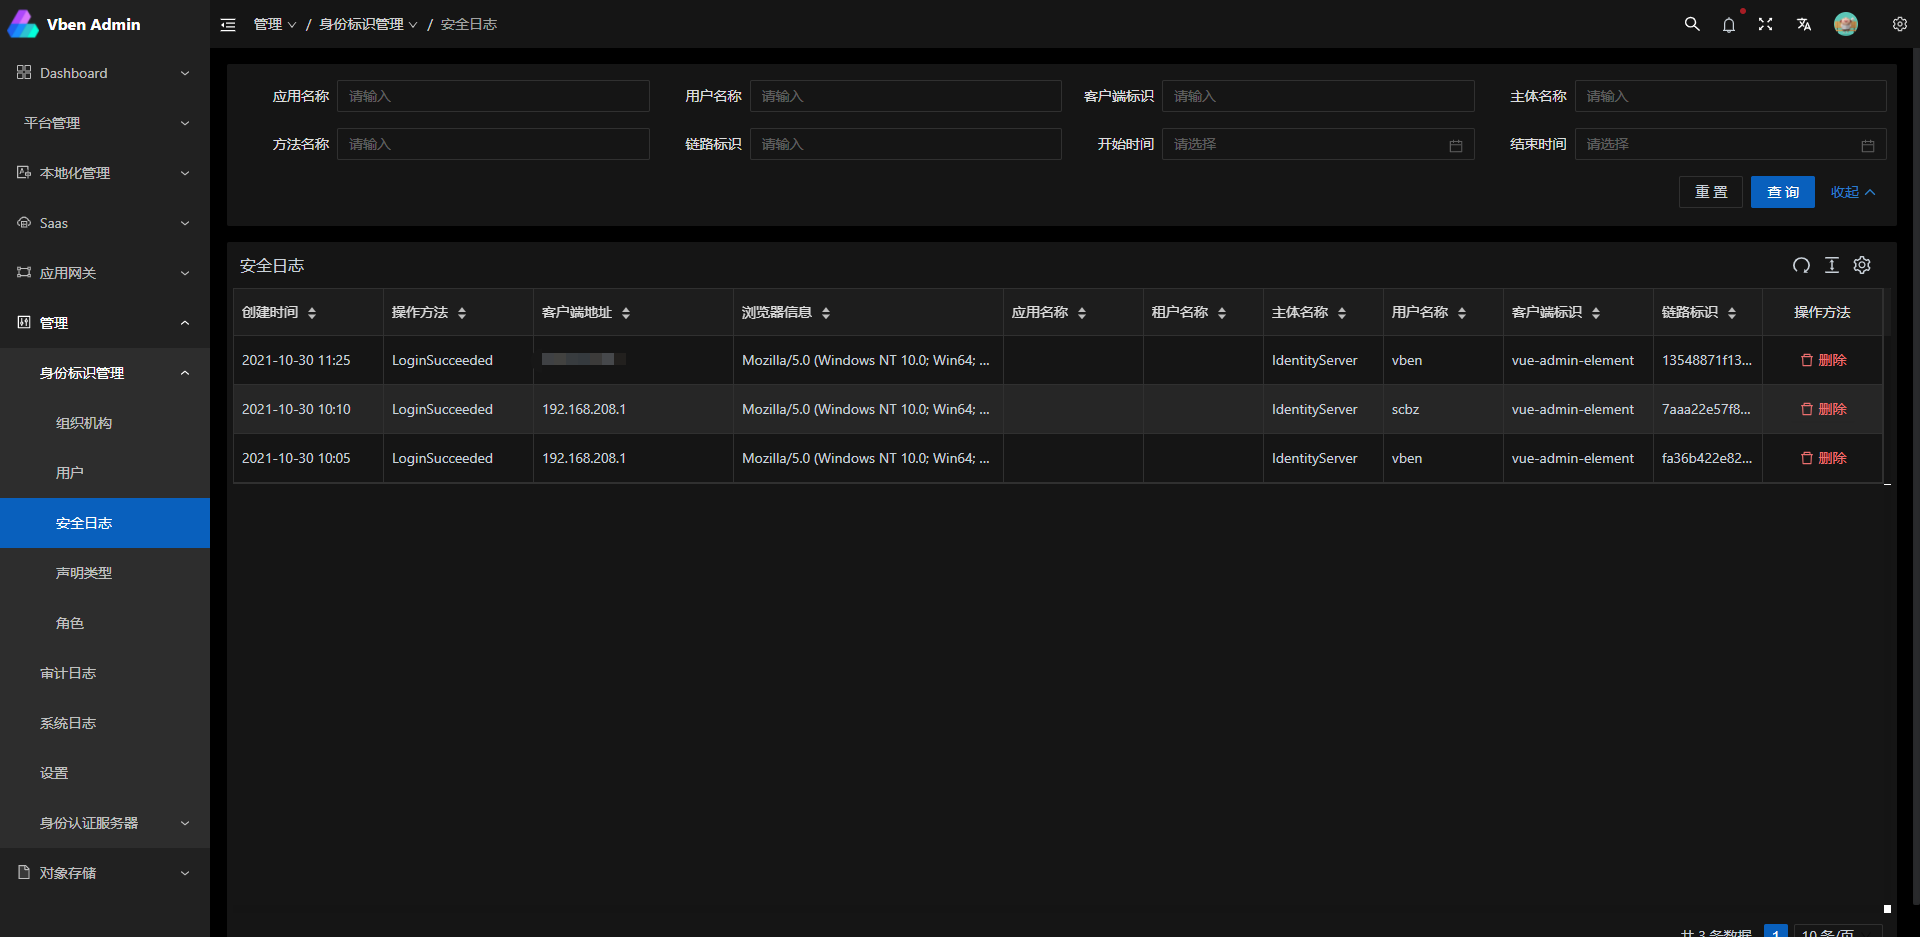
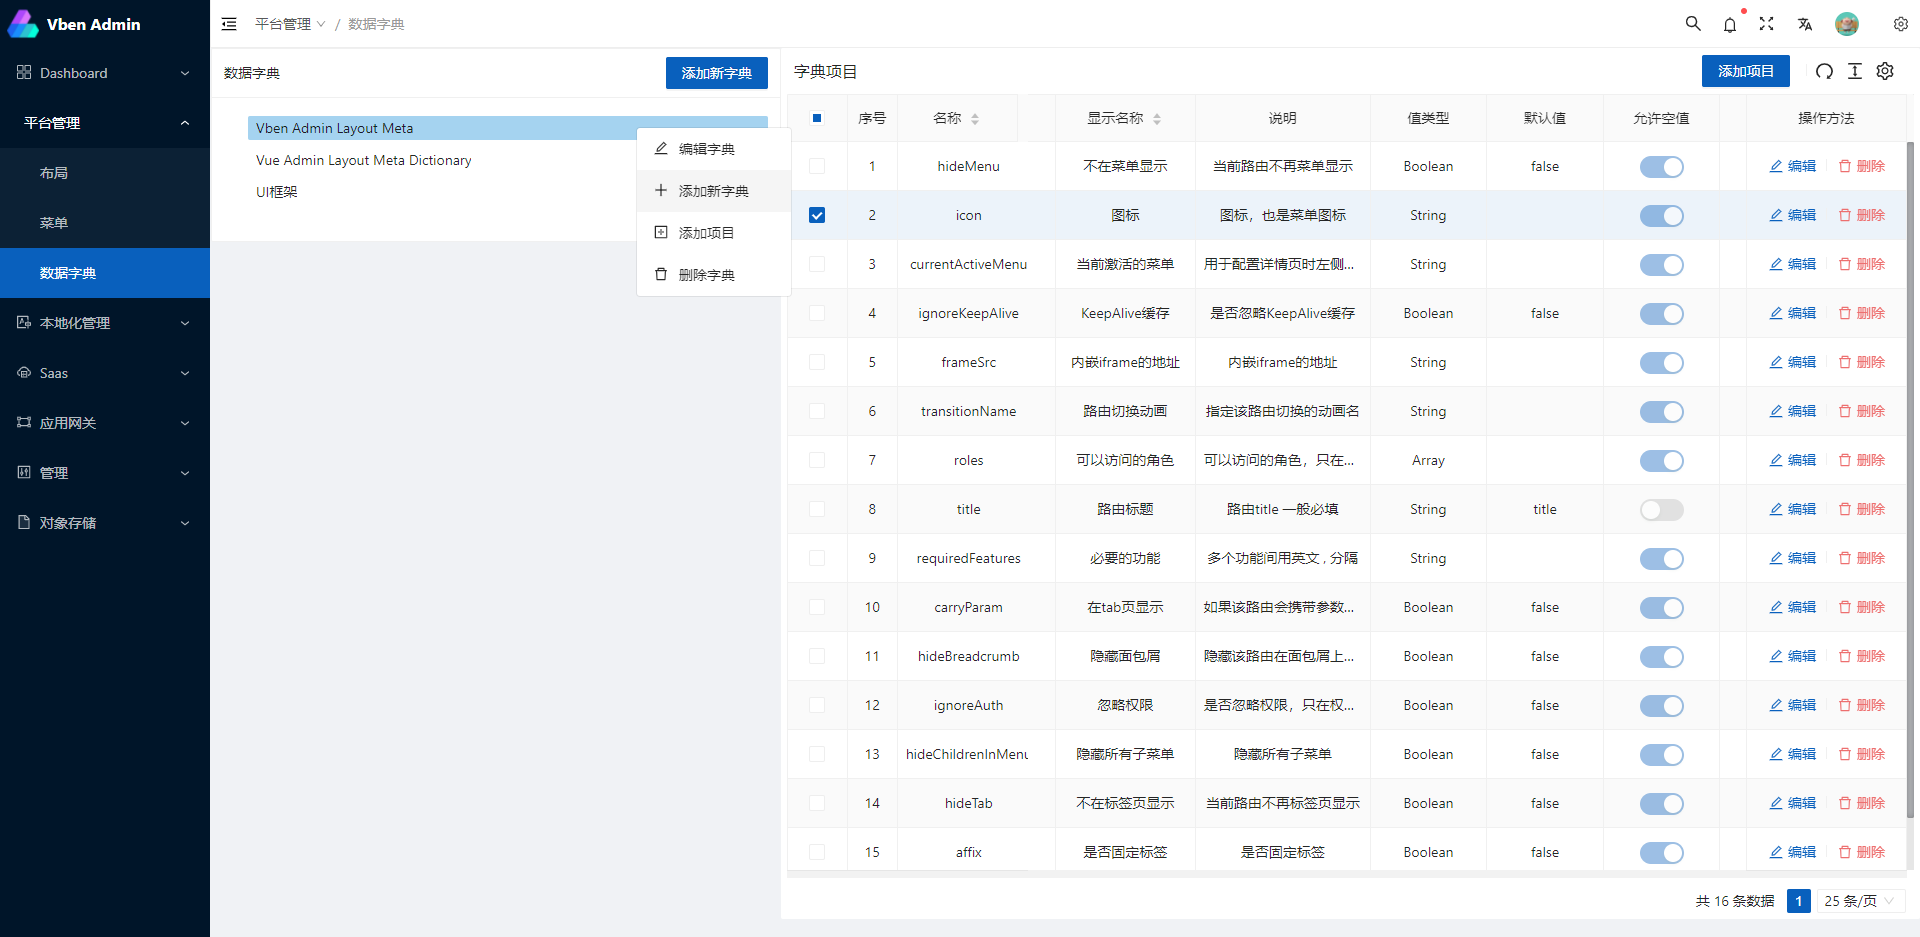
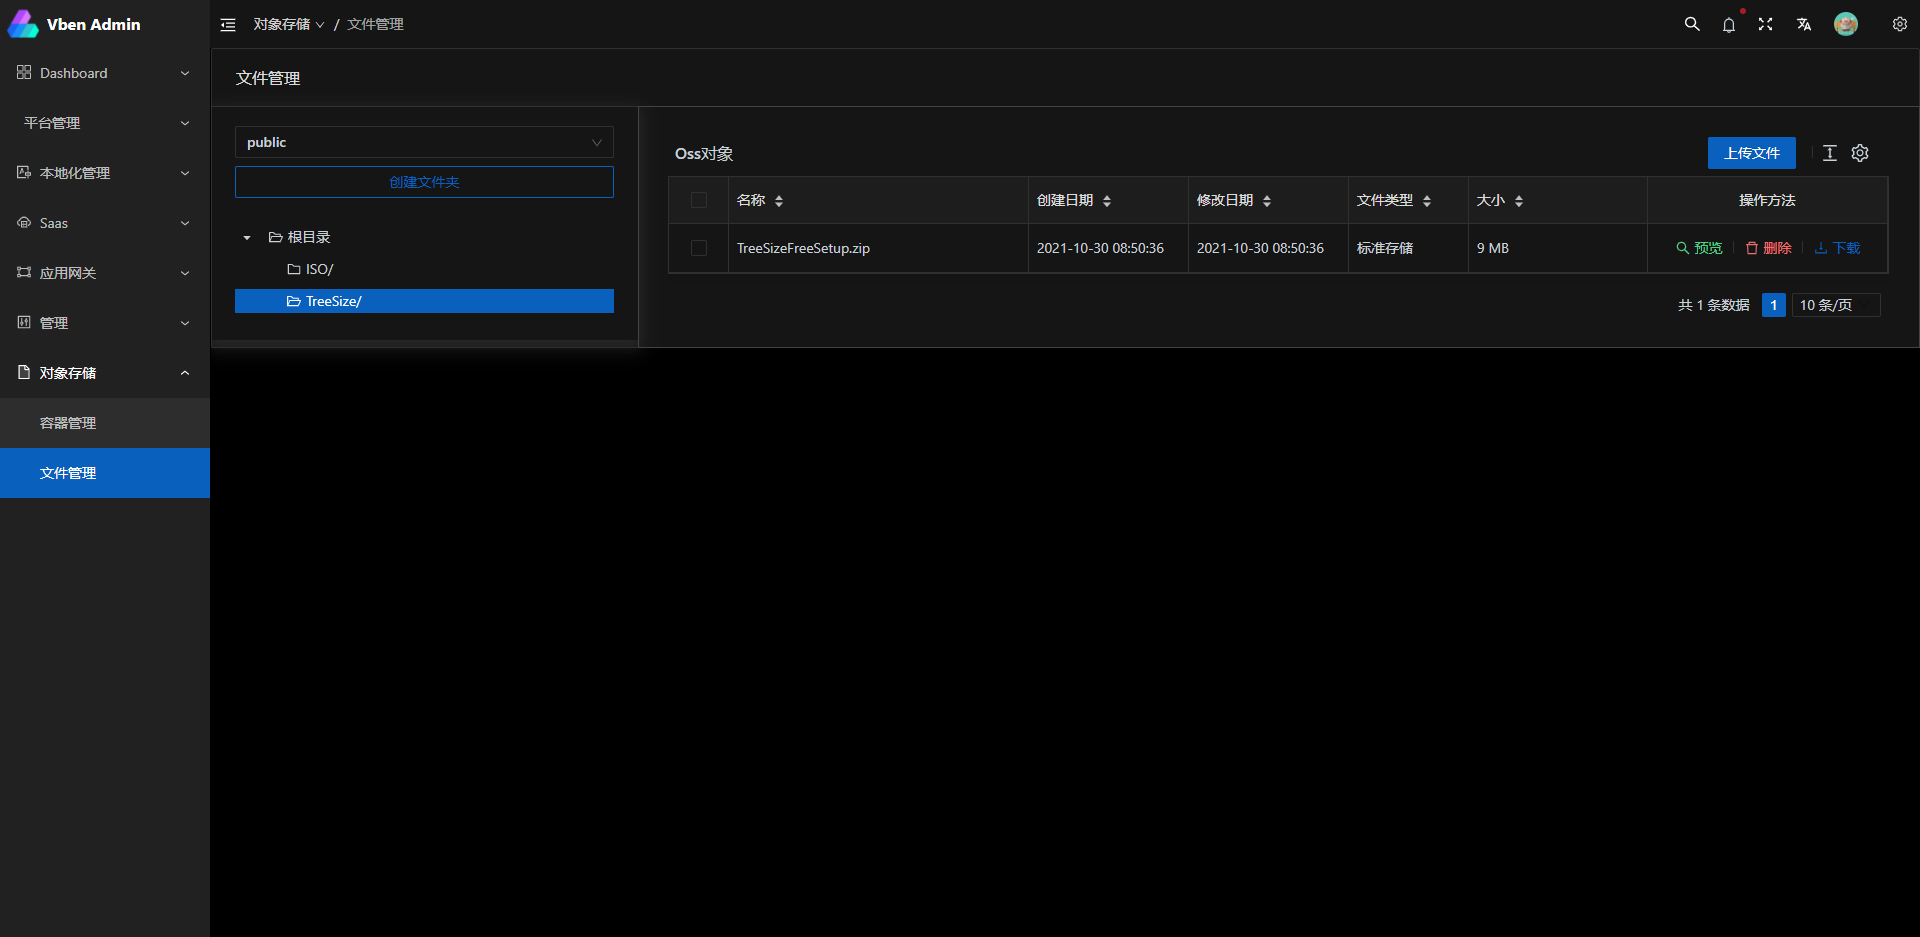
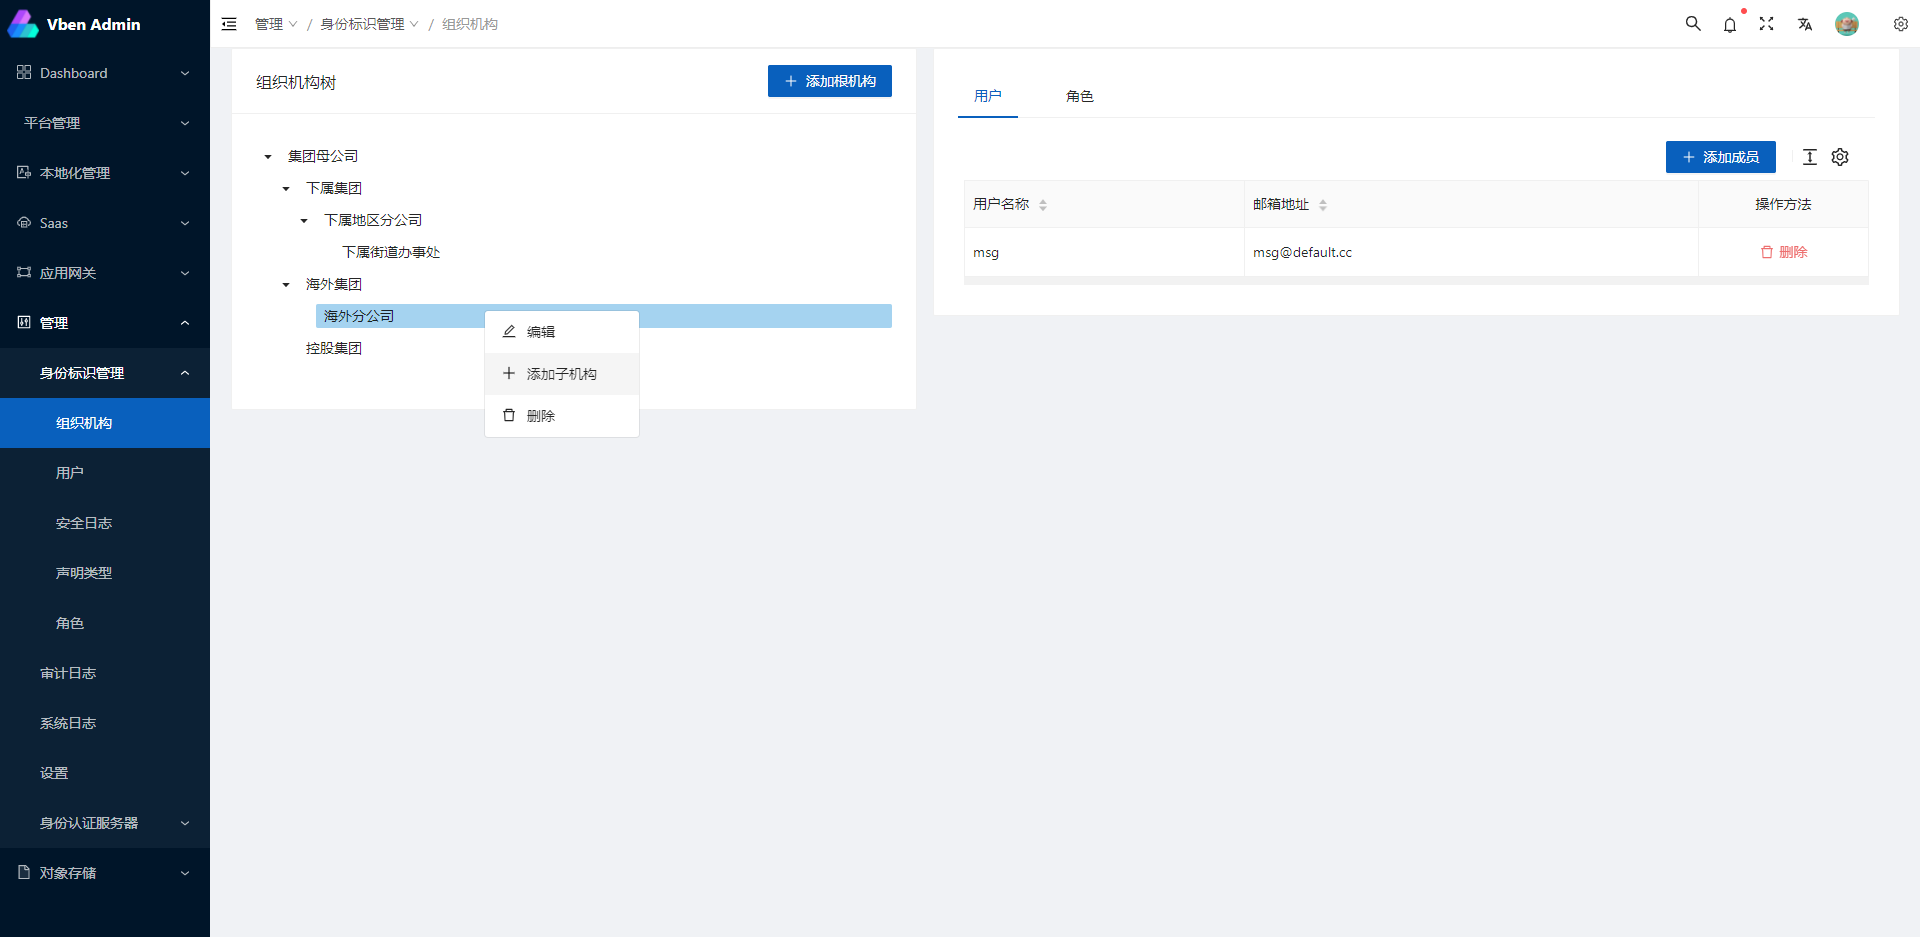
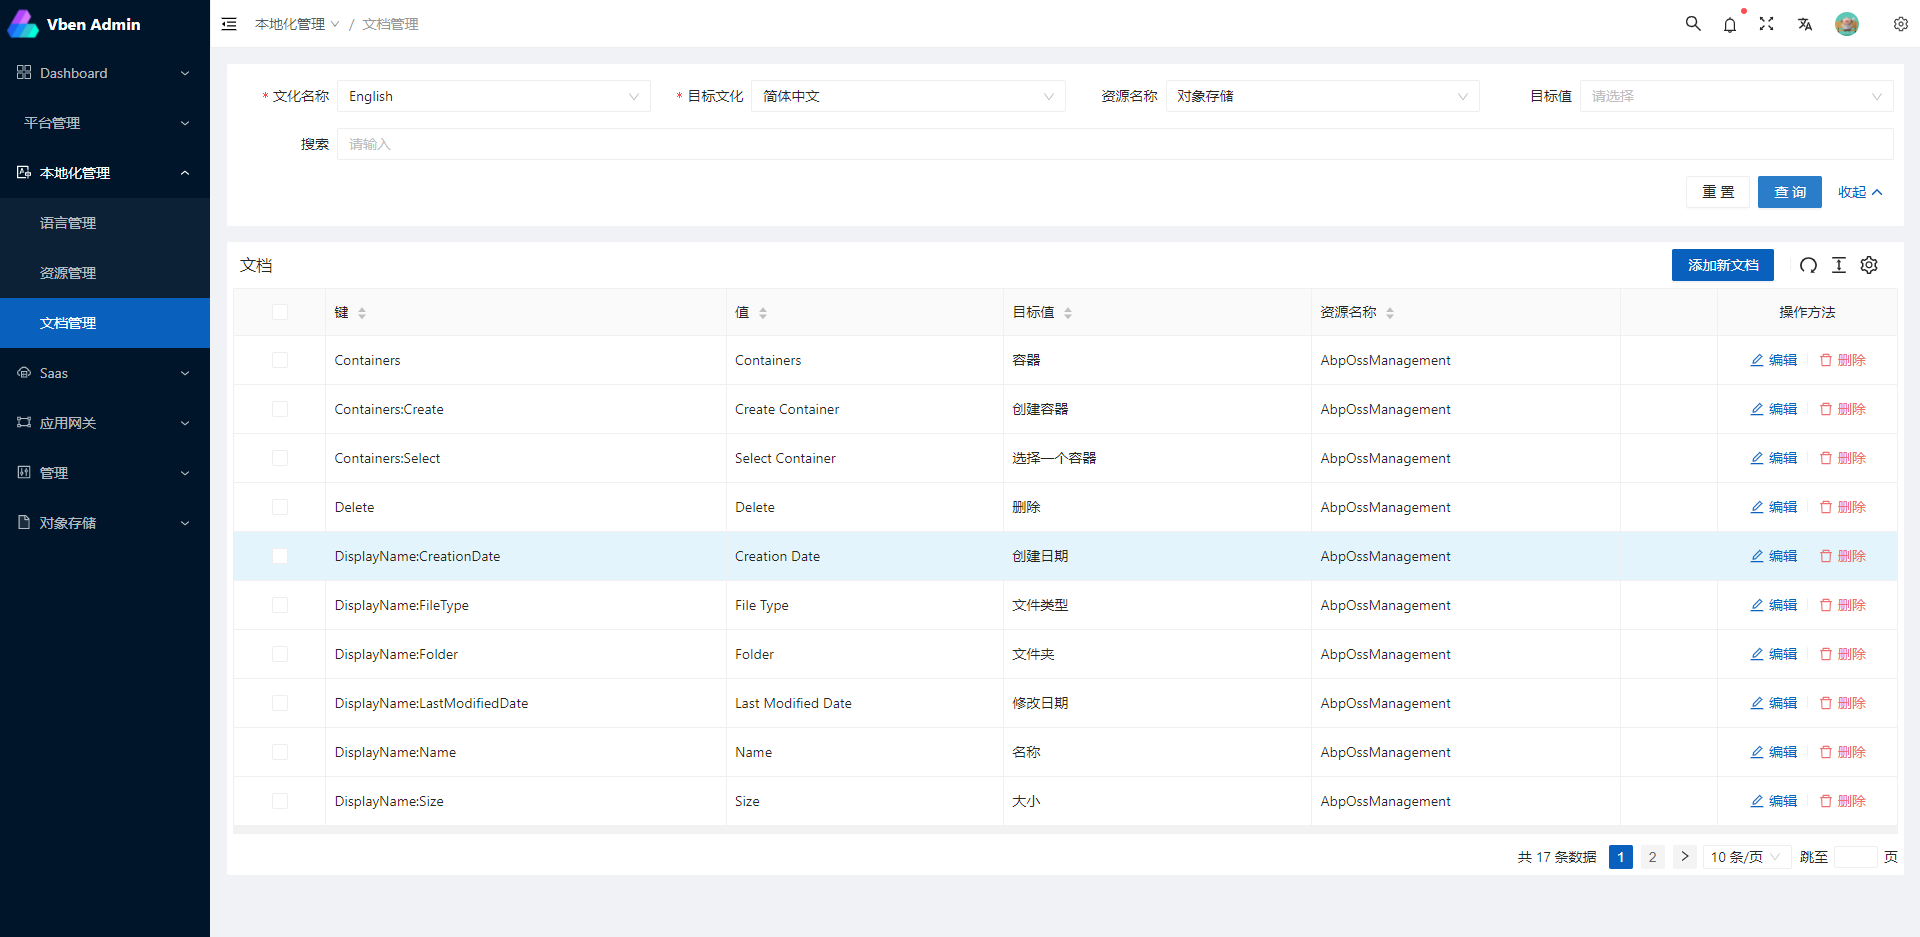
This is a vue-vben-admin -based Abp framework background management interface
windows: modify C:\Windows\System32\drivers\etc\hosts ; linux: modify /etc/hosts; add config:
127.0.0.1 host.docker.internal
In linux, execute restart network command:
/etc/init.d/network restart dotnet tool install --global LINGYUN.Abp.Cli dotnet new --install LINGYUN.Abp.MicroService.Templates # use sqlserver
# MyCompanyName you company name
# MyProjectName you project name
# MyPackageName you package name
# -o See: abp cli
# --dbms See: abp cli
# --cs See: abp cli
# --no-random-port See: abp cli
labp create MyCompanyName.MyProjectName -pk MyPackageName -o "D:\Project" --dbms sqlserver --cs "Server=127.0.0.1;Database=MyProject;User Id=sa;Password=123456" --no-random-port
cd D:\Project\host\MyPackageName.MyCompanyName.MyProjectName.HttpApi.Host
dotnet restore
dotnet run
start http://127.0.0.1:5000/
- The author is not a freelancer and does not have much time to maintain the project. If there is a problem, please contact colin.in@foxmail.com by email
abpframework/abp (abp vNext)
EasyAbp/Cap (EasyAbp)
DotNetCore/CAP (CAP)
Javascript version:
vue-vben-admin (vue-vben-admin)
- node and git - Project development environment
- Vite - Familiar with vite features
- Vue3 - Familiar with Vue basic syntax
- TypeScript - Familiar with the basic syntax of
TypeScript - Es6+ - Familiar with es6 basic syntax
- Vue-Router-Next - Familiar with the basic use of vue-router
- Ant-Design-Vue - ui basic use
- Mock.js - mockjs basic syntax
├── mock/                      # mock server & mock data
├── public                     # public static assets (directly copied)
│   │── favicon.ico            # favicon
│   │── manifest.json          # PWA config file
│   └── index.html             # index.html template
├── src                        # main source code
│   ├── api                    # api service
│   ├── assets                 # module assets like fonts, images (processed by webpack)
│   ├── components             # global components
│   ├── directives             # global directives
│   ├── enums                  # global enums
│   ├── hooks                  # global hooks
│   ├── locales                # locales
│   ├── layout                 # layouts
│   ├── router                 # router
│   ├── settings               # global settings
│   ├── store                  # store
│   ├── utils                  # global utils
│   ├── views                  # views
│   ├── App.vue                # main app component
│   ├── main.ts                # app entry file
├── types                      # types
├── tests/                     # tests
├── .env.xxx                   # env variable configuration
├── .eslintrc.js               # eslint config
├── jest.config.js             # jest unit test config
├── package.json               # package.json
├── postcss.config.js          # postcss config
├── tsconfig.json              # typescript config
└── vite.config.js # vue vite configyarn install
Modify the server address that the development environment will use for the proxy. Provide the following three addresses: IdentityService, IdentityServer, and ApiService
VITE_PROXY = [["/connect","http://127.0.0.1:44385"],["/api","http://127.0.0.1:30000"],["/signalr-hubs","ws://127.0.0.1:30000"]]Modify the actual address of the production environment, as above
# STS Connect
# token issue
VITE_GLOB_AUTHORITY='http://127.0.0.1:44385'
# client id
VITE_GLOB_CLIENT_ID='vue-admin-element'
# client secret
VITE_GLOB_CLIENT_SECRET='1q2w3e*'Please switch to the service project startup directory and execute the **dotnet EF ** command for database migration
example:
cd aspnet-core/services/admin/LINGYUN.BackendAdminApp.Host

dotnet ef database update
- You can also use quick migration script files: ./build/build-aspnetcore-ef-update.ps1
Therefore project design for the micro service architecture, with the method of distributed event, communication between project USES is DotNetCore/CAP
The communication mode is RabbitMQ Server, so you need to install RabbitMQ in advance. Please refer to the official website for the specific installation mode
Then you need to change the CAP:RabbitMQ configuration in the configuration file to set it to your own defined configuration. The rabbitmq_management plug-in is recommended for quick management of RabbitMQ
cd aspnet-core/services

start-all-service.bat
cd apps/vue

yarn dev
yarn run buildStep 1: Building background services, powershell script: ./build/build-aspnetcore-release.ps1, Warning: after the release of service need configuration file: appsettings.Production.json
Step 2: Build the front-end, ./build/build-vue-apps.ps1
Step 3: Build after the release of the address of the default in ./aspnet-core/services/Publish, change nginx proxy server address: ./client/docker/nginx/default.conf
Step 4: Run command sudo docker-compose down && sudo docker-compose -f docker-compose.yml -f docker-compose.override.yml up --build -d
Using A CI tool such as Jenkins is recommended to simplify this into a single step
yarn lint:eslintyarn run test:unitYou are very welcome to join!Raise an issue Or submit a Pull Request。
Pull Request:
- Fork code!
- Create your own branch:
git checkout -b feat/xxxx - Submit your changes:
git commit -am 'feat(function): add xxxxx' - Push your branch:
git push origin feat/xxxx - submit
pull request
-
reference vue specification (Angular)
featAdd new featuresfixFix the problem/BUGstyleThe code style is related and does not affect the running resultperfOptimization/performance improvementrefactorRefactorrevertUndo edittestTest relateddocsDocumentation/noteschoreDependency update/scaffolding configuration modification etc.workflowWorkflow improvementsciContinuous integrationtypesType definition file changeswipIn development
If these plugins are helpful to you, you can give a star support
- vite-plugin-mock - Used for local and development environment data mock
- vite-plugin-html - Used for html template conversion and compression
- vite-plugin-style-import - Used for component library style introduction on demand
- vite-plugin-theme - Used for online switching of theme colors and other color-related configurations
- vite-plugin-imagemin - Used to pack compressed image resources
- vite-plugin-compression - Used to pack input .gz|.brotil files
- vite-plugin-svg-icons - Used to quickly generate svg sprite
The Chrome 80+ browser is recommended for local development
Support modern browsers, not IE
 IE |
 Edge |
 Firefox |
 Chrome |
 Safari |
|---|---|---|---|---|
| not support | last 2 versions | last 2 versions | last 2 versions | last 2 versions |
