Language: English / Polski
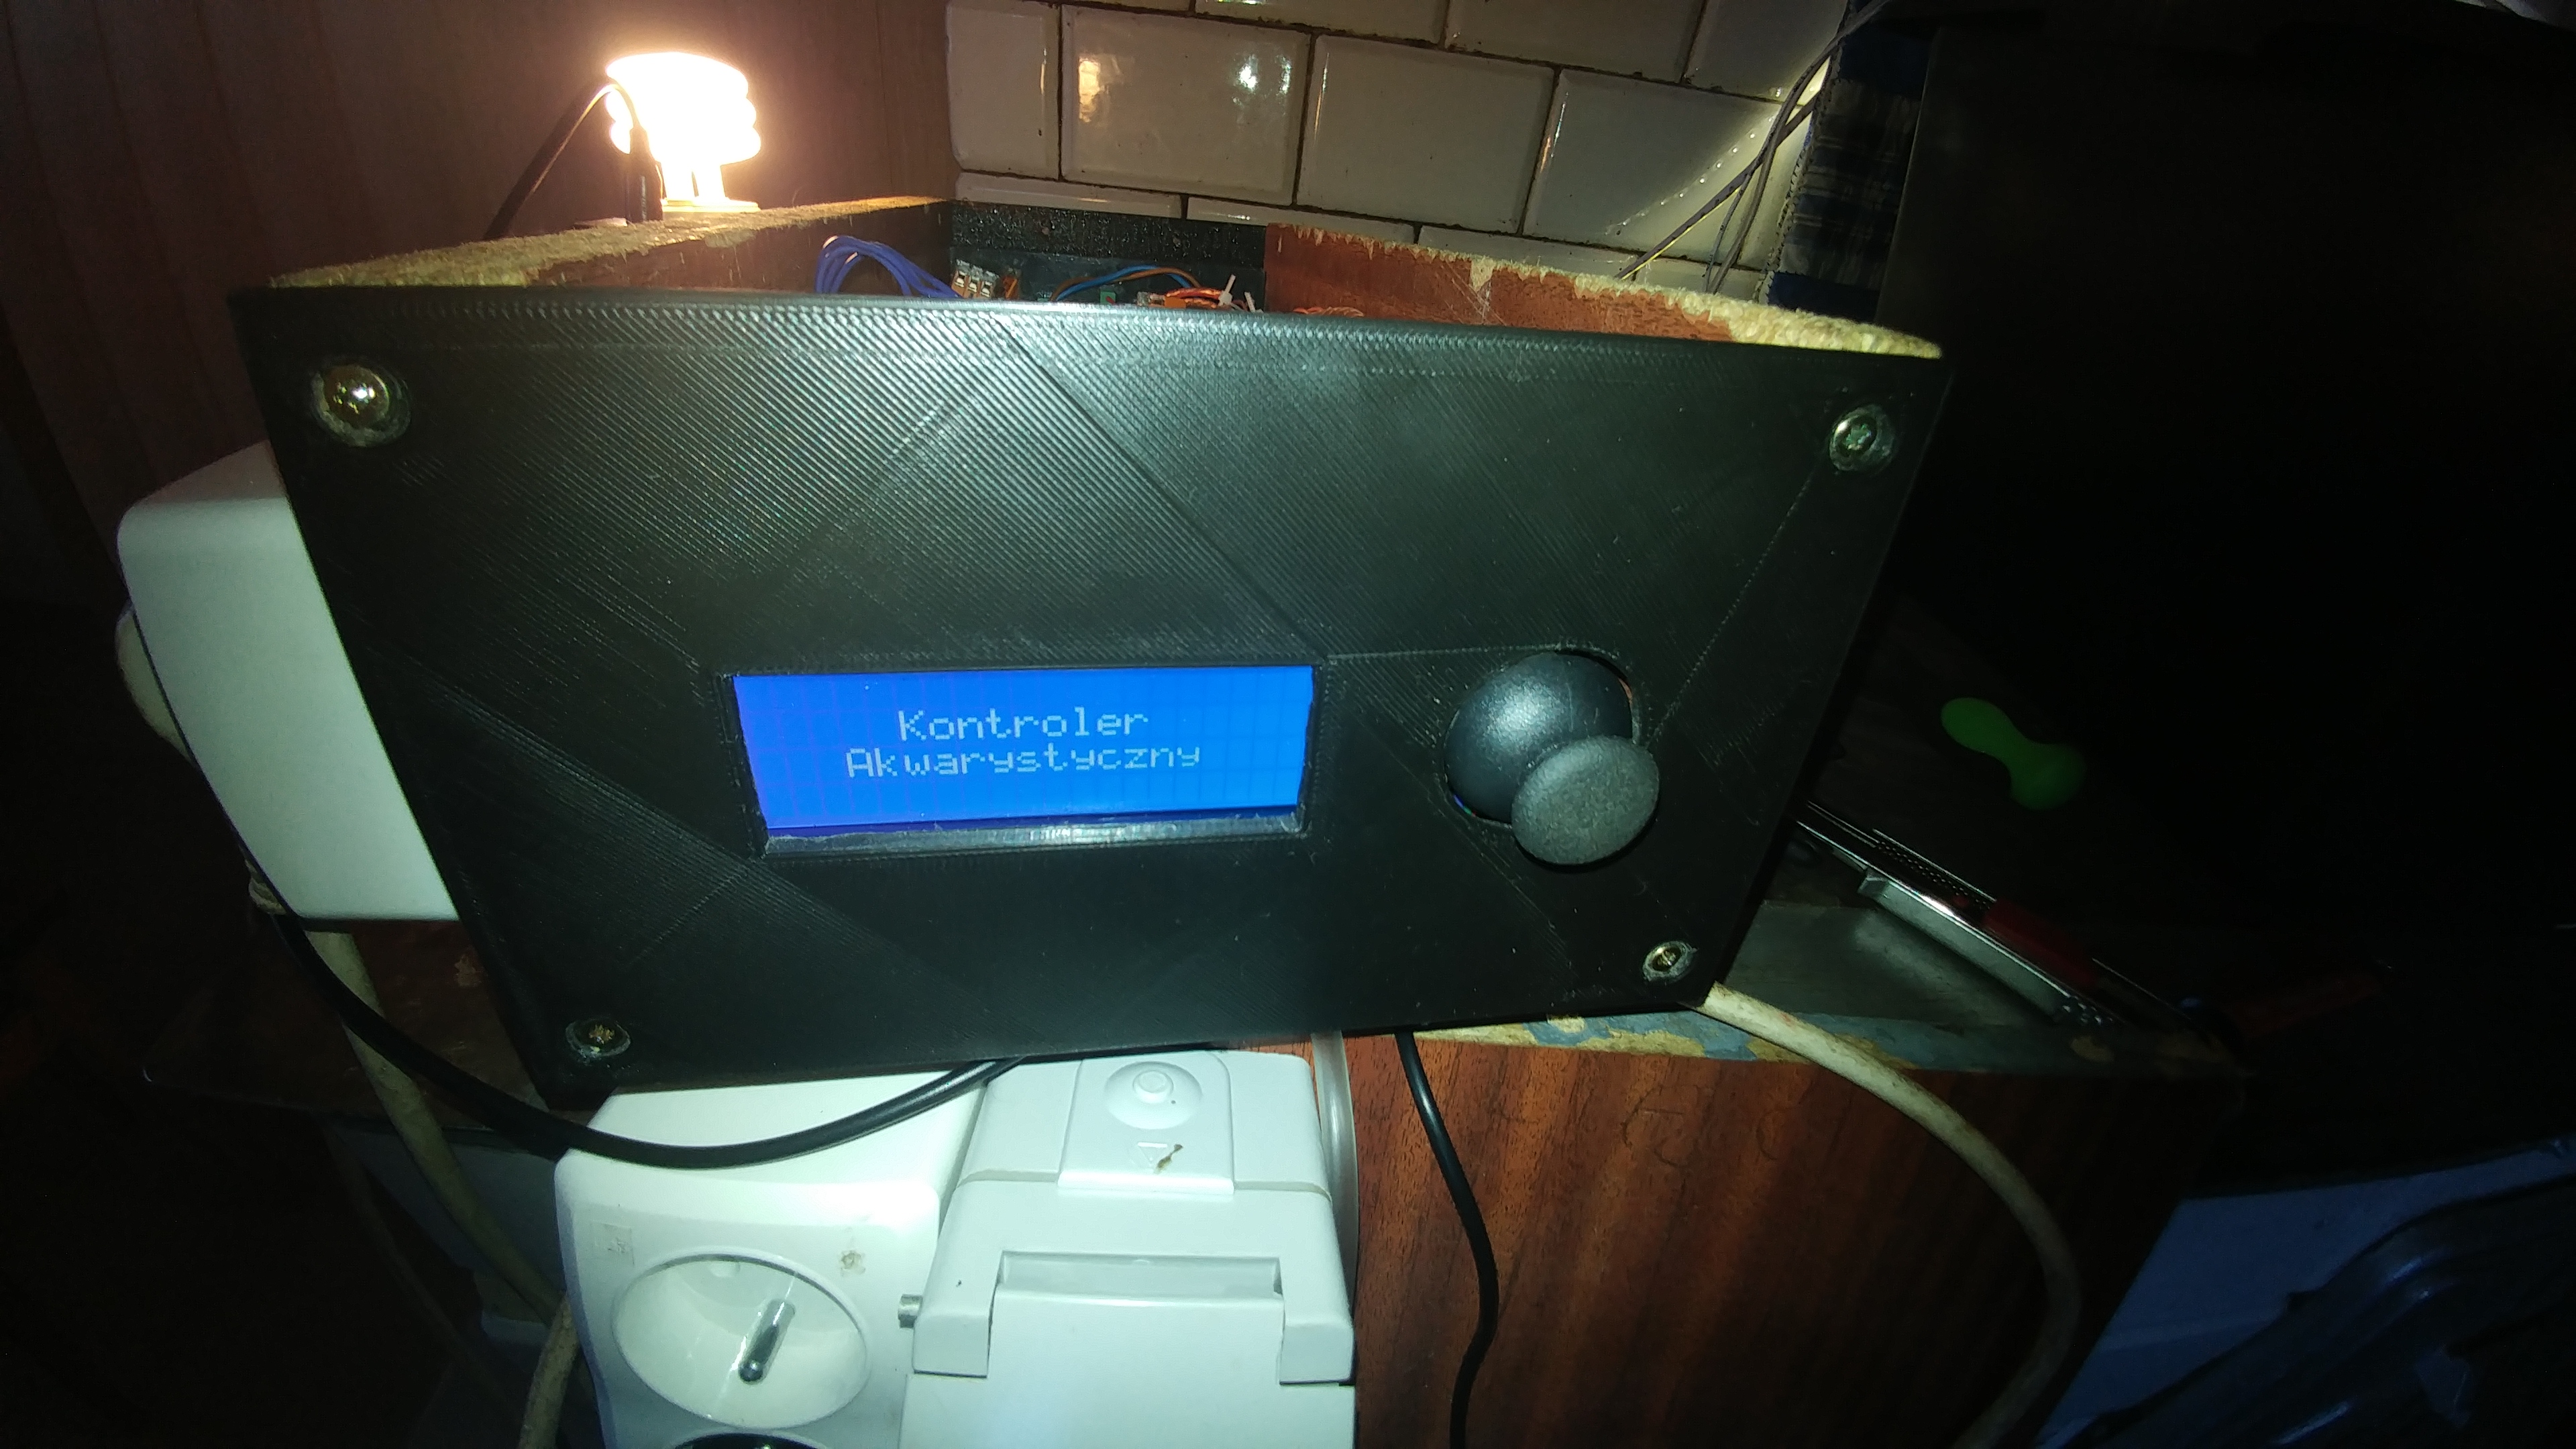
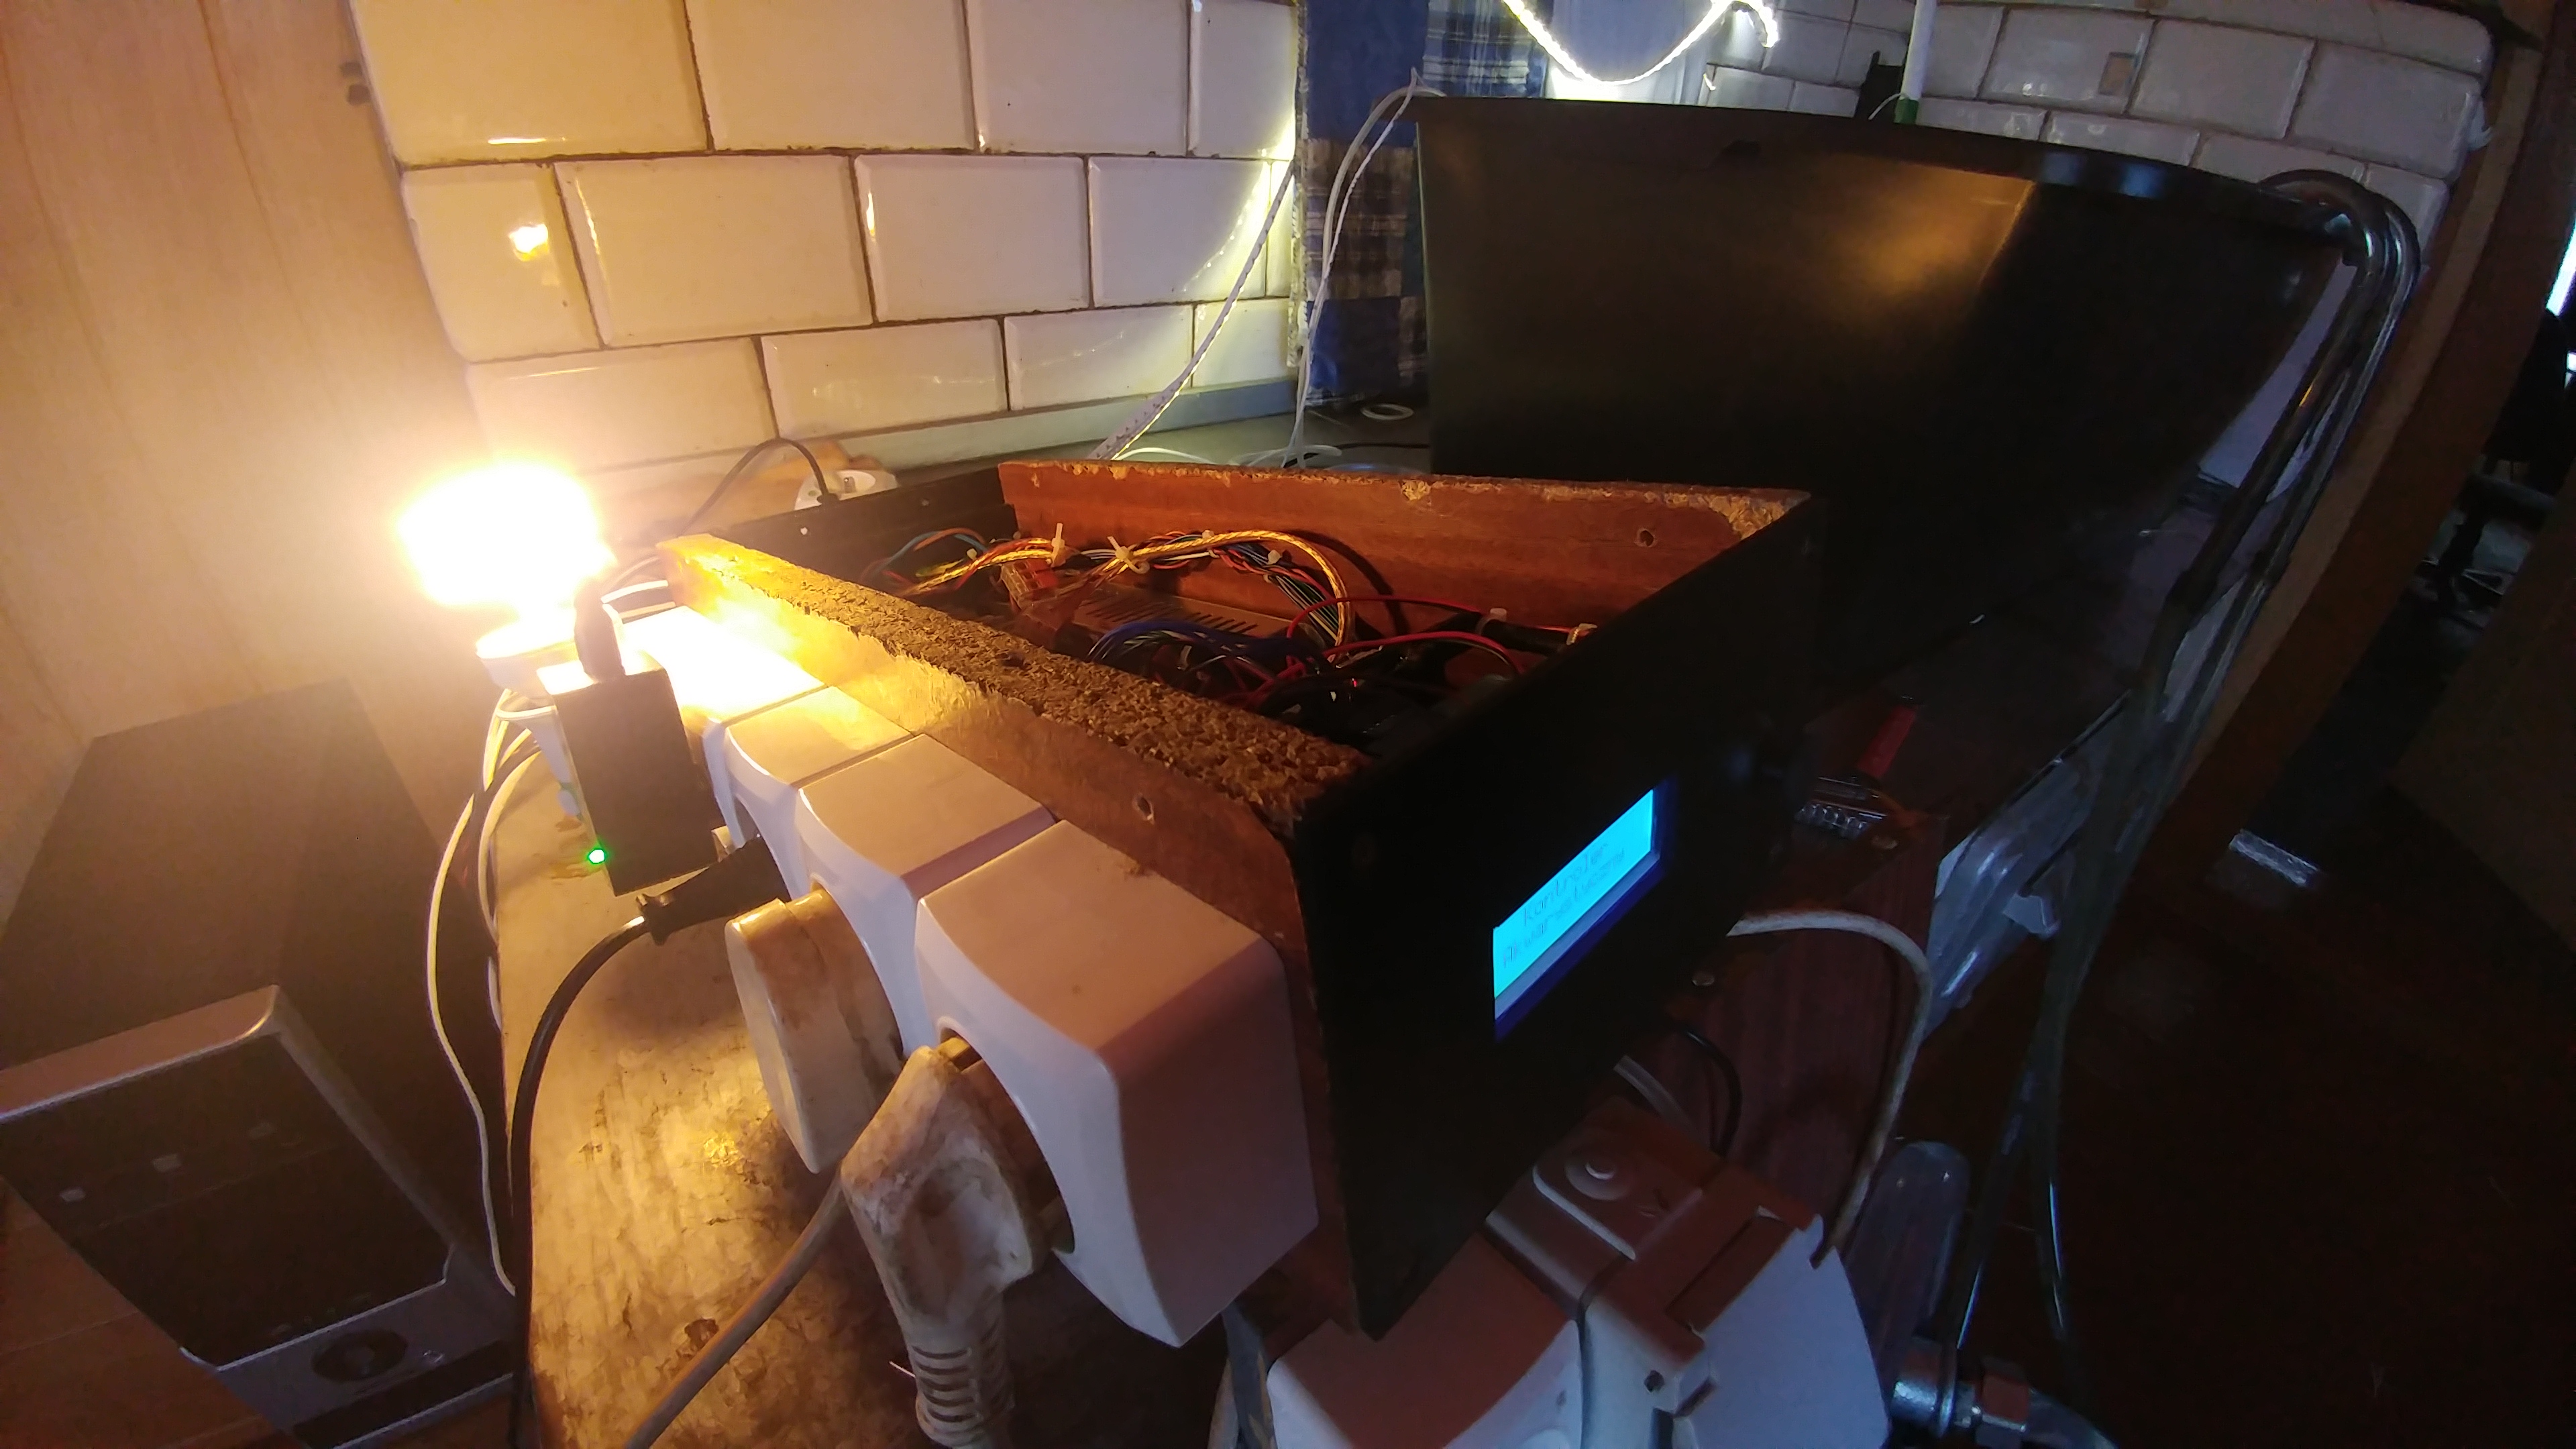
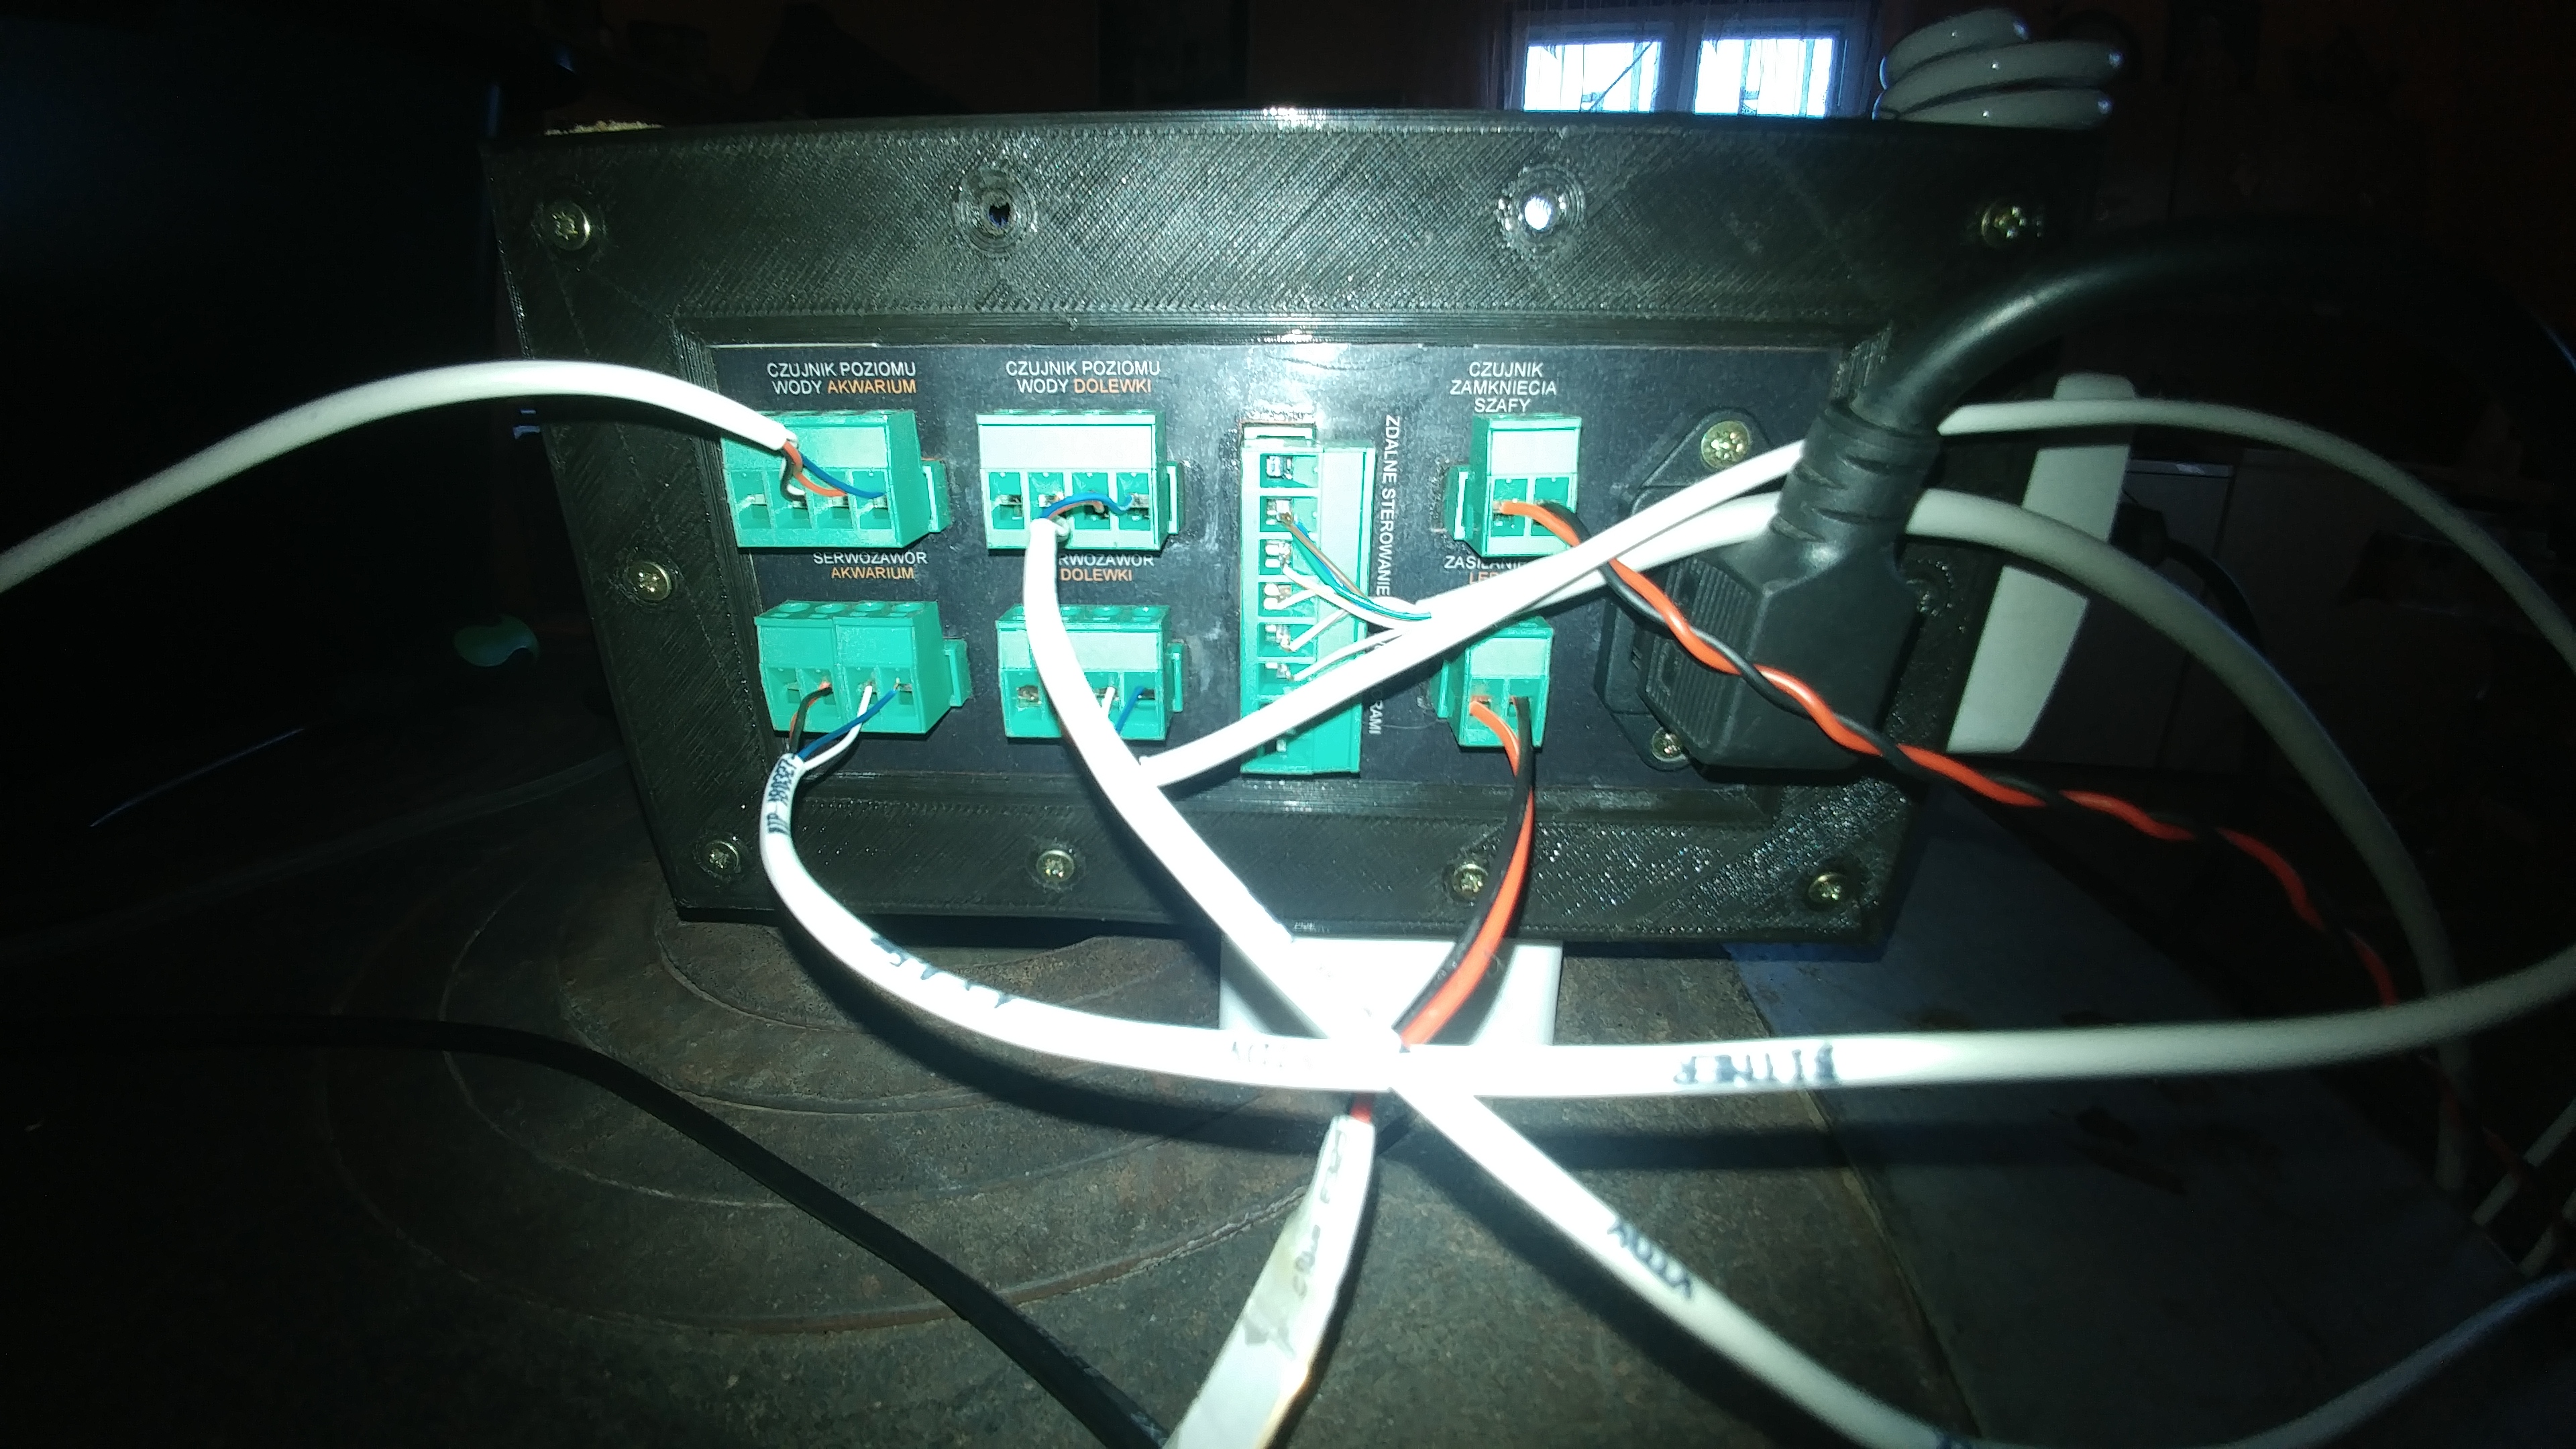
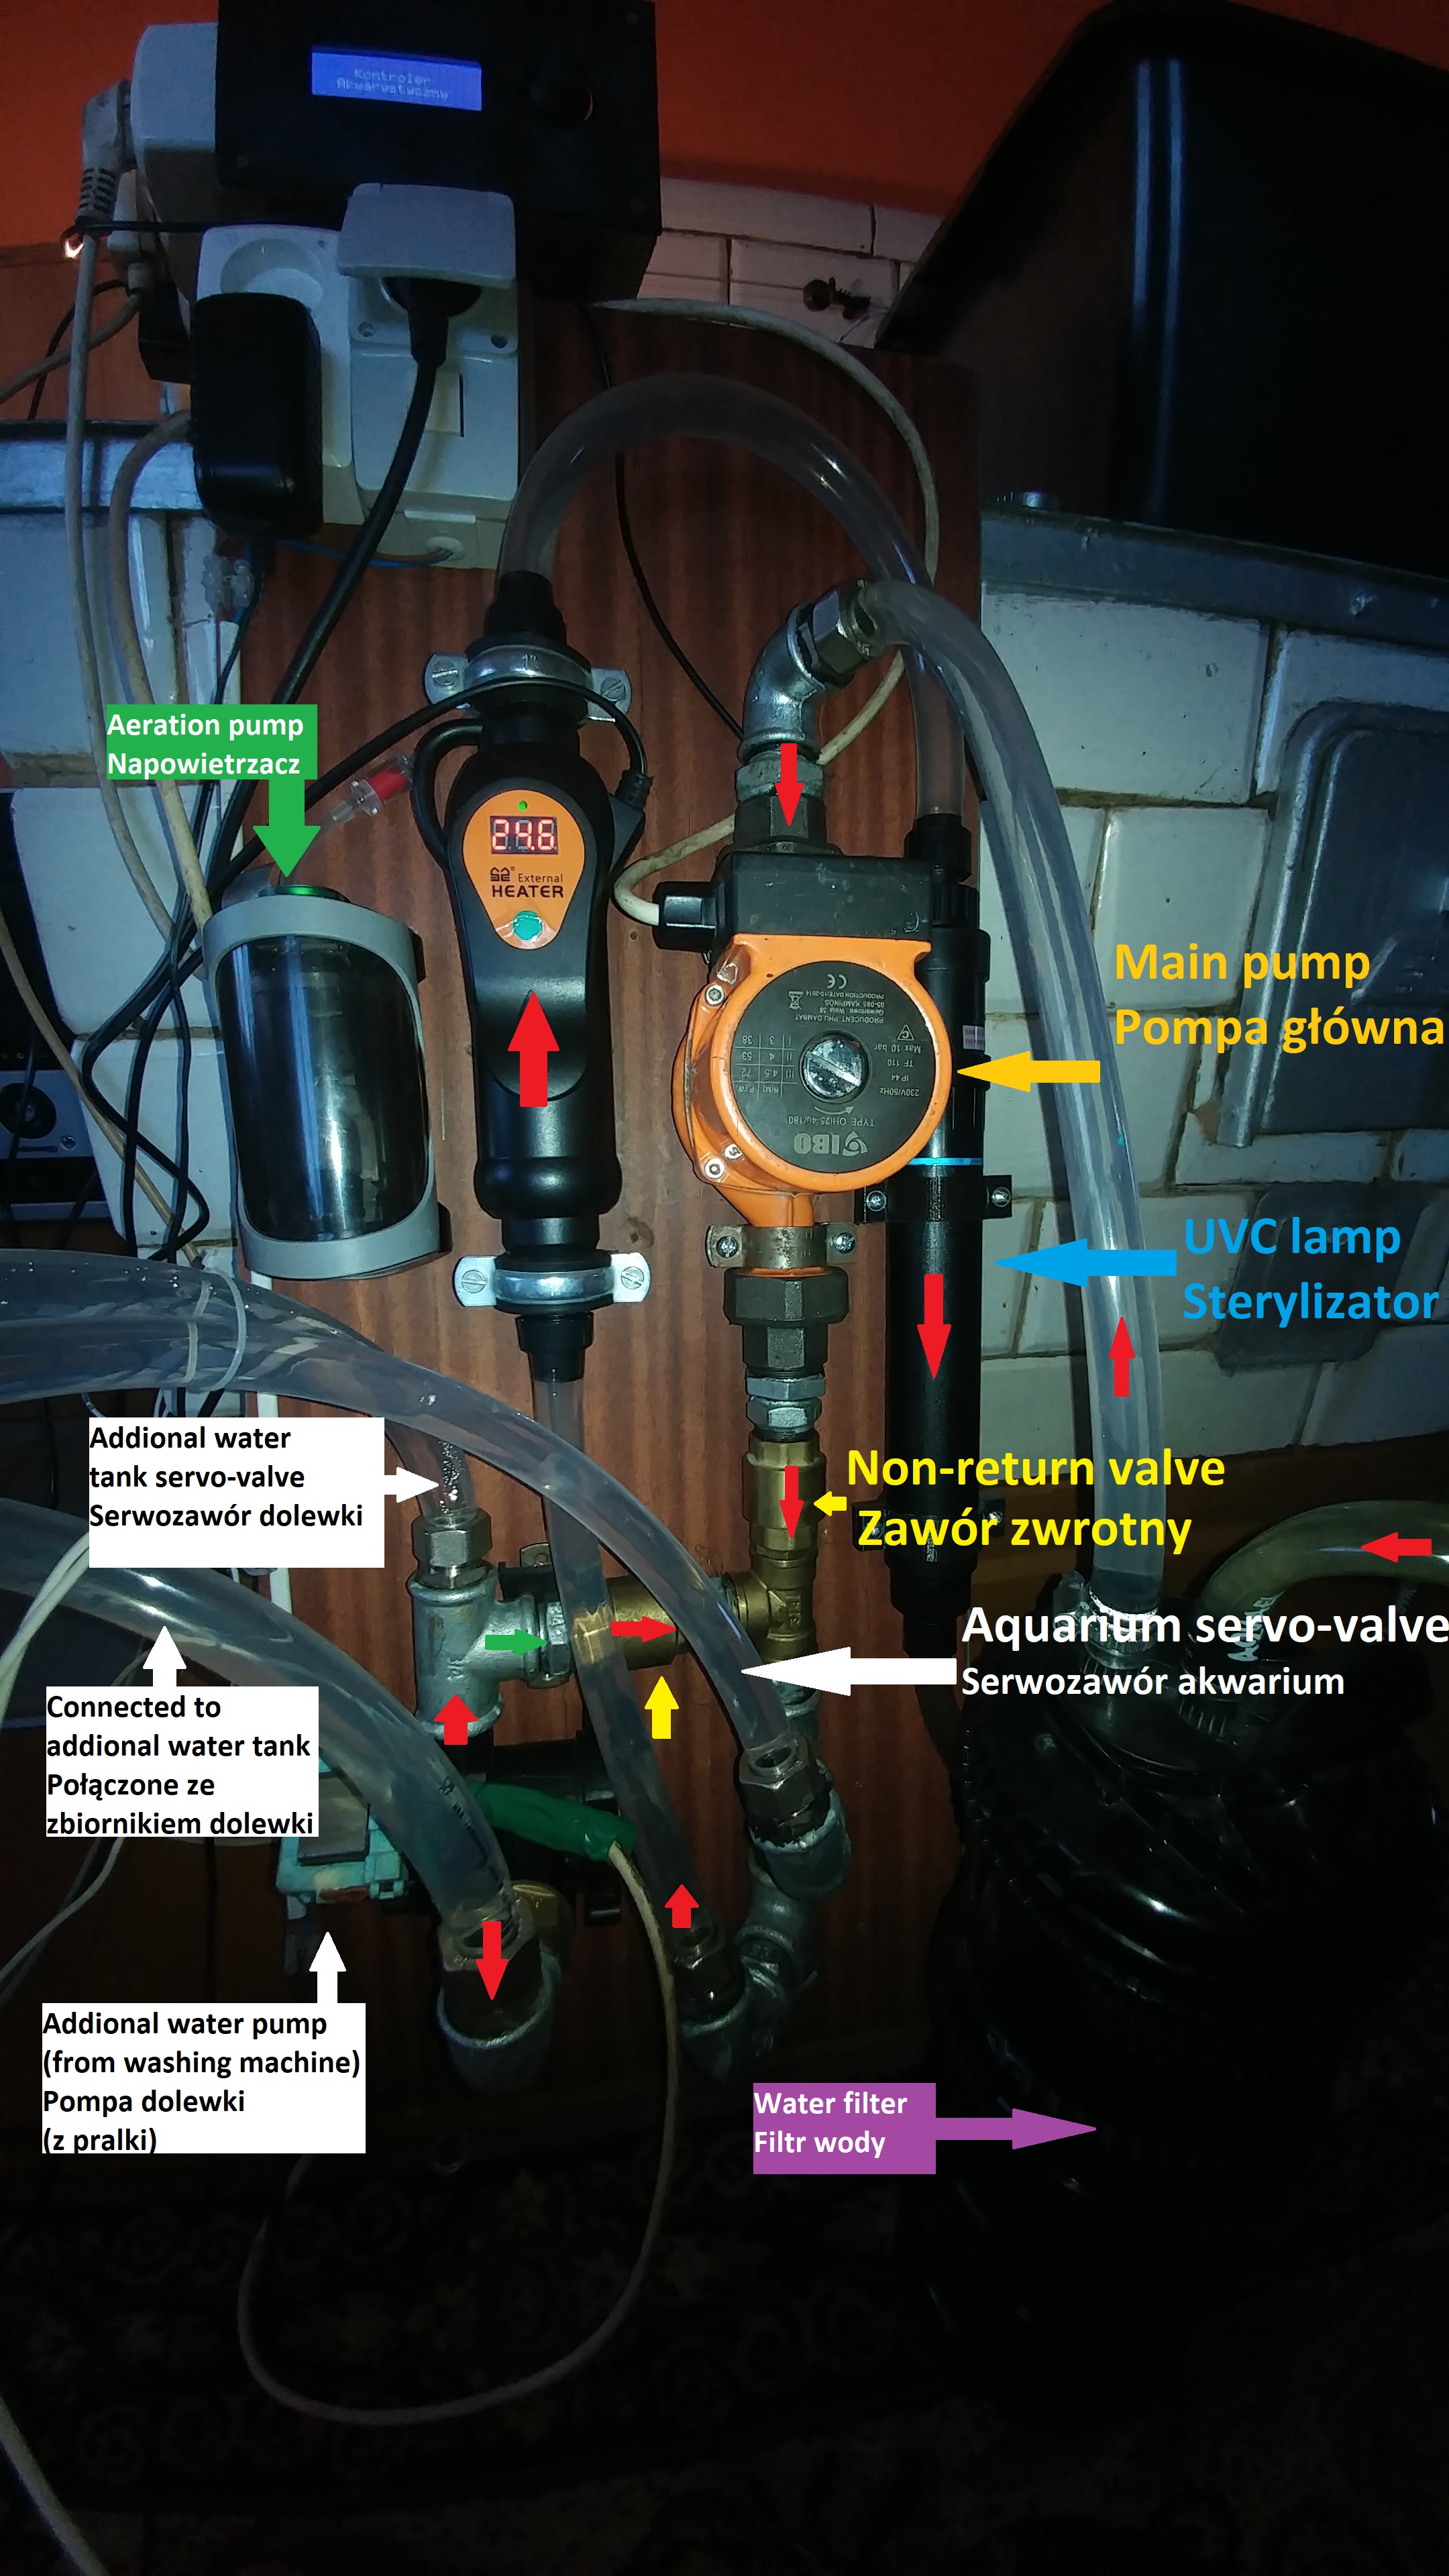
This project is a simple prototype of Aquaristic controller that supports automatic water change and automatic water addition from addional water tank.
- automatic water change basing on data coming from sensors
- half-automatic water change "add/remove"
- automatic water addition
- automatic water addition tank refill
- feeding mode
- operating accessories in the aquarium
- basic knowledge about electrics and electronics
- soldering station
- knowledge about making a wires
- working 3D printer
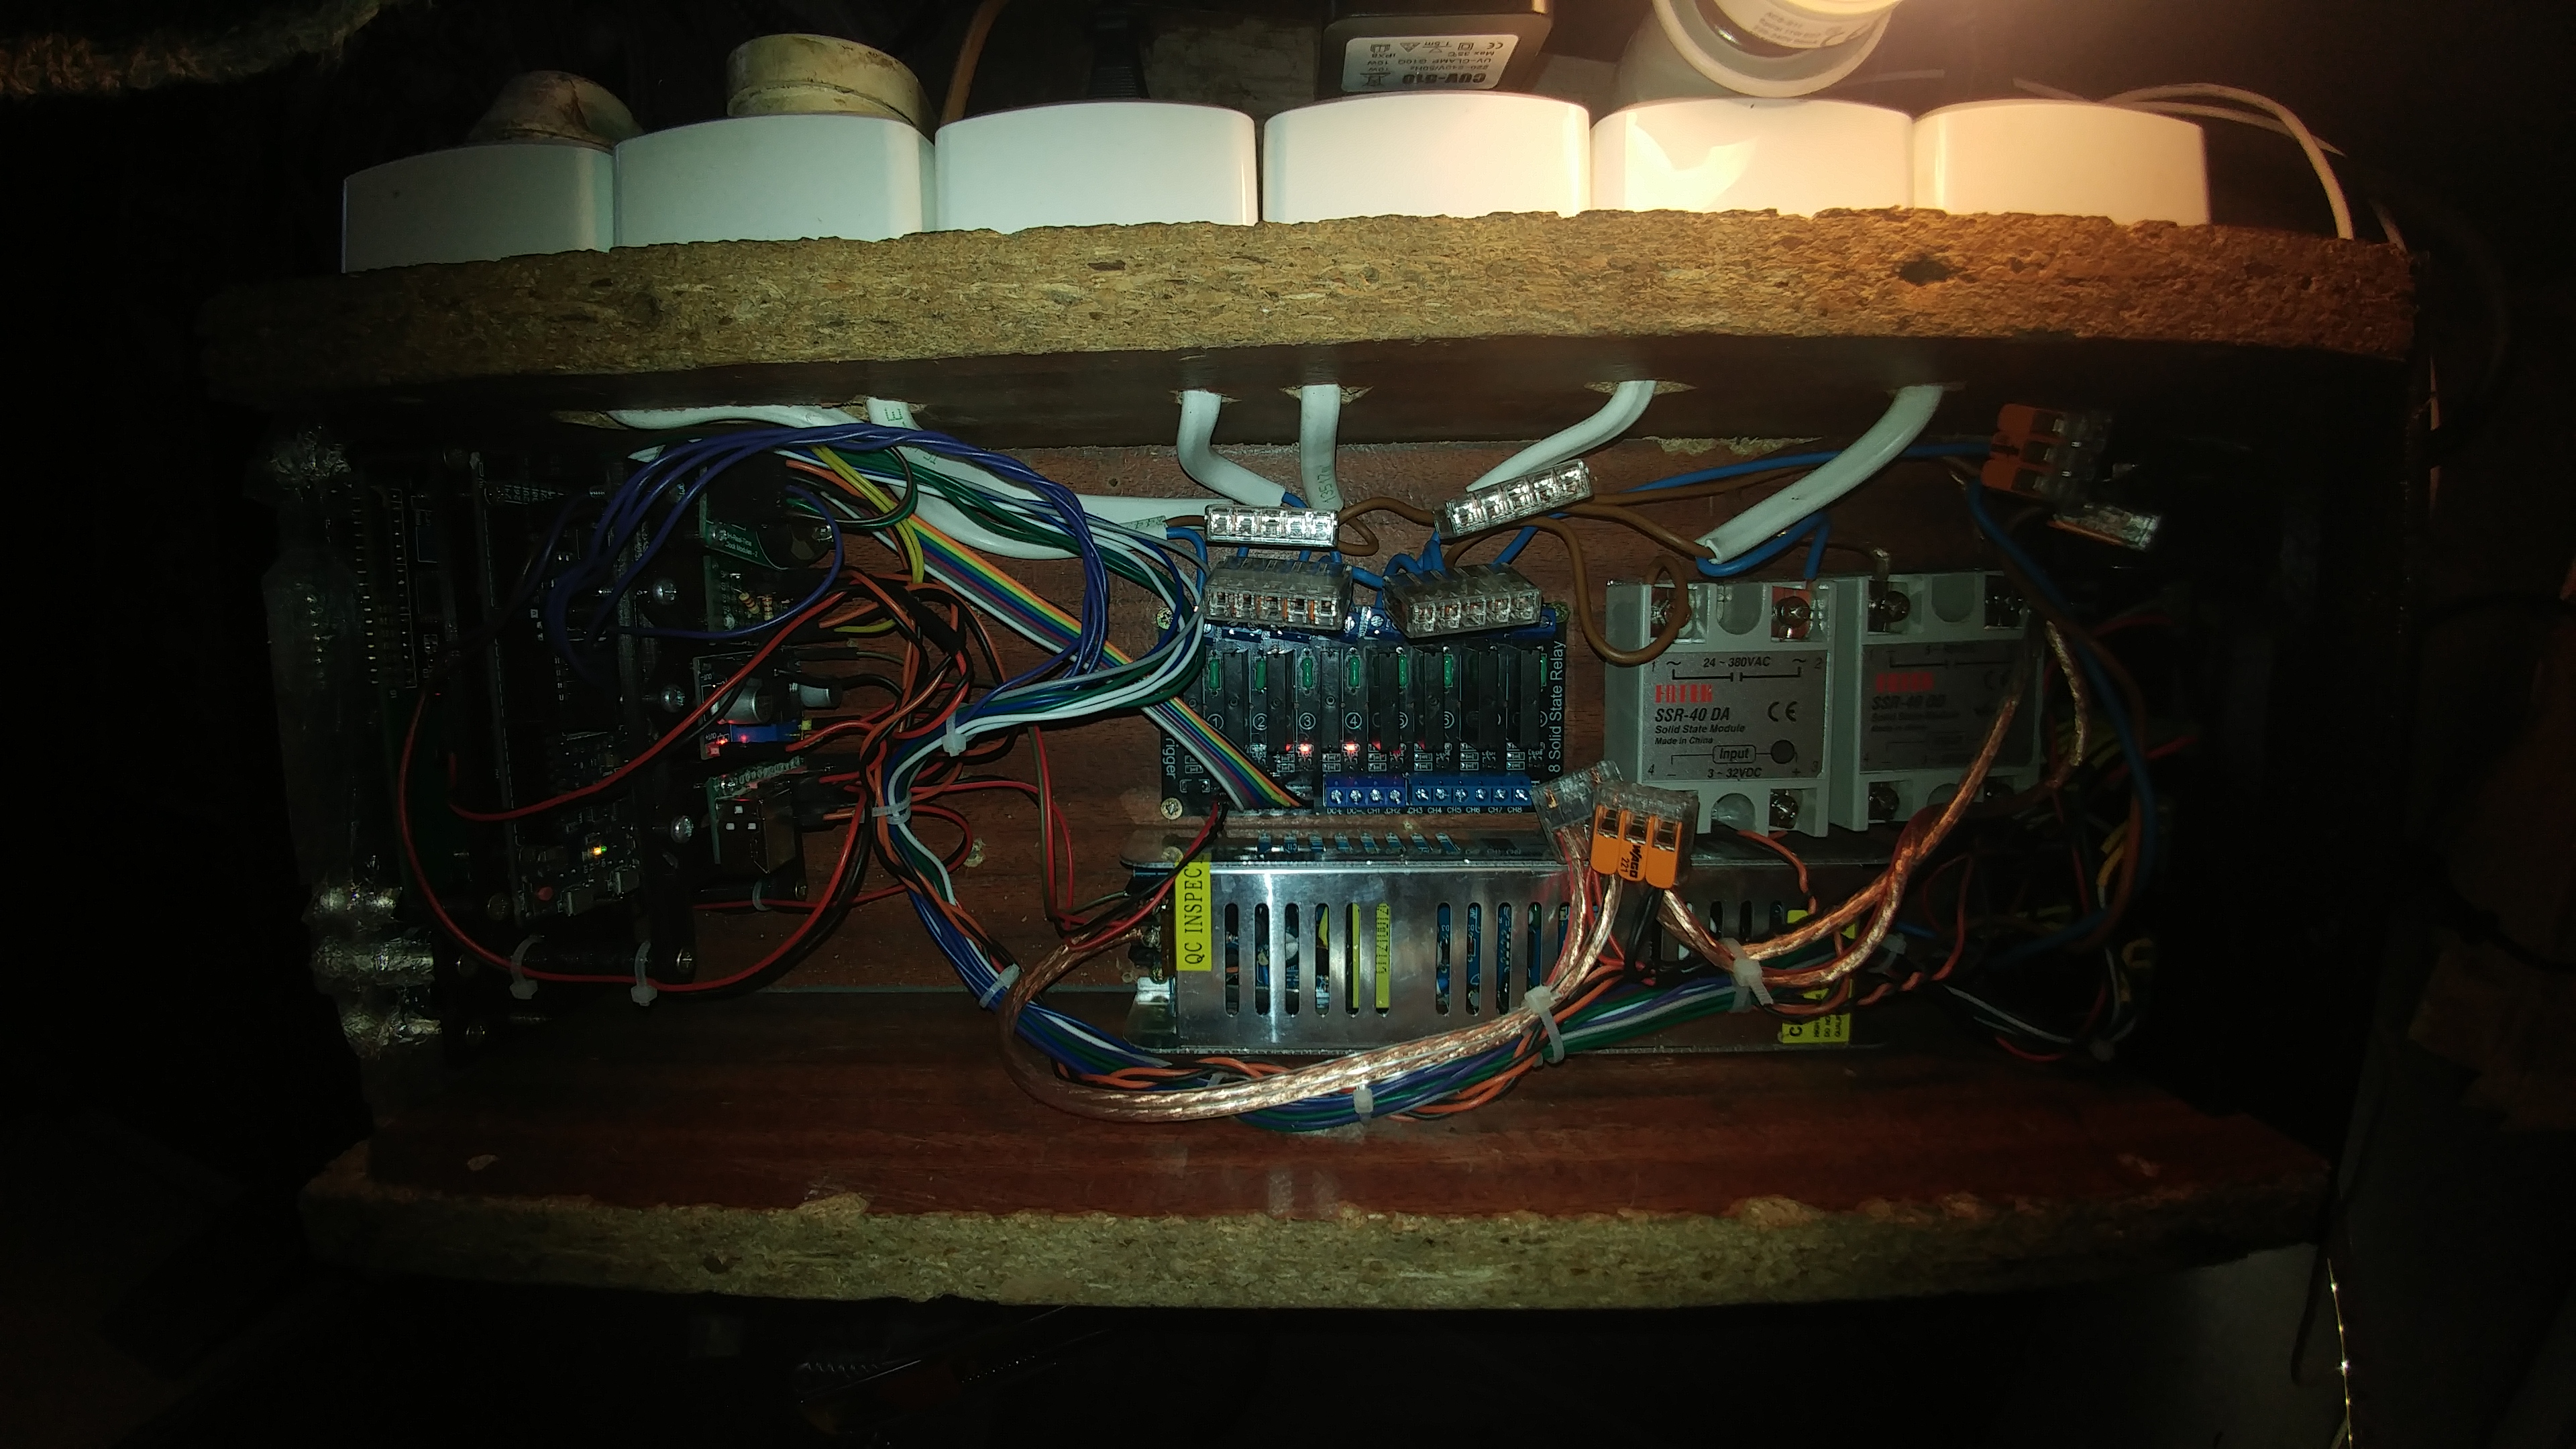
- Arduino Due board
LCD 2004screen withHD44780I2C converterDS1302RTC clock- analog joystick like
KY-023 - SSR relay module
- automatic water addition pump (from washer for example)
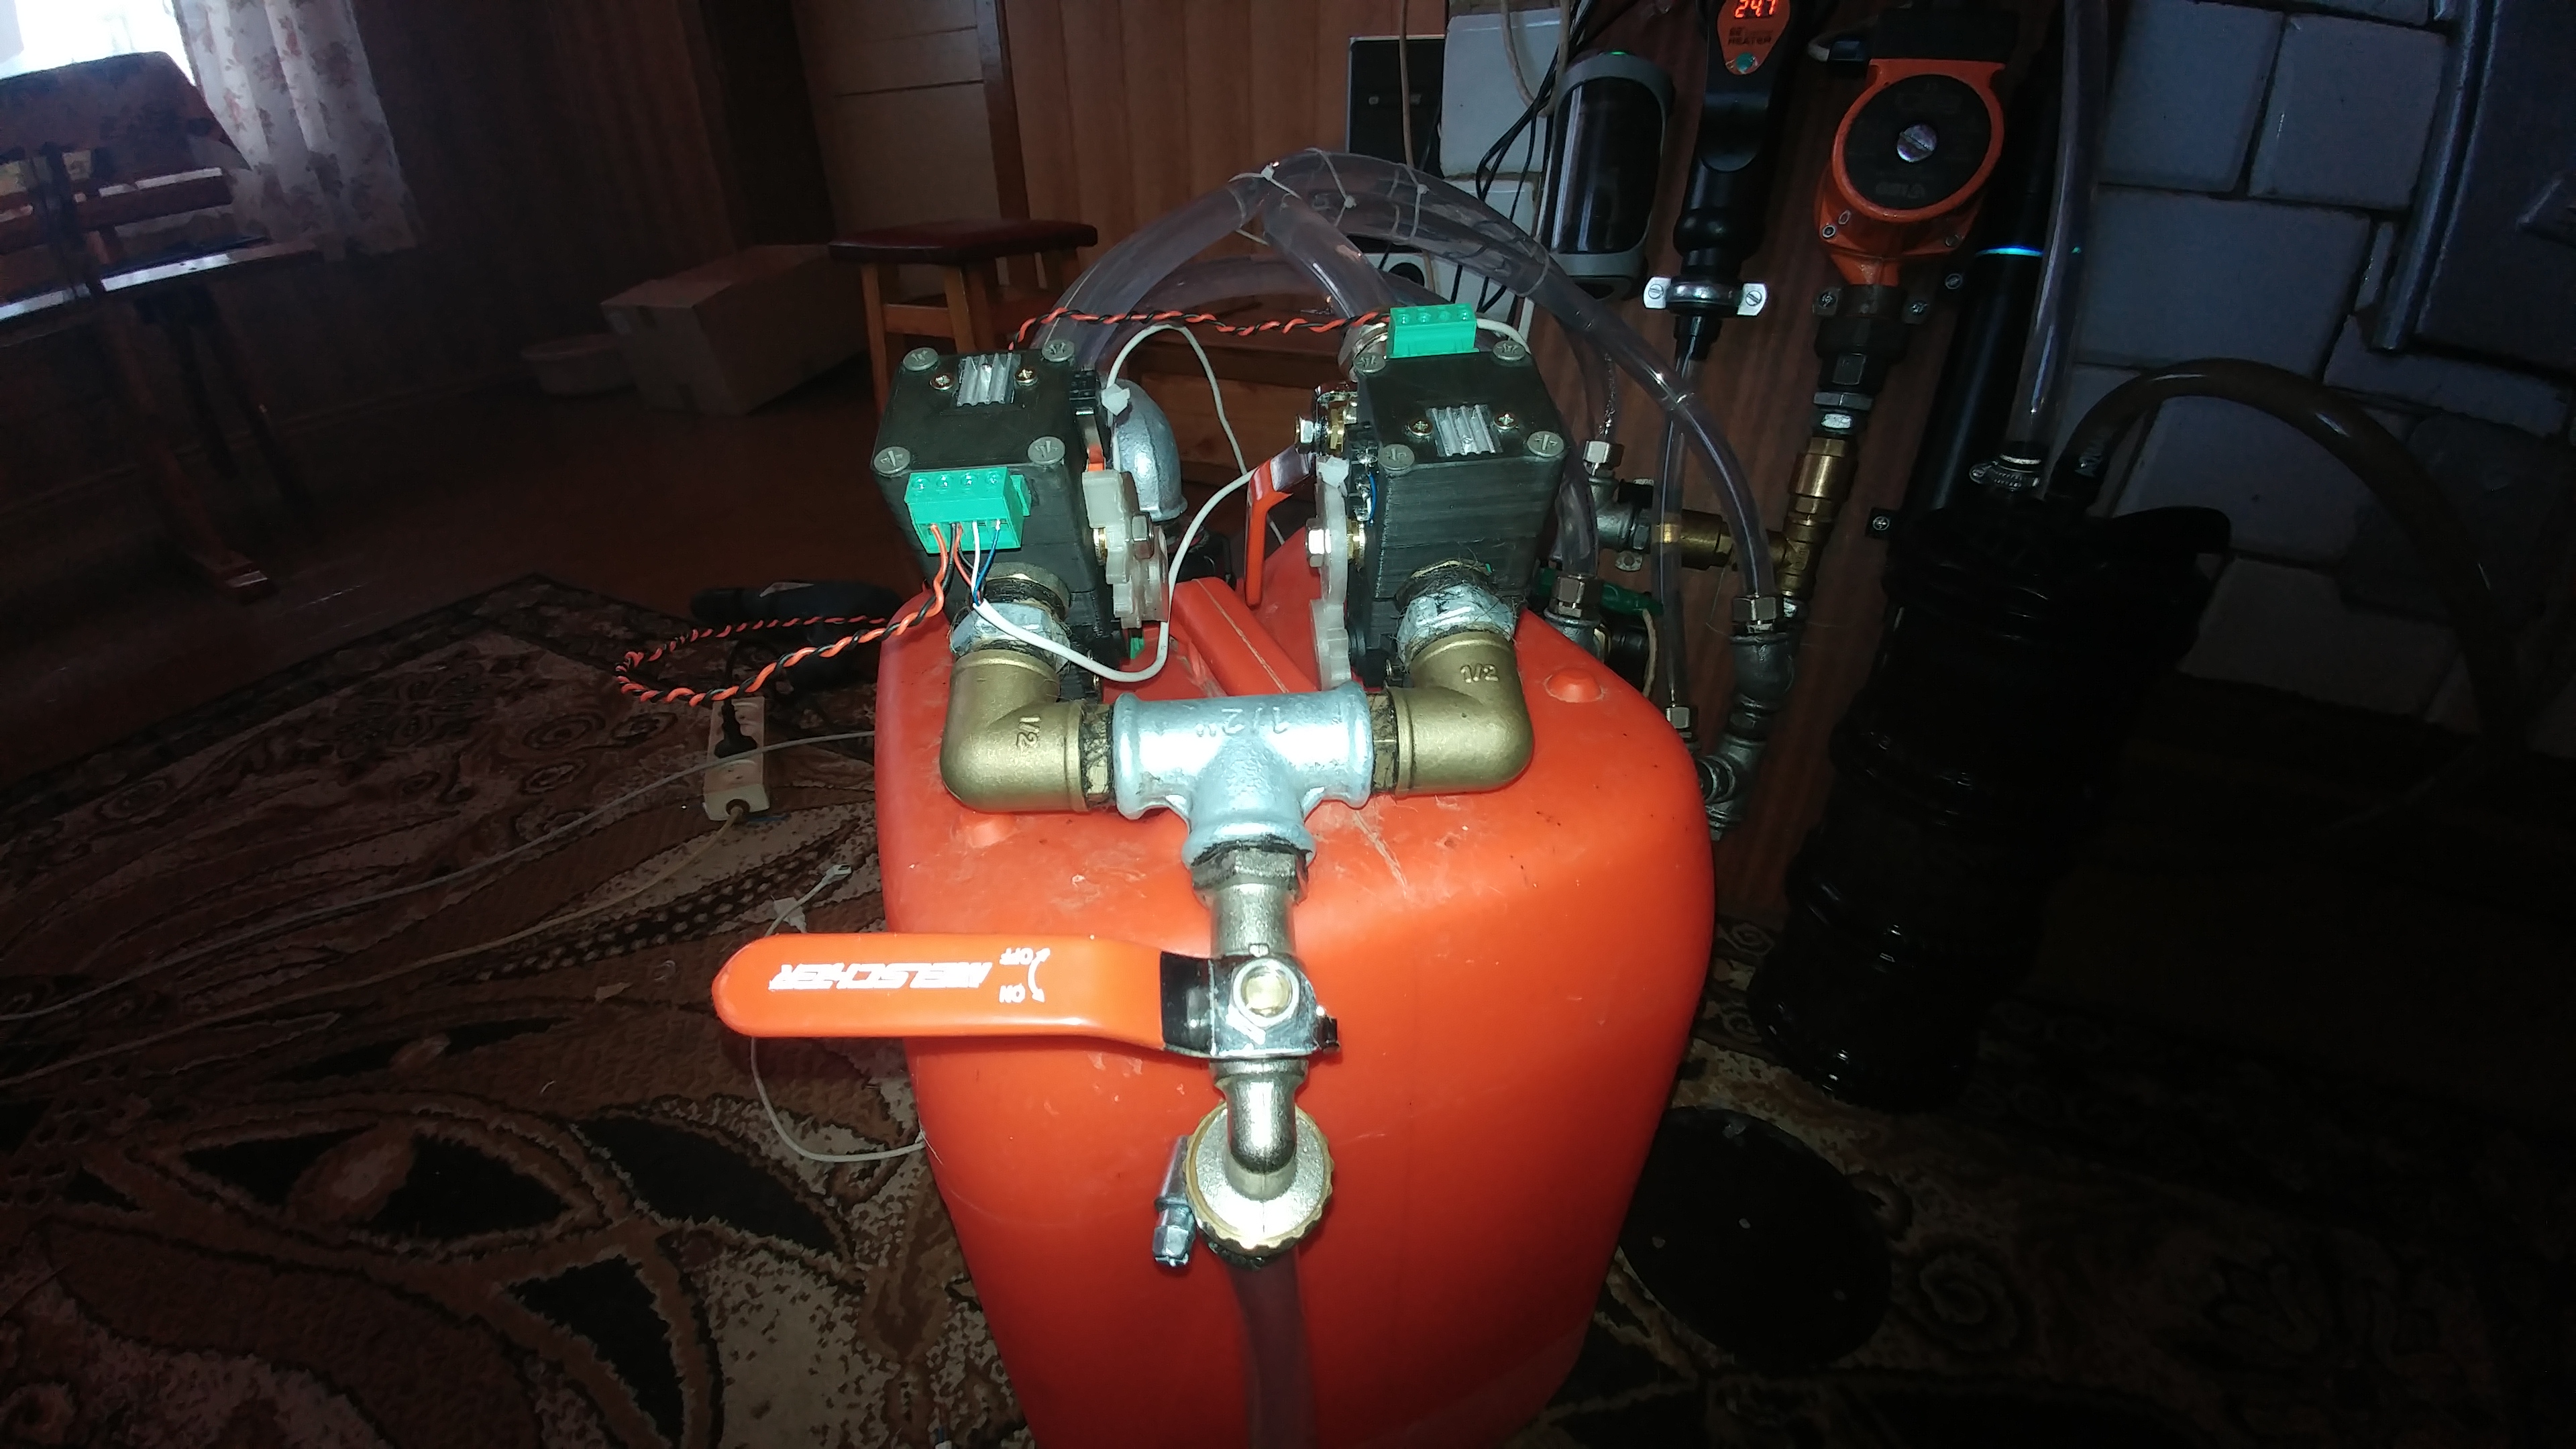
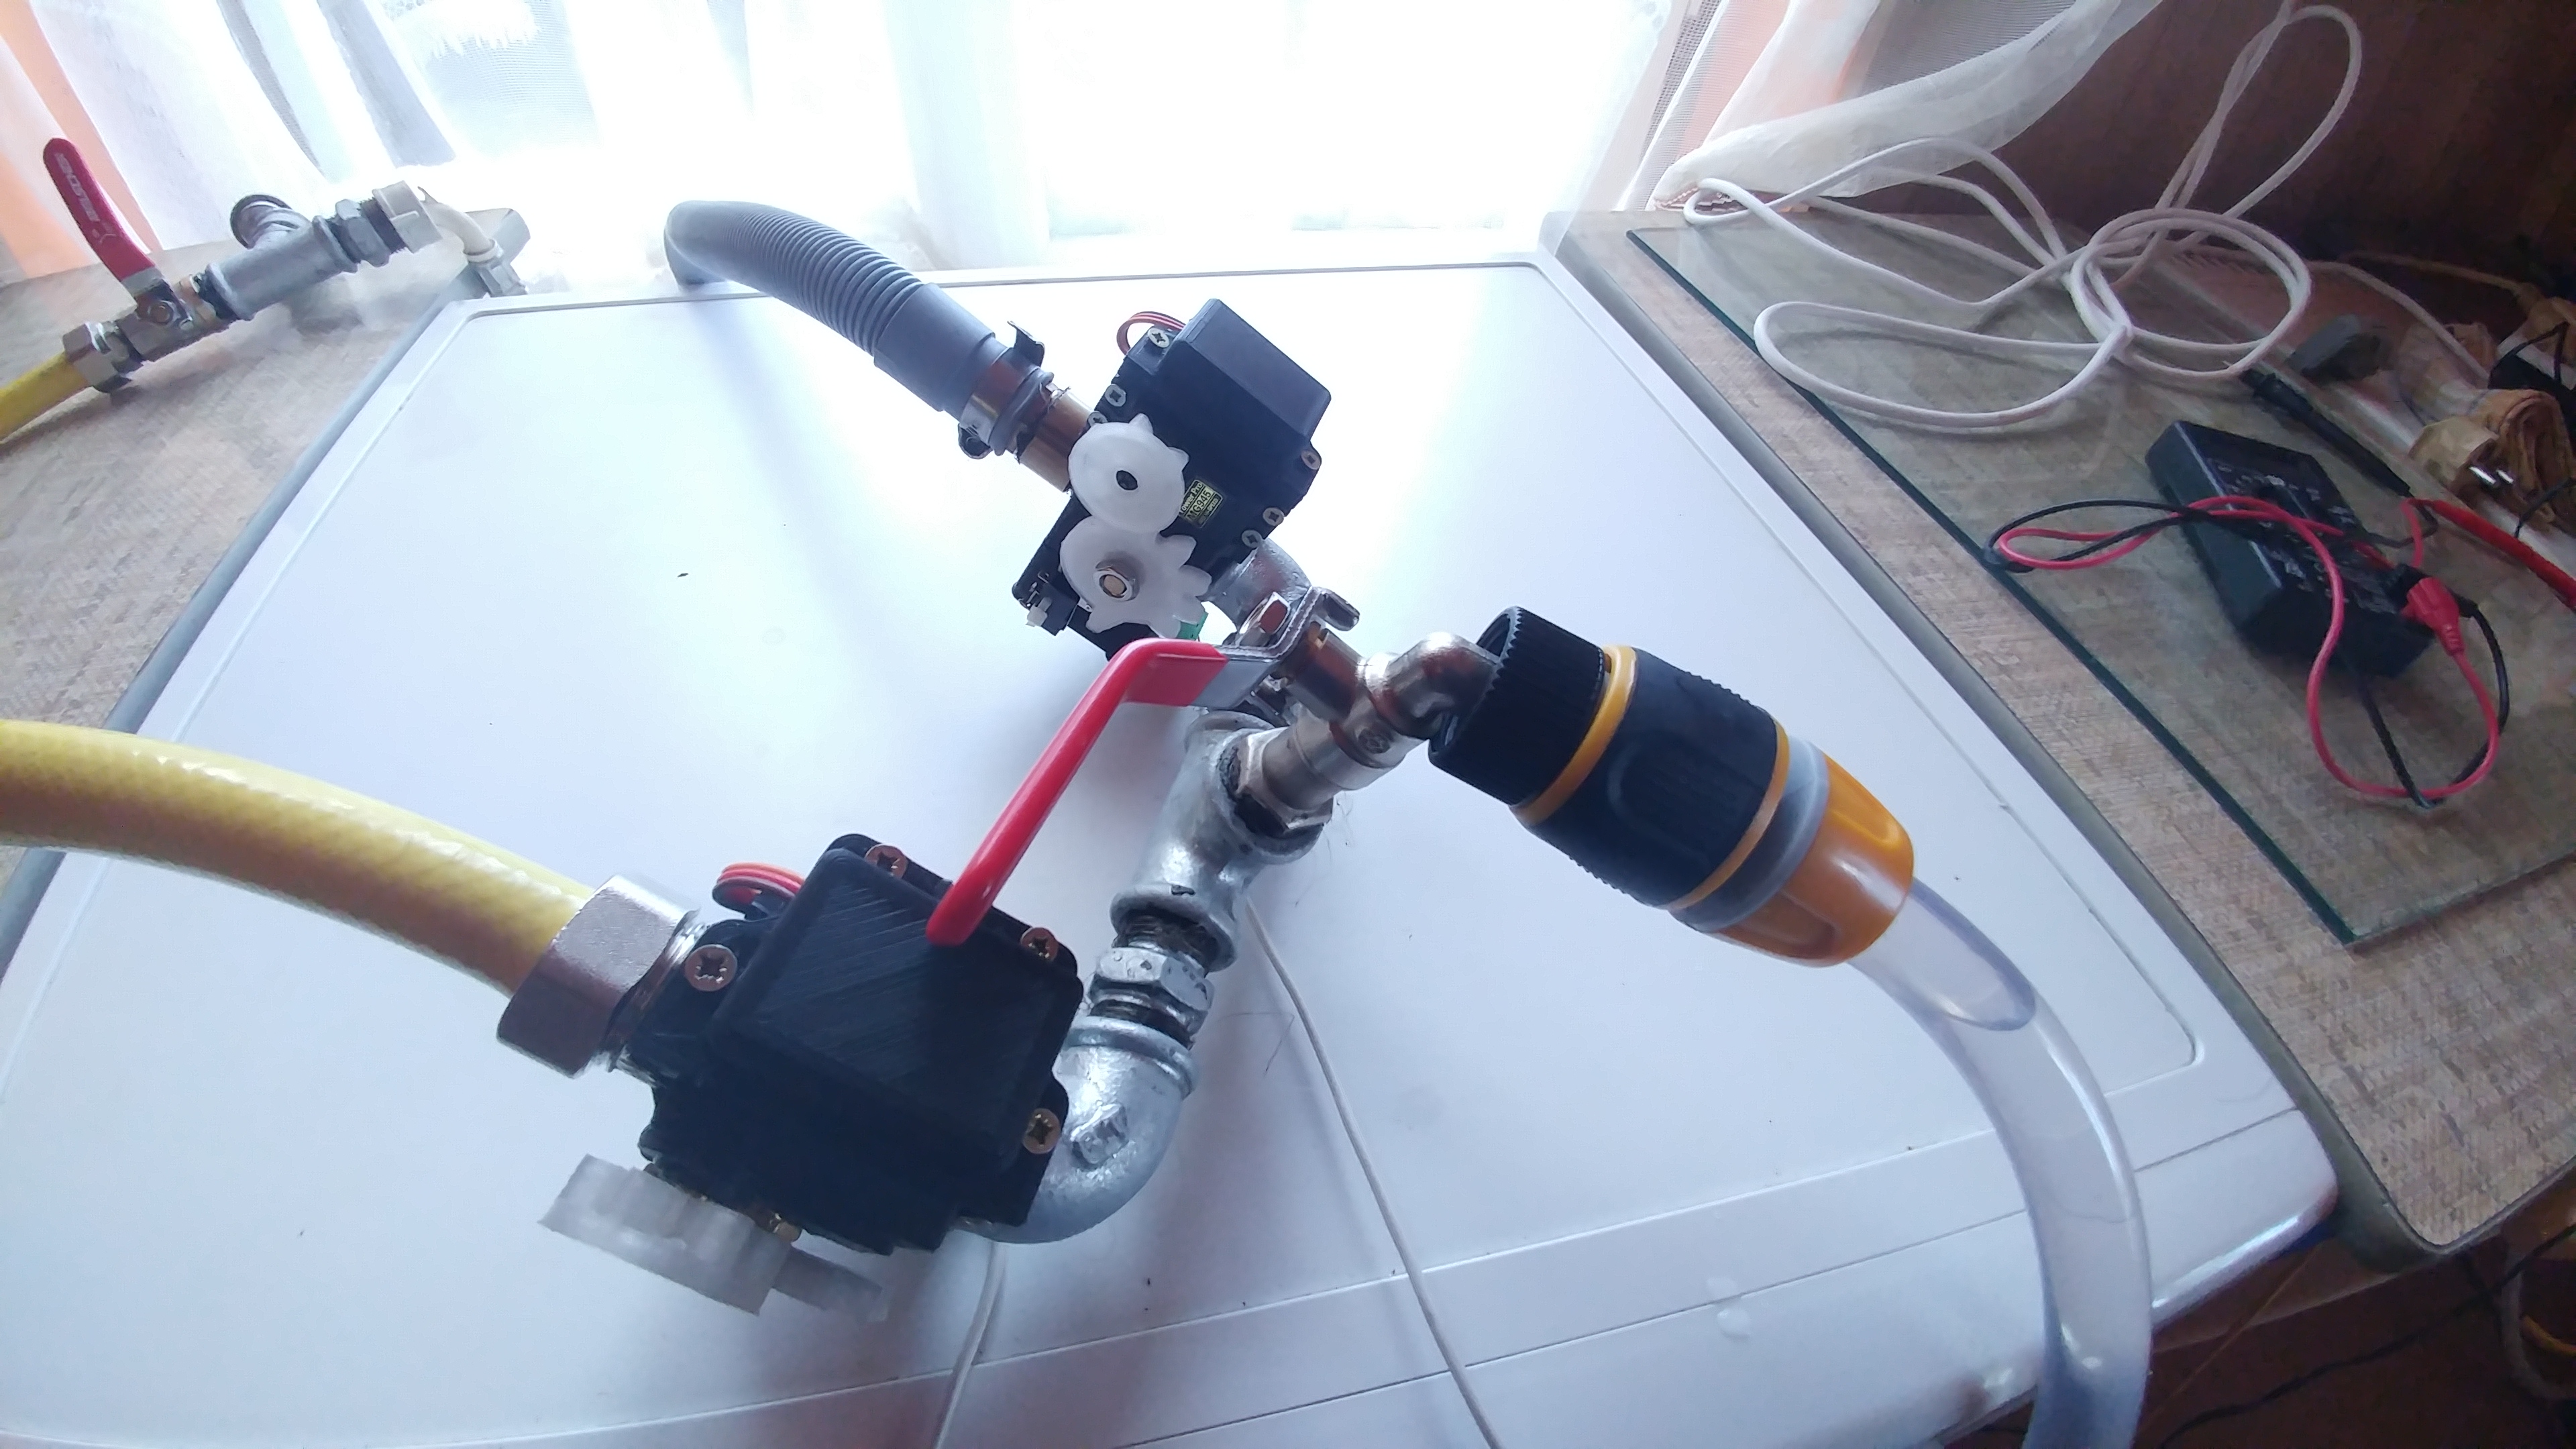
- four servovalves with close detection
Solenoid valves require pressure to operate. When removing water from the aquarium using mainly gravity we do not have enough pressure, so the use of solenoid valves falls off. In addition, we use one hose here to inflow and outflow water from the aquarium.
I have created my own servovalve design cheaper than servovalves from store.
3D printing knowledge is required to build them.
If you want to use another servovalves project you need to make
a fork of this project and implement your own interface
from include/control/valves/valveModule.hpp.
Read more about servovalves here.
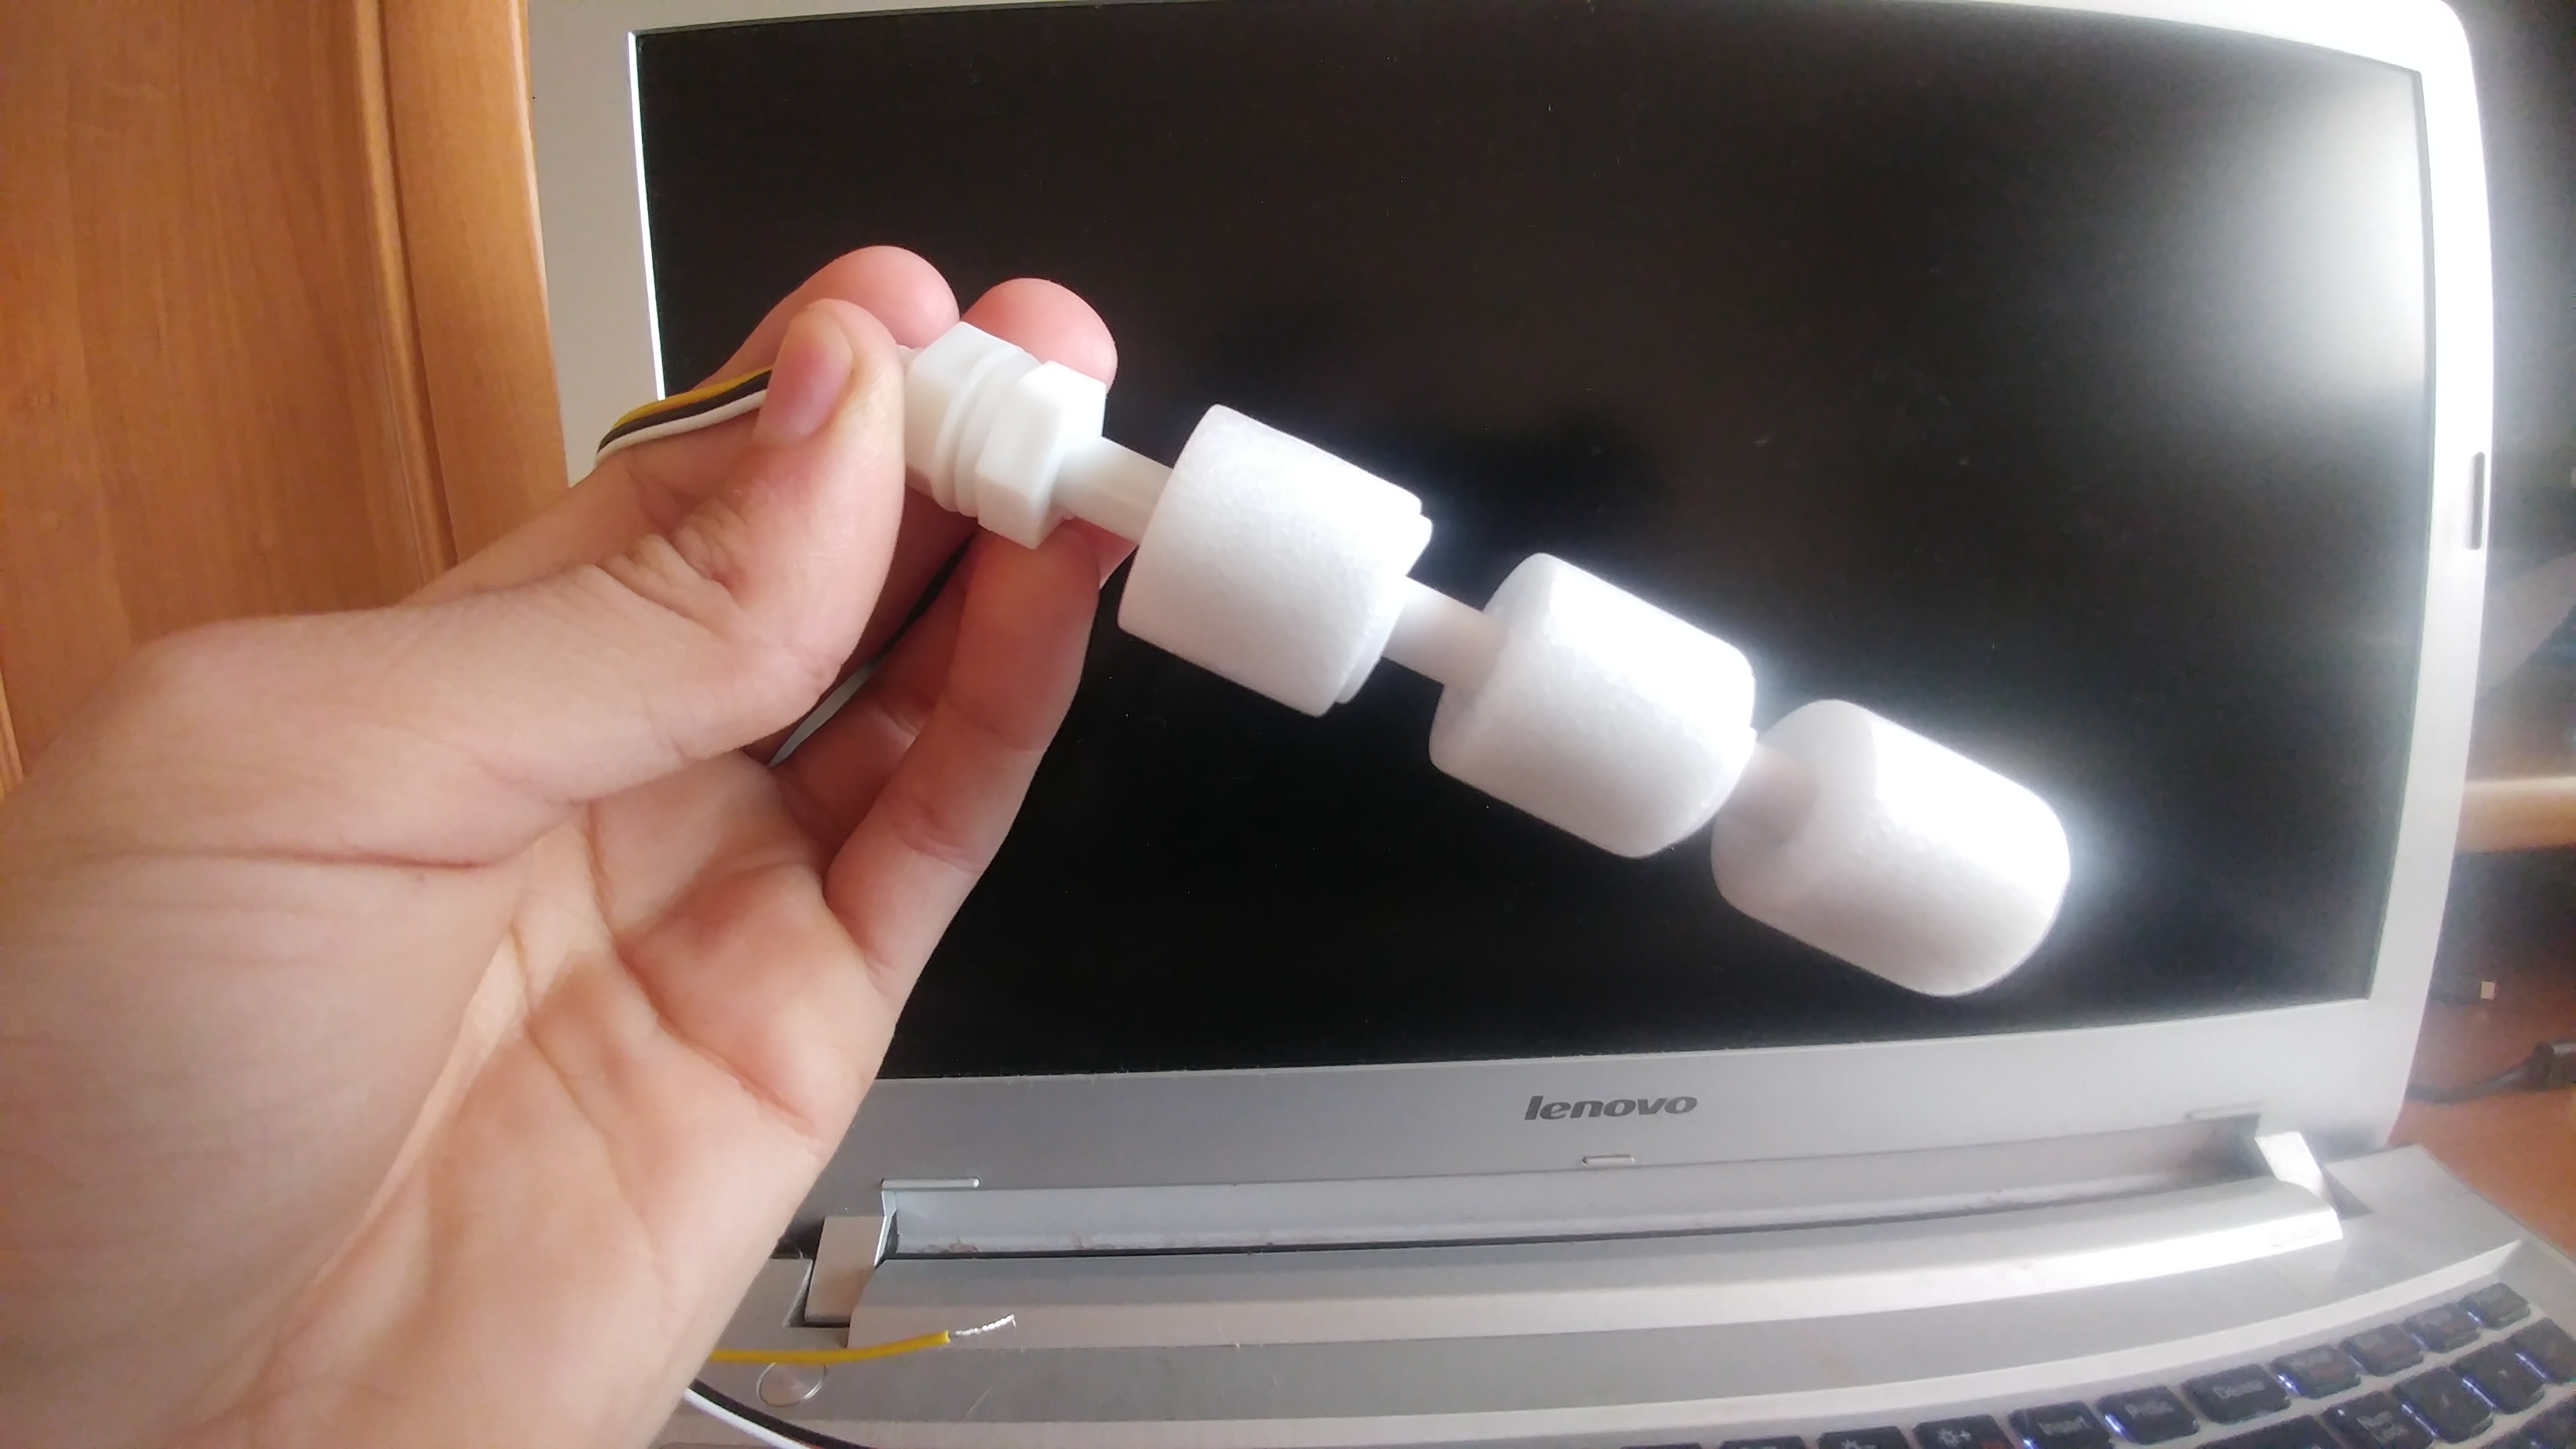
You can use what sensor you want. The only one requirement is to conduct mass to arduino pin when sensor detect water.
I know from experience that loose copper bare wires as the electrodes of the water level sensor is not an ideal idea. Unless the water level sensor is galvanically separated from power sources just like industrial versions do.
I use float sensors in my design, because they are simple, cheap and effective.
Read more about water level sensors here.
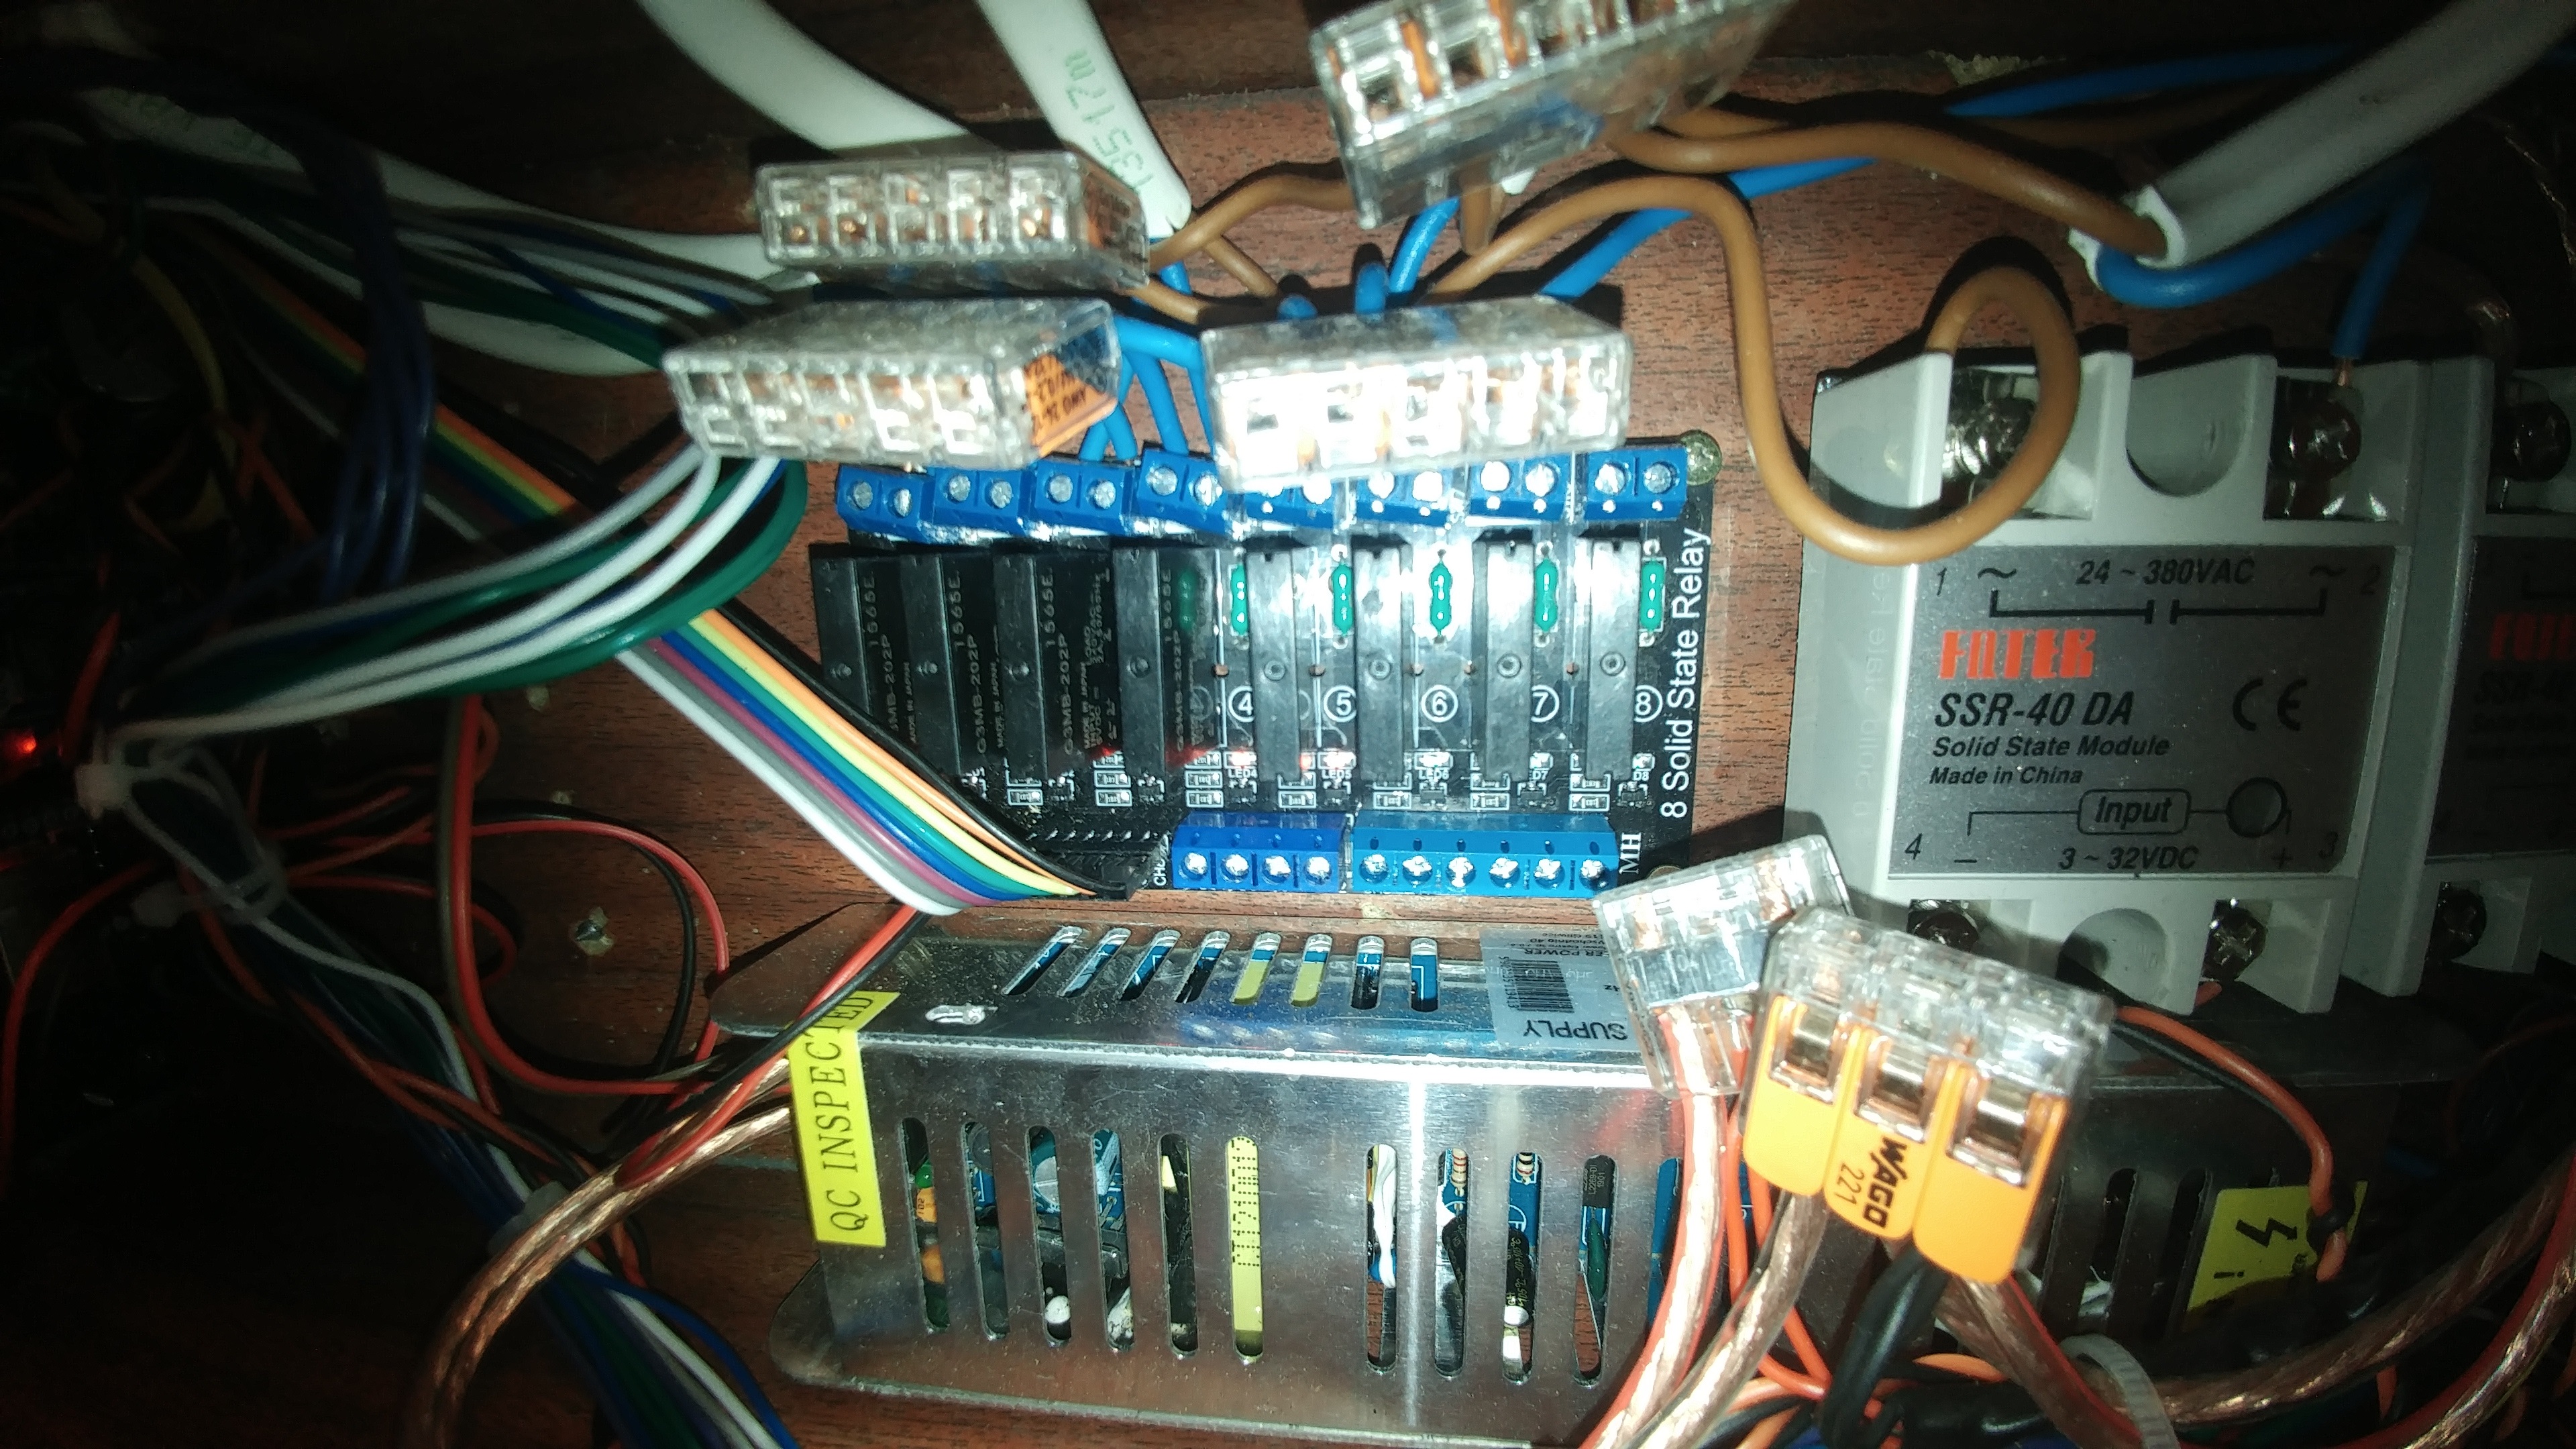
Mechanical relays failed in my case. In yours probably will not work too, and that's all due to electromagnetic interferences that occurs when switching. Partly it is the fault of the coils themselves, partly it's the fault of the mechanical relays do not switch at zero.
And Arduino is in no way protected against interference.
SSR relays have such an advantage over mechanical relays, that they do not create electromagnetic interference. They are also more durable. They have more energy losses, but for me it doesn't make much difference.
It all depends on how power-hungry devices you connect.
The heater will probably be the most resource-consuming device.
I used an 8 channel SSR relay with G3MB-202P OMRON modules.
However, the maximum load capacity of these relays is only two amps.
So I had to buy a separate SSR relay FOTEK SSR-40 DA 40A DC-AC,
because my heater was too big for small OMRONs.
You may also need one more relay.
Remember that SSR modules intended for AC will not be operate on DC current! Switching at zero blocks the whole relay, since the DC current is direct current and there is no zero, until you turn off the power.
So depending on the project you may need a separate relay for LED strips.
Read more about relays here.
The system consists of 11 non-blocking
modules. Each module manages only its own part of the system.
For example: the aerationControl module only deals with
aeration management and the lightControl module takes care of
only aquarium lighting.
Each module has its own dependencies injected by the constructor.
And why manual injection? Because I did not think that C++ might have working dependency injection system and I do not like to create global variables.
Read more about system here.
Configuration files are located here:
- screen:
include/control/screen/lcd.hpp - RTC clock:
include/control/rtc/configuration.hpp - relays:
include/control/relayModule/devices.hpp - water level sensors:
include/control/waterLevelSensor/devices.hpp - servovalves:
include/control/valves/devices.hpp - system modules:
include/modules/Modules.hpp
To upload this project you need the latest PlatformIO IDE. Then connect the Arduino with a USB cable to the computer and upload the project to the controller.
After the first start you need to check whether everything has been connected properly.
First make sure the RTC clock is
connected correctly. To do this, go to
Main menu -> Settings -> Time and day cycle -> Current time
and set the current time. Then disconnect the controller
completely from power and after a short while connect it on again.
If time has been preserved, we know
that the RTC clock has been connected correctly.
Then make sure to connect
sensors, devices and servo valves.
To activate the service mode, enter
Main menu -> Settings -> Service mode.
Then our eyes will see three main categories.
Sensors: this category is for checking correctness of connecting water level sensors.Devices: this category is used testing the correctness of connecting relays, wiring and the order of connecting the devices themselves.Valves: possibility to test servo valves. We have five options here:Aquarium: servo valve connected to main water circulation and filtering system in the aquariumRefill: refill tank servo valveClean water: servo valve connected to the source of clean water from a tap or water pipeSewage water: servo valve for water outlet from aquariumRemote valves: shows whether remote connection with servo valves is connected.
