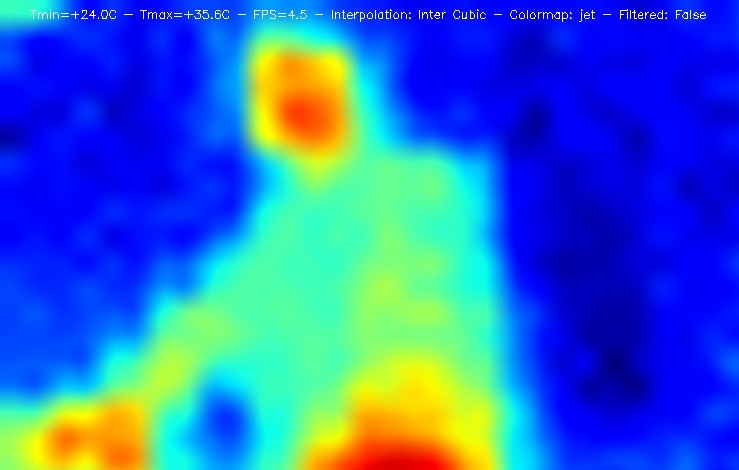
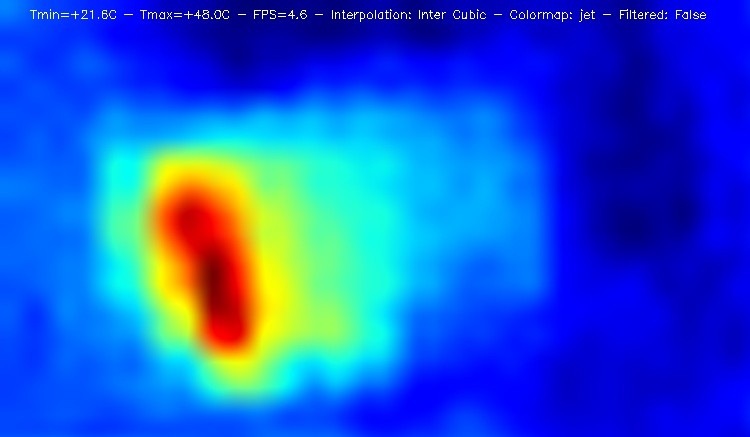
A Python program using OpenCV and multithreading to perform thermal imaging using the Adafruit MLX90640 Thermal camera. The work has been inspired by a few public projects, mentioned in the next section. The multithreading functionalities have been added by myself, following the ideas in:
1. https://github.com/opencv/opencv/blob/master/samples/python/video_threaded.py
NOTE (17th Dec 2021): The multithreading, as of now, does not give any significant performance boosts, despite my Raspberry Pi (3b+) having a quad-core ARM CPU. This needs further investigation.
Detailed tutorials for selecting appropriate hardware and setting them up are available in the following links:
1. https://tomshaffner.github.io/PiThermalCam/

2. https://makersportal.com/blog/2020/6/8/high-resolution-thermal-camera-with-raspberry-pi-and-mlx90640
On a linux terminal, run 'pip3 install -r requirements.txt'
Ensure that the field "parallel" is set to 1, in the config.json file. Otherwise the code runs in a sequential manner.
On a linux terminal:
1. Change to the directory containing the files. Typically, 'cd /home/.../raspberrypi_thermal'. Make sure that the config.json file is also located in the same directory.

2. type 'python3 video_processing.py' and press enter.

3. To save a screenshot from the video output, just press the S button on your keyboard when the program is running. To quit the program, press the Q button.
(Please note that the interpolation and colormap are fixed in this version of the code. At the moment, it has to be changed manually from the file 'helper_functions.py')

