Contextualise is a simple and flexible tool particularly suited for organising information-heavy projects and activities consisting of unstructured and widely diverse data and information resources -- think of investigative journalism, personal and professional research projects, world building (for books, movies or computer games) and many kinds of hobbies.
On a side note, an alpha version of Contextualise is already available at https://contextualise.dev. It is not advised, at this stage, to use Contextualise for anything other than testing purposes. Data could be irrevocably lost!
A Contextualise (work-in-progress) overview and tutorial is available as a Contextualise topic map.
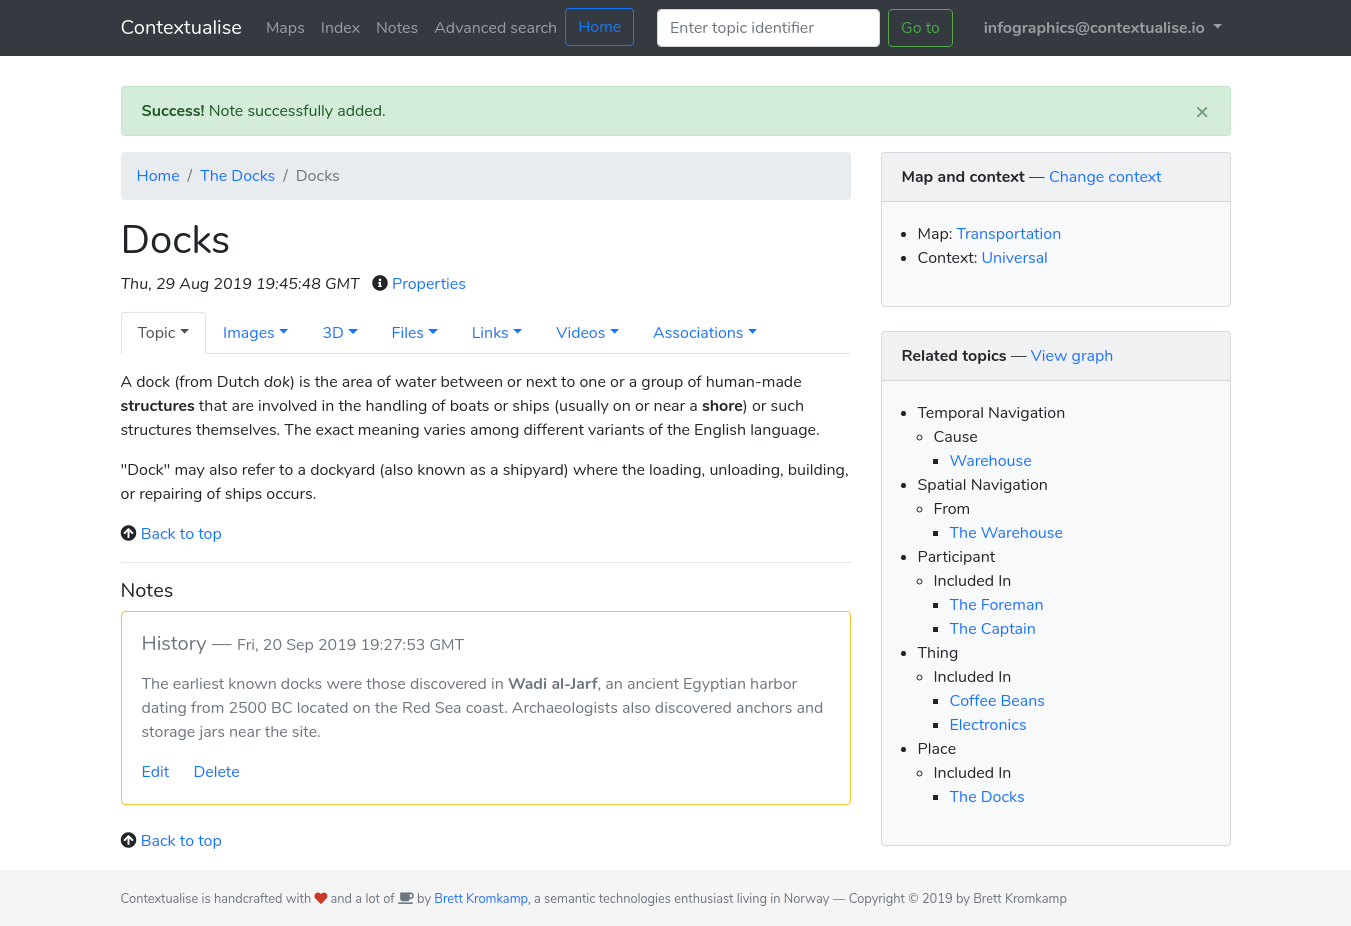
Contextualise's topic view
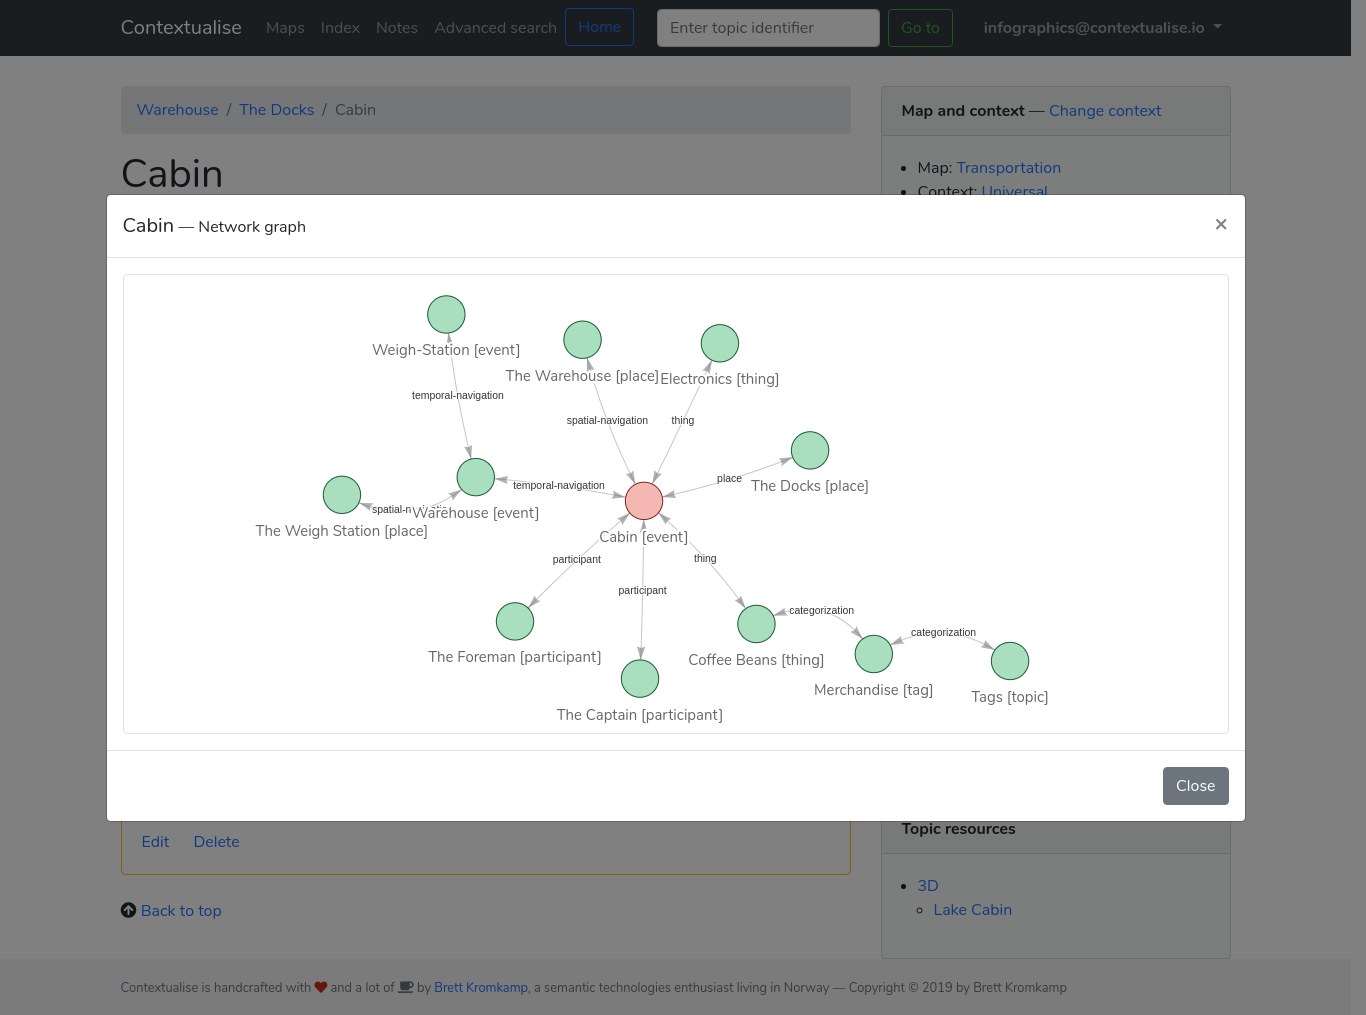
Contextualise's interactive network graph view (allowing for navigation between topics)
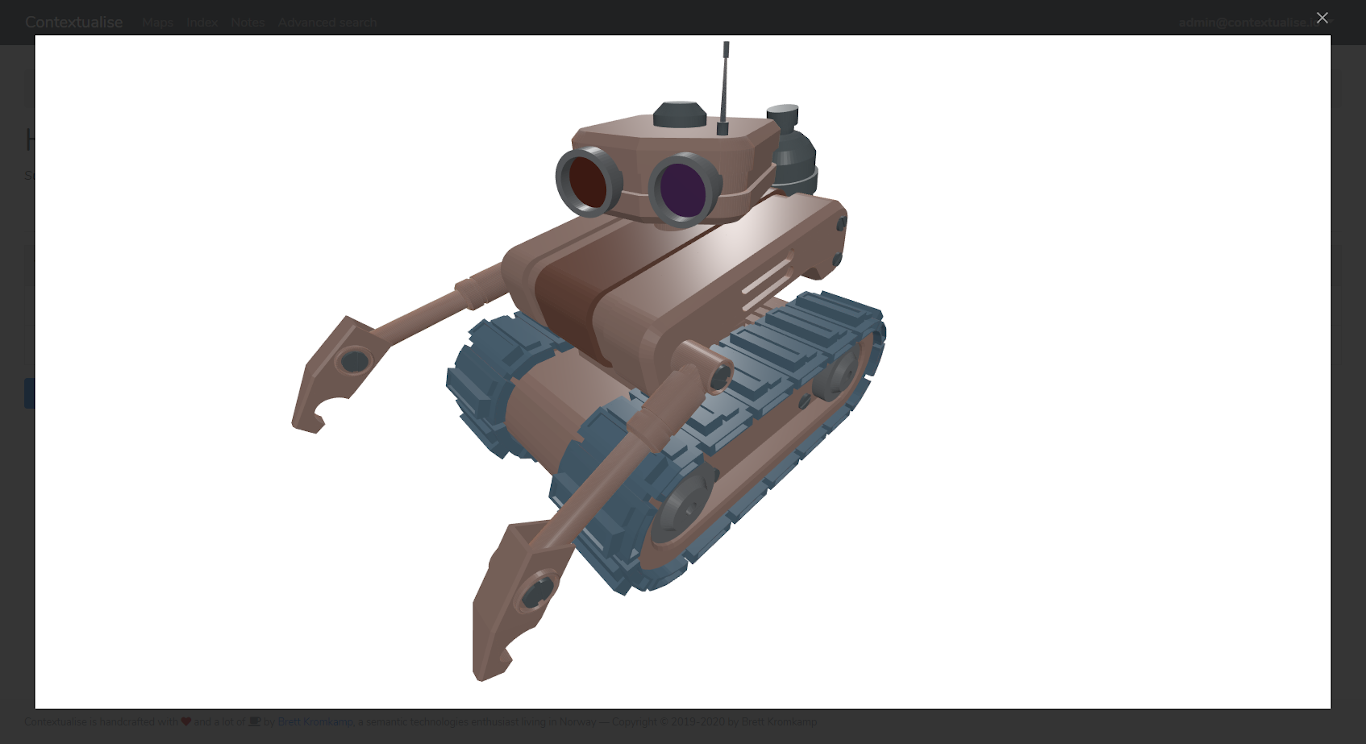
Contextualise's interactive 3D viewer
Contextualise's main dependency is TopicDB, an open source topic maps-based graph library. Topic maps provide a way to describe complex relationships between abstract concepts and real-world (information) resources.
I built and published my first (topic maps-based) knowledge documentation tool in 2006 which I was still using until quite recently, almost unmodified, thirteen years later. If I remember correctly, it was built with PHP version 5.2.5! Thirteen years is an eternity in software terms. Nowadays, my preferred choice for web development is Python together with the Flask web development framework. What's more, after thirteen years of using my own and other knowledge management tools, I have several improvements in mind for the next version (many of which are simplifications, for that matter). And perhaps one of the most important reasons for building a new tool like this is that I want it to be open source: both Contextualise (the web application) and TopicDB (the actual topic maps engine on top of which Contextualise is built -- also written by me) are licensed with the permissive open source MIT license.
The following provides an overview of Contextualise's existing (and planned) feature set:
Existing Features
- Support for multiple (self-contained) topic maps
- Support for both private and public topic maps (the latter of which is not available to non-admin users until support to deal with inappropriate content is in place)
- Extensive support for notes including the ability to attach a note to an existing topic and convert a note into a topic
- Markdown-based text editor for topic text and notes
- The ability to attach files (including images, PDFs, and so forth) to topics
- The ability to attach (glTF-based) 3D scenes to topics with an accompanying interactive 3D model viewer
- Powerful (semantic) associations with the ability to create typed associations with role-based members
- Flexible filtering of base names, topic occurrences and associations by scope (that is, context)
- Interactive visual network graph of related topics (allowing navigation between topics)
- Auto-complete on all form fields that expect a topic reference
Post Version 1.0 Features
- Augmented Reality (AR) support for 3D occurrences
- Full-text search
- Google Maps support to see a topic within its geographical context on one hand and to be able to navigate between topics by means of a (geographic) map, on the other hand
- Timeline support allowing for the navigation between topics using a visual timeline component
- WikiMedia API integration to automatically enhance existing topics with relevant information from Wikipedia
- Semantic tagging
For a more exhaustive list of planned features take a look at Contextualise's list of issues.
Contextualise officially supports Python 3.6–3.8.
If you have Git installed on your system, it is possible to install the development version of Contextualise.
Certain build prerequisites need to be met including the presence of a C compiler, the Python
header files, the libpq header files and the pg_config program as outlined, here: Build
prerequisites.
Then do:
$ git clone https://github.com/brettkromkamp/contextualise
$ cd contextualise
$ pip install -e .
The pip install -e . command allows you to follow the development branch as it changes by creating links in the
right places and installing the command line scripts to the appropriate locations.
Then, if you want to update Contextualise at any time, in the same directory do:
$ git pull
TopicDB, the topic maps engine on top of which Contextualise is built is regularly updated. However, the version of TopicDB published on PyPI could lag behind. For that reason, it is recommended that you also install TopicDB directly from GitHub:
$ pip uninstall topic-db
$ git clone https://github.com/brettkromkamp/topic-db.git
$ cd topic-db
$ pip install -e .
Then, if you want to update TopicDB at any time, in the same directory do:
$ git pull
After having installed Contextualise, you would have to separately install and configure the PostgreSQL database. Brief
instructions on how to do so are provided, here: Setting up the TopicDB
database. You need to ensure that the
database username, password and database name match with the settings.ini file in the project's root folder.
Finally, to run the application in development mode you need to change to the project's top-level directory and set
two environment variables followed by running the flask command with the run parameter:
$ export FLASK_APP=contextualise
$ export FLASK_ENV=development
$ flask run
You should see something similar to the following in the terminal:
* Serving Flask app "contextualise" (lazy loading)
* Environment: development
* Debug mode: on
* Running on http://127.0.0.1:5000/ (Press CTRL+C to quit)
* Restarting with stat
* Debugger is active!
* Debugger PIN: 521-258-444
Opening the browser and navigating to http://127.0.0.1:5000/ should result in showing the application's Welcome
page.
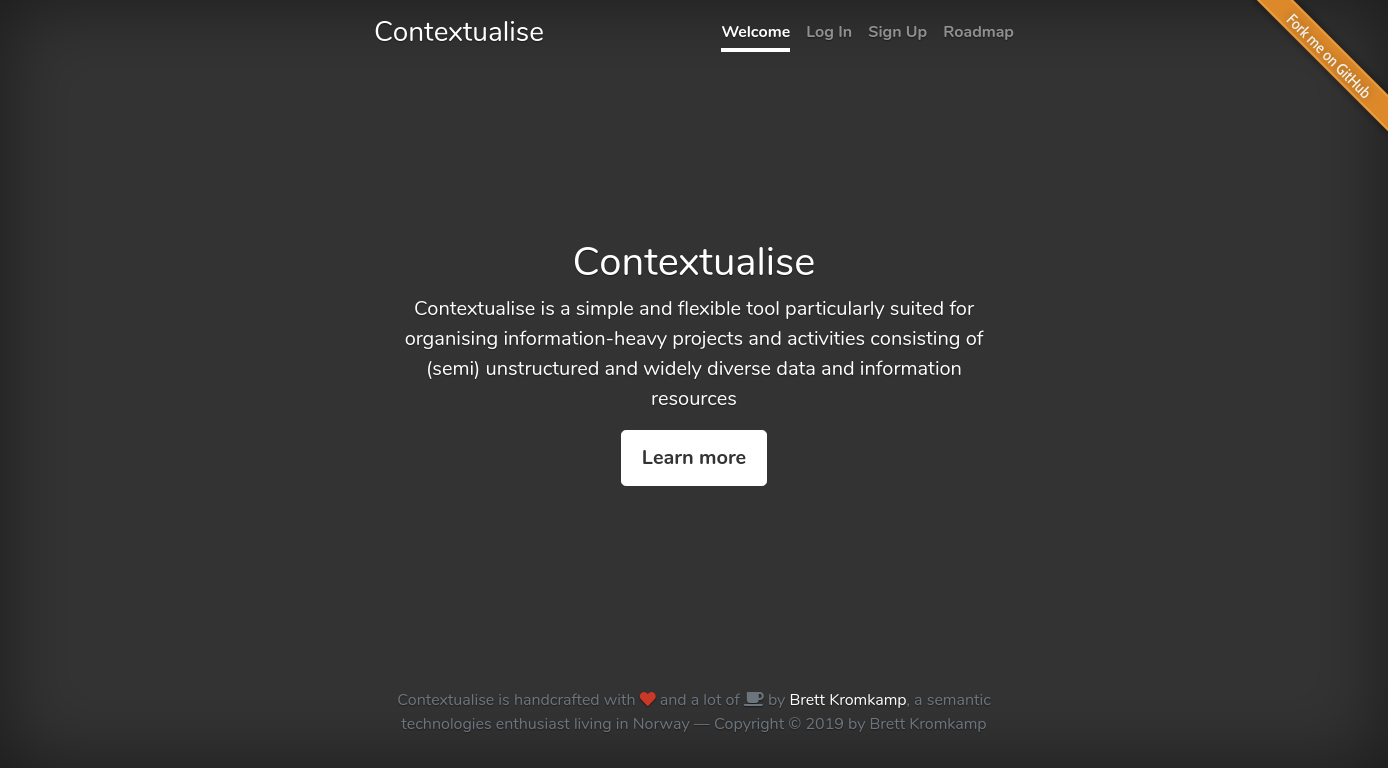
The Contextualise Welcome page
Flask's built-in server is not suitable for production purposes. However, it is quite straightforward to run Contextualise using Gunicorn, a Python WSGI HTTP server:
$ gunicorn -w 4 -b 0.0.0.0:5000 contextualise.wsgi:app
For further information for properly running a flask application in production, take a look at Flask's own documentation.
Support for running Contextualise within Docker is still in development. To run it from the root of a local clone of the source:
Copy
settings-docker-sample.initosettings.inifile in the root and replace your email settings. For example:[DATABASE] Username = postgres Password = postgres Database = postgres Host = db Port = 5432 [EMAIL] Username = changeme Password = changeme Server = mail.changeme.com Sender = Change Me
Run
docker-compose up --buildfor a production like deployment running behindgunicornin an immutable image so any source code changes require a rebuild. If, however, you want a more dynamic environment for development add in the development config file withdocker-compose -f docker-compose.yml -f docker-compose.dev.yml up --buildwhere source changes occur immediately within the image. Modifyingrequirements.txtrequires a rebuild of the image however.
Several users (with the roles of admin and user, respectively) are created by the application for testing
purposes. To log in as the admin user, provide the following credentials:
admin@contextualise.io (user name) and Passw0rd1 (password). To log in as a non-admin user, provide the
following credentials: user@contextualise.io and Passw0rd1.
A Contextualise (work-in-progress) overview and tutorial is available as a Contextualise topic map.
Pending.
Currently, I am using Contextualise for worldbuilding purposes of the Brave Robot fictional universe including its Codex Roboticus.
- Check for open issues or open a fresh issue to start a discussion around a feature idea or a bug.
- Fork the repository on GitHub to start making your changes to the master branch (or branch off of it).
- Write a test which shows that the bug was fixed or that the feature works as expected.
- Send a pull request and bug the maintainer until it gets merged and published. :) Make sure to add yourself to AUTHORS.
