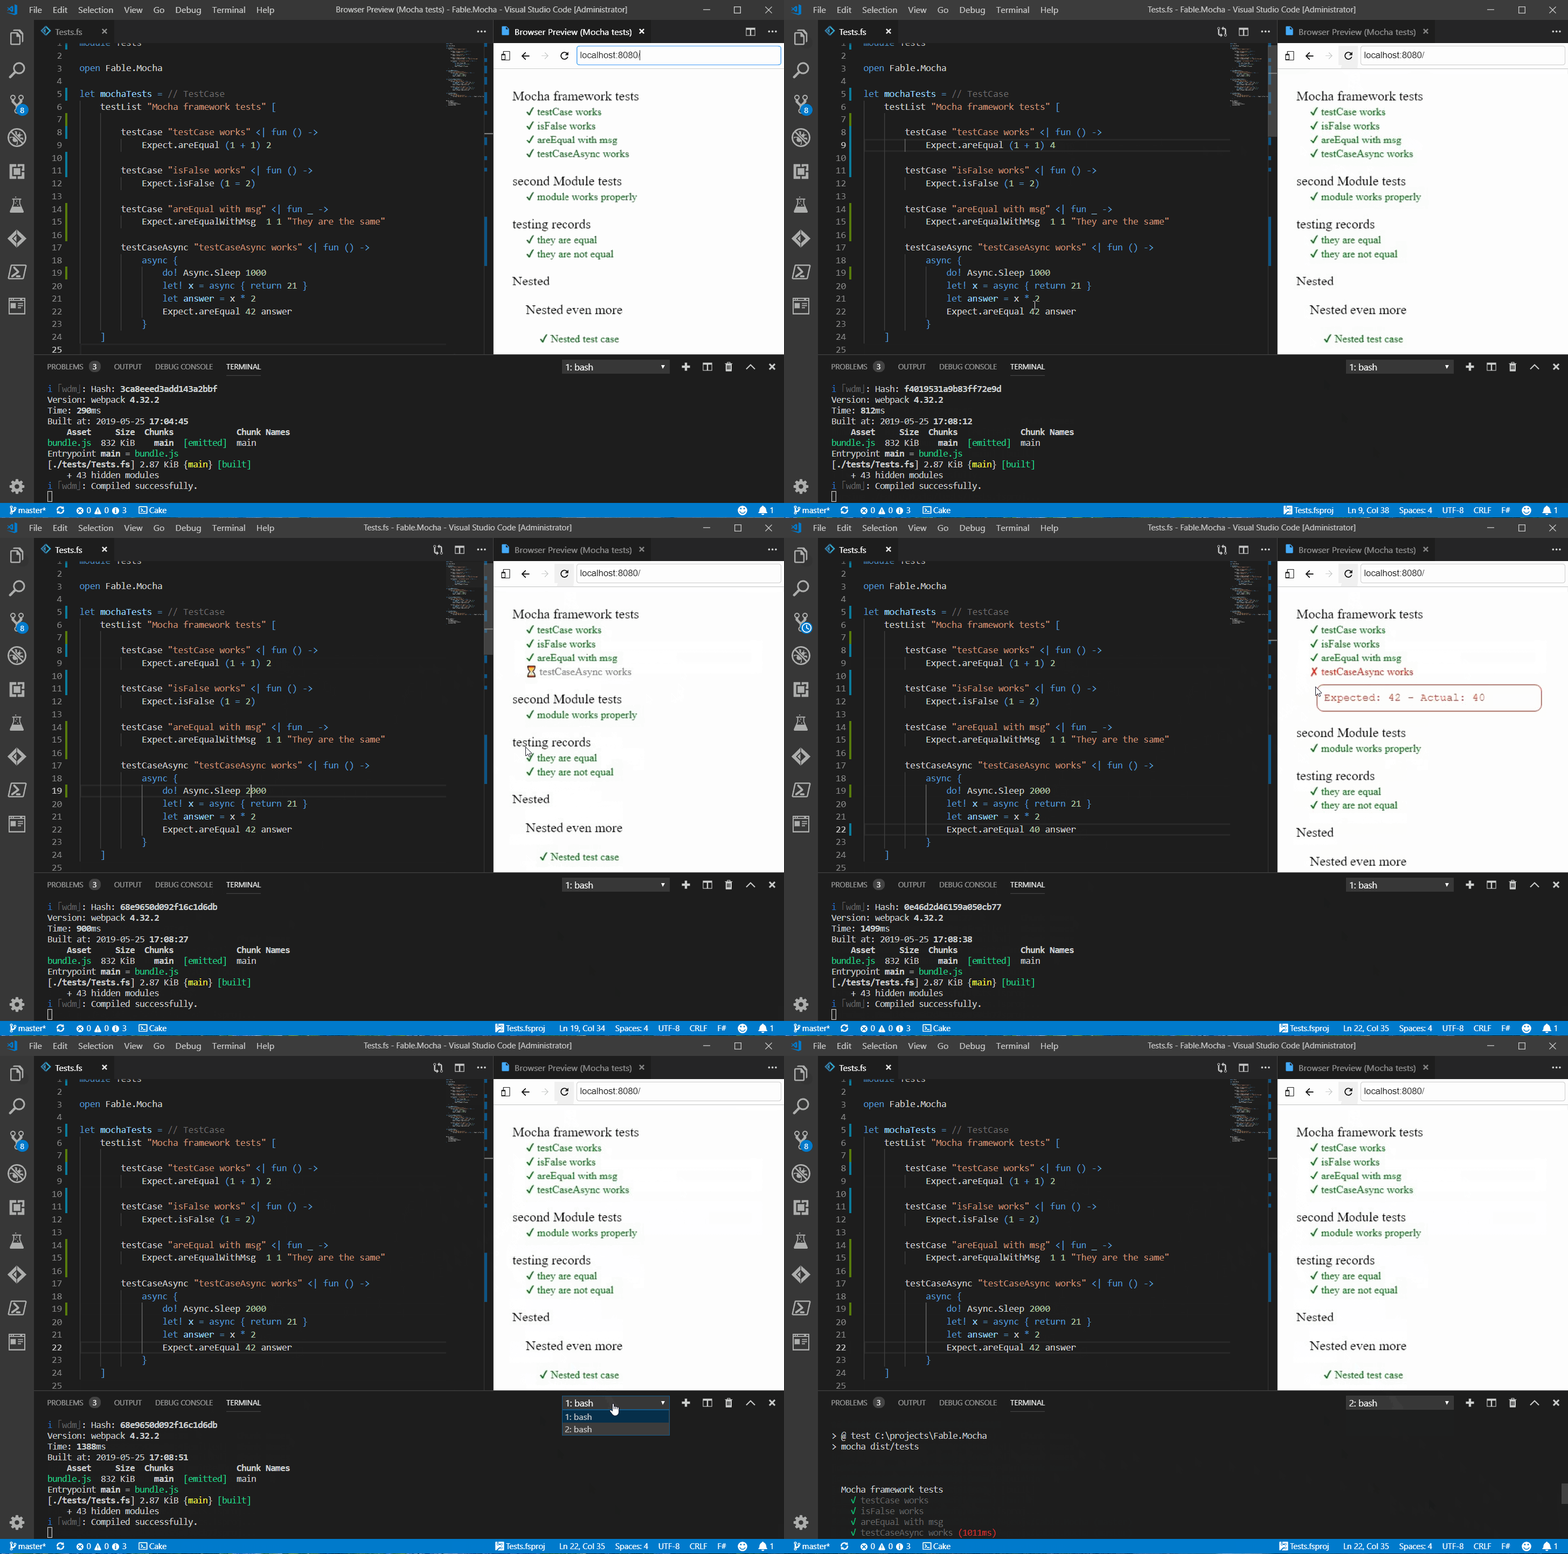
Fable library for testing. Inspired by the popular Expecto library for F# and adopts the testList, testCase and testCaseAsync primitives for defining tests.
The tests themselves are written once and can run:
- Inside node.js using Mocha
- Inside the browser (standalone)
- Inside a headless browser
- Inside dotnet with Expecto
- To Do: Inside dotnet standalone (PR's are welcome)
Install the Fable binding from Nuget
# using nuget
dotnet add package Fable.Mocha

# or with paket
paket add Fable.Mocha --project /path/to/project.fsprojAssuming you have you the following project structure:
repo
 |
 |-- package.json
 |-- src
      | -- YourLibrary.fsproj
      | -- Library.fs
 |-- tests
      | -- Tests.fsproj
      | -- Tests.fs
Where tests contains the test project, you will install Fable.Mocha into the Tests.fsproj and it will look like this:
<Project Sdk="Microsoft.NET.Sdk">
  <PropertyGroup>
    <TargetFramework>netstandard2.0</TargetFramework>
  </PropertyGroup>
  <ItemGroup>
    <Compile Include="Tests.fs" />
  </ItemGroup>
  <ItemGroup>
    <ProjectReference Include="..\src\YourLibrary.fsproj" />
  </ItemGroup>
  <ItemGroup>
    <PackageReference Include="Fable.Mocha" Version="1.0.0" />
  </ItemGroup>
</Project>
then you can start writing your tests into the Test.fs file:
module Tests

open Fable.Mocha

let arithmeticTests =
    testList "Arithmetic tests" [

        testCase "plus works" <| fun () ->
            Expect.areEqual (1 + 1) 2

        testCase "Test for falsehood" <| fun () ->
            Expect.isFalse (1 = 2)

        testCaseAsync "Test async code" <|
            async {
                let! x = async { return 21 }
                let answer = x * 2
                Expect.areEqual 42 answer
            }
    ]

Mocha.runTests arithmeticTestsInstall the actual mocha test runner from Npm along side fable-splitter that will compile your test project into a node.js application
npm install --save-dev mocha fable-splitterAdd the following pretest and test npm scripts to your package.json file:
"pretest": "fable-splitter tests -o dist/tests --commonjs",
"test": "mocha dist/tests"
Now you can simply run npm test in your terminal and it will run the pretest script to compile the test project and afterwards the test script to actually run the (compiled) tests using mocha.
Trying to use mocha to run tests in the browser will give you headaches as you have to include the compiled individual test files by yourself along with mocha specific dependencies. That's why Fable.Mocha includes a built-in test runner for the browser. You don't need to change anything in the existing code, it just works!
Compile your test project using default fable/webpack as follows.
First, install fable-loader along with with webpack if you haven't already:
npm install fable-loader webpack webpack-cli webpack-dev-server
Add an index.html page inside directory called public that contains:
<!DOCTYPE html>
<html>
    <head>
        <title>Mocha tests</title>
    </head>
    <body>
        <script src="bundle.js"></script>
    </body>
</html>
Create a webpack config file that compiles your Tests.fsproj
var path = require("path");

module.exports = {
    entry: "./tests/Tests.fsproj",
    output: {
        path: path.join(__dirname, "./public"),
        filename: "bundle.js",
    },
    devServer: {
        contentBase: "./public",
        port: 8080,
    },
    module: {
        rules: [{
            test: /\.fs(x|proj)?$/,
            use: "fable-loader"
        }]
    }
}
Now you can run your tests live using webpack-dev-server or compile the tests and run them by yourself. Add these scripts to your package.json
"start": "webpack-dev-server",
"build-for-browser": "webpack"
Now if you run npm start you can navigate to http://localhost:8080 to see the results of your tests.
The tests you write in the browser can be easily executed inside a headless browser such you can run them in your CI server. Using a simple console application, install the package Fable.MochaPuppeteerRunner:
mkdir HeadlessTests
cd HeadlessTests
dotnet new console -lang F#
dotnet add package Fable.MochaPuppeteerRunner
Then change the contents of Program.fs into:
[<EntryPoint>]
let main argv =
    "../public"
    |> System.IO.Path.GetFullPath
    |> Puppeteer.runTests
    |> Async.RunSynchronously
Where public is the directory where the compiled tests, the bundle.js file next to index.html:
{repo}
   |
   |-- HeadlessTests
        |-- HeadlessTests.fsproj
        |-- Program.fs

   |-- public
        |-- index.html
        |-- bundle.js
Also you need to add the RunWorkingDirectory property to HeadlessTests.fsproj as follows below:
<PropertyGroup>
  <OutputType>Exe</OutputType>
  <TargetFramework>netcoreapp3.0</TargetFramework>
  <RunWorkingDirectory>$(MSBuildProjectDirectory)</RunWorkingDirectory>
</PropertyGroup>
Now simply dotnet run and the tests will run inside the headless browser after the download finishes.
You can also add a npm build script to run the headless tests after compiling the Tests project:
"test-headless": "webpack && dotnet run --project ./HeadlessTests/HeadlessTests.fsproj"
Remember to gitignore the directory of the downloaded chromium add .local-chromium to your gitignore file.
Since the API exactly follows that of Expecto's you can simply run the tests on dotnet as well using Expecto. This way you can check whether your code runs correctly on different platforms whether it is dotnet or node.js. This is achieved using compiler directives as follows. First of all you need to install the Expecto library from nuget:
dotnet add package Expecto
Then inside your Test.fs file, you can the use the special FABLE_COMPILER directive. This directive is active when Fable is compiling the project, if it is not active it means that the project being compiled using dotnet like any other dotnet application.
When Fable is compiling the project, you hide the dotnet specific code (i.e. using Expecto) and when dotnet is compiling the code, you hide the Fable specific code (i.e. using Fable.Mocha).
#if FABLE_COMPILER
open Fable.Mocha
#else
open Expecto
#endif
The same goes for the entry point:
[<EntryPoint>]
let main args =
#if FABLE_COMPILER
    Mocha.runTests allTests
#else
    runTestsWithArgs defaultConfig args allTests
#endif
And you are done, the code of the tests themselves doesn't need to change! Of course assuming you don't have platform specific code in there. This feature is made to test pure F# code that should give the same results with dotnet and Fable.
The function Mocha.runTests can take nested test lists so you can group multiple test lists under a larger testList "All" that combines all the tests
module Tests

open Fable.Mocha

let firstModuleTests =
    testList "firstModule" [
        testCase "module works properly" <| fun _ ->
            let answer = 21
            Expect.areEqual 42 (answer * 2)
    ]

let secondModuleTests =
    testList "secondModuleModule" [
        testCase "module works properly" <| fun _ ->
            let answer = 31415.0
            let pi = answer / 10000.0
            Expect.areEqual 3.1415 pi
    ]

// Tests can be nested too!
let nestedTests =
    testList "first level" [
        testList "second level" [
            testCase "my test code" <| fun _ -> ()
        ]
    ]

let allTests = testList "All" [
    firstModuleTests
    secondModuleTests
    nestedTests
]

Mocha.runTests allTests
