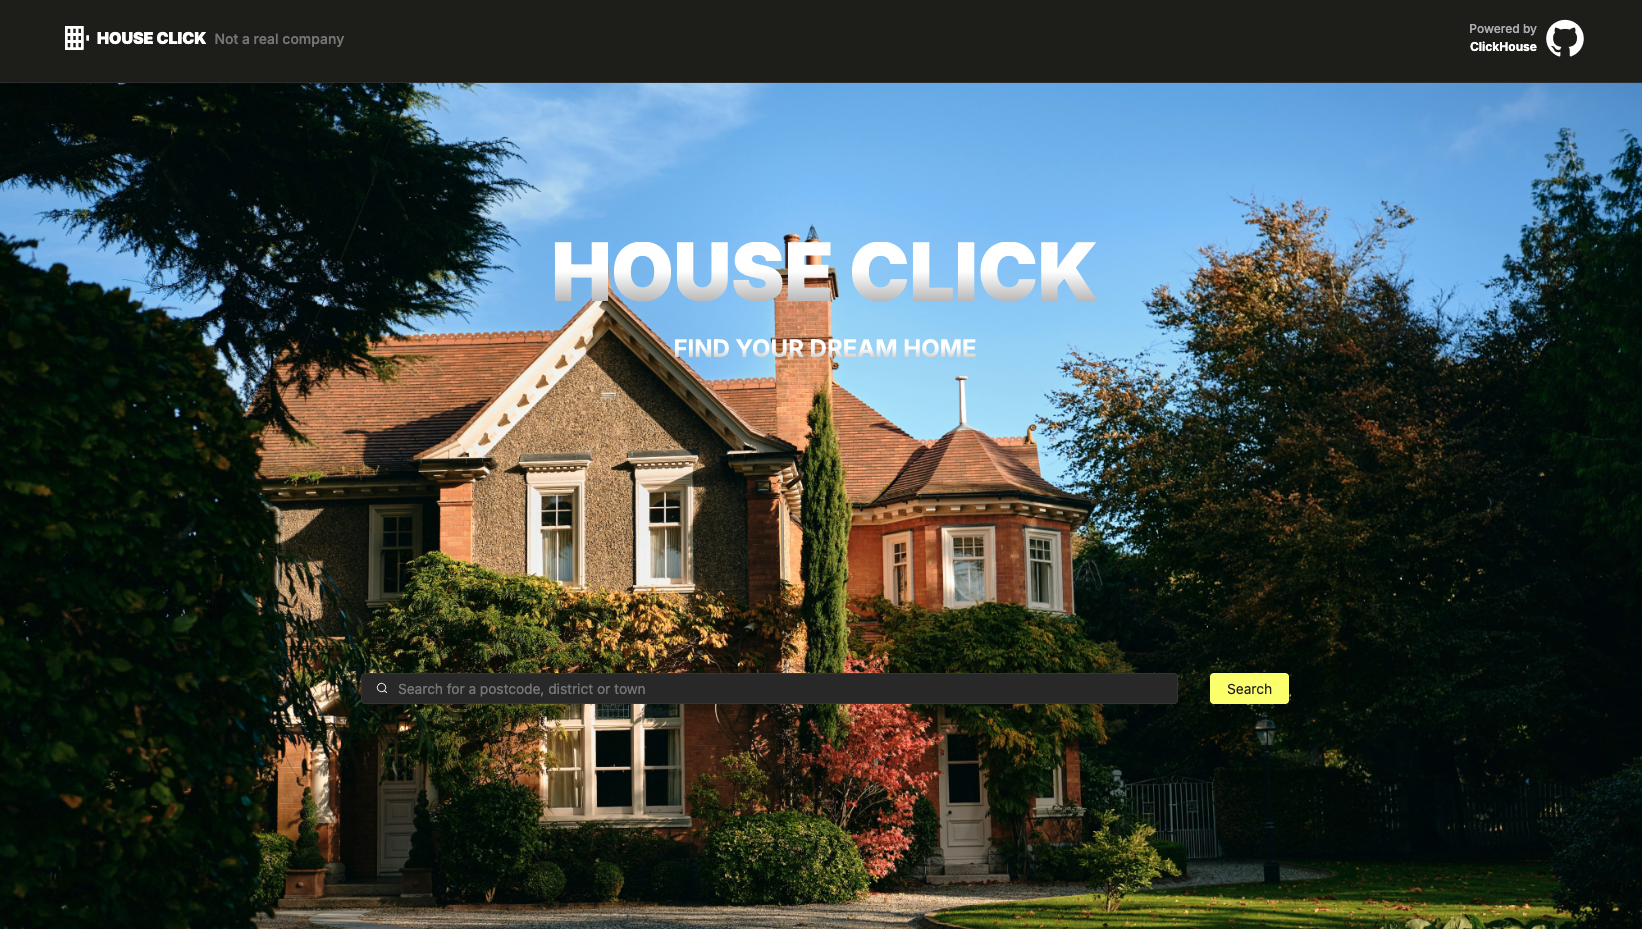
HouseClick demo application repository.
This is V2 of the demo. For the earlier version, see the archive directory.
Important
- This is a demo only.
- The code has no tests and comments are currently minimal - although the code is very simple.
- Rough and ready. Use for inspiration only.
- PRs welcome to improve the code.
- Due to concerns regards image writes, we do not provide a generated dataset. Steps to generate are included.
Before starting, make sure you have:
•	PostgreSQL – used as the transactional database. If not, steps to deploy are included.
•	ClickHouse – used for analytical queries. If not, steps to deploy are included.
•	ClickHouse MCP Server – acts as a bridge between the app and ClickHouse. If not, steps to deploy are included.
•	Node.js 20+ – required to run the frontend and backend.
•	Anthropic API key – used for AI-assisted features.
PostgreSQL is required to store the application data.
If you don’t already have a PostgreSQL instance, you can spin one up locally with Docker:
docker volume create pgdata

docker run -d \
  --name postgres \
  -e POSTGRES_PASSWORD=postgres \
  -e POSTGRES_USER=postgres \
  -e POSTGRES_DB=postgres \
  -p 5432:5432 \
  -v pgdata:/var/lib/postgresql/data \
  --health-cmd="pg_isready -U postgres" \
  --health-interval=10s --health-timeout=5s --health-retries=5 \
  postgres:16
This will create a persistent volume for your database and expose it on port 5432.
By default, ClickHouse is not used.
Part of the demo story is to synchronize PostgreSQL and ClickHouse using ClickPipes or PeerDB to understand how faster the analytical queries are executed using ClickHouse.
If you don’t already have a ClickHouse instance, you can install it locally easily.
curl https://clickhouse.com/ | sh

./clickhouse serverRun the ClickHouse MCP server locally, and connect it to your ClickHouse instance.
Clone the repository:
git clone https://github.com/ClickHouse/mcp-clickhouse.git
cp mcp-clickhouse/
Run the MCP Server locally using fastmcp to enable sse endpoint.
If necessary, install uv, then install fastmcp in a virtual environment.
curl -LsSf https://astral.sh/uv/install.sh | sh
uv install fastmcp

source .venv/bin/activate
uv sync

fastmcp run mcp_clickhouse/mcp_server.py:mcp --transport sse
This starts the MCP server connected to your local ClickHouse instance.
The UK house listings are fake data generated using AI. Fresh data can be generated using the scripts/generate_data.py script. The script requires a connection to a ClickHouse instance that contains the uk.uk_price_paid table. It also requires an OpenAI API key.
You can configure the connection using environment variables:
export CLICKHOUSE_HOST=sql-clickhouse.clickhouse.com
export CLICKHOUSE_PORT=443
export CLICKHOUSE_USER=demo
export CLICKHOUSE_PASSWORD=
export CLICKHOUSE_PROTO=https
export OPENAI_API_KEY=
export NUMBER_LISTINGS=50
Then, you can then run the script to generate the data:
python scripts/generate_data.pyAfter the script execution, the data will be available in the data/uk_house_listings.csv file.
Execute this command to create the tables:
psql "host=localhost port=5432 dbname=postgres user=postgres password=postgres" -f schemas/postgres.sql The dataset is too large for GitHub, so you’ll need to fetch it and import manually.
- Set up a Python environment:
uv venv
source .venv/bin/activate
uv pip install -r scripts/requirements.txt- Download the UK transactions dataset:
(cd data && curl -LO https://storage.googleapis.com/clickhouse-demo-public/uk_price_paid.csv)- Import data into PostgreSQL:
export POSTGRES_CONN_STR=postgresql://postgres:postgres@localhost/postgres
python3 scripts/import_data.py
This may take a few minutes depending on your machine.
Once the databases and data are ready, you can start the application.
cd app
npm install The frontend expects images in app/public/images. Copy them manually:
cp images/* app/public/images/Copy the .env.example file to .env and configure the environment variables.
POSTGRES_USER=postgres
POSTGRES_PASSWORD=postgres
POSTGRES_HOST=localhost
POSTGRES_DATABASE=postgres
POSTGRES_PORT=5432
CLICKHOUSE_HOST=http://localhost:8123
CLICKHOUSE_USER=default
CLICKHOUSE_PASSWORD=
ANALYTICAL_DATABASE=postgres
NEXT_PUBLIC_MCP_ENDPOINT=http://localhost:8000/sse
NEXT_PUBLIC_COPILOTKIT_RUNTIME_URL=/api/copilotkit
ANTHROPIC_API_KEY=<your-anthropic-api-key>Run the app locally
npm run devAccess the application at http://localhost:3000
