- Fork this repo
- Clone this repo into your
~/code/labs
Upon completion, run the following commands:
$ git add .
$ git commit -m "done"
$ git push origin master
Navigate to your repo and create a Pull Request -from your master branch to the original repository master branch.
In the Pull request campus name, name, add your last name separated by a dash "-".
We all love travel, and one of the best parts of travelling around the world is share your feelings about the places you visit with your friends. We are going to create a web application to help us organize our trips information.
Our goal is to create an application that will allow us to log in with our Facebook account, and create trips that will have a title, an image, and a description. We will have a private page to manage our trips, and a public profile page where people will be able to see the experiences we had travelling.
We provide you an small starter code in the repo. We have created a basic project with express-generator. The only thing we have done for you is install some of the packages you will need to build the application.
We have installed ejs, express-ejs-layouts, express-session, mongodb, mongoose, passport, passport-facebook, and nodemon. Remember to execute the npm install command before start building the app.
We recommend you to follow the next iterations to build the solution successfully.
First of all, you have to create the login functionality. We are going to use Facebook strategy with passport to do that. If we want to have a public profile page, we have to save the information of the user in the database.
To implement this feature, we will need a model, the routes, and the views of the profile page. The information of each one is described below.
The user model will have two different fields:
provider_id, to store the provider ID assigned to our user.provider_name, to store the provider name (user.displayNamein the response we will get from our provider).
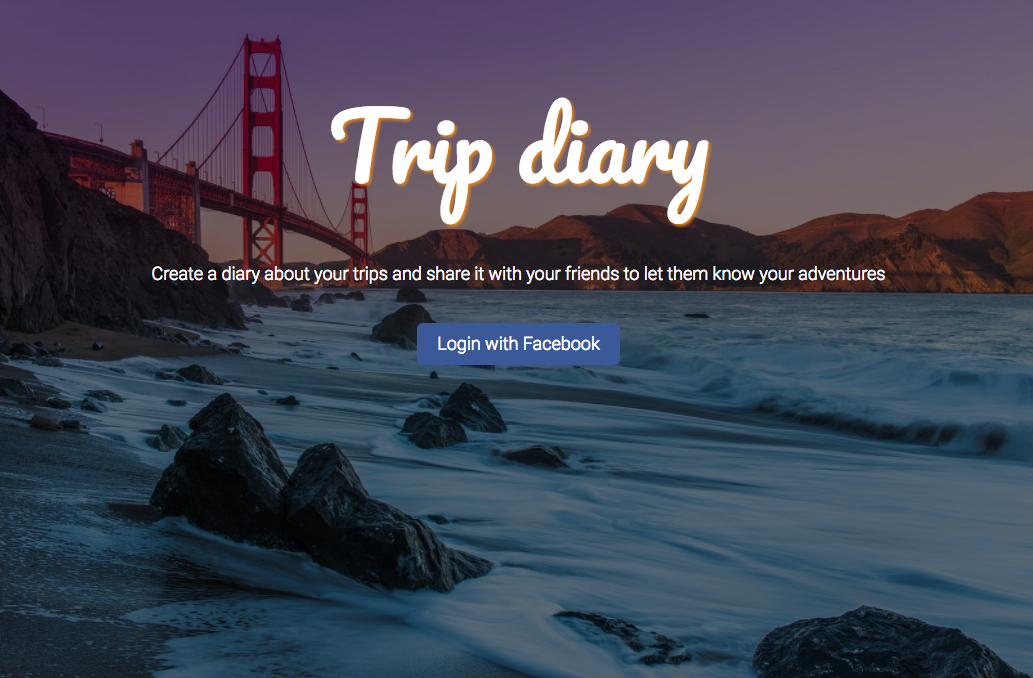
We will add the login button in the main page of the application. So when we visit the http://localhost:3000/ route, we will see the main page design with the login button. If you want to get inspired, this is our purposal:
Remember that you have to configure a Facebook app in the Facebook Developers Console before start coding. We will have to set up the /auth/facebook and /auth/facebook/callback routes to send and receive the Facebook requests and be able to login with the strategy.
Once the user has logged in, we have to redirect him to /my-trips. This is the next page we are going to create.
In this iteration, we will create the CRUD for our trips. To access this routes you will have to be logged in, so remember to use the connect-ensure-login package to protect the routes.
The trips will have a destination name, a description, and a photo. The photo will be uploaded to the server with multer, you may already know how to do that.
Find below the model, routes, and views description.
The trip model will have the following fields:
user_id, will contain the user provider id.user_name, will contain the user provider name.destination, will contain our destination title.description, will contain a description indicating our opinion of the destination.pic_path, will contain a photo of our destination.
We have to create the CRUD to add, edit, show, and delete trips once we are logged in. It includes a lot of routes and views, so we are going to summarize all of them with the following table:
| Method | Route | View | Description |
|---|---|---|---|
GET |
/my-trips |
views/trips/index.ejs |
List with all the trips |
GET |
/my-trips/new |
views/trips/new.ejs |
New form |
POST |
/my-trips/new |
||
GET |
/my-trips/edit/:trip_id |
views/trips/edit.ejs |
Edit form |
POST |
/my-trips/edit/:trip_id |
||
GET |
/my-trips/delete/:trip_id |
views/trips/delete.ejs |
Delete form |
POST |
/my-trips/delete/:trip_id |
The only view you could not be familiarized with is the views/trips/delete.ejs one. In this view, we are going to have two different buttons: yes or no. Depending of the clicked button, we have to do one delete the trip or redirect the user to the /my-trips view.
💡 Remember that after each action, we have to redirect the user to the /my-trips view to see a list of all the trips.
These pages are just available to edit the user trips. Feel free to create your own layouts to let the user add/edit/remove trips.
To finish up this exercise, we have to create the public Profile page. We have to create two different pages here: profile page, and trip page.
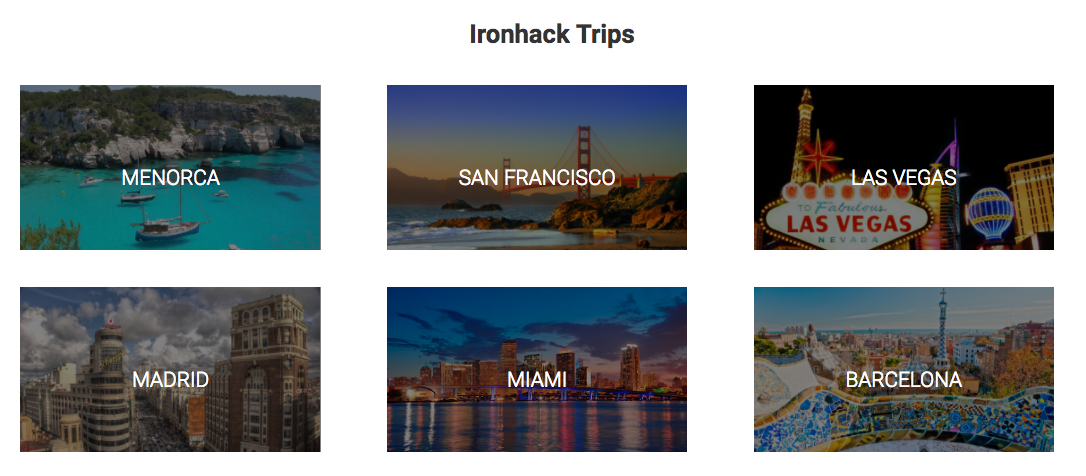
The profile page will have the same functionality than /my-trips, but everybody will be able to access to it. It means that will not be a protected route. Remember that this is a public page, so feel free to add some cool styles to let the visitors enjoy our trips!!
When you select a trip, you have to redirect the user to the trip page, where he can see all the information we saved in the database. This is how we will let people know how was our experience in the different places we've been travelling.
/Happy coding!


