I created a Birthday Hotline for my dad. You can too.
I wanted to do something special for my dad on his birthday, instead of sending the same old flowers, cakes, and cupcakes. I wondered - what if I created a birthday hotline for him? So, I would set up a phone number that his close family and friends would call, and record their greetings or share special memories with him. Then, on the day of his birthday, he would call that number, and listen to all the lovely messages.
That's a pretty awesome gift, I thought. Much better than the flowers and the super-dad cupcakes for sure.
But, then I realized that’s just a regular voicemail. Nobody likes listening to voicemails. That’s pretty boring. How do I make this a bit more fun and engaging?
Then, I had the aha moment. What if Alexa could play the messages for him instead? He has an Amazon Echo, and he loves it. What if he could ask Alexa to play his birthday messages? Now, that’d be pretty cool.
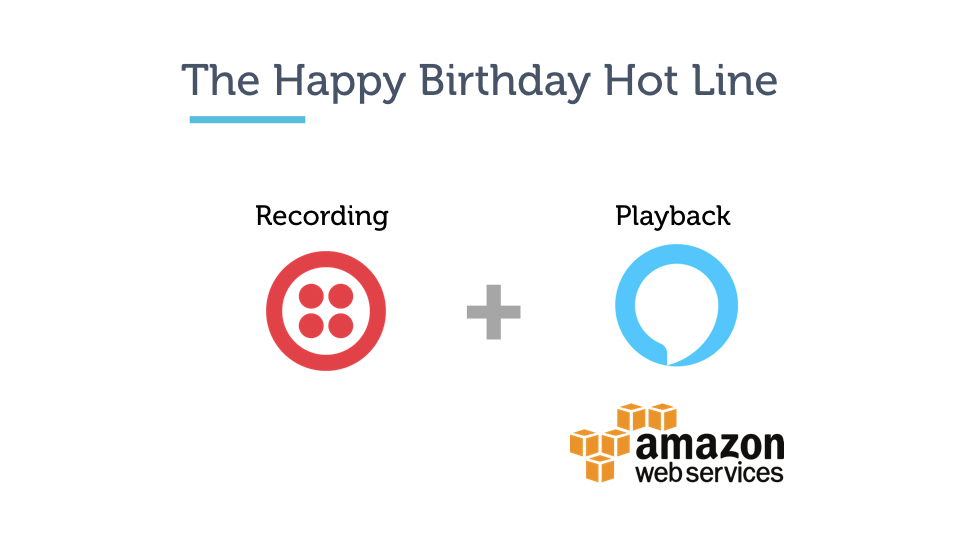
So, that’s what I set out to do, using Twilio, Alexa Skills Kit, and Amazon Web Services
As you can imagine, there are two pieces to the Alexa Birthday Hotline.
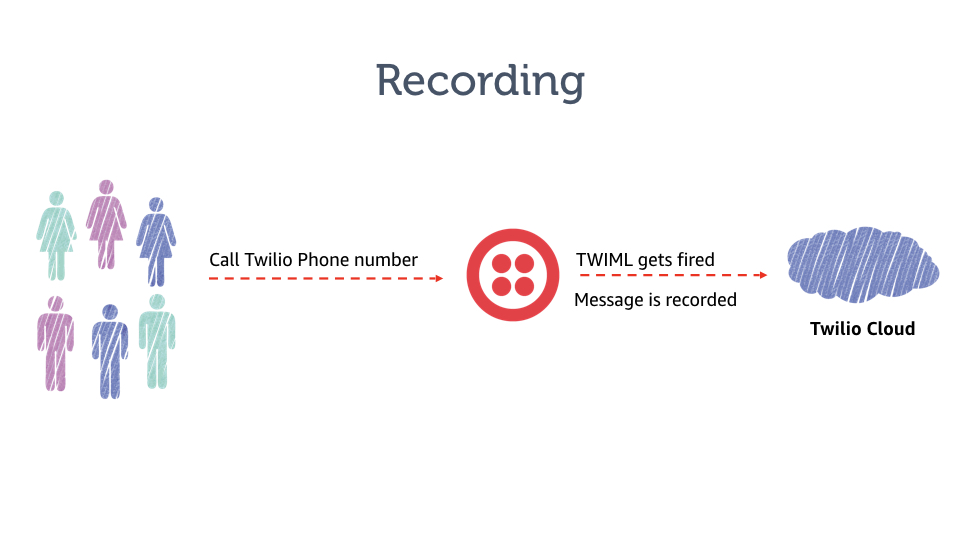
- Recording: the voice greetings using Twilio
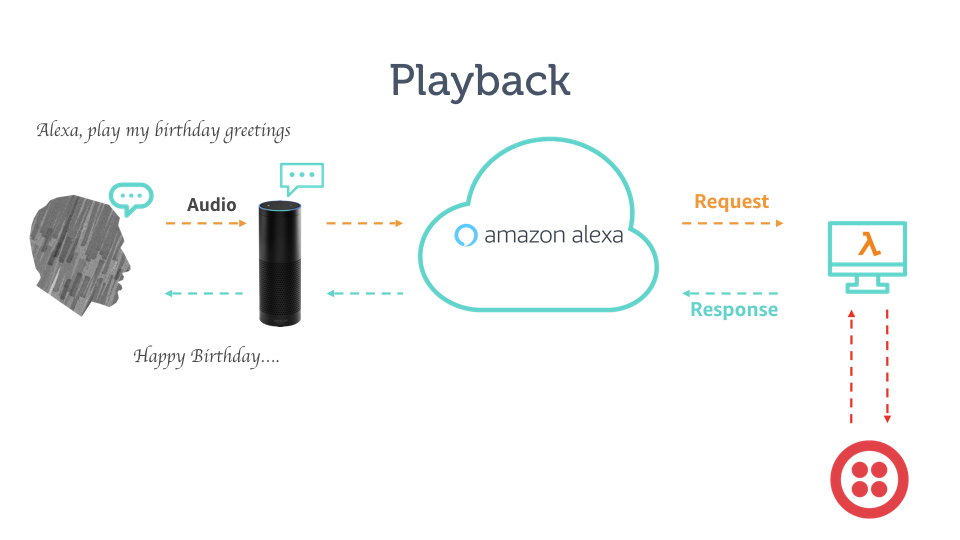
- Playback: playing the messages back through an Alexa Skill
Everyone would call the Twilio number, be greeted with a welcome message, and record their greeting after the beep.
Alexa, play my birthday greetings
Head to the Twilio numbers page and click the “Buy a number” button if you don’t already have a phone number available.
When you click on the “Buy a number” button you’ll see the numbers search screen. You can search for a number by location or even digits or phrases.
Now that we have the phone number ready to go, we’ll write up some quick TwiML that we will then point our phone number to. So, when we receive a call, this TwiML will get fired.
One quick way to write and host TwiML is to use TwiML Bins. TwiML Bins allow you to write TwiML that Twilio will host for you - so you can quickly prototype a solution without spinning up a web server.
- Head over to TwiML Bins
- Click on the “+” to create a new TwiML
- Give it a friendly name, like so - “My Birthday Hotline”
- Paste the following inside the TWIML box
<?xml version="1.0" encoding="UTF-8"?>
<Response>
  <Play>
http://ajotwani.s3.amazonaws.com/media/wishes/signal-greeting.mp3
  </Play>
  <Record />
</Response>The <Play> verb plays an audio file back to the caller. Twilio retrieves the file from a URL that you provide.
The <Record> verb records the caller's voice and returns to you the URL of a file containing the audio recording.
So, what our TwiML is essentially doing is playing an MP3, and then recording the caller’s voice.
Feel free to replace the URL of the audio file to something of your own choosing.
We’re now ready to set up the Twilio number.
- Head back to the Twilio Phone Numbers and click on the number you just purchased.
- Under “Voice & Fax” -> A Call Comes In, choose TwiML on the first drop down, and then choose the TwiML bin you just created on the second drop down.
- Save
We are now done with the “Recording” part of our skill. Let’s move on to the second part - the Playback through Alexa.
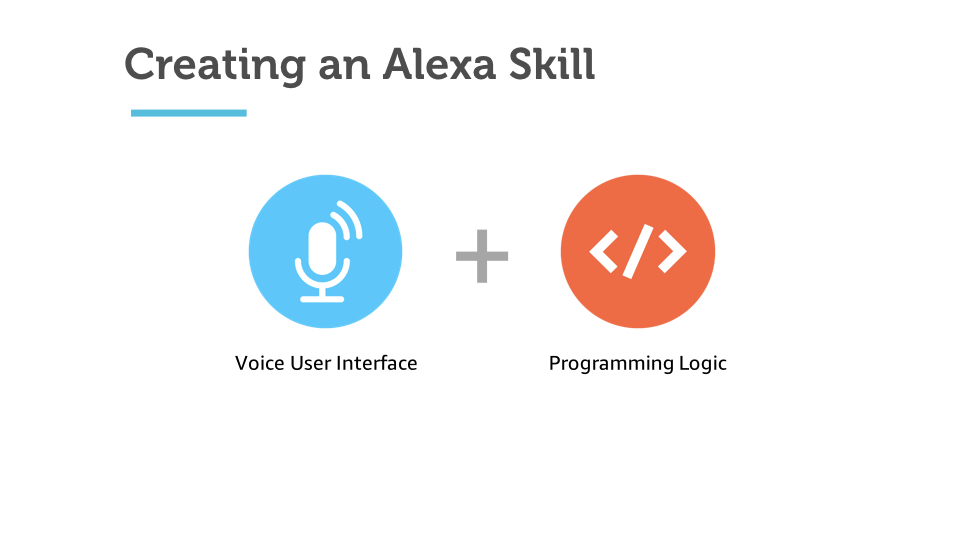
There are two parts to an Alexa skill:
- Voice User Interface (VUI): This is where we define how we will handle a user's voice input, and which code should be executed when specific commands are uttered. You may think of this as the frontend of our skill.
- Programming Logic: This is the actual code logic for our skill, that resides on a hosted service, like AWS Lambda, and responds to user requests.
Let’s start off by creating our Frontend.
-
Head over to Amazon Developer Portal. On the top right corner of the screen, click the Sign In button.
-
Once you have signed in, click the Alexa button at the top of the screen.
-
On the Alexa page, choose the Get Started button for the Alexa Skills Kit.
-
Select Add a New Skill. This will get you to the first page of your new Alexa skill.
-
Fill out the Skill Information screen, as below:
Description Example Skill Type For this skill, we are creating a skill using the Custom Interaction Model. This is the default choice. Custom Interaction Model Language Choose the first language you want to support. You can add additional languages in the future, but we need to start with one. (This guide is using U.S. English to start.) U.S English Name This is the name of the skill as it will be displayed in the Alexa app. Birthday Hotline Invocation Name This is the name spoken by your users to start the skill. We will keep this short and simple. Birthday Hotline Audio Player We will be using the Audio Player API for this skill, so choose Yes. Yes -
Click on Save, and then click Next button to move to the Interaction Model.
Fill out the Interaction Model screen as below:
Intent Schema: An intent schema defines the actions that we want our users to be able to take. Copy and paste the code below into the Intent Schema box. (get this on GitHub)
{
  "intents": [
    {
      "intent": "PlayAudio"
    },
    {
      "intent": "AMAZON.PauseIntent"
    },
    {
      "intent": "AMAZON.ResumeIntent"
    },
    {
      "intent": "AMAZON.NextIntent"
    },
    {
      "intent": "AMAZON.PreviousIntent"
    },
    {
      "intent": "AMAZON.HelpIntent"
    },
    {
      "intent": "AMAZON.StopIntent"
    },
    {
      "intent": "AMAZON.CancelIntent"
    },
    {
      "intent": "AMAZON.StartOverIntent"
    },
    {
      "intent": "AMAZON.YesIntent"
    },
    {
      "intent": "AMAZON.NoIntent"
    }
  ]
}
Sample Utterances: Sample utterances guide Alexa to map what a user says to the Intents that we defined earlier. Copy these sample utterances and paste them into the Sample Utterances box in your browser. (get this on GitHub)
PlayAudio begin greetings
PlayAudio begin the greetings
PlayAudio begin playing the greetings
PlayAudio start greetings
PlayAudio start the greetings
PlayAudio start playing the greetings
PlayAudio play the greetings
PlayAudio to play
PlayAudio to begin greetings
PlayAudio to begin the greetings
PlayAudio to begin playing the greetings
PlayAudio to start greetings
PlayAudio to start the greetings
PlayAudio to start playing the greetings
PlayAudio to play the greetings
Click Save to verify that your interaction model builds properly without any errors.
If your interaction model builds successfully, click Next to move on to Configuration.
We are now ready to create our backend using AWS Lambda.
Now that we have built our Voice User Interface (VUI) for our Alexa skill, we will be creating an AWS Lambda function using Amazon Web Services. You can read more about what a Lambda function is, but for the purposes of this guide, what you need to know is that AWS Lambda is where our code lives. When a user asks Alexa to use our skill, it is our AWS Lambda function that interprets the appropriate interaction, and provides the conversation back to the user.
-
Go to aws.amazon.com and sign in to the console. If you don't already have an account, you will need to create one. If you don't have an AWS account, check out this quick walkthrough for setting it up.
-
Create an AWS Role in IAM with access to Lambda, CloudWatch Logs and DynamoDB.


-
Click Services at the top of the screen, and type "Lambda" in the search box. You can also find Lambda in the list of services. It is in the "Compute" section.
-
Check your AWS region. AWS Lambda only works with the Alexa Skills Kit in two regions: US East (N. Virginia) and EU (Ireland). Make sure you choose the region closest to your customers.
-
Click the "Create a Lambda function" button. It should be near the top of your screen. (If you don't see this button, it is because you haven't created a Lambda function before. Click the blue "Get Started" button near the center of your screen.)
-
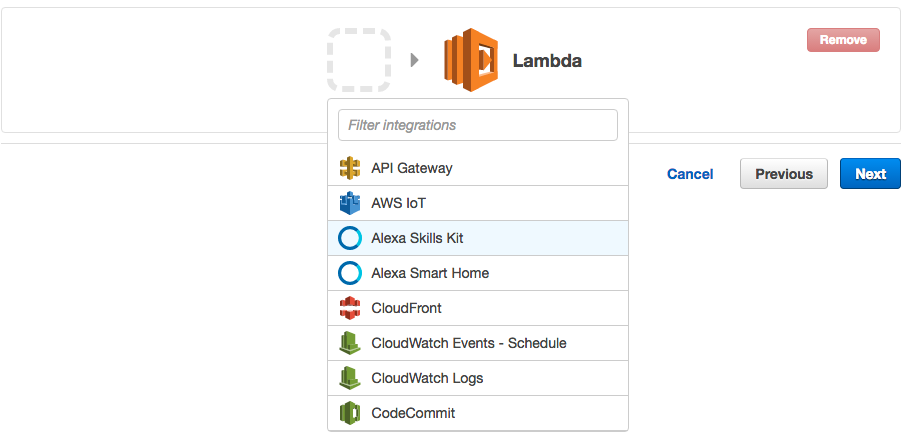
Configure your trigger. Click in the dashed box, and select Alexa Skills Kit from the list. If you don't see Alexa Skills Kit in the list, make sure you have the correct region selected. See step 3 earlier.
Once you have selected Alexa Skills Kit, click the Next button.
-
Configure your function. This screen is where we will enter the important parts of our Lambda function. These values will only ever be visible to you, but make sure that you name your function something meaningful.
8. Name: You can name it whatever, but let’s name it something meaningful, like birthdayHotlineSkill 9. Description:”Programming logic for the Birthday Hotline Skill” 10. Runtime: Node.js 6.10 11. Lambda Function Code: Leave this as is. We will come back to this in just a moment. 12. Role: Choose an existing Role 13. Existing Role: Select the role we created earlier. -
Click the Next button to move to the Review screen. The Review screen is a summary of your choices.
-
Scroll all the way down and click Create Function in the bottom left corner.
-
After you create the function, the ARN value appears in the top right corner. Copy this value for use in the next section of the guide.
We’re now ready to connect our frontend with our backend.
-
Go back to the Amazon Developer Portal and select your skill from the list. You may still have a browser tab open if you started at the beginning of this tutorial.
-
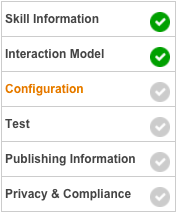
Open the "Configuration" tab on the left side.
-
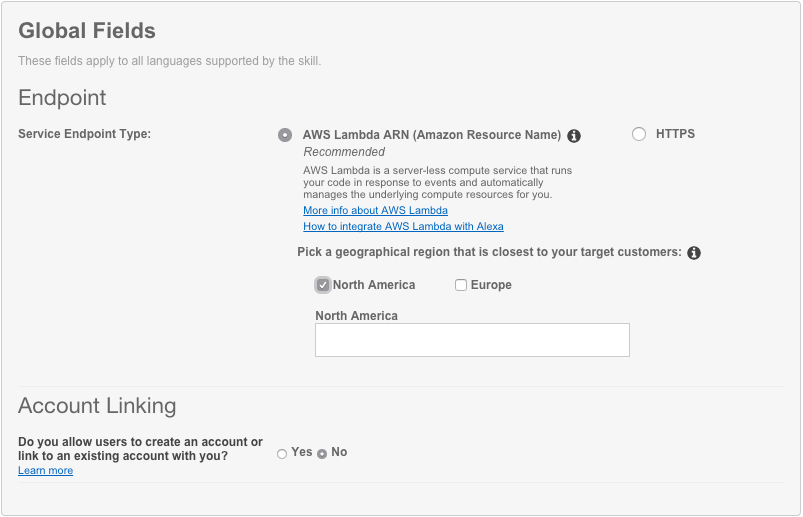
Select the AWS Lambda ARN option for your endpoint.
-
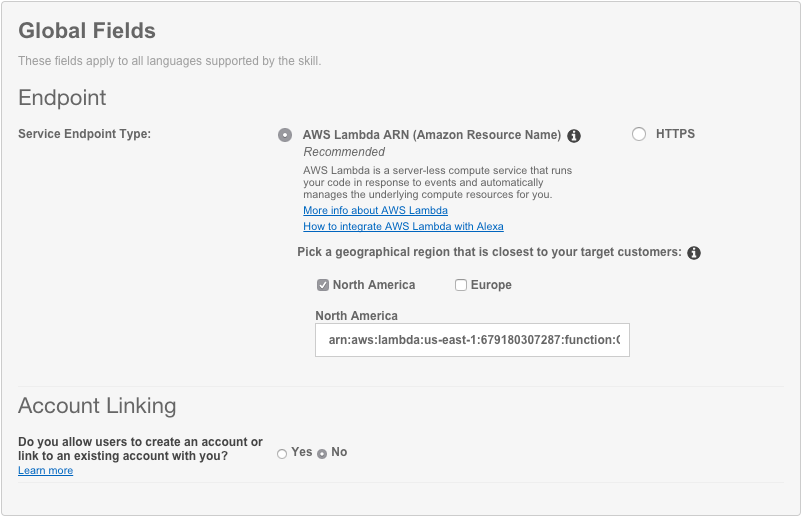
Select "North America" or "Europe" as your geographical region. IMPORTANT: Make sure you select the same region that you created your Lambda in. Remember, Alexa skills using AWS Lambda can only run in N. Virginia (North America) and Ireland (Europe).
-
Paste your Lambda's ARN (Amazon Resource Name) into the textbox provided. It should look similar to the screenshot above.
-
Leave "Account Linking" set to "No." For this skill, we won't be using Account Linking, but you can learn more about Linking an Alexa User with a User in Your System.
-
Click the “Save” button.
—
- Clone this repo
- Update the src/twilio-config-sample.js with your Twilio credentials, and then rename the file to twilio-config.js
- Zip up the code, and upload to Lambda.
- Call the Twilio phone number to record a greeting.
- Then ask Alexa to playback the greetings by saying - Alexa, open birthday hotline.
Enjoy!
