English | 简体中文
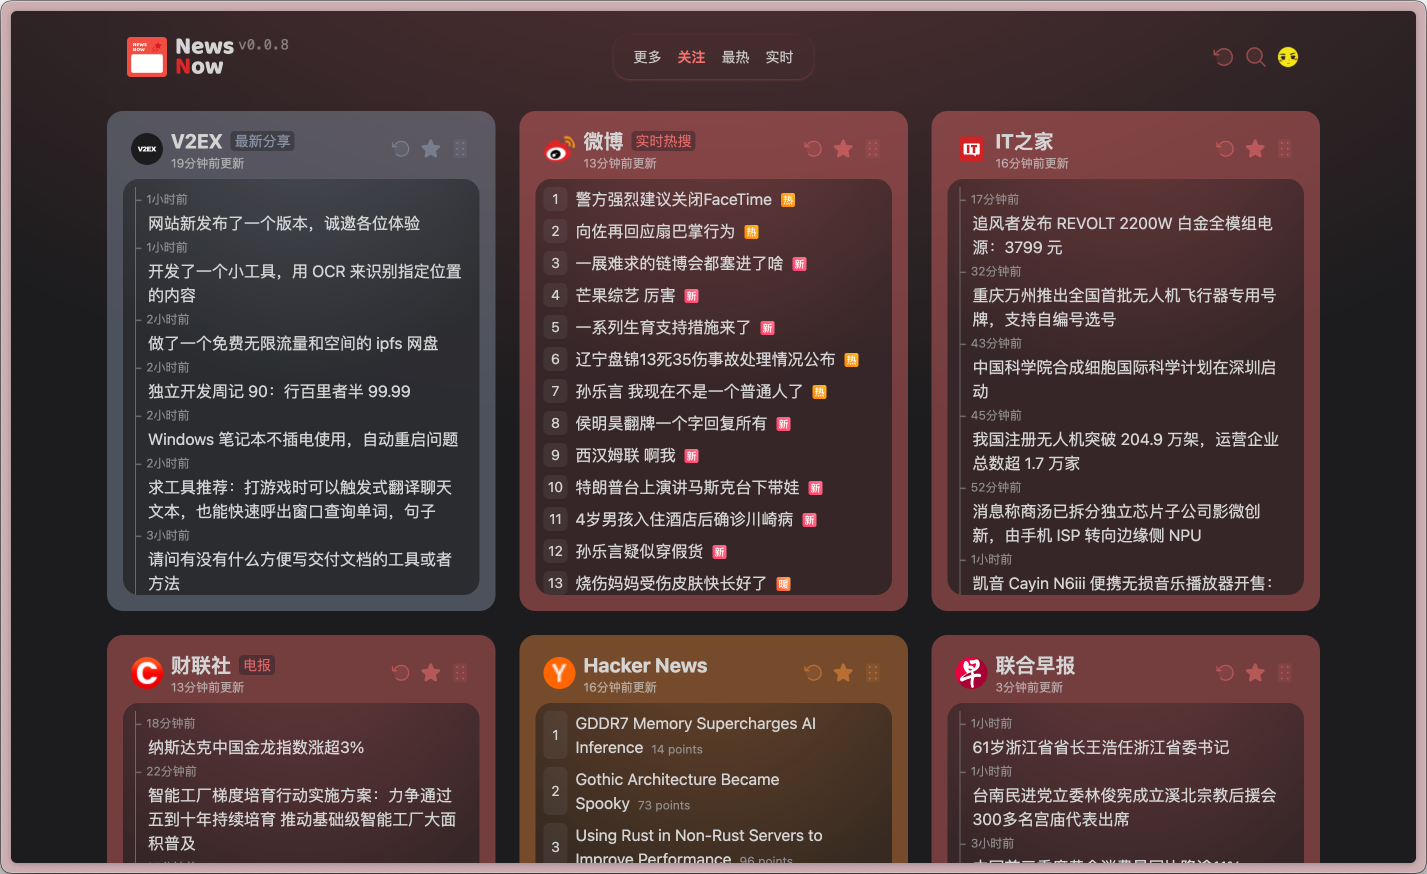
Elegant reading of real-time and hottest news
- Elegant design for a pleasant reading experience, keeping you up-to-date with the latest and hottest news.
- Supports Github login and data synchronization.
- Default cache duration is 30 minutes. Logged-in users can force fetch the latest data. However, the scraping interval is adjusted based on the update frequency of the content sources (as fast as every two minutes) to save resources and prevent frequent scraping that could lead to IP bans.
If login and caching are not required, you can directly deploy to platforms like Cloudflare Pages or Vercel. Just fork the repository and import it into the respective platform.
For Cloudflare Pages, you need to set the build command to pnpm run build and the build output directory to dist/output/public.
For login, which involves GitHub OAuth, you only need to create a GitHub App. No special permissions are required. The callback URL should be https://your-domain.com/api/oauth/github (replace your-domain with your actual domain).
After creating the app, you will get a Client ID and Client Secret. Different platforms have different places to set environment variables; refer to the example.env.server file. If running locally, rename it to .env.server and add the necessary values.
# Github Client ID
G_CLIENT_ID=
# Github Client Secret
G_CLIENT_SECRET=
# JWT Secret, usually the same as Client Secret
JWT_SECRET=
# Initialize database, must be set to true on first run, can be turned off afterward
INIT_TABLE=true
# Whether to enable cache
ENABLE_CACHE=true
This project primarily supports deployment on Cloudflare Pages and Docker. For Vercel, you need to set up your own database. Supported databases can be found at https://db0.unjs.io/connectors .
The Cloudflare D1 database can be used for free. To set it up, go to the Cloudflare Worker control panel and manually create a D1 database. Then, add the database_id and database_name to the corresponding fields in your wrangler.toml file.
If you don't have a wrangler.toml file, you can rename example.wrangler.toml to wrangler.toml and modify it with your configuration. The changes will take effect on your next deployment.
For Docker deployment. In the project root directory with docker-compose.yml, run
docker compose upTip
Node version >= 20
corepack enable
pnpm i
pnpm dev
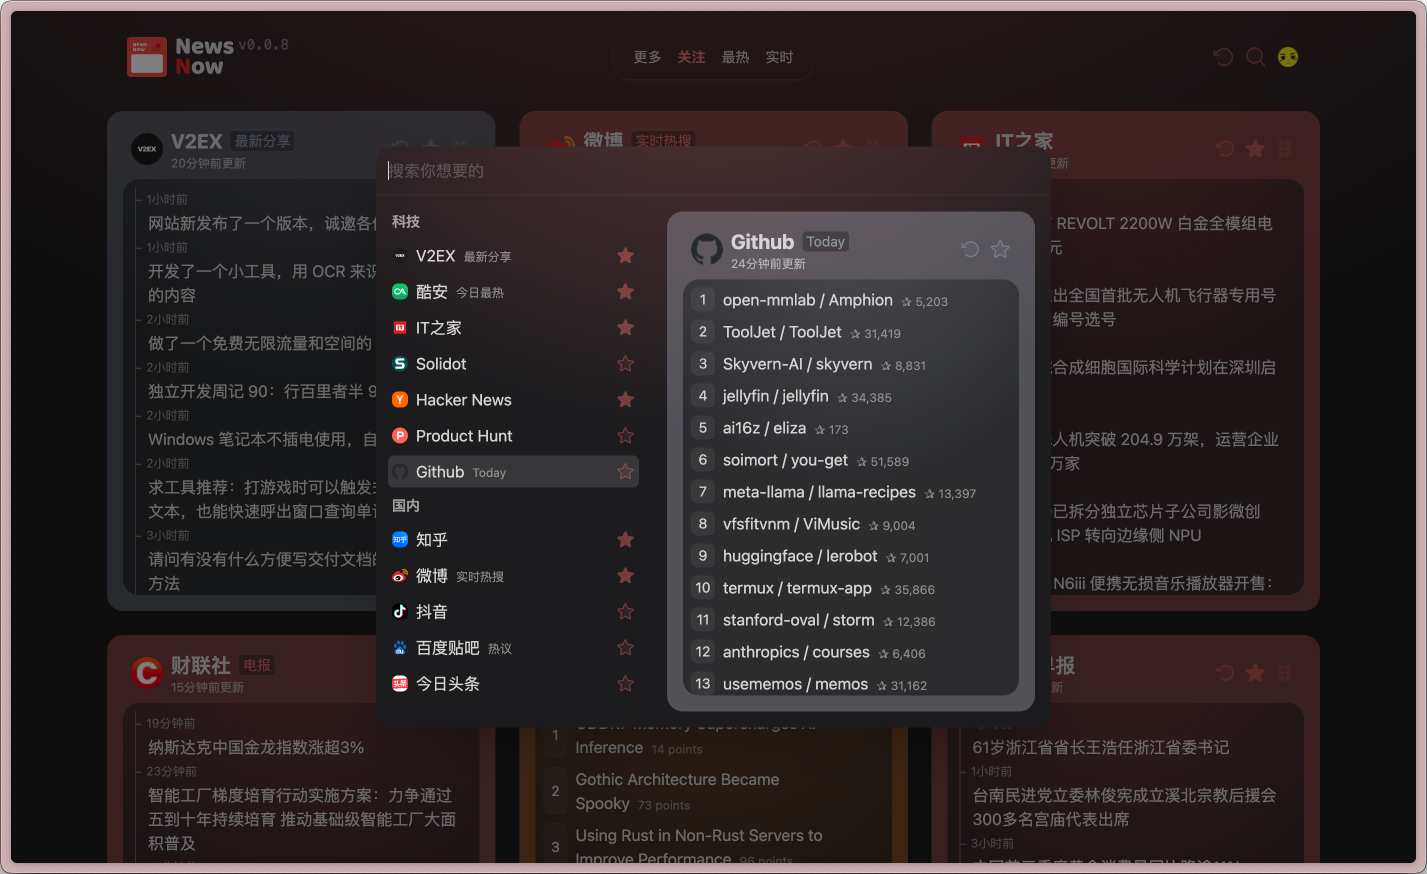
If you want to add data sources, refer to the shared/sources, and server/sources directories. The project has complete types and a simple structure; feel free to explore.
MIT © ourongxing

