Creates a Jenkins master and nodes.
Setup variables (existing SSH Key in AWS required)
export TF_VAR_project_name=jenkins
export TF_VAR_key_name=key-name
Change backend details in meta.tf.
Run Terraform
terraform init
terraform plan
terraform apply
SSH into master
ssh ubuntu@JENKINS_MASTER_ADDRESS
jenkins_master_address will be outputted by terraform.
Retrieve administrator password:
sudo cat /root/.jenkins/secrets/initialAdminPasswordIf using user_data_for_docker.sh use:
cat /opt/jenkins_home/secrets/initialAdminPasswordGo to jenkins_master_address on port 80 and paste admin password.
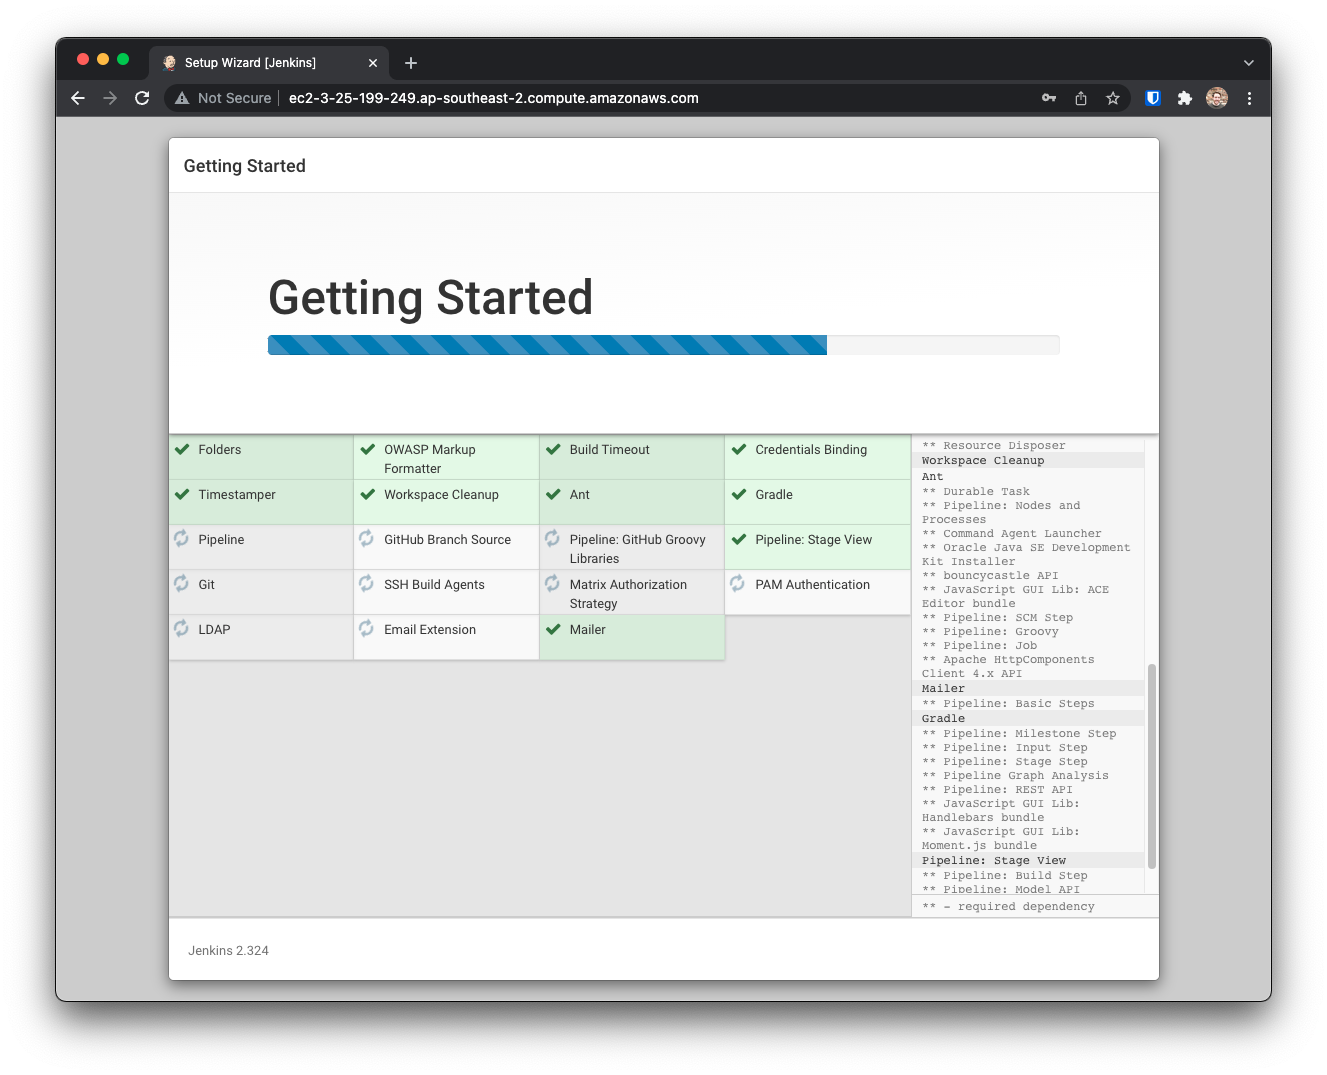
Install suggested plugins.
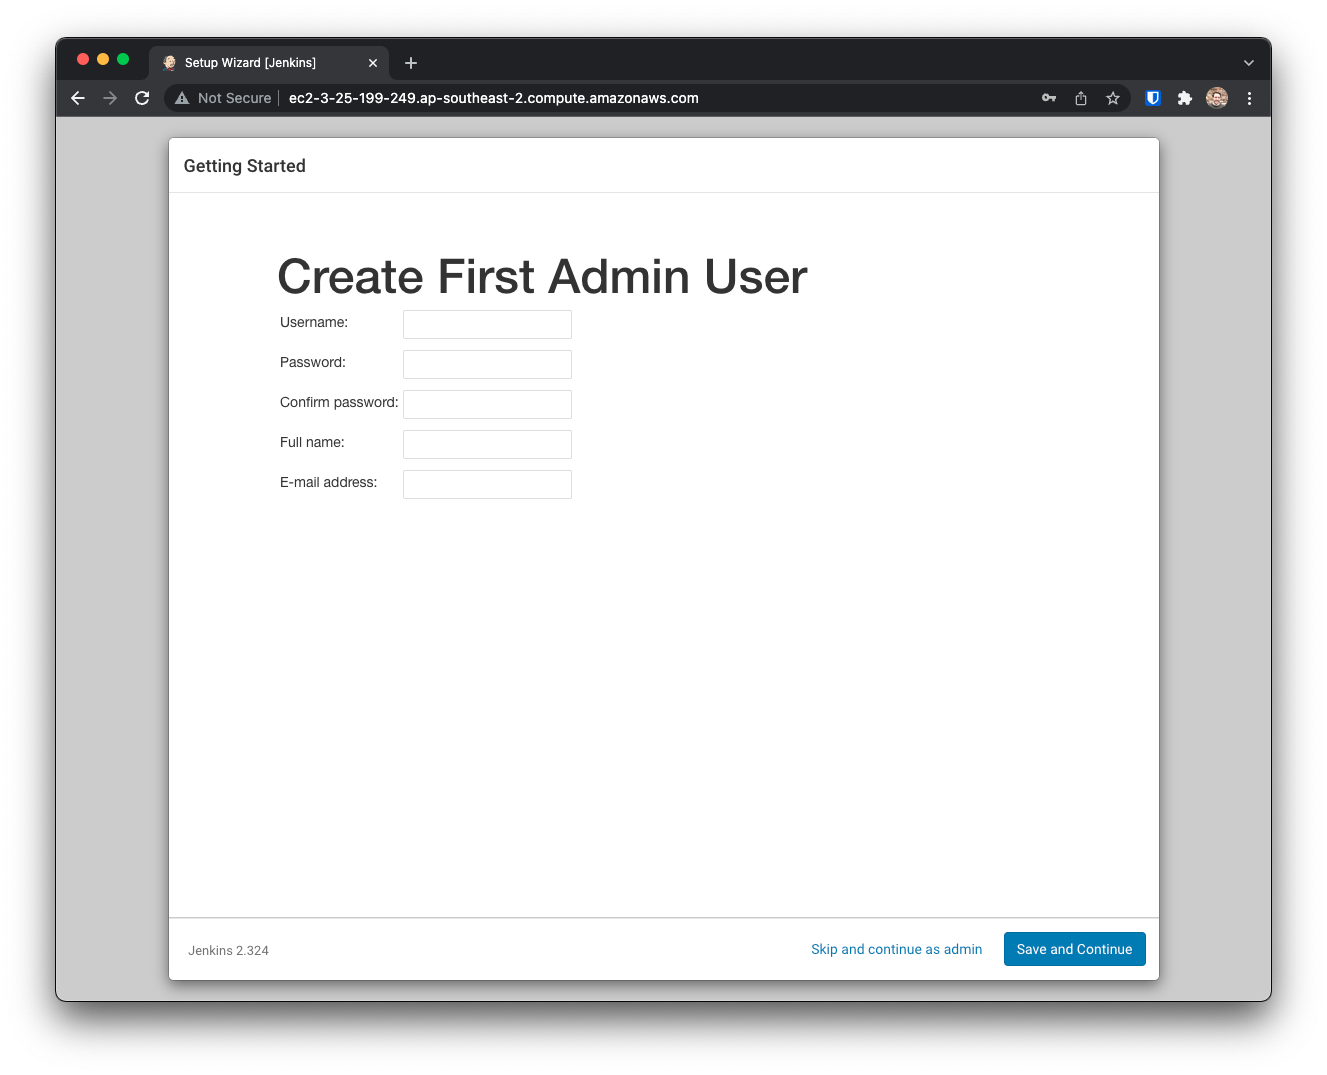
Setup the first admin user, click Next and Save and Finish.
- Click Next and Start using Jenkins.
- Click Manage Jenkins
- Configure System
- Set # of executors to
0for master and Save
- Click Manage Jenkins
- Manage Nodes
- New Node
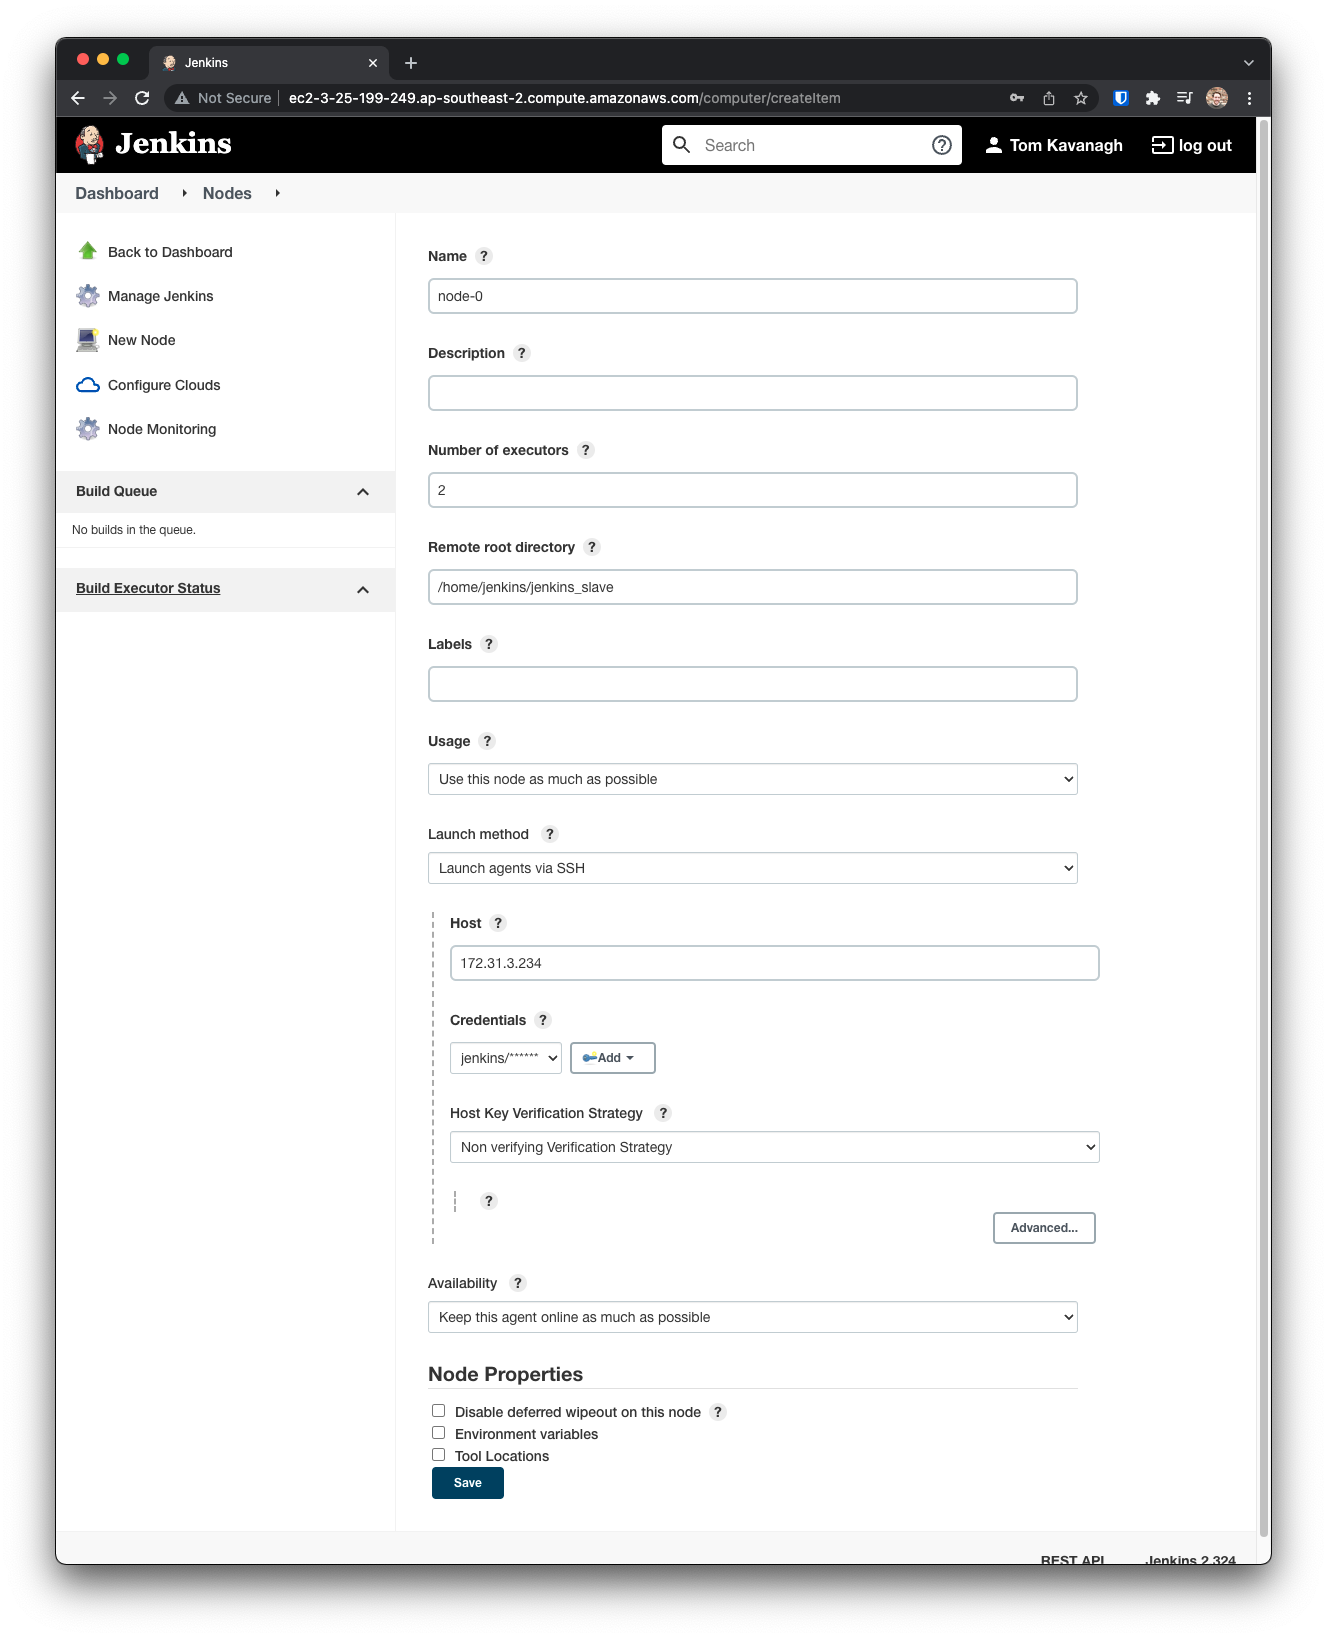
- Node name:
node 0, tick Permanent Agent and click Create - Set # of executors to
2 - Remote root directory to
/home/jenkins/jenkins_slave - Launch method: Launch agents via SSH
- Enter private ip of node-0 as Host
- Add Credentials
SSH Username with private key - Enter
jenkinsfor the username - Enter the private key directly pasting in the private SSH key used to provision the instances
- Select Non verifying Vericiation Strategy
- Click Save
Repeat for the other nodes except use Copy from Existing Node and enter the name of the first node.
- Click ok
- Change the private ip of the node and click save
- Click create a job from the homepage
- Enter a name
- Select freestyle project and click OK
- Tick Build periodically
- Enter a cron statement for the Schedule
*/1 * * * * - Click Add build step, Execute Shell
- Enter
echo "hello world"for the command - Click Save
The new job will run every 1 minute on one of the nodes.
- Open the job from the homepage
- The build history is shown on the left sidebar
- Click a build number and open Console Output.
- You can see the hello world build executed on the node.
- Go back to the Project and click Configure
- Tick Discard old builds and set the Max # of builds to keep to
5. - Click Save
Only 5 of the last builds for this project will be kept.
-
Open node configurations and configure Node 1
-
Enter the
node-1for Labels -
Set usage to Only build jobs with label expressions matching this node
-
Click Save
-
Configure the test job from the previous step
-
Tick
Restrict where this project can be run -
Enter
node-1for the Label Expression -
Click Save
The next build will run on node-1.
- Reconfigue the test job
- Change the shell command to the following:
echo "hello world"
sleep 15
echo "goodbye"- Click Save
The next build will pause and run for longer. You should see the job in the Build Executor Status sidebar on the homepage when it executes.


