Replicate data from SAP Support Launchpad Incident OData service for local reporting.
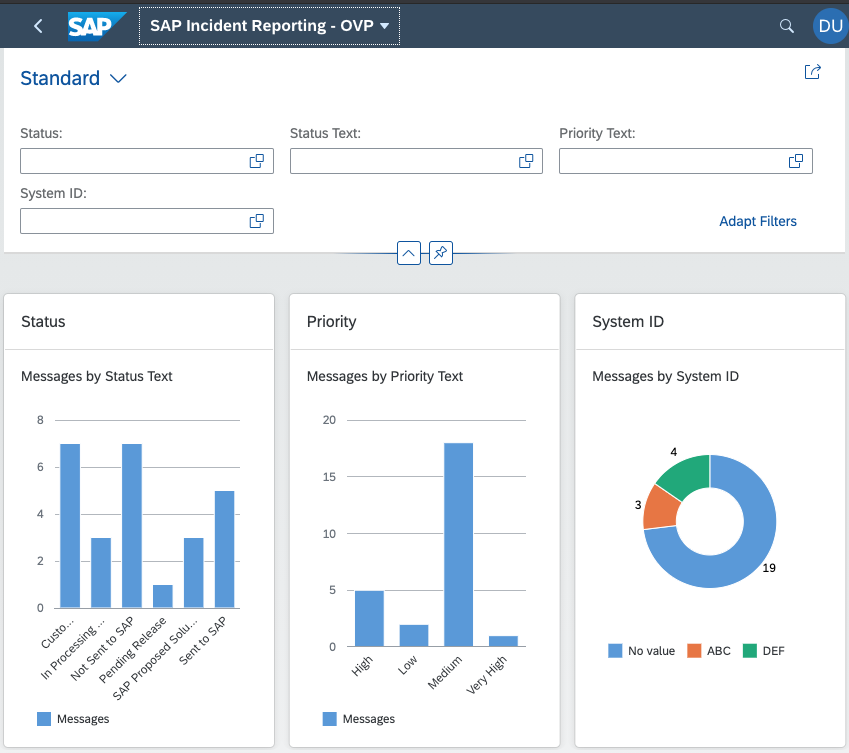
Currently two visualizations are implemented. An Overview Page:
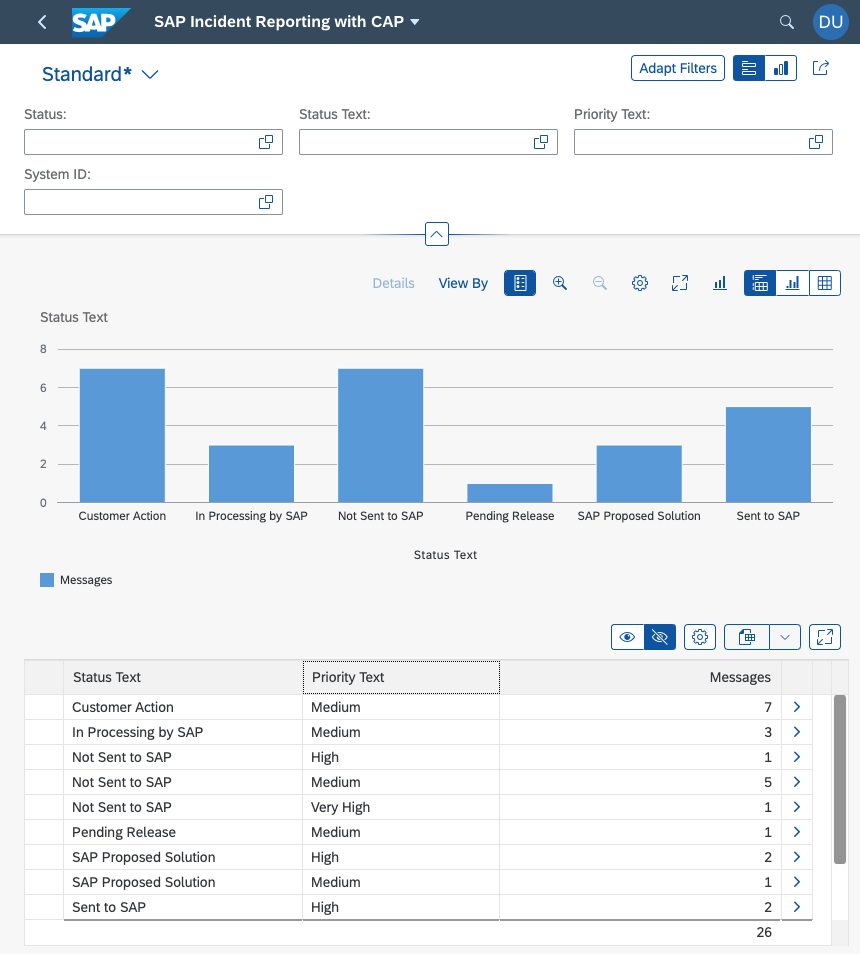
and an Analytical List Page:
- Load data from mock
- Load data SAP Service Marketplace
- Docker Image
- Add reporting for the event log (MessageAlogSet)
- Find a user friendly way to maintain the Authentication Cookie. Using the SAP Passport (X.509 Client Certificate) would be a good option. Here using SSL Certificate with Axios might help.
- Deploy to SAP HANA Cloud & SAP BTP Cloud Foundry
- Expose Data to SAP Analytics Cloud
- Implement further reports in SAP Analytics Cloud
To run the project with sample data you can directly use npm start.
To load data from OSS add the following content to the default-env.json file in the root folder:
{
  "VCAP_SERVICES": {},
  "destinations": [
    {
      "destination": "OSS",
      "url": "https://launchpad.support.sap.com",
      "credentials": {}
    }
  ],
  "OSS_COOKIE": {
    "cookie": "<Your Cookie>"
  }
}
you can now replace <Your Cookie> with the content of your cookie that you've got from your browser. The other option is to use the SAP Passport (X.509 Client Certificate). At https://launchpad.support.sap.com/#/sappassport all S-Users can get their SAP Passport and install it into their local certificate store to Single Sign On (SSO) to the SAP Service Marketplace. With this steps the resulting PFX file can be prepared to be used with curl and NodeJS:
openssl pkcs12 -in s-user.pfx -nocerts -out s-user.key
openssl pkcs12 -in s-user.pfx -clcerts -nokeys -out s-user.crt
openssl rsa -in s-user.key -out s-user-decrypted.key
Then run npm run cookie:update to update the cookie in default-env.json.
Then start the project with npm start and execute the loadDataFromSAP request in the test/cap-endpoint.http file.
If you want to update the mock date in the srv/data folder with your own SAP Incidents, then open your Browser, activate the Development tools, switch to the network tab and then open the URL:
https://launchpad.support.sap.com/services/odata/incidentws/?$format=json
You need to login with your SAP User. Open the details of the request and look for the Request Headers:
You find the Cookies. Copy the content of the Cookies header and add it's content to a file named .env in the test folder. The Content should look like that:
cookie="JTENANTSESSIONID_supportportal...."
When you've done that make sure that you've opened this project in VS Code and the REST Client is installed. Open the test/get-data-from-sap.http file and execute the first two requests. With the result you can fill the corresponding files in the srv/data folder. To protect the privacy only specific columns are selected. If you comment the lines starting with &$select= with a # you will get all data.
First time start:
docker run --name sap-support-message-reporting -i -p 4004:4004 gregorwolf/sap-support-message-reporting:latest
Then open http://localhost:4004 in the browser.
Stop:
docker stop sap-support-message-reporting
Start:
docker start -i sap-support-message-reporting
Remove:
docker rm sap-support-message-reporting
Download the kubeconfig from your Kyma instance via the menu behind the account Icon in the upper right corner. Save it in ~/.kube/kubeconfig-kyma.yml. Then run:
export KUBECONFIG=~/.kube/kubeconfig-kyma.yml
Please note that the token in the kubeconfig is only valid for 8 hours. So you might have to redo the download whenever you want to run the commands again.
To keep this project separate from your other deployments I would suggest to create a namespace:
kubectl create namespace sap-support-message-reporting
Deploy the configuration:
kubectl -n sap-support-message-reporting apply -f kyma/deployment.yaml
Update the container:
kubectl -n sap-support-message-reporting rollout restart deployment/sap-support-message-reporting
If you want to delete the deployment, then run:
kubectl -n sap-support-message-reporting delete -f kyma/deployment.yaml


