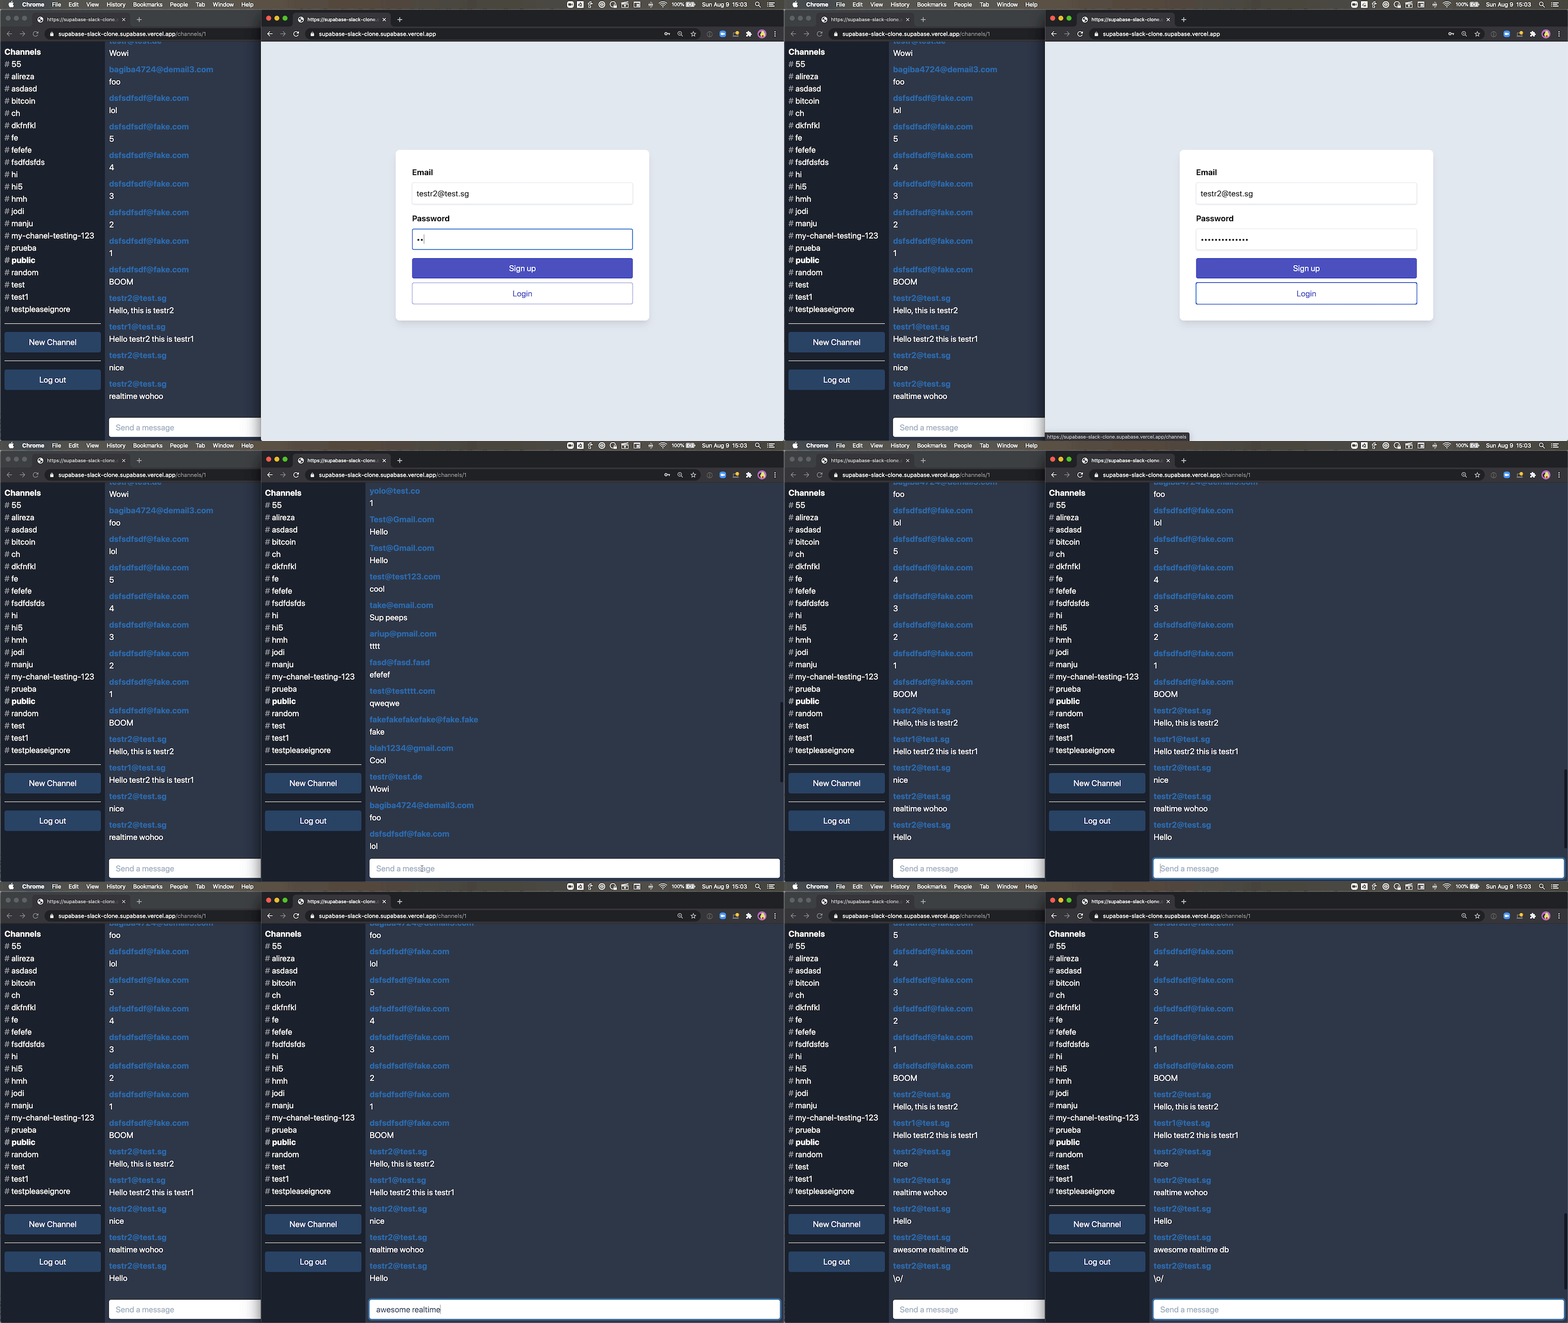
This is a full-stack Slack clone example using:
- Frontend:
- Next.js.
- Supabase.js for user management and realtime data syncing.
- Backend:
- supabase.com/dashboard: hosted Postgres database with restful API for usage with Supabase.js.
- CodeSandbox: https://codesandbox.io/s/github/supabase/supabase/tree/master/examples/nextjs-slack-clone
Sign up to Supabase - https://supabase.com/dashboard and create a new project. Wait for your database to start.
Once your database has started, run the "Slack Clone" quickstart.
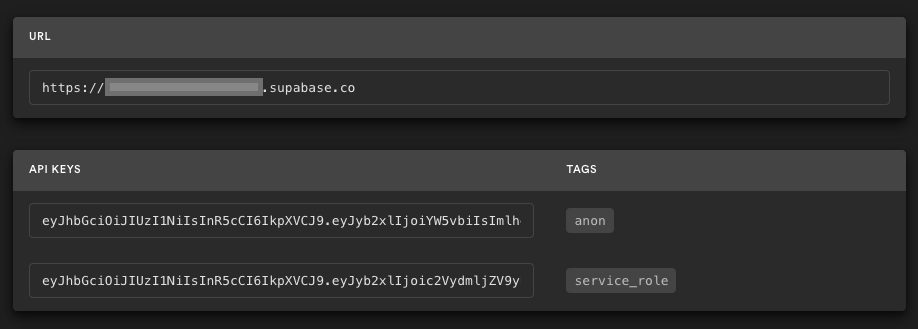
Go to the Project Settings (the cog icon), open the API tab, and find your API URL and anon key. You'll need these in the next step.
The anon key is your client-side API key. It allows "anonymous access" to your database, until the user has logged in. Once they have logged in, the keys will switch to the user's own login token. This enables row level security for your data. Read more about this below.
NOTE: The service_role key has full access to your data, bypassing any security policies. These keys have to be kept secret and are meant to be used in server environments and never on a client or browser.
Here, we recommend forking this repo so you can deploy through Vercel by clicking the button above. When you click the button, replace the repo URL with your fork's URL.
You will be asked for a NEXT_PUBLIC_SUPABASE_URL and NEXT_PUBLIC_SUPABASE_ANON_KEY. Use the API URL and anon key from step 3.
On supabase.com/dashboard, you can go to Authentication -> Settings to change your auth settings for your project if necessary. Here, you can change the site URL, which is used for determining where to redirect users after they confirm their email addresses or attempt to use a magic link to log in.
Here, you can also enable external oauth providers, such as Google and GitHub.
Simply clone this repo locally and proceed to the next section.
Copy the .env.example file into a file named .env.local in the root directory of the example:
cp .env.example .env.localSet your Supabase details from step 3 above:
NEXT_PUBLIC_SUPABASE_URL=<replace-with-your-API-url>
NEXT_PUBLIC_SUPABASE_ANON_KEY=<replace-with-your-anon-key>Follow Step #5 above if you want to change the auth settings.
Now install the dependencies and start the development server.
npm install
npm run dev
# or
yarn
yarn dev
Visit http://localhost:3000 and start chatting! Open a channel across two browser tabs to see everything getting updated in realtime 🥳
Use plus addressing to sign up users with the admin & moderator roles. Email addresses including +supaadmin@ will be assigned the admin role, and email addresses including +supamod@ will be assigned the moderator role. For example:
// admin user
email+supaadmin@example.com

// moderator user
email+supamod@example.com
Users with the moderator role can delete all messages. Users with the admin role can delete all messages and channels (note: it's not recommended to delete the public channel).
This project uses very high-level Authorization using Postgres' Row Level Security.
When you start a Postgres database on Supabase, we populate it with an auth schema, and some helper functions.
When a user logs in, they are issued a JWT with the role authenticated and their UUID.
We can use these details to provide fine-grained control over what each user can and cannot do.
- For the full schema refer to full-schema.sql.
- For documentation on Role-based Access Control, refer to the docs.
Supabase is open source, we'd love for you to follow along and get involved at https://github.com/supabase/supabase


