Assumes Windows 10 64bit.
First, install Python if it is not already installed.
If you do not have Python installed, get it here..
Note: ensure you check the box to add Python to your PATH.
After installing Python, disable Windows 10's alias for Python.
python --versionShould print this (or a newer version):
Python 3.8.3
Next, clone the emsdk - This is kind of like choosenim which will install the actual emcc compiler.
git clone https://github.com/emscripten-core/emsdk.git
cd emsdk
Lets install emcc - the actual compiler we will be using.
./emsdk install latest
./emsdk activate latest
./emsdk_env.bat
cd ..
After these commands run successfully (you should see some logs after each command), change directories into a clone of this repo and install the dependencies:
git clone https://github.com/treeform/nim_emscripten_tutorial
cd nim_emscripten_tutorial
nimble install
Now inside of the tutorial folder, lets compile a basic C program to make sure it works:
emcc step0.c -o step0.htmlTo view the files we need to run a webserver. The easiest one to run is the nimhttpd:
To install:
nimble install nimhttpdTo serve files, open a new shell window, move to the nim_emscripten_tutorial and run the webserver:
nimhttpd -p:8000If compiling with threads then you need extra headers when serving the files (See here for details)
nimhttpd -H:"Cross-Origin-Opener-Policy: same-origin" -H:"Cross-Origin-Embedder-Policy: require-corp"Next, open a browser to the step0 page: http://localhost:8000/step0.html
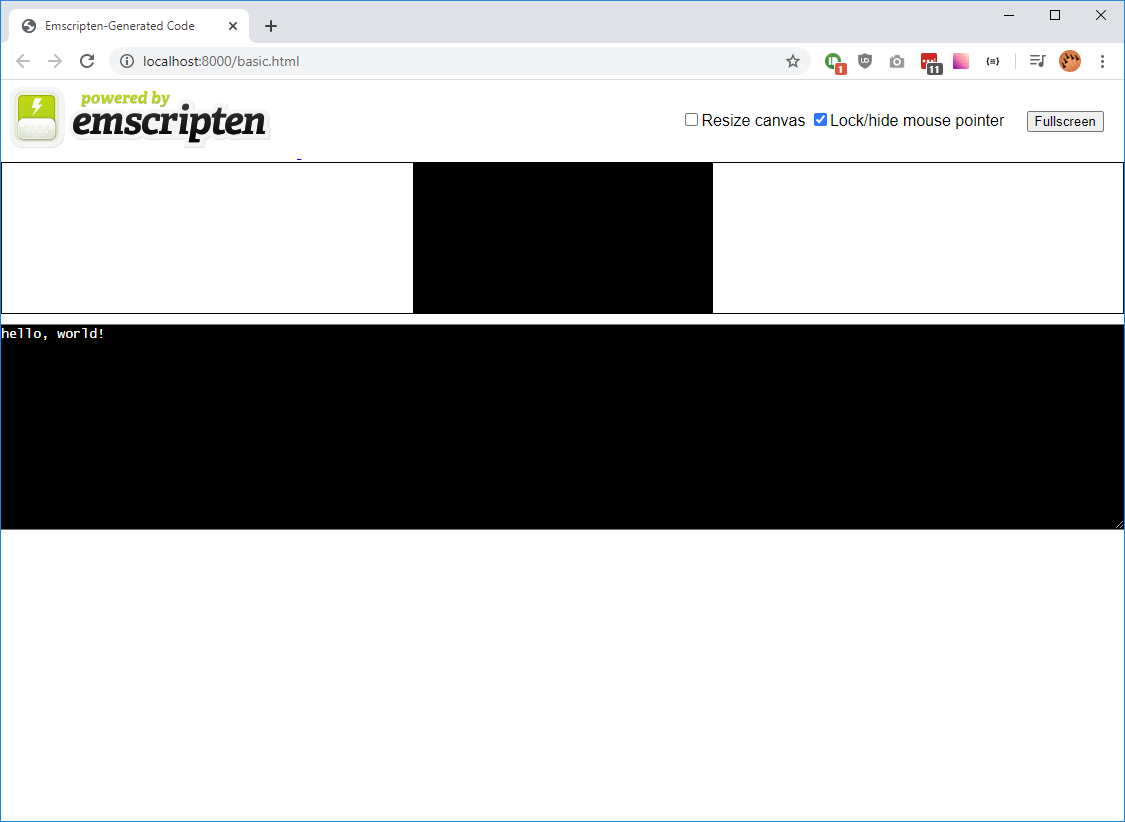
You should see the Emscripten default chrome:
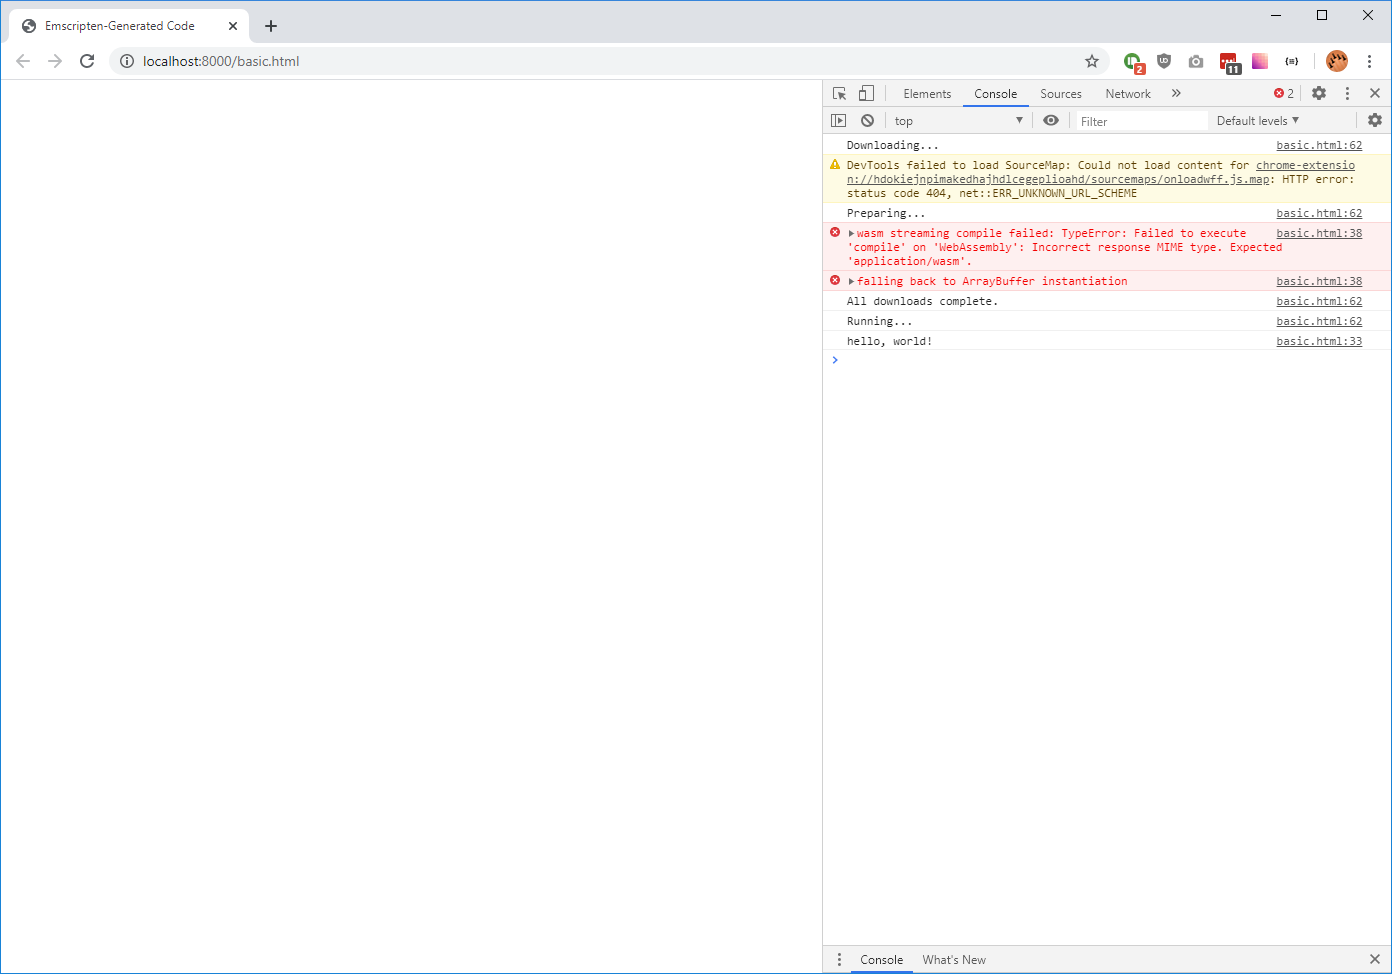
Make sure you got the Hello, world! in the console.
To remove the ugly Emscripten default chrome, you need to use your own minimal html. I provided one in this repo, just call:
emcc step0.c -o step0.html --shell-file shell_minimal.htmlNow the Hello, world! in the JS console.
Next lets try Nim, look at the very simple step1.nim:
echo "Hello World, from Nim."Most of the work will be done but the step1.nims file:
if defined(emscripten):
  # This path will only run if -d:emscripten is passed to nim.

  --nimcache:tmp # Store intermediate files close by in the ./tmp dir.

  --os:linux # Emscripten pretends to be linux.
  --cpu:wasm32 # Emscripten is 32bits.
  --cc:clang # Emscripten is very close to clang, so we ill replace it.
  when defined(windows):
    --clang.exe:emcc.bat  # Replace C
    --clang.linkerexe:emcc.bat # Replace C linker
    --clang.cpp.exe:emcc.bat # Replace C++
    --clang.cpp.linkerexe:emcc.bat # Replace C++ linker.
  else:
    --clang.exe:emcc  # Replace C
    --clang.linkerexe:emcc # Replace C linker
    --clang.cpp.exe:emcc # Replace C++
    --clang.cpp.linkerexe:emcc # Replace C++ linker.
  when compileOption("threads"):
    # We can have a pool size to populate and be available on page run
    # --passL:"-sPTHREAD_POOL_SIZE=2"
    discard
  --listCmd # List what commands we are running so that we can debug them.

  --gc:arc # GC:arc is friendlier with crazy platforms.
  --exceptions:goto # Goto exceptions are friendlier with crazy platforms.
  --define:noSignalHandler # Emscripten doesn't support signal handlers.

  # Pass this to Emscripten linker to generate html file scaffold for us.
  switch("passL", "-o step1.html --shell-file shell_minimal.html")
Lets compile it!
nim c -d:emscripten .\step1.nimLets go to step1.html, this is how it should look: http://localhost:8000/step1.html
Take note of the console output with Hello World, from Nim..
We can do a ton of stuff with just "console" programs, but what Emscripten is all about is doing graphics. We can use normal OpenGL, and Emscripten will convert it to WebGL. We can also use normal SDL or GLFW windowing and input library and Emscripten will convert it to HTML events for us. Emscripten also gives us a "fake" file system to load files from. Many things that would be missing from just having WASM running in the browser we get from free with Emscripten.
I will be using GLFW for my examples. I will be using https://github.com/treeform/staticglfw because it has been made to work with Emscripten.
See: step2.nim
First lets make sure it runs in normal native mode:
nim c -r step2.nimYou should just see a window with changing background color.
Now lets try it with -d:emscripten:
nim c -d:emscripten step2.nimAgain a ton of work is happening in the settings file step2.nims.
Lets go take a look: http://localhost:8000/step2.html
Again you should see red window with pulsating color.
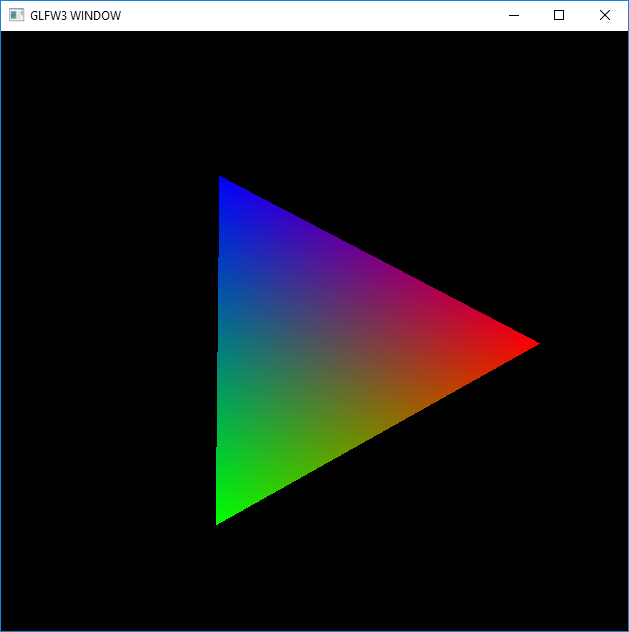
The step3.nim is more complex as it requires loading shaders and setting up a triangle to draw. It also in includes a directory in a virtual files system:
--preload-file data which generates a file called step3.data which is loaded right before a module is run. It also handles resizing of window as well.
Again see it run natively:
nim c -r step3.nimThen compile it for the browser:
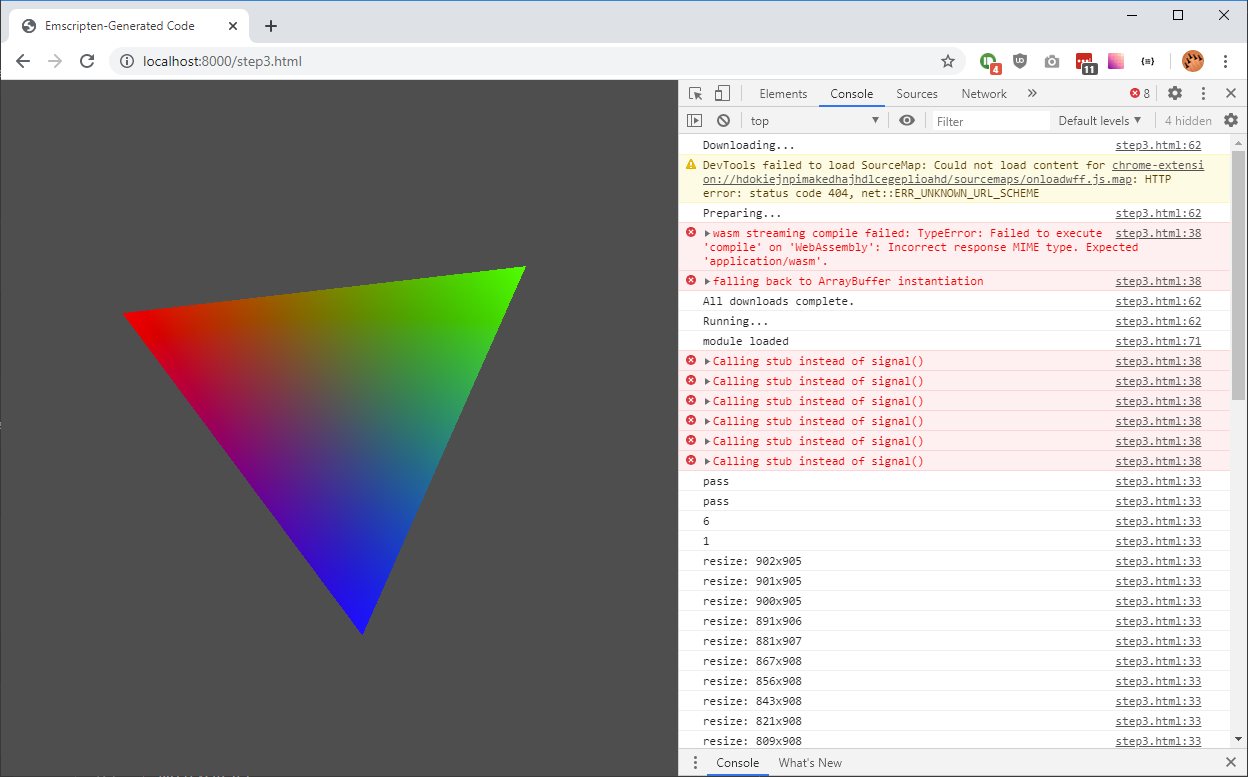
nim c -d:emscripten step3.nimAnd see it run: http://localhost:8000/step3.html


