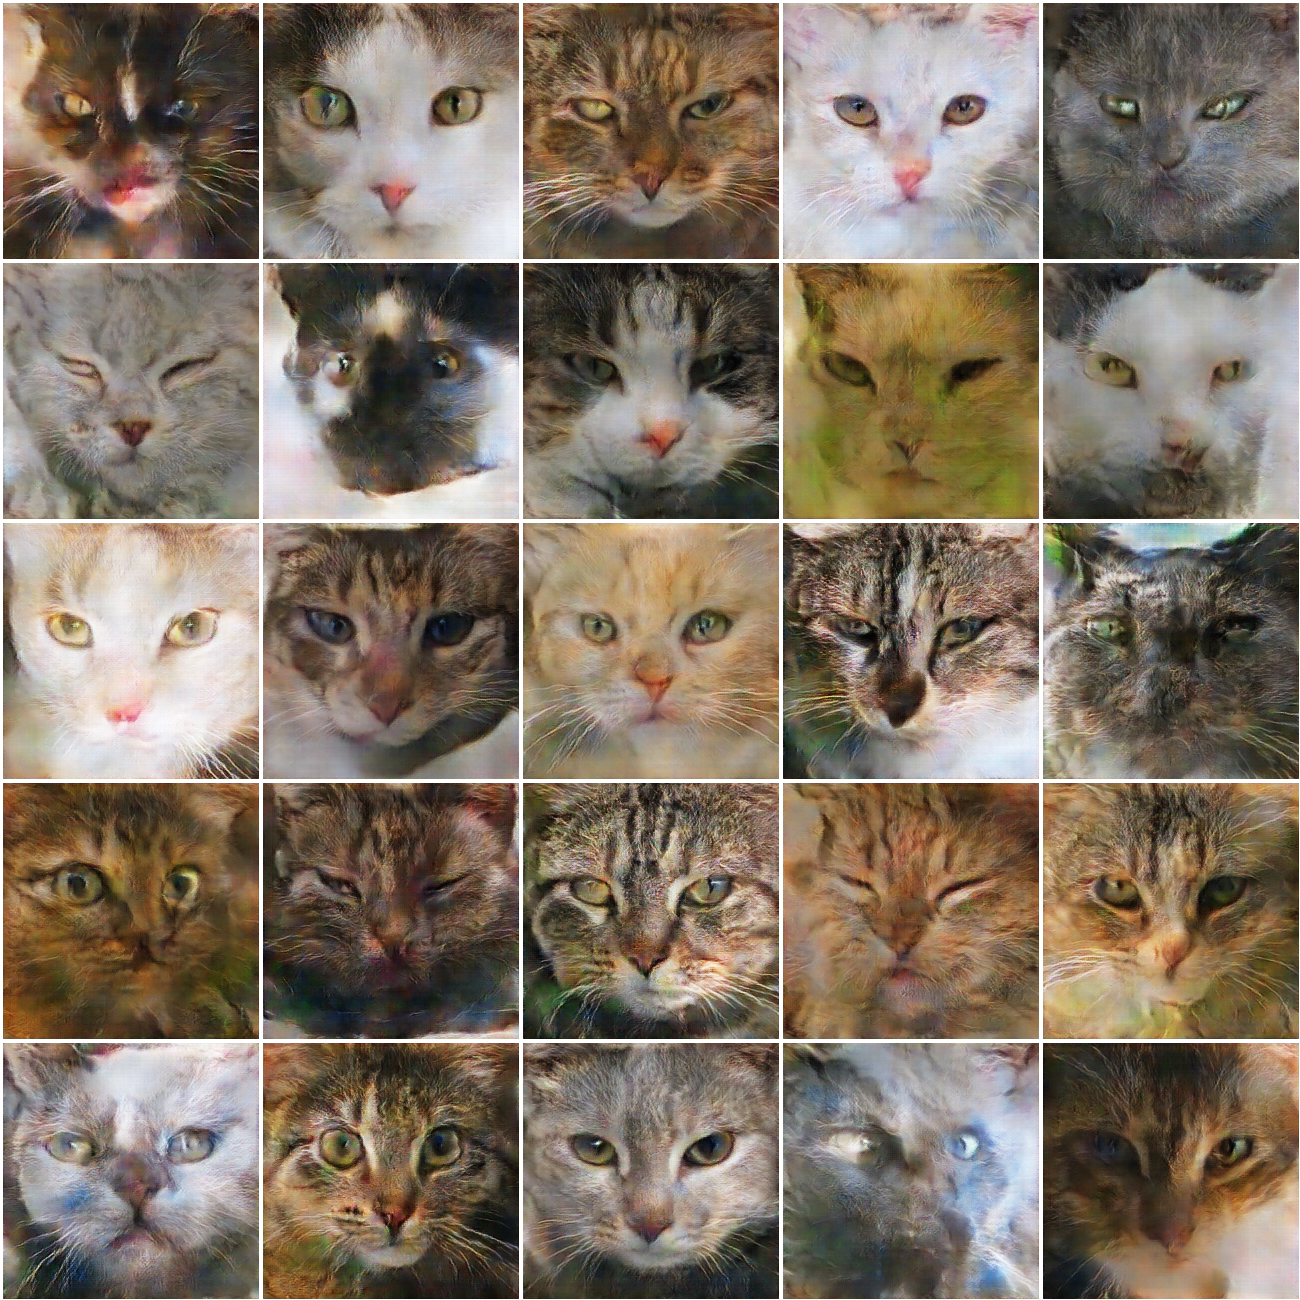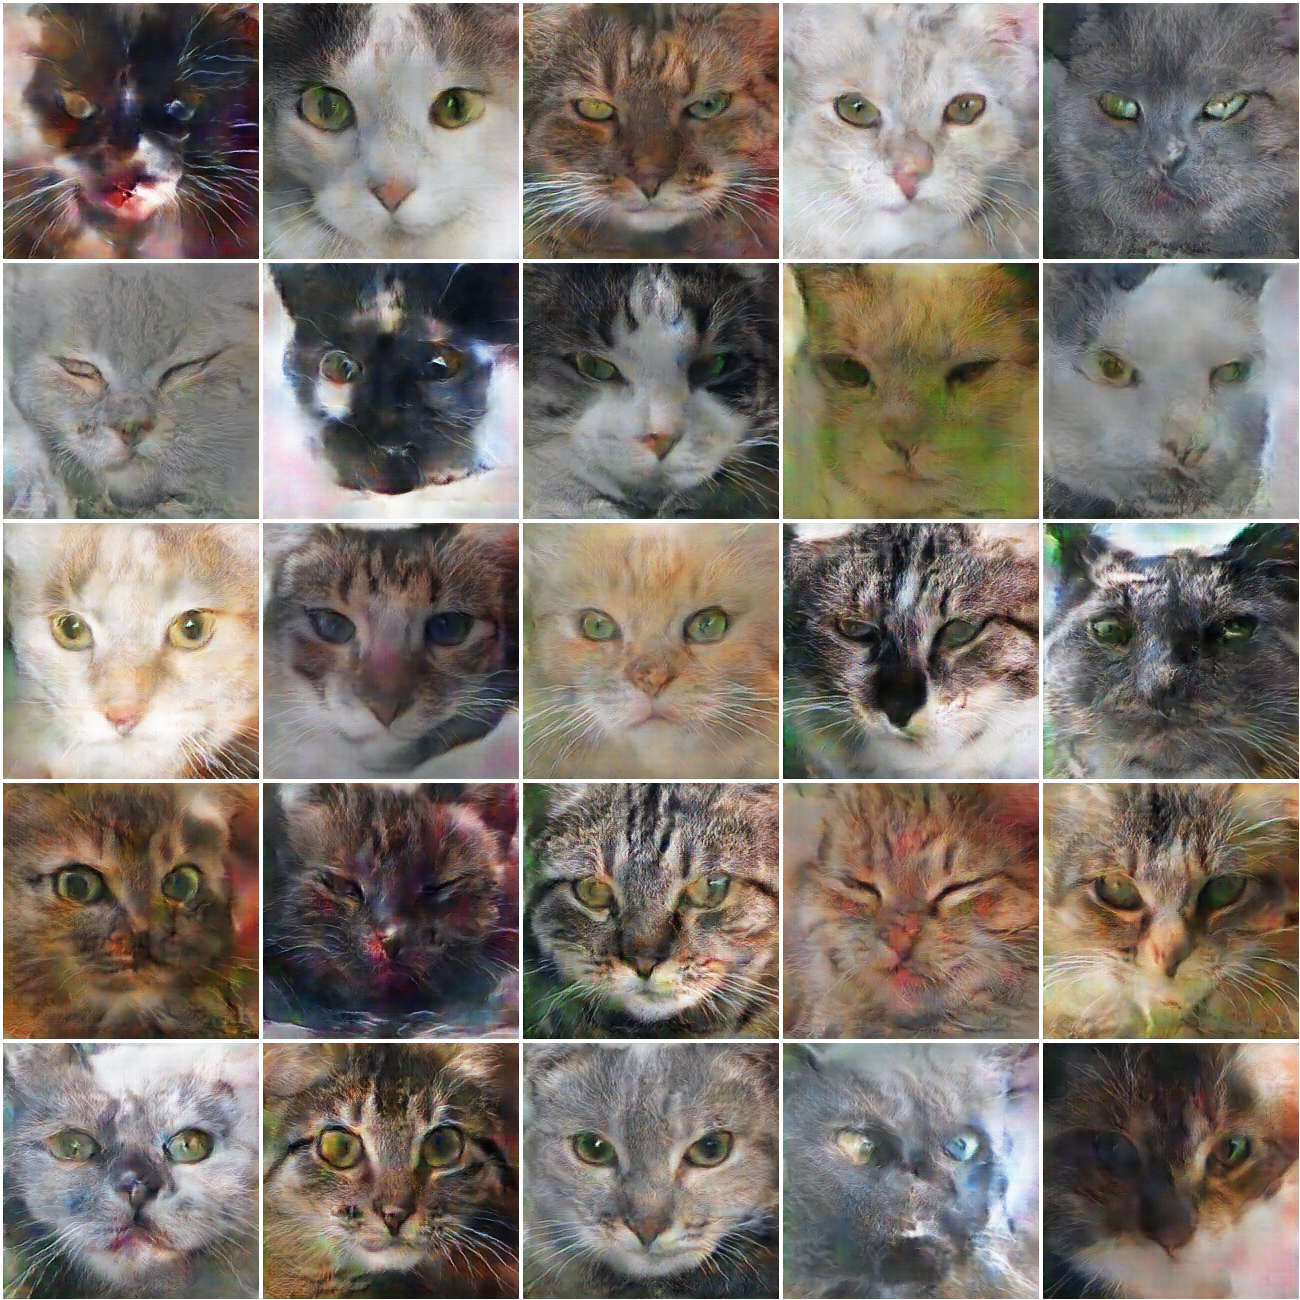
Plot twist: these people are not real 😲 (Photo credit: Nvidia)
[Code]
Quick summary: CGANs came right after the GANs were introduced. In a regular GAN, you can't dictate specific attributes of the generated sample. For instance, if your GAN generates humans, there is no principled way of forcing the GAN to produce just male faces. CGAN modifies the original GAN by adding a simple condition parameter, so that we can control the certain attributes of the output (such as the digit, rather than just generating any digit).
Improving the Improved Training of Wasserstein GANs: A Consistency Term and Its Dual Effect (2018)
[Code]
Quick summary: CT-GANs follow the path opened by the WGANs by adding a regularization term to the loss objective, which gives crisper and more photo-realistic images.
Unsupervised Representation Learning with Deep Convolutional Generative Adversarial Networks (2015)
[Code]
Quick summary: DCGANs introduced convolutional neural networks and encoding & decoding to the GAN sphere. Even today, they are the backbone of almost all of the modern architectures.
[Code]
Quick summary: The paper that started everything. Generative adversarial nets are remarkably simple generative models that are based on generating samples from a given distribution (for instance images of dogs) by pitting two neural networks against each other (hence the term adversarial). One network tries to generate more realistic dog images while the other tries to distinguish between real images and the images generated by this network. They both learn to do their jobs better as time goes on (i.e. as training progresses) and hopefully in the end the generative network gets so good at its job the generated images are indistinguishable from the real ones.
InfoGAN: Interpretable Representation Learning by Information Maximizing Generative Adversarial Nets (2016)
[Code]
Quick summary: CGANs try to give apriori information during training to set a specific attribute of the generated image (e.g. the digit in MNIST generation). But how about we just want to get some intrinsic characteristic of the image that we don't want to supply? Maybe we just want to generate digits that are slanted over a certain direction or are wide or narrow. InfoGANs basically figure out these attributes in an unsupervised manner and let us tune it afterwards (so for instance we can generate only italic digits etc).
[Code]
Quick summary: LSGANs introduced a simple modification to the GAN objective function that proved itself to be more stable which yields higher quality images. LSGANs found application in later papers to generate high quality images in even more complex tasks.
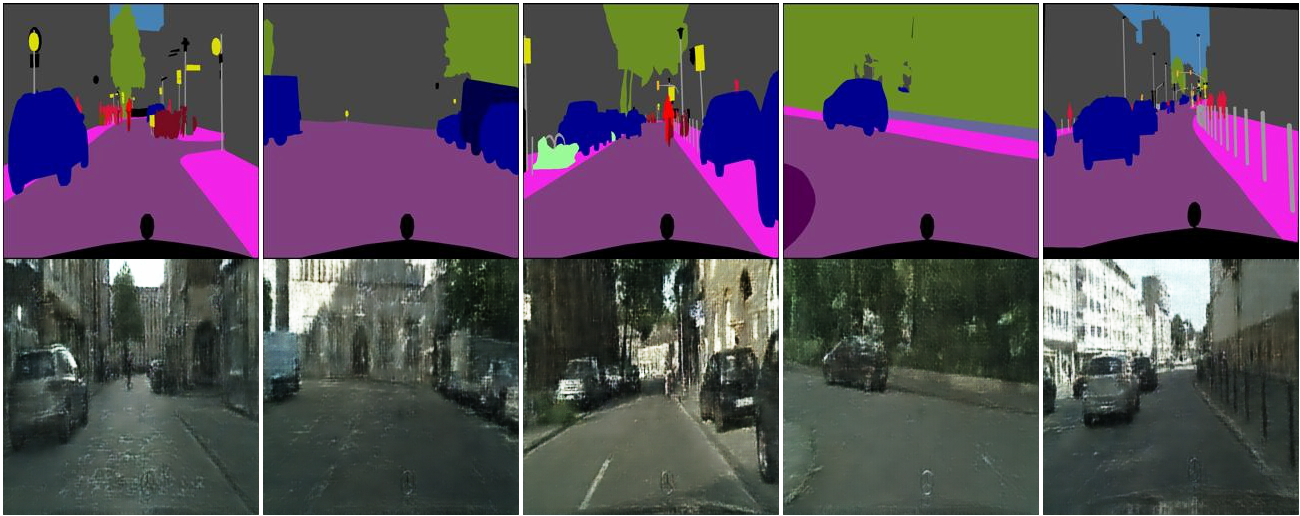
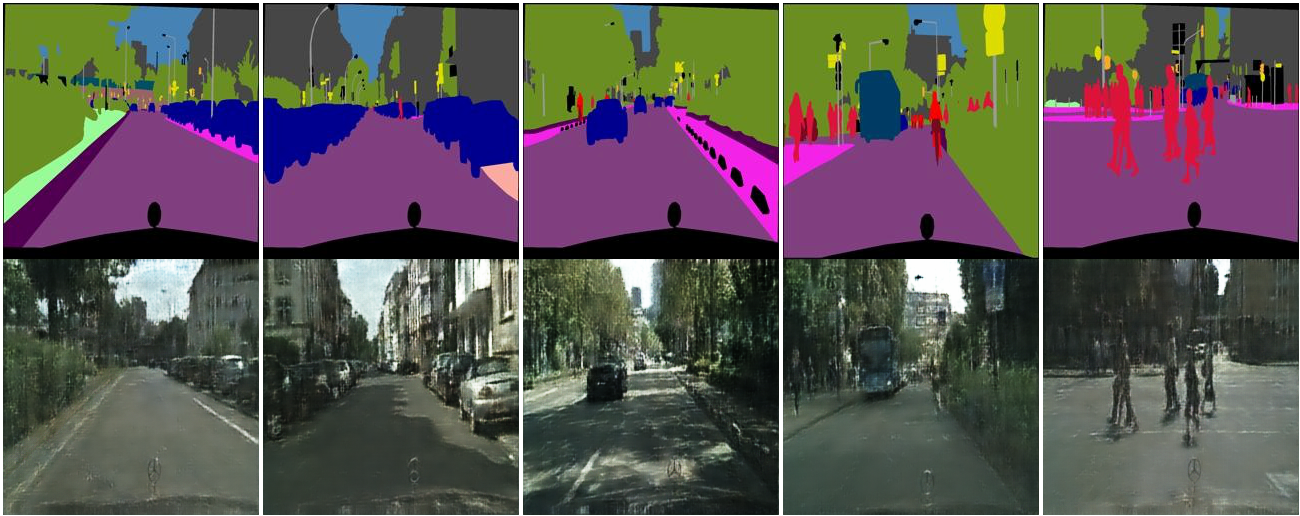
Image-to-Image Translation with Conditional Adversarial Networks (2016)
[Code]
Quick summary: Use a reference image (can be an annotation mask, a natural scene image that we want to turn the daytime into night, or even sketches of shoes), and change it to a target image. Here, we see the labels of roads, buildings, people etc turned into actual cityscapes just from crude and undetailed simple color masks.
---The relativistic discriminator: a key element missing from standard GAN (2018)
[Code]
Quick summary: Unlike any previous model, this GAN is able to generate high resolution images (up to 256 x 256) from scratch relatively fast. Previously, people either stuck to resolutions as low as 64 x 64, or they have progressively increased the resolution which takes a long time.
Photo-Realistic Single Image Super-Resolution Using a Generative Adversarial Network (2017)
[Code]
Quick summary: Take a low resolution image and increase its resolution (e.g. VHS -> 4K quality).
Wasserstein GAN (2017)
[Code]
Quick summary: This paper proves that there are cases which the regular GAN objective function (which minimizes the binary cross entropy) fails to converge for certain distributions. Instead of matching two distributions, it explores the idea of moving parts of one distribution to the another to make two distributions equal. The metric of "how much of the distribution A do I have to push around to get B" is called the Wasserstein distance (Earth mover's distance).
[Code]
Quick summary: Wasserstein GANs introduced a more stable loss function but the Wasserstein distance calculation is computationally intractible. Therefore they work with an approximation of it, where the assumptions they made to implement the network requires a cap on the magnitude of gradients. In order to make sure the network is stable, they clip values which causes information loss. WGAN-GP instead adds a regularization term to force the norm of the gradients to be around 1, which naturally shapes the network to learn without having to lose information to ensure stability.
I started doing this work with Pytorch 0.4.0 and Python 3.6 (with Cuda 9.0 and CuDNN 7), with Ubuntu 16.04. Around right after "SRGAN"s, I switched to Pytorch 0.4.1, Cuda 9.2 and CuDNN 7.2. For visualizing the GAN generation progress on your browser, you will need the facebook's visdom library.
I recommend using anaconda3 to install dependencies and Pycharm community version to edit the code. For dataset, I provide either scripts or links. Although I prefer using datasets included in Pytorch whenever I can for simplicity, there is only so much you can do with digits or CIFAR images. Still, I stick to previously used datasets to cut off my implementation time, where the data acquisition and preparation takes easily more than 60-70% of the time.
First, you need to start up the visdom, and then most of the time, it is easy as just running the script. Sometimes, you might need to download some custom dataset for a given paper. In that case, I usually put some comments at the beginning of the model file. A complete example:
python -m visdom.server
bash download_dataset.sh cityscapes
python pix2pix.py
I am aware that the internet is riddled with high quality implementations of any paper that is covered (or to be covered in the future) here. The only purpose of this repository is to be educational, and by educational I mean to educate me. Before this project, I was mainly a Keras/Tensorflow user and I only started dipping my toe on Pytorch very recently. I now love the dynamic construction, easy debugging and all that. In addition, generative adversarial networks are great to practice the latest computer vision models in deep learning because they use something from everything.
On this note, please let me know if there is any model you'd like to see implemented. Don't hesitate to call me out on the bugs, stupid mistakes I've made, Pytorch tips like how to use memory more efficiently etc. I am constantly learning new things, and half of the comments on the code are me trying to figure out the things or notes to myself because I haven't quite understood some aspect of the model.


%20GAN%20output%20%5BEpoch%2014%5D.jpg?raw=true&raw=true)
%20GAN%20output%20%5BEpoch%2014%5D.jpg?raw=true&raw=true)
%20GAN%20output%20%5BEpoch%2014%5D.jpg?raw=true&raw=true)


.jpg?raw=true&raw=true)


.jpg?raw=true)

