This is a demo app of an buy-me-a-coffee-like dapp with Stacks.js and clarity smart contracts.
If you are new to the stacks ecosystem and before we dive in, here are a few apps / tools to get started:
Hiro is a wallet for stacks which manages storing and connecting with the apps in the stacks ecosystem
Stacks.js is a Javascript library that provides an easy way to interact with the stacks live blockchain
We will be using Next.js framework to build the frontend part of our app
Tailwind is a easy to use CSS framework
Clarity is a smart contract language, which runs on Stacks. It was created by a Blockstack community. Similarly like Solidity for Etherium
Clarinet is a tool for testing, developing and deploying smart contracts written in Clarity. It is a command-line tool that runs on your machine. It is similar to Truffle for Ethereum
Explorer enables to explore transactions and accounts on the Stacks blockchain
- Let’s check that you have node/npm installed on your computer
- We will need docker installed on your computer to run the clarinet testnet. Docker
- We will need Hiro wallet to interact with the app. Hiro wallet
- To install clarinet, you can follow the instructions on the clarinet website
Now, let’s go to your terminal and clone the directory
git clone https://github.com/tuanphungcz/buy-me-a-coffee-with-stacks
cd buy-me-a-coffee-with-stacks
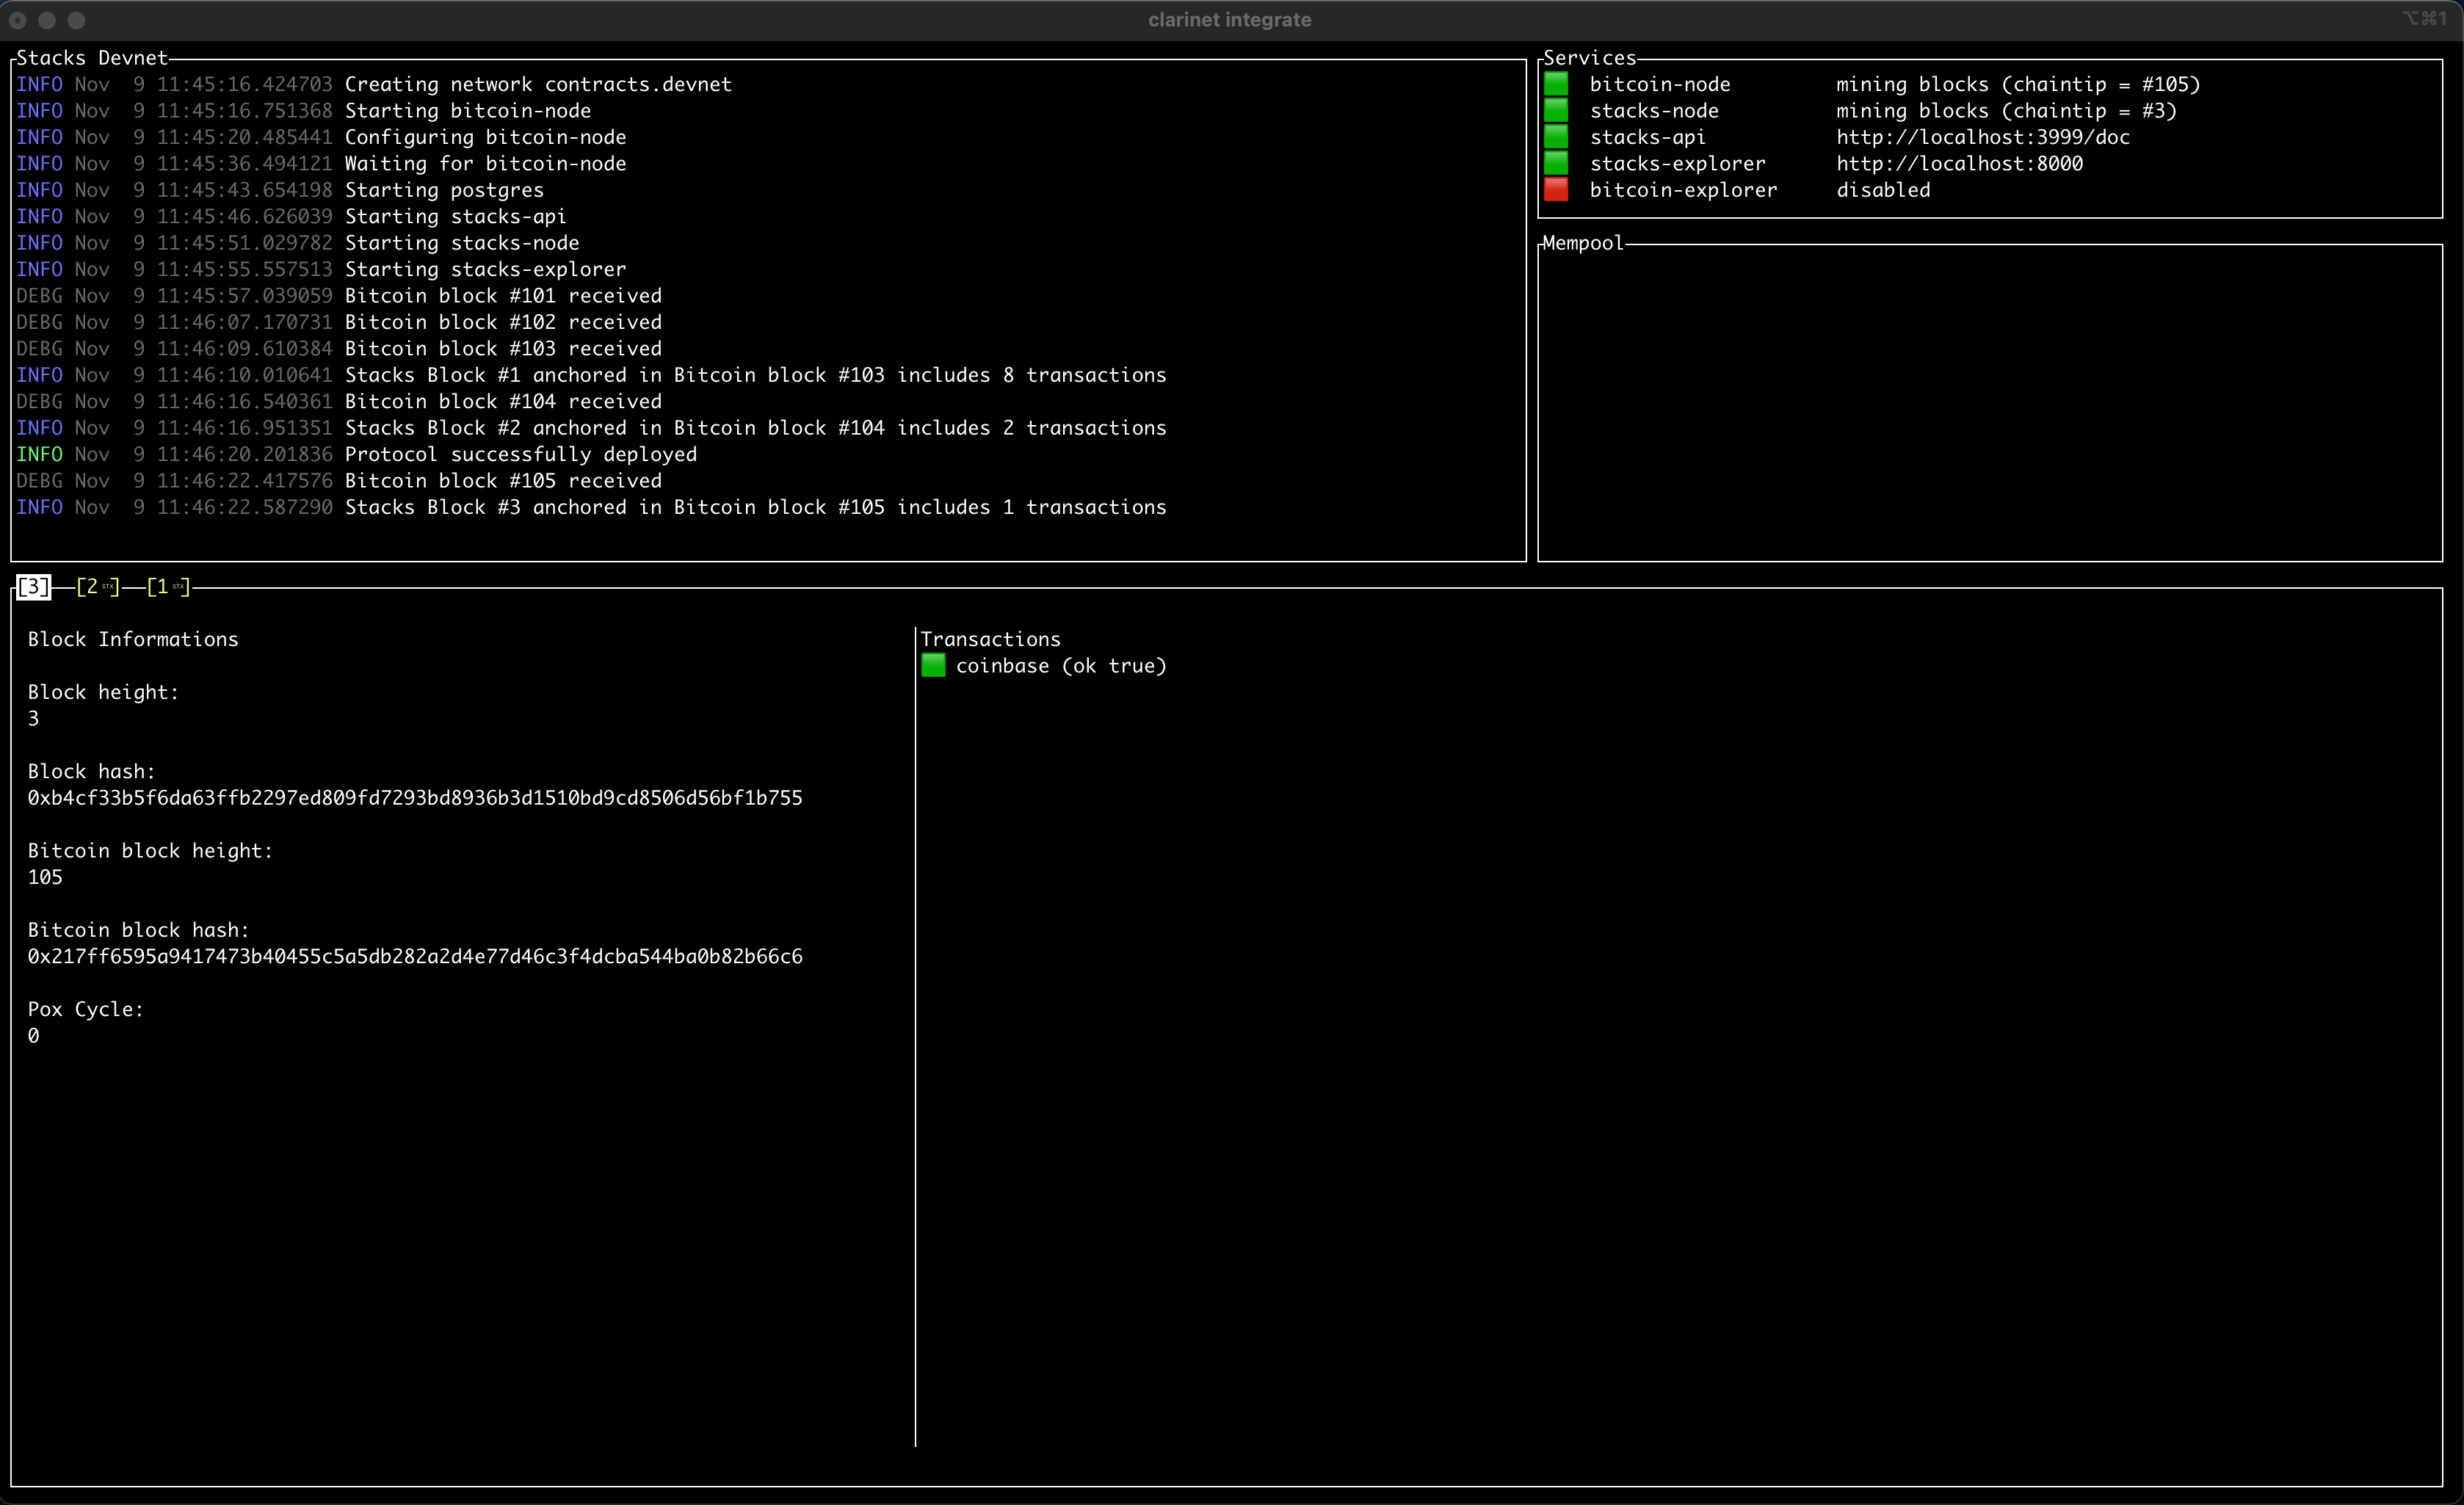
Now we can run clarinet testnet in a docker container. Make sure you have docker running on your computer
clarinet integrate
This will start devnet locally on your computer. You should be able to see the following in your terminal
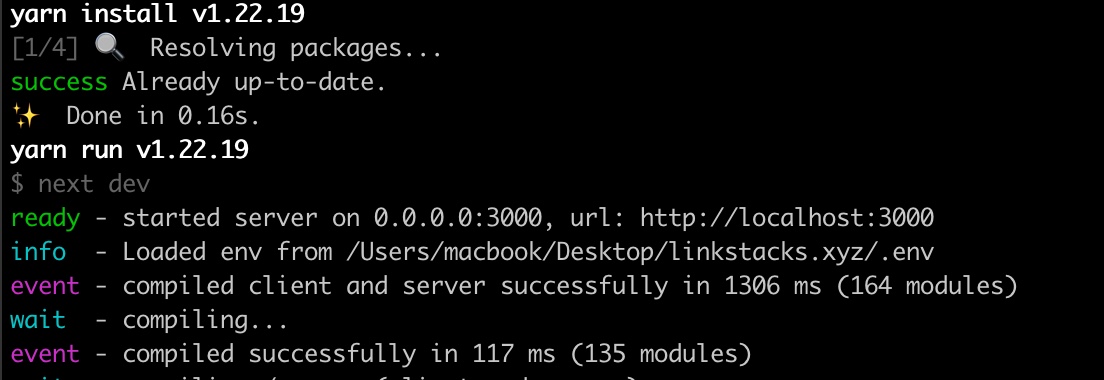
Next, we need to install all the dependencies and run the project locally
yarn
yarn dev
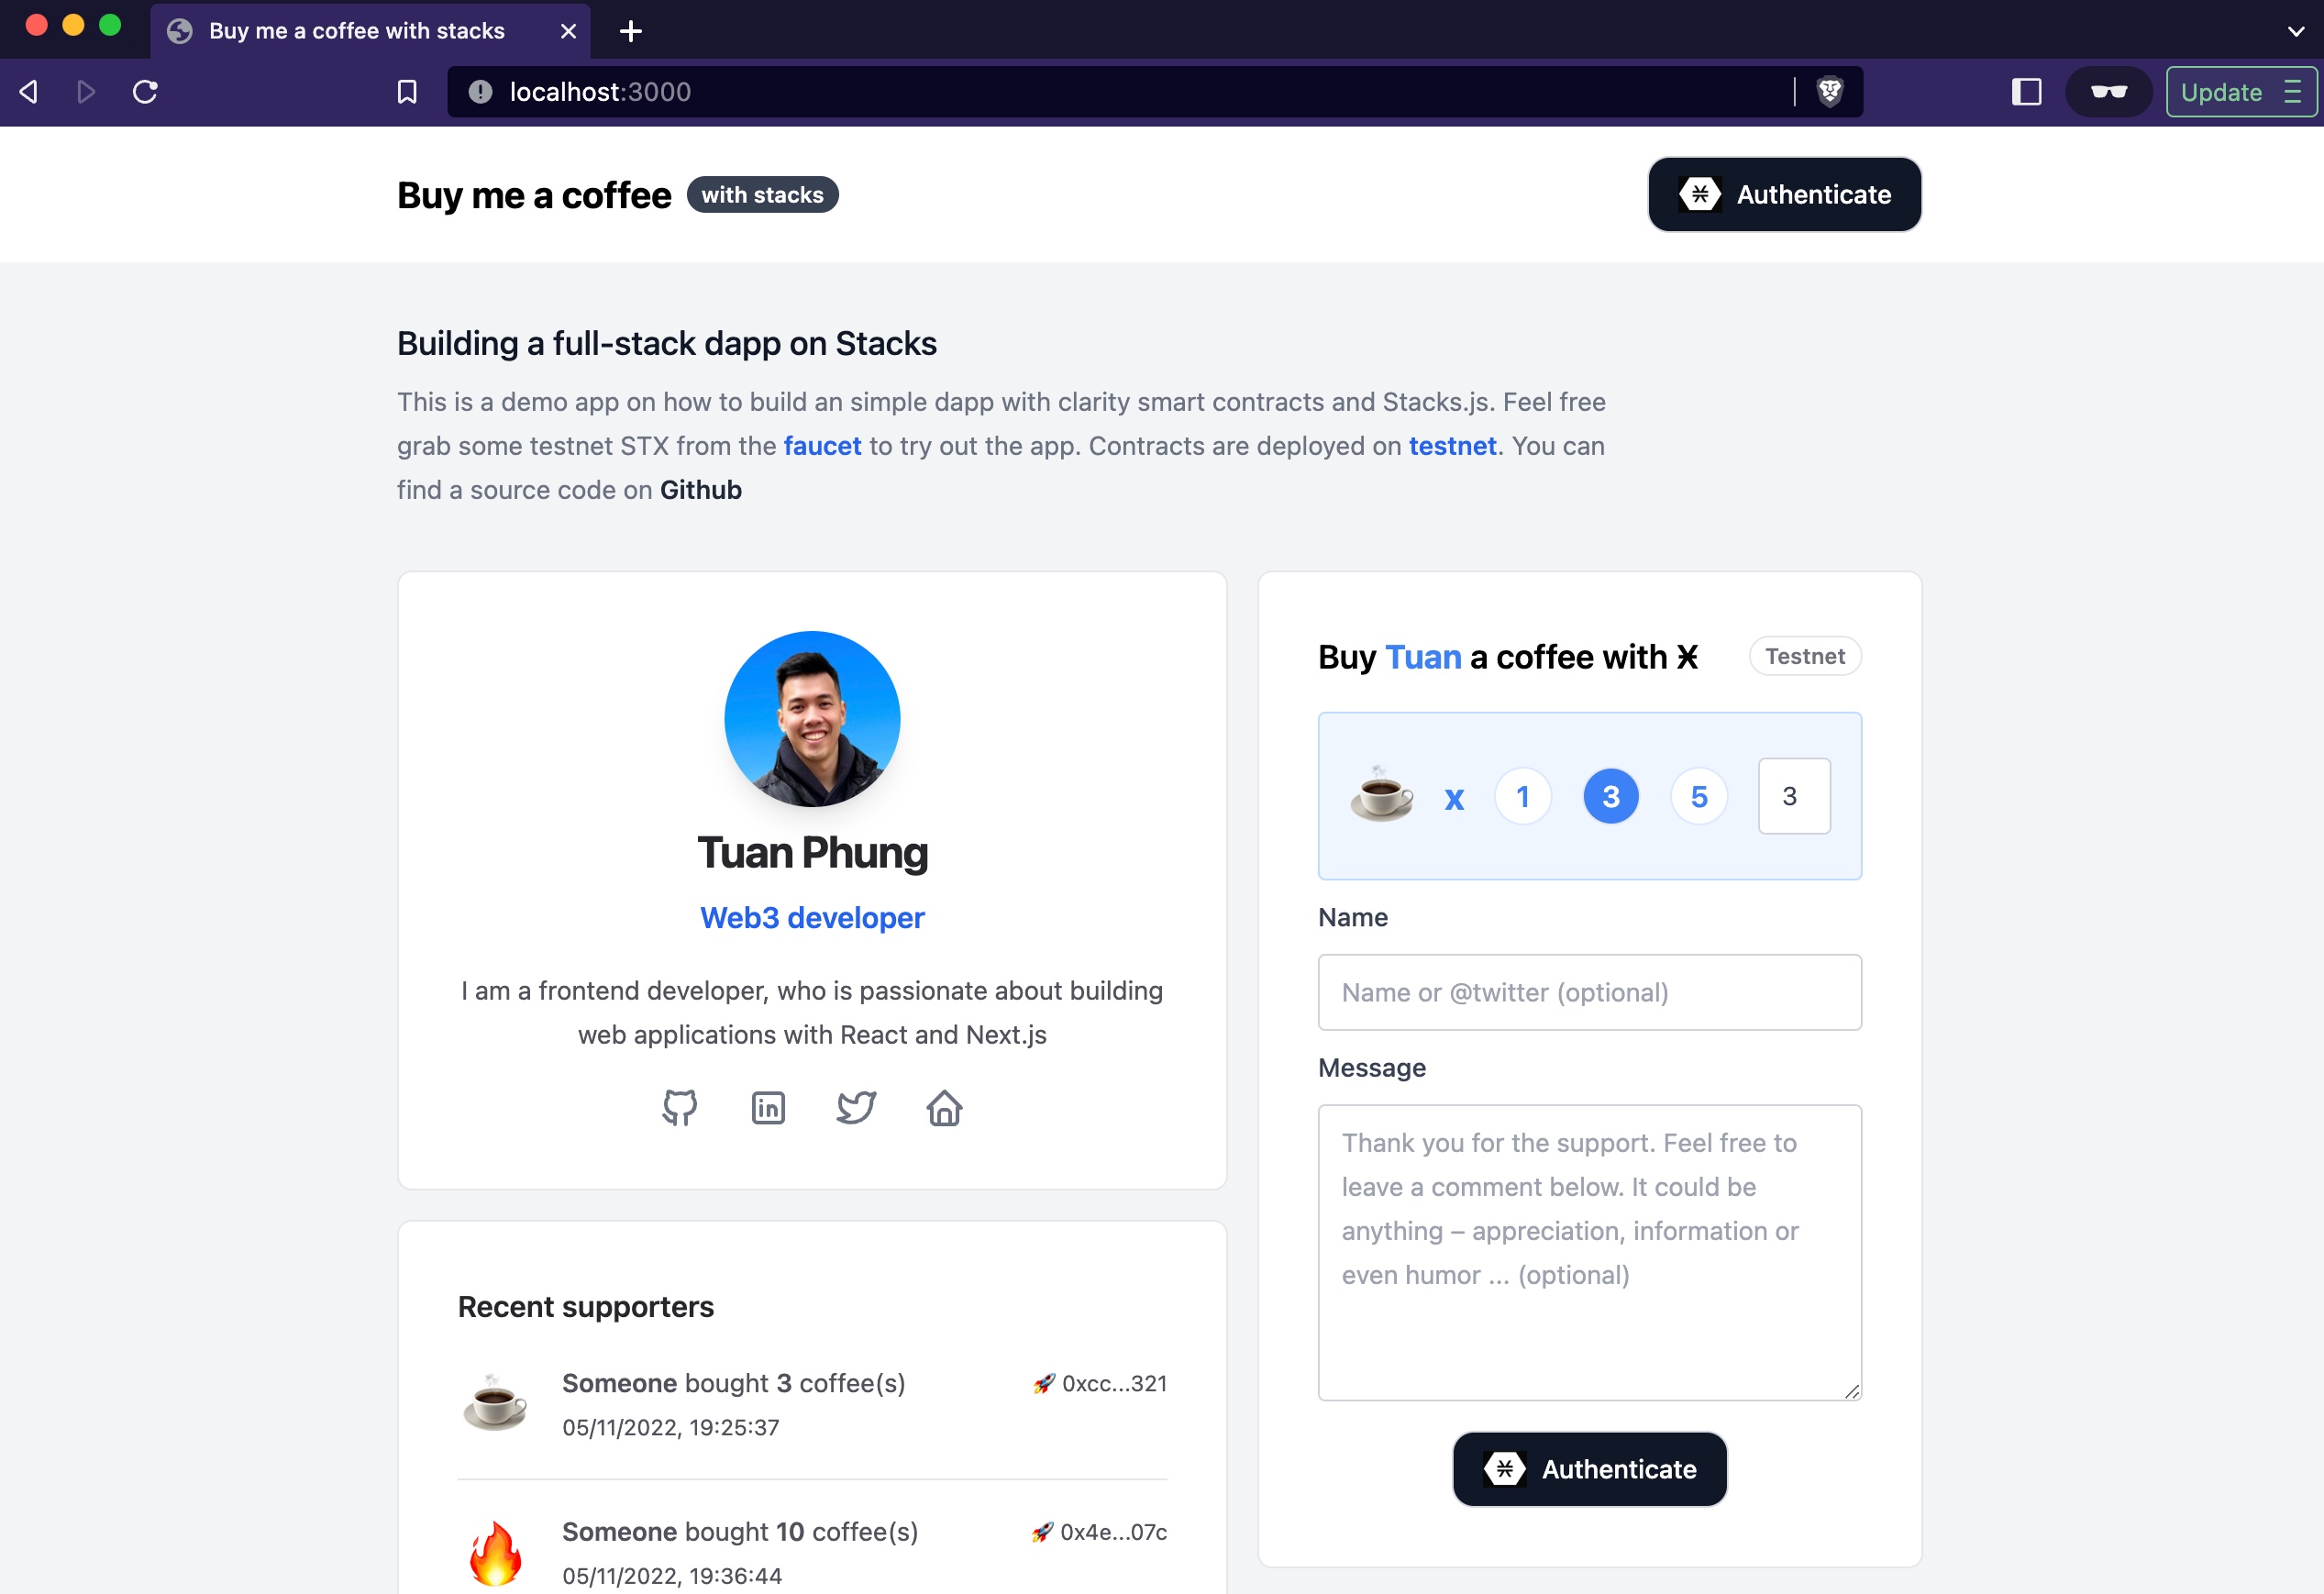
To see everything is working, head to the browser and go to localhost:3000
Now the app is running locally and we can interact with the app. In the demo below I’m showing how you can make buy someone a coffee via the stacks blockchain
In the next part, we will dive into the smart contract part.
next let's rename .env.example to .env. and change the value of the network value to NEXT_PUBLIC_NETWORK=testnet
I would say the learning curve for clarity it’s a bit steeper than learning solidity, but not as hard as working with cosmwasm on rust. A good start would be to go through "the book" clarity documentation and the clarity tutorial. I would also recommend to go through “the book” for clarity language https://book.clarity-lang.org/
Regarding the folder structure in our project.
├── Clarinet.toml
├── contracts
│   └── coffee.clar
├── settings
│   └── Devnet.toml
│   └── Testnet.toml // we will add this later
|-- deployments

└── tests
    └── coffee.ts
/contracts- for the smart contract itself/deployments- auto generated deployment files by clarinet/settings- settings for generating files in/deploymentsfolder. As for now, we will be working withdevnet.toml
In the first part of the contract, we define
variable counter- which stores how many people have donated a coffee.owner constant- which is the wallet address of the smart contract deployercoffees map- which is a data map, which stores the message and name of the person who donated a coffee
;; counter variable
(define-data-var counter uint u0)

;; contract owner constant
(define-constant CONTRACT_OWNER tx-sender)

;; map index to coffees
(define-map coffees uint {
name: (string-utf8 100),
message: (string-utf8 500)
})
In the second part we can find some methods:
get-total-counter- which return the total number of donatorget-coffee- this returns us the specific coffee message by counter indexincrement-counter- as the name says, it increment the counter number by 1.
;; get total index
(define-read-only (get-total-counter)
  (ok (var-get counter)))

;; readonly function to get the coffee at a given index
(define-read-only (get-coffee (id uint))
    (map-get? coffees id)
)

;; private increment method the counter index
(define-private (increment-counter)
  (begin
    (var-set counter (+ (var-get counter) u1))
    (ok (var-get counter))))
The other part is the part where we can find methods of the smart contracts, where the main function is the buy-coffee.
;; public buy me a coffee method
(define-public (buy-coffee (message (string-utf8 500))  (name (string-utf8 100)) (price uint))
  (let ((id (unwrap! (increment-counter) (err u0))))

    (print { message: message, id: id, name: name, price: price })

    (try! (stx-transfer? price tx-sender CONTRACT_OWNER))
    (map-set coffees id { message: message, name: name } )

    (ok "Thank you for a coffee")
  )
So let’s go throug it line by line. Our function signature is:
(define-public (buy-coffee (message (string-utf8 500)) (name (string-utf8 100)) (price uint))that is saying we are defining a public function buy-coffee and it takes message, name and price as an parameters.
Let’s decode what is happening inside the body of the function
- In the first line we can see, calling a method increment-counter which increment the number of donations
- The next line send the transactions with the price to the contract owner (deployer)
- then the function stores message and name of the donator to the coffees map
- On the last line, we return the success response type message
(let ((id (unwrap! (increment-counter) (err u0))))
    (try! (stx-transfer? price tx-sender CONTRACT_OWNER))
    (map-set coffees id { message: message, name: name } )

    (ok "Thank you for a coffee")
)You can find the frontend part of the buy-me-a-coffee in /pages/index.tsx where you can find a few methods which interacts with the blockchain.
getCoffeeMessages- This method fetches the transactions from the contract address. You can find the full documentation here
- The transactions is filtered with the mapResultsFromTx function, where we map the data into our structure and filter out only contract calls with
buy-coffeefunction name - Lastly, we store the mapped result into
tsxstate.
getSupporterCounter- This method fetches index-counter aka how many people bought us a coffee.
- We parse the counter number and use
setSupportersto store the value
handleSubmit- This method submit calls the smart contract function
buy-coffee - functionArgs - args that we pass to the smart contract - message, name and price.
- PostCondition - which is a safety feature of the clarity smart contracts. To learn more I recommend this article by Kenny Rogers
- We make the call using
openContractCallfunction from @stacks/connect - On call success we display a toast message and add the incoming transaction to our existing list of transactions
- This method submit calls the smart contract function
- First we need to make sure we are on
testnet. You can do that by clicking on the network button on the top right corner of the Hiro wallet. - To deploy our contract we need a bit of stacks for the fee. Go to stacks faucet and request some STX via the Stacks faucet
- Next, in the Hiro extension, we click on the
View secret key - With the secret key we replace with the
<YOUR PRIVATE TESTNET MNEMONIC HERE>in the file below
[network]
name = "testnet"
stacks_node_rpc_address = "https://stacks-node-api.testnet.stacks.co"
deployment_fee_rate = 10

[accounts.deployer]
mnemonic = "<YOUR PRIVATE TESTNET MNEMONIC HERE>"-
We need to create another setting file for testnet. Let’s create a testnet.toml in
/settingsfolder. -
Once we have it, we can generate a deployment plan for the project by running this command
clarinet deployment generate --testnet
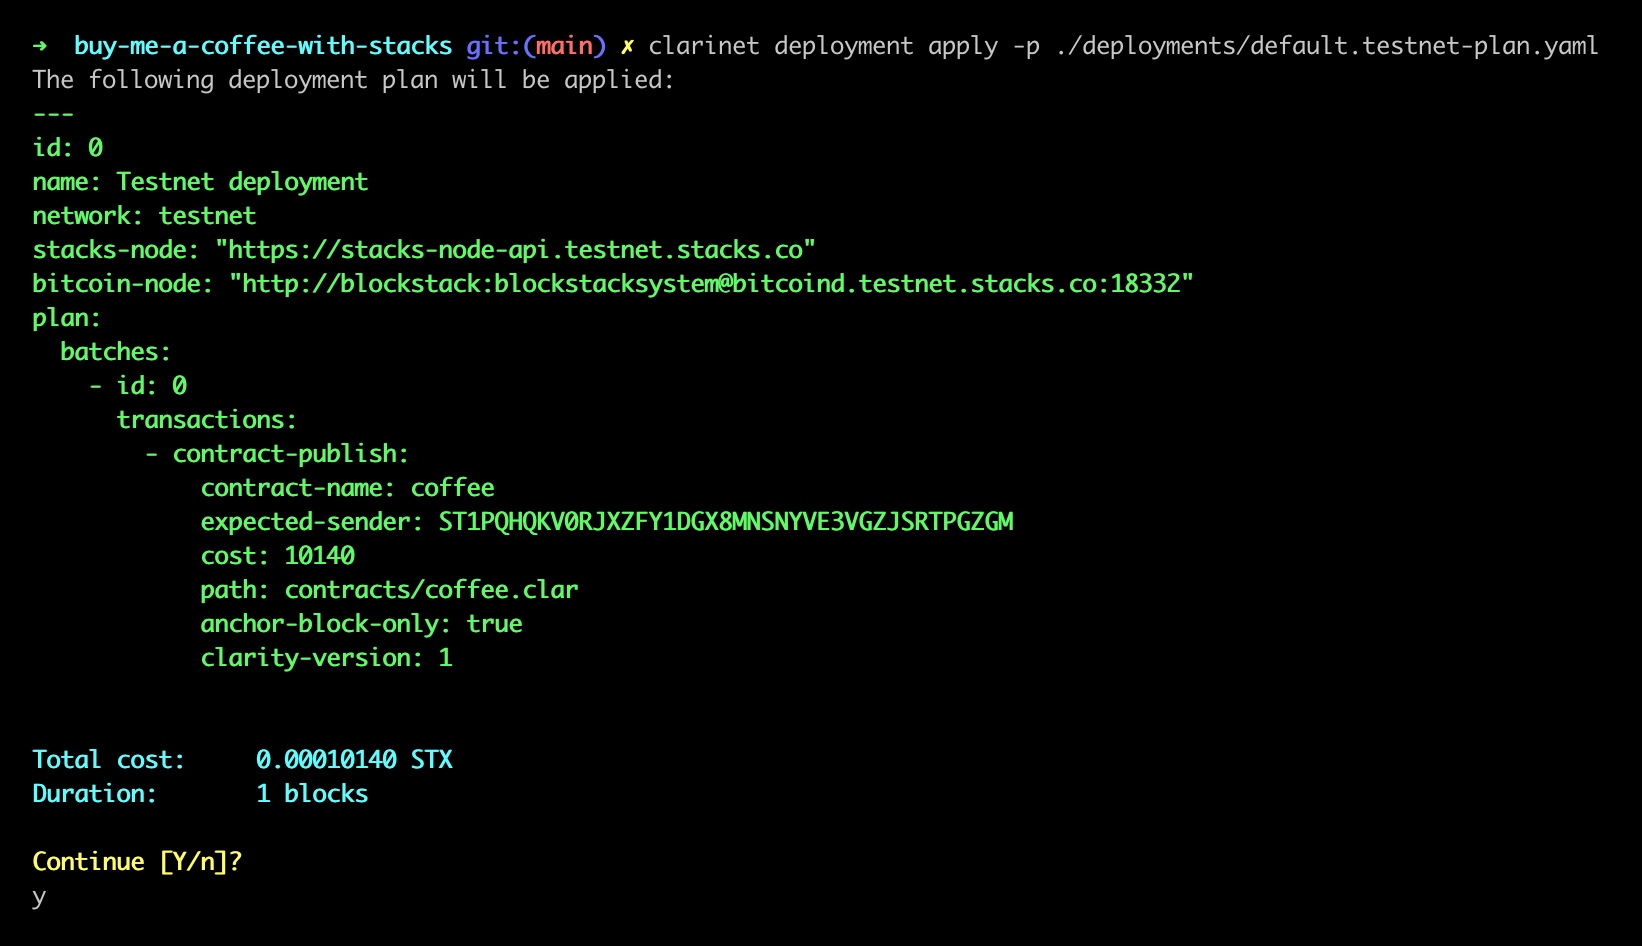
- Finally, once we have everything needed, we can deploy the contract to testnet by this command
clarinet deployment apply -p ./deployments/default.testnet-plan.yaml
- Once the contract is deployed, we can find the contract address in the terminal. We need to copy the contract address and replace it in the
contractAddressvariable in the /pages/index.tsx file.
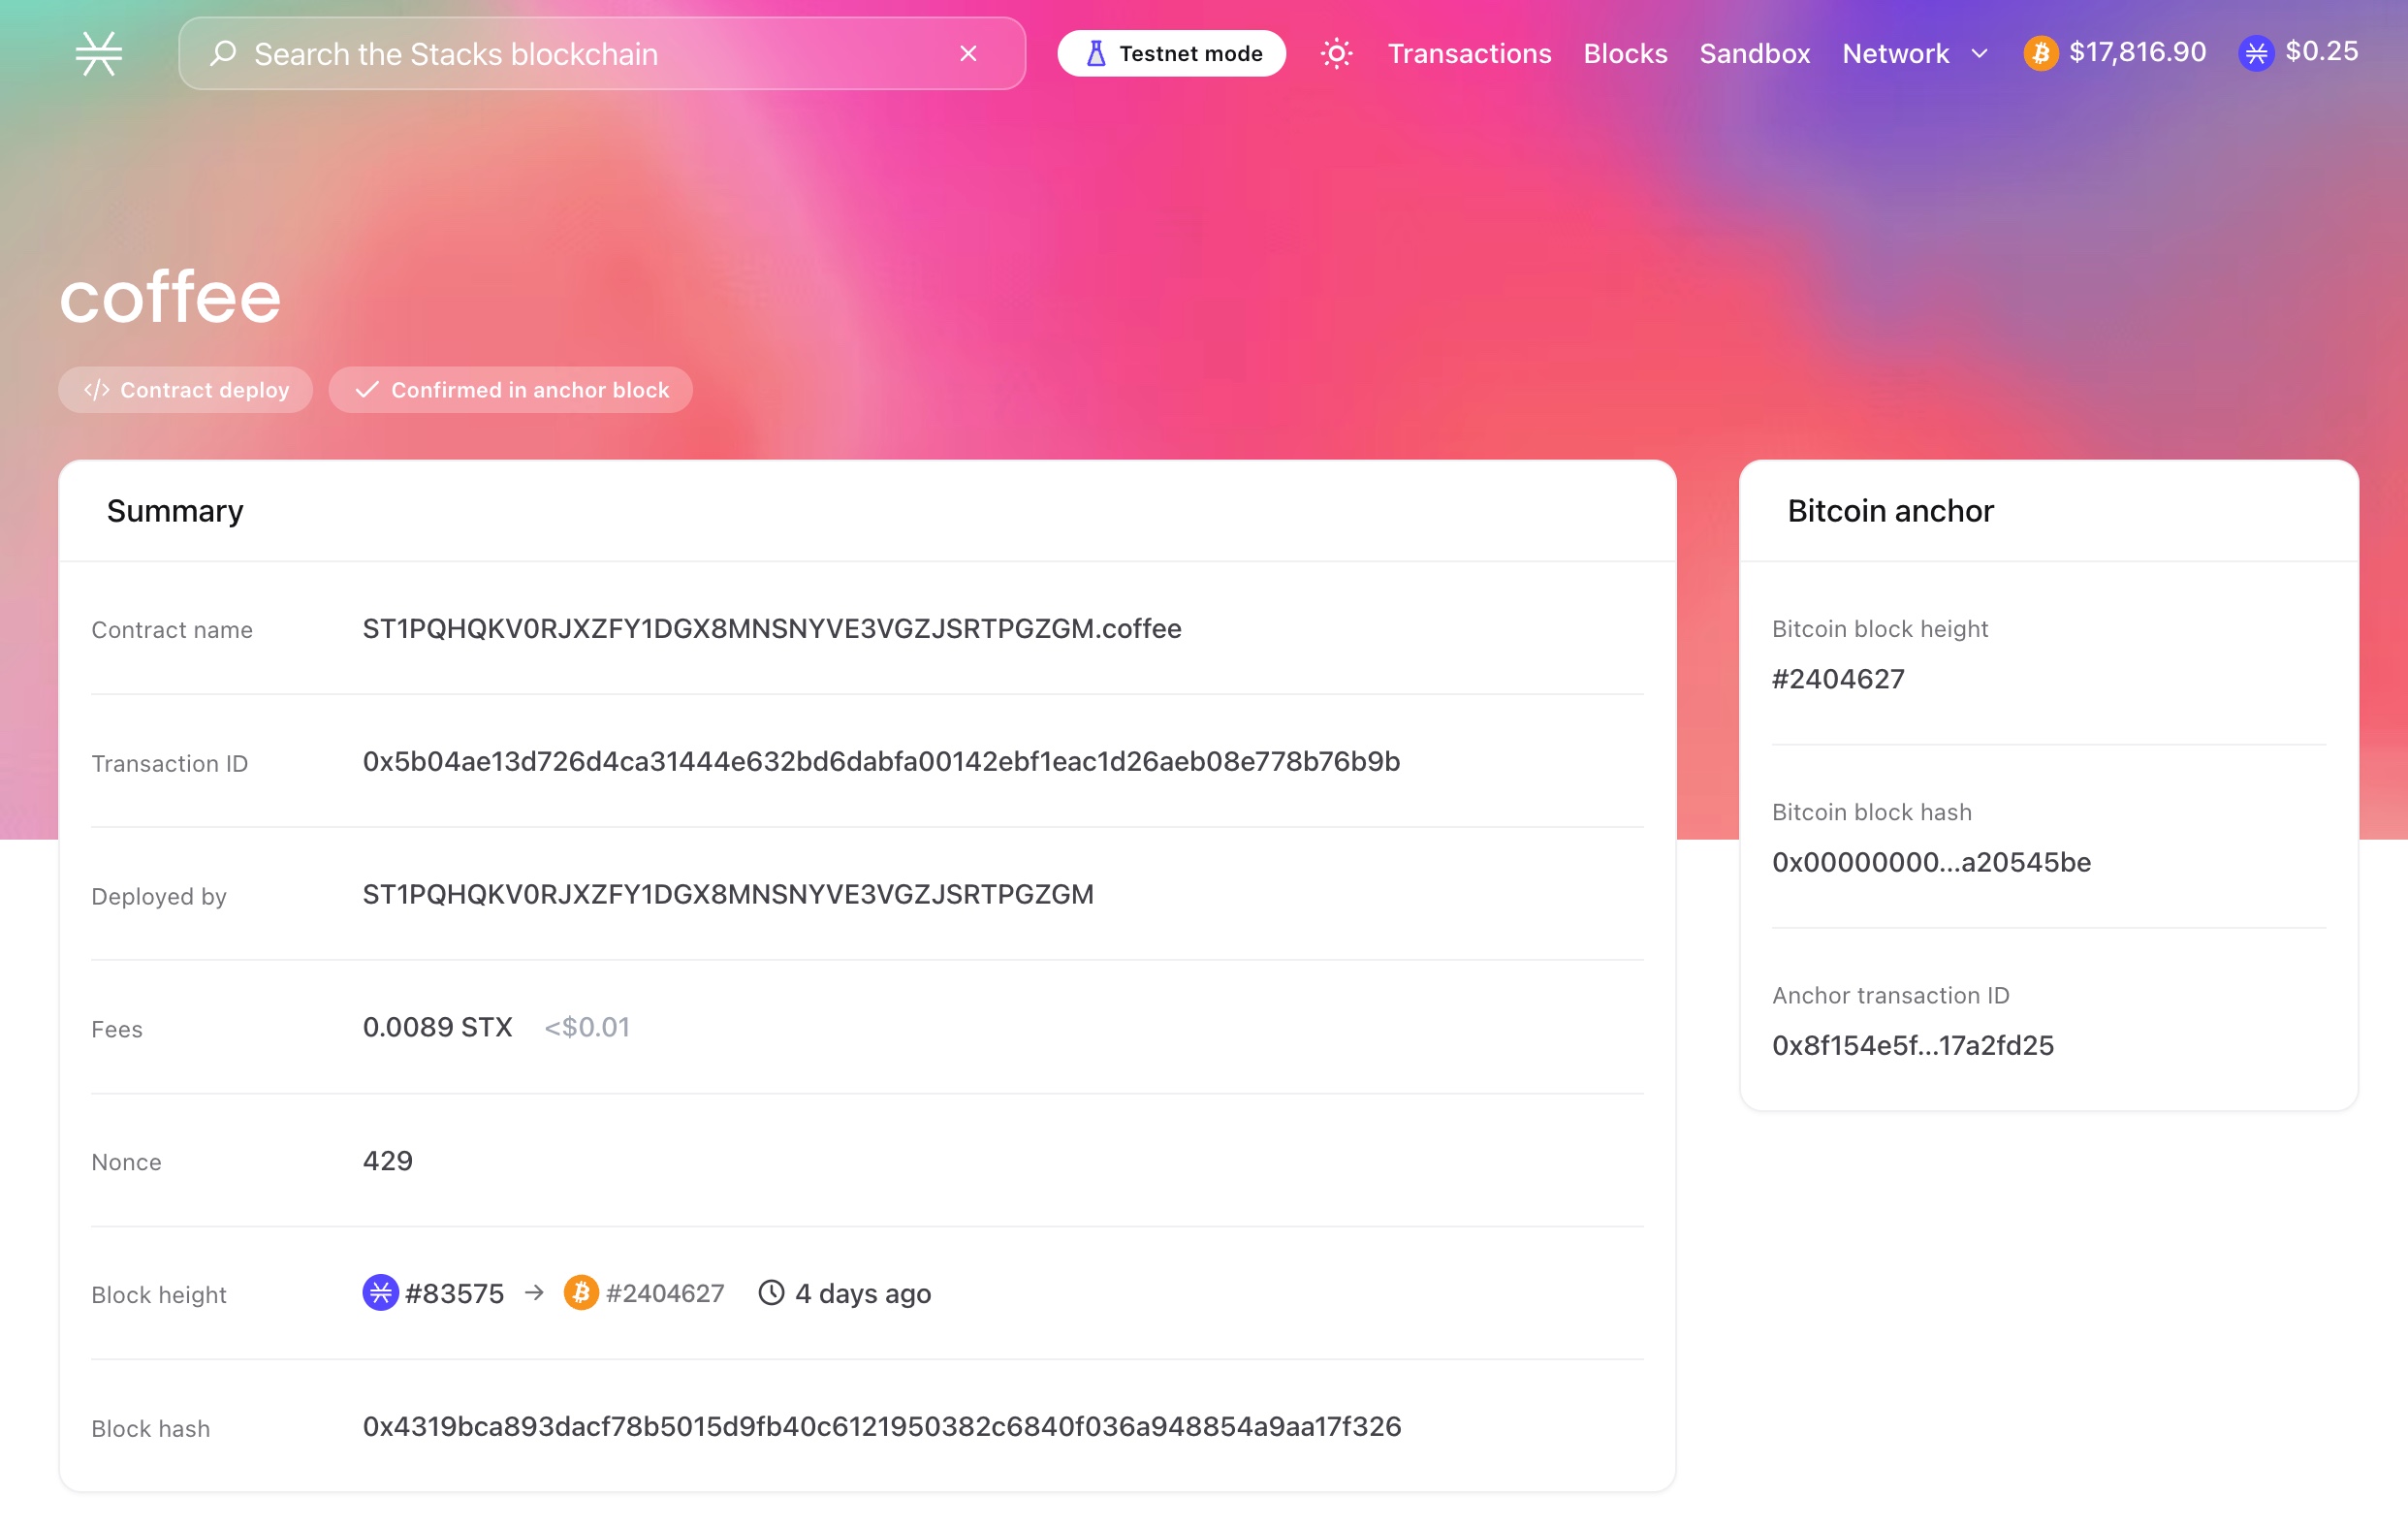
Now we can verify our contract on testnet explorer (ST1PQHQKV0RJXZFY1DGX8MNSNYVE3VGZJSRTPGZGM.coffee)
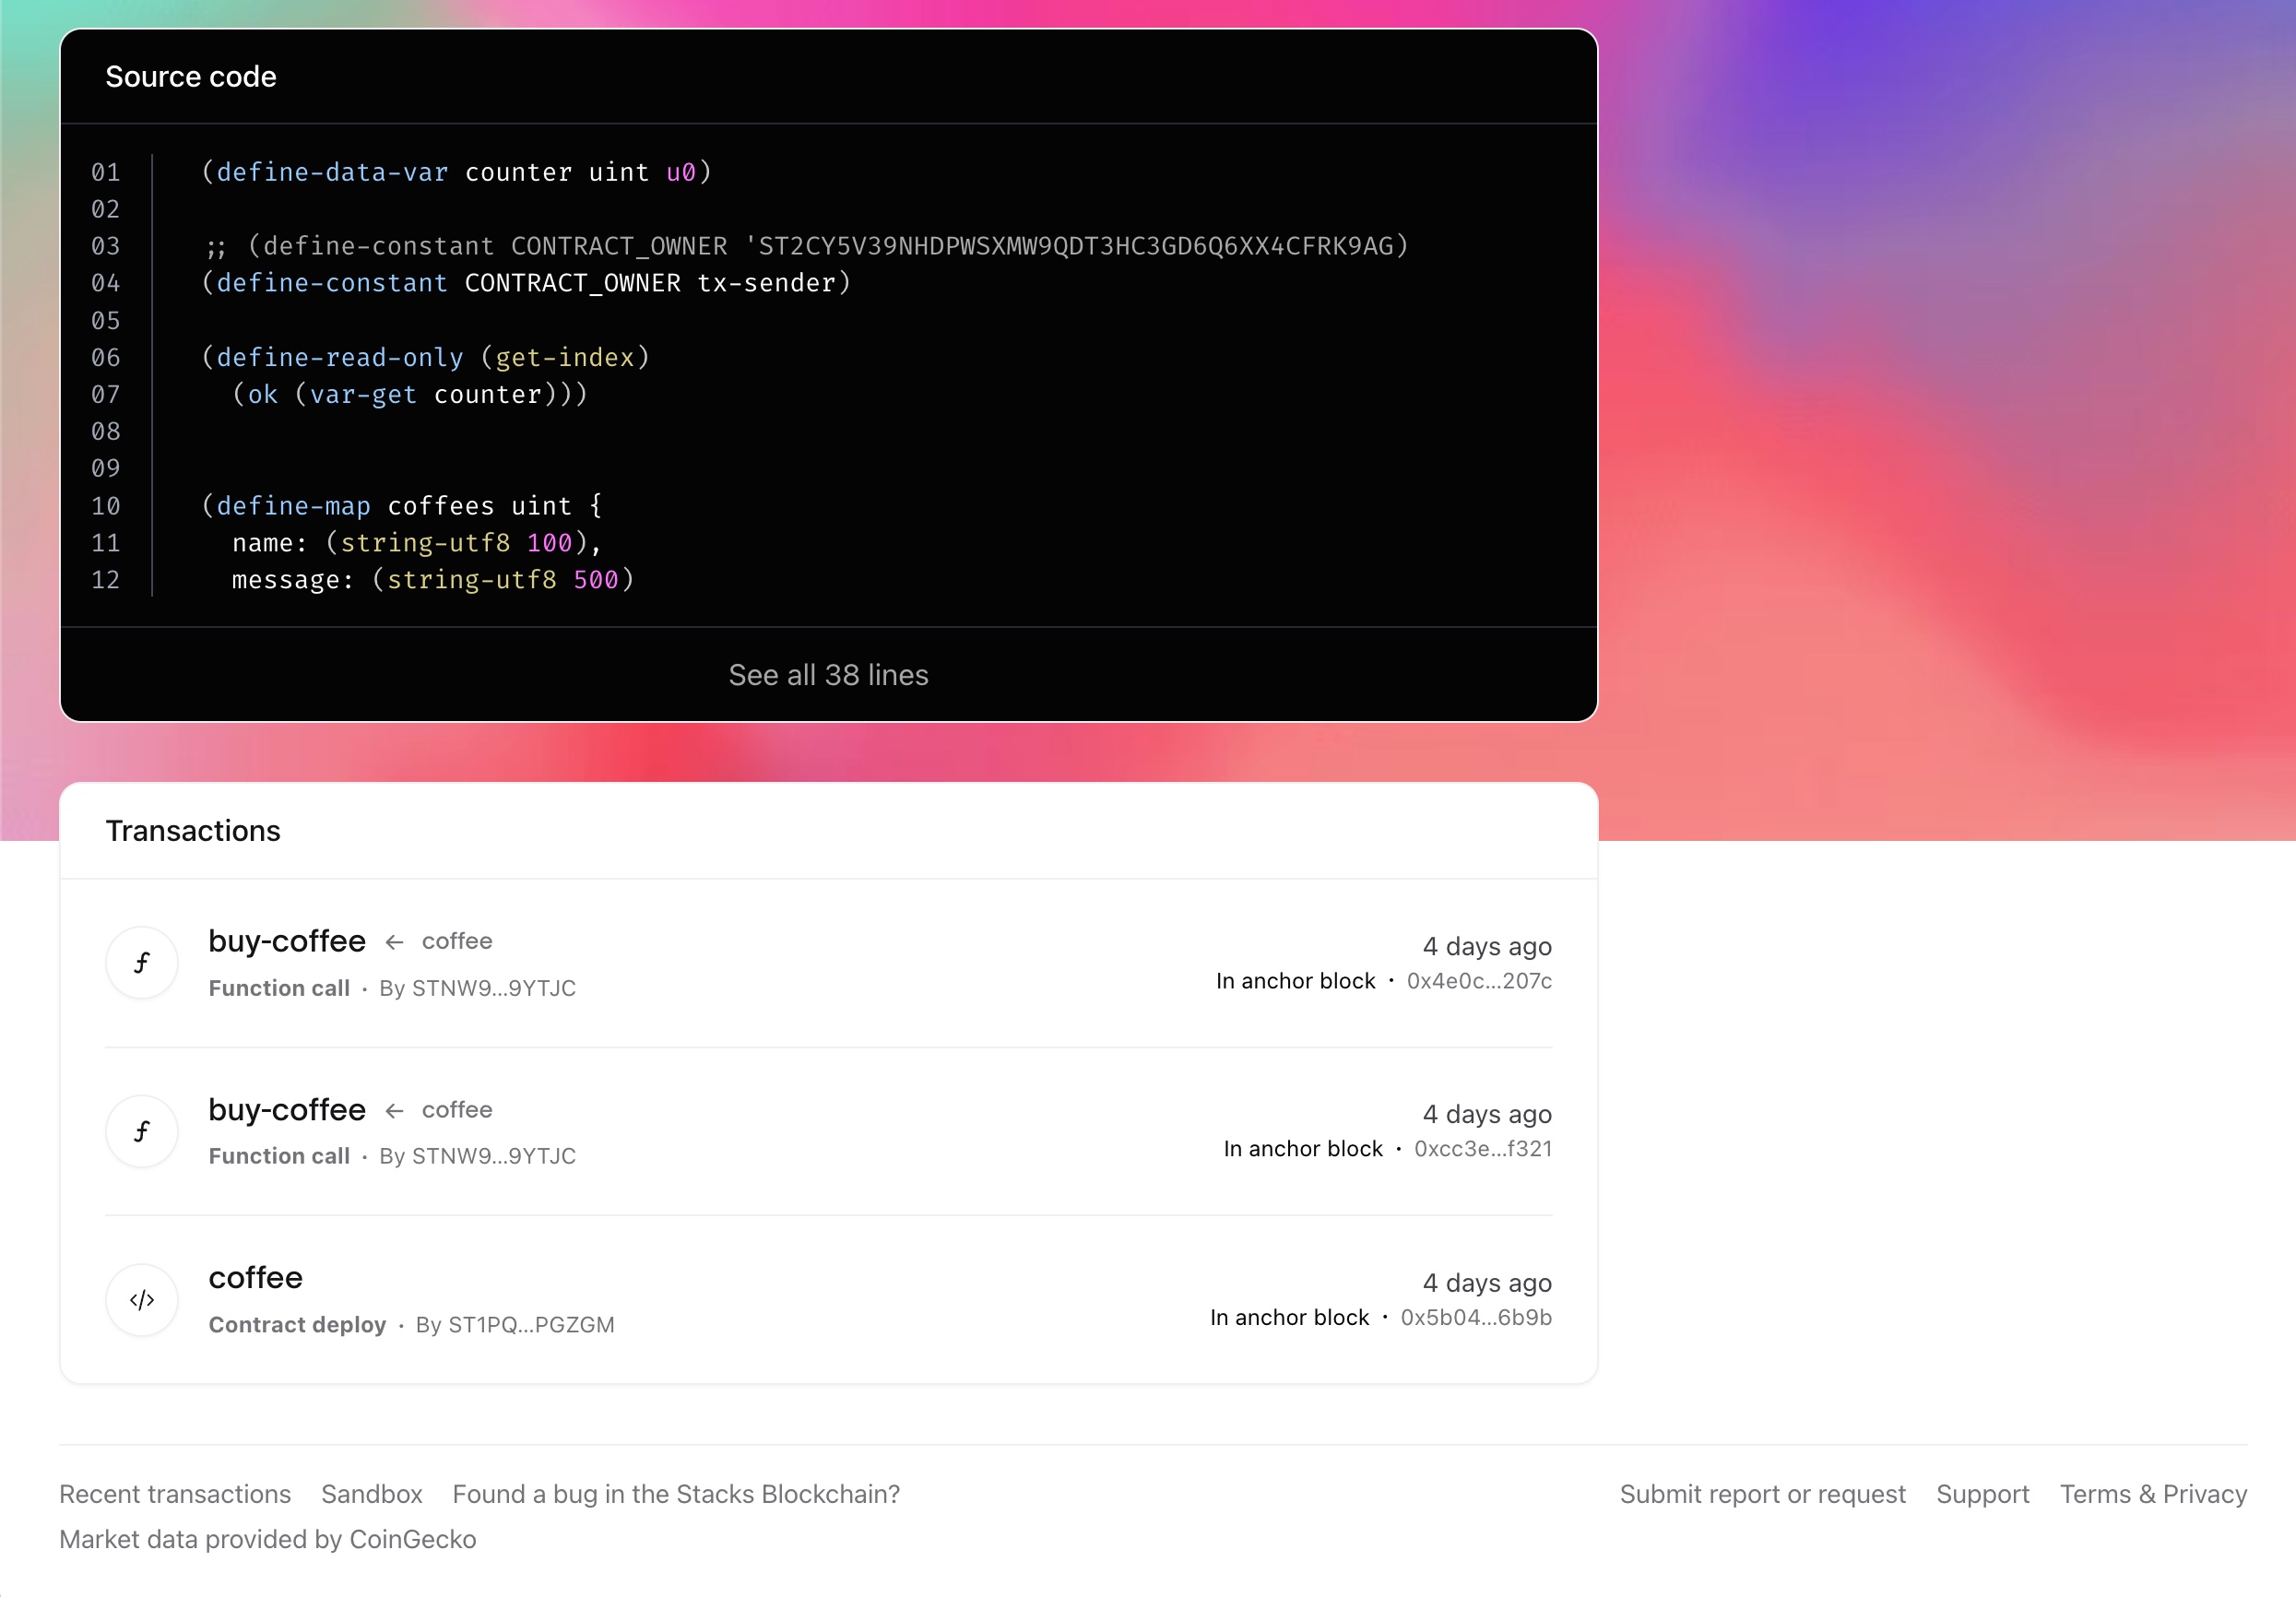
If we scroll down, we can see the contract source code.
Here are some other demo app tutorials and source code that you can check out:
- Developing a Full-Stack Project on Stacks from mariaverse
- An Introduction to Full-Stack Web3 Development with Stacks from KenTheRogers | Github repo: Sup
- Heystack from Hiro
Here is a list of other useful videos and resources that I found helpful when I was learning about Stacks and Clarity.
- "The book" of clarity - Official docs for clarity
- Clarity vs. Solidity: A Web3 Programming Language Workshop - A workshop done by Hiro’s Developer Advocate Max Efremov
- Smart contracts examples from official Hiro docs site
- Stacks.js starters - A collection of starters for building frontend apps on Stacks
Licensed under the MIT license.

