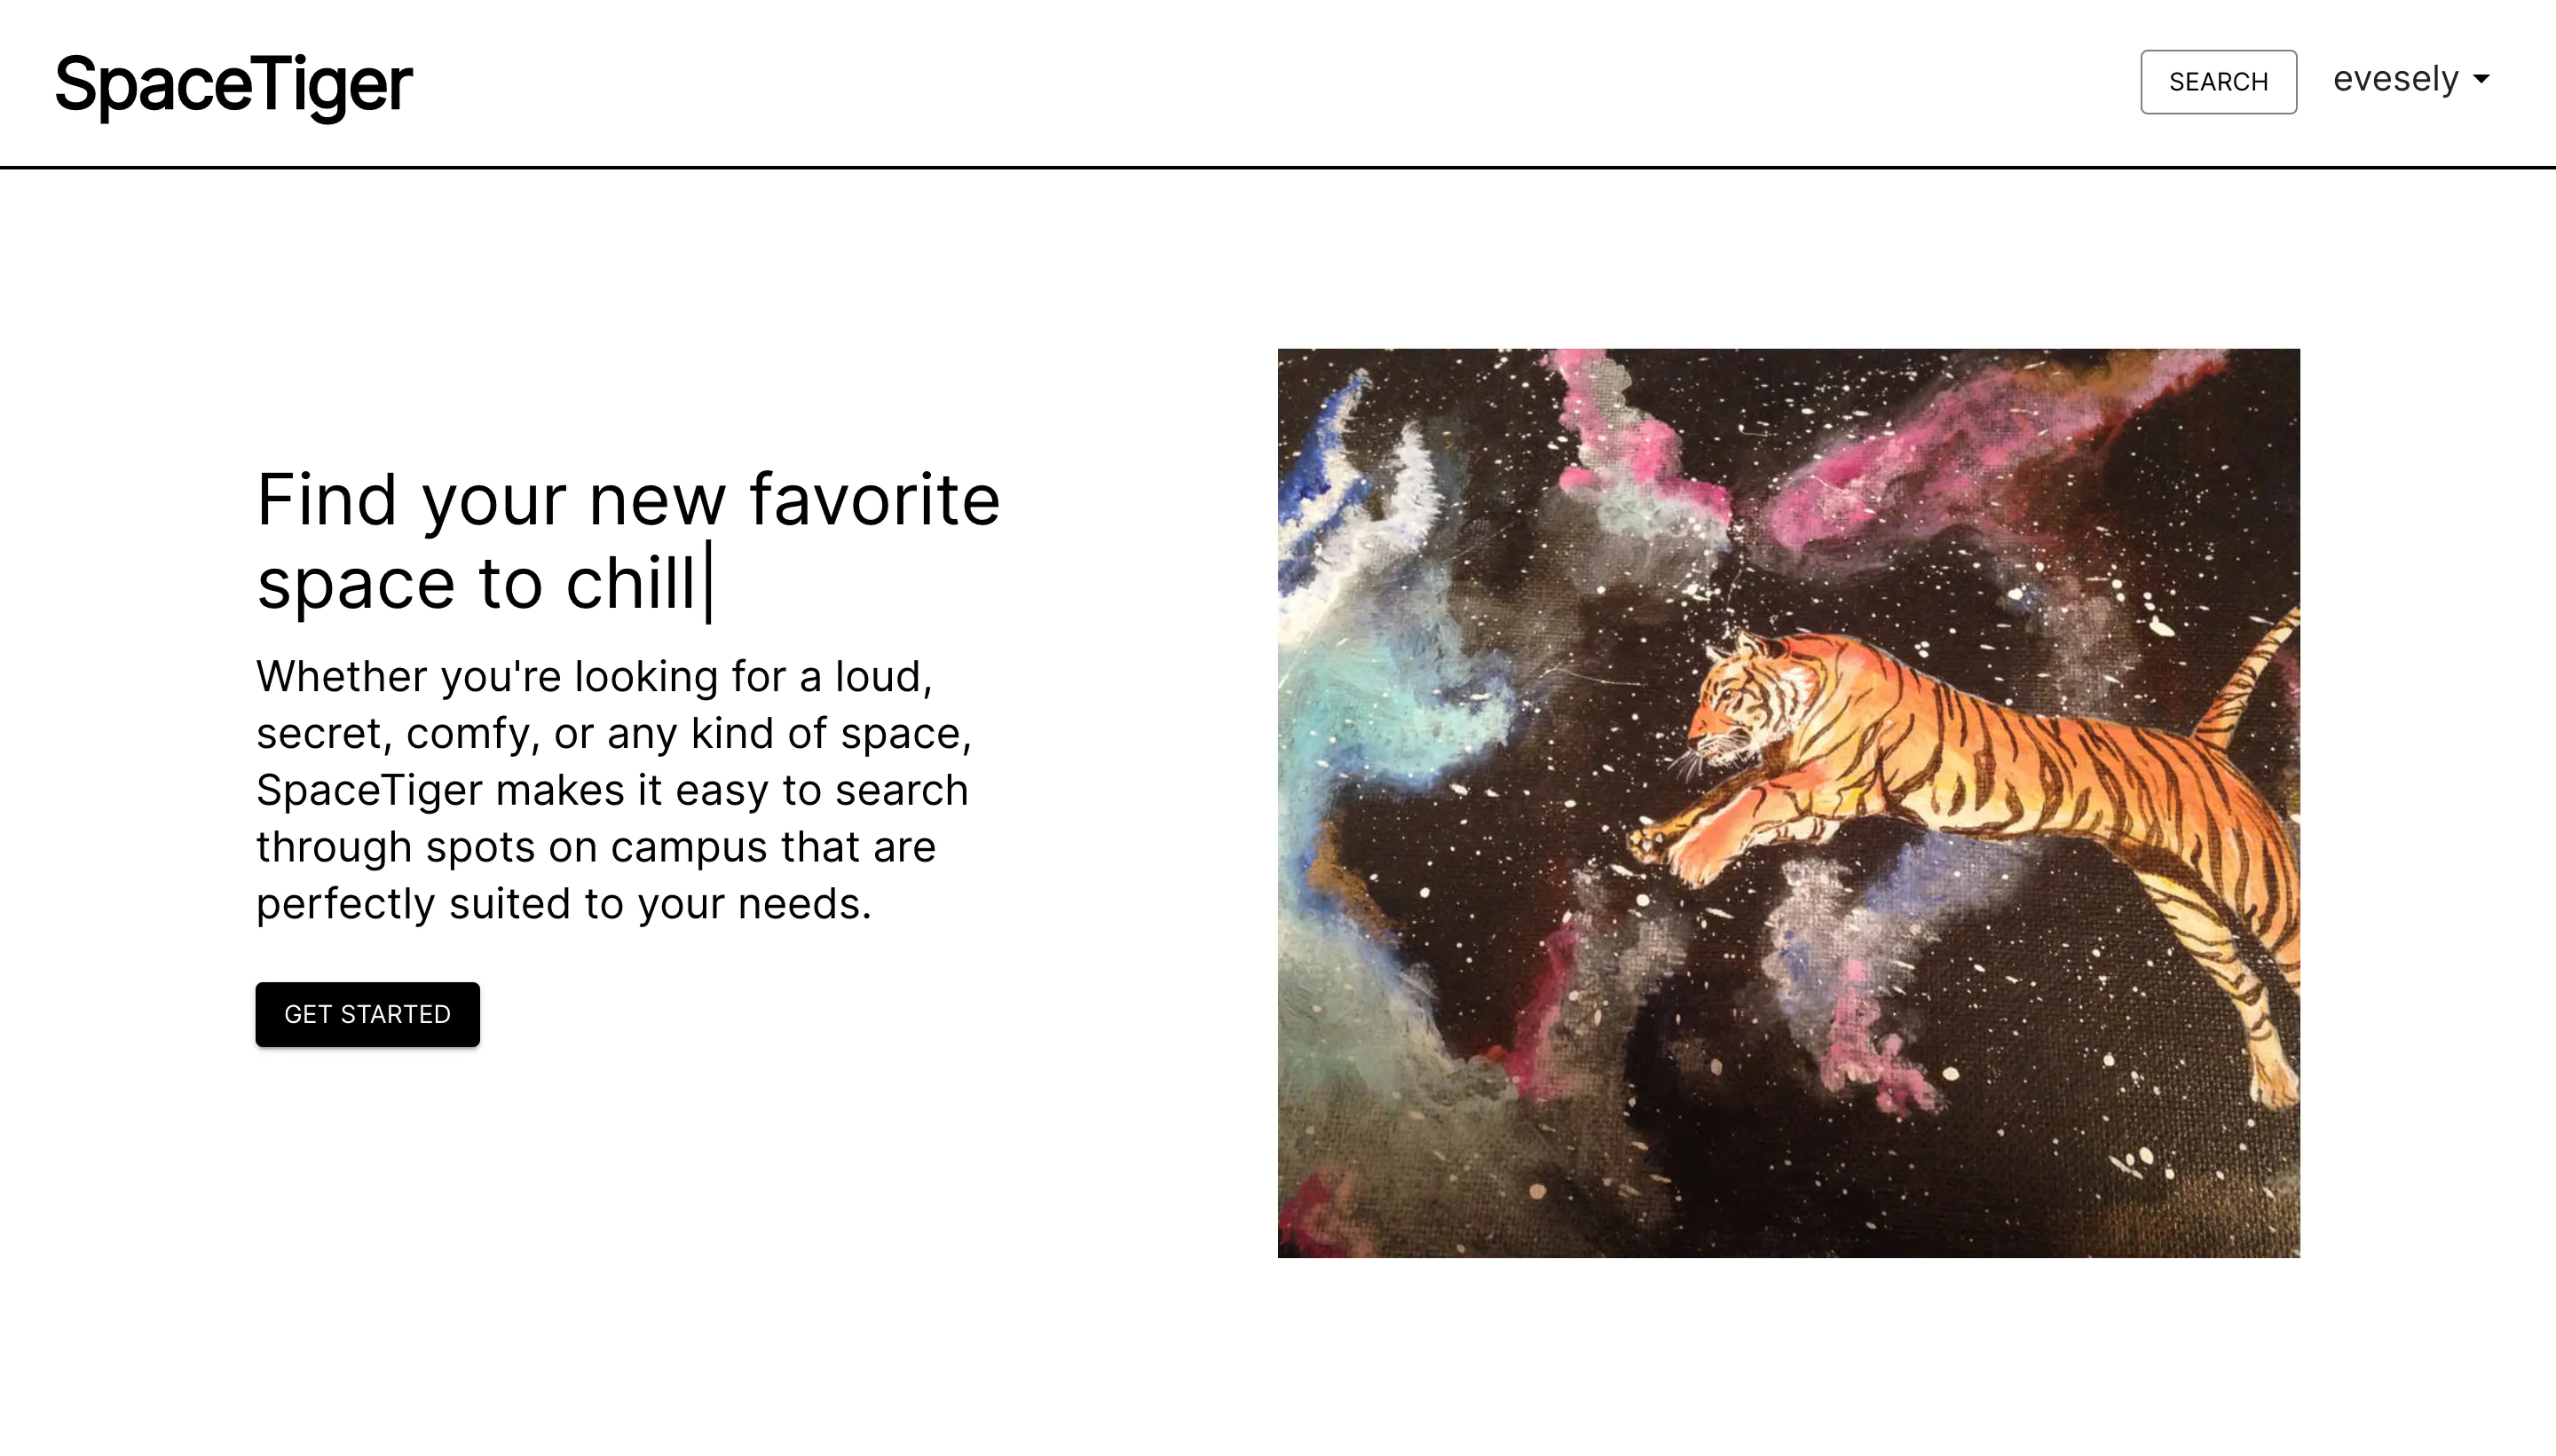
A website for searching and reviewing spots on campus, whether it be for studying, partying, rehearsing, or just hanging out. This was developed by Eva Vesely, Thanya Begum, Chenhan Zhang, Giao Vu Dinh, and Tyler Benson.
# clone the repo
git clone https://github.com/tybens/SpaceTiger
if yarn isn't installed, install it here
# install the NodeJS packages required for frontend
cd frontend && yarn && cd ..

# install the python packages required for backend
python3 -m venv venv # create python virtual env
source venv/bin/activate # activate it
pip install -r requirements.txt # install requirements into the virtual envThe url connection to the TEST and PROD databases are stored in environment variables. To set them, on Mac run
export TEST_DB_URL=the_database_api_urland on Windows run
setx TEST_DB_URL "...the database api url.."How to run our app as a two-server process which makes frontend development much nicer.
# run the backend
python3 app.py

# *in a separate terminal* run the frontend
cd frontend
yarn start
How to simulate the production environment as a one-server app.
# ---build the frontend---
cd frontend
yarn build # build frontend

# ---run the server---
export FLASK_ENV=development # setup flask development environment variables
export FLASK_APP=app.py
export APP_SECRET_KEY=1 # this can be any arbitrary value, just needed to run locally
flask run # run the server
Now whenever you save the app.py file the server will dynamically re-start because it is in debugging mode. Unfortunately because we are doing a one-server application, it is necessary to re-build the front-end to see the changes rendered.
In order to run CAS locally, you must run as a one-server app. However, port 5000 is always in use on Macs, so you need to run a slightly different command:
# ---run the server on a different port---
flask run -h localhost -p port_number
Additionally, if you want to develop frontend that requires CAS login to access using the two-server process. With the two-server process running, login to CAS through the python app.py frontend (i.e. localhost:5000). And then continue development while monitoring the yarn start frontend at localhost:3000.
If you've dropped one of the tables in the database, ensure that it's recreated by running
python models.pyNow, since the spreadsheets containing the scraped EMS data are too large to store on GitHub, you'll have to rerun the scraper. Ensure that you've stored your netID and password in environment variables called NETID and PASS, respectively. The most convenient way to do that would be to create a .env file and then source it. Once you've done that, run the scraping script located in scraper/. Make sure to cd scraper into the scraper directory in which the script is located.
python scraper.pyWe'll need to process the outputted spreadsheets to fit our database schema by running the processor.
python processor.pyThere should now be four .csv files for the Amenities, Photos, Reviews, and Spaces tables in the scraper directory. We'll use the rows from these spreadsheets to seed the database. Make sure to cd .. out of the scraper directory before running the following command.
python seed_db.pyPushing to the main branch will automatically publish to our Render hosting.
Rebase changes the base of the dev's branch from one commit to aonther, so it looks like they created their branch from the most recent commit (or whatever commit they want).
After you commit your changes to your feature branch <some-feature-branch>
checkout the main branch (or whatever branch you want to update your merge to)
git checkout mainPull in the new stuff
git pull origin mainCheckout your feature and rebase main to it
git checkout <some-feature-branch>
git rebase main
Git will whine about merge conflicts, fix them and repeat these steps until git stops whining:
git add <file-name>   # stage the merged conflicts
git rebase --continue # move to the next commit
Then (--force-with-lease, if a PR is already made and the remote branch already exists NOT IF OTHER PEOPLE HAVE BASED work off of it i.e. they have already pulled <some-feature-branch> branch and merged it into their work or something) push the merged conflicts to the remote branch:
git push --force-with-lease origin <some-feature-branch>And make a PR / request merge to main using GitHub's UI