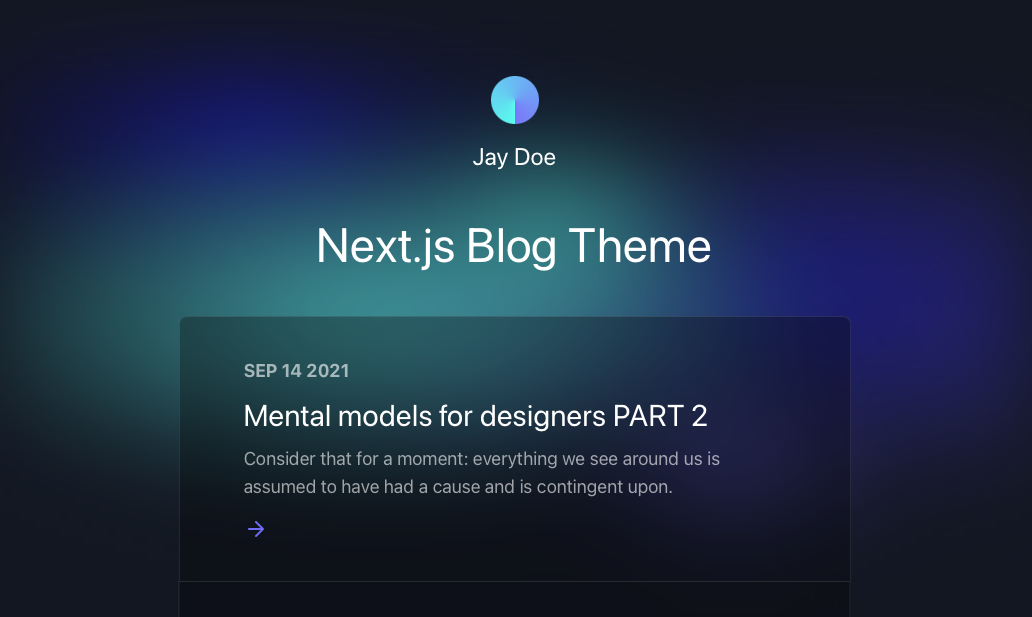
Next.js Blog Theme Designed by Bejamas
A customizable blog starter using:
You can get started with this project in two ways: locally or using the setup wizard.
If you're doing it locally, start with clicking the use this template button on GitHub. This will create a new repository with this template's files on your GitHub account. Once that is done, clone your new repository and navigate to it in your terminal.
From there, you can install the project's dependencies by running:
yarn installFinally, you can run your project locally with:
yarn run devOpen your browser and visit http://localhost:3000, your project should be running!
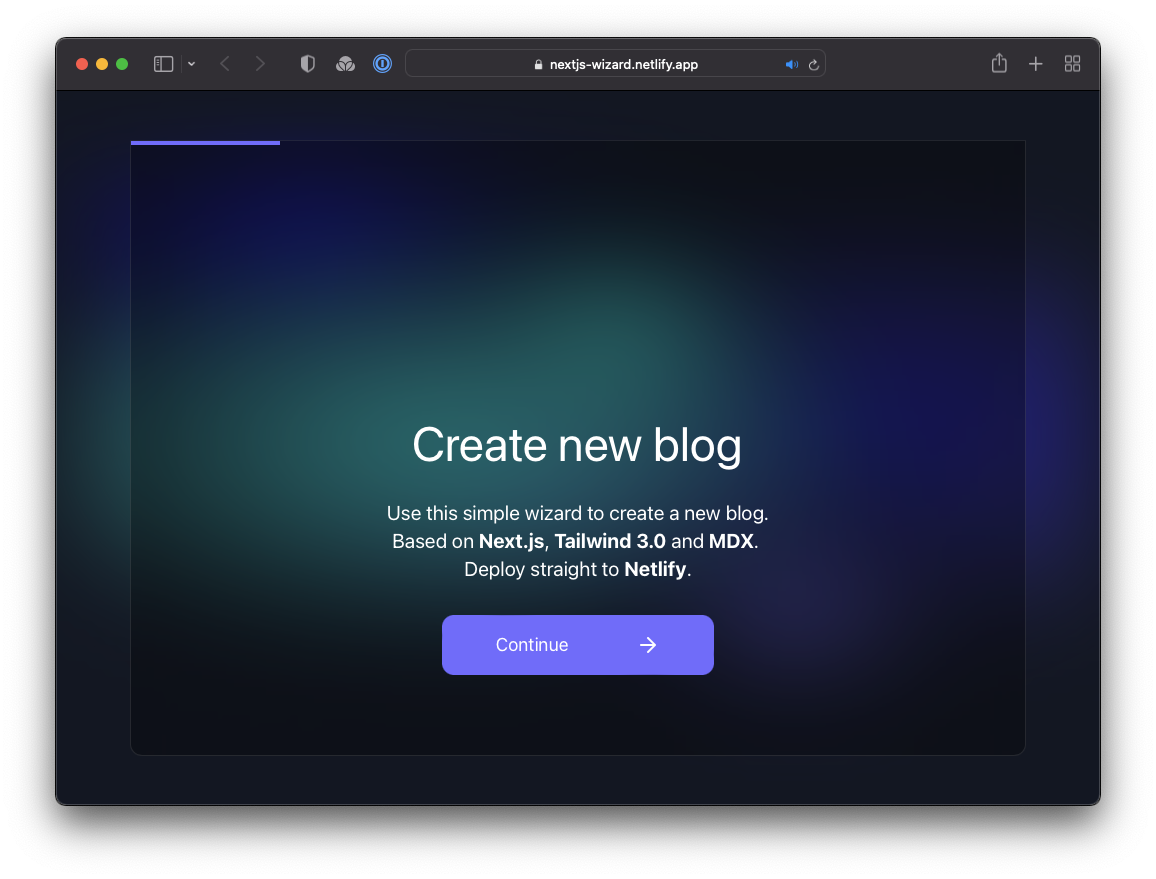
Through the setup wizard, you can create your blog in a few clicks and deploy to Netlify.
The config is based on environment variables to make it easy to integrate with any Jamstack platform, like Netlify.
Here are the variables you can edit:
BLOG_NAME- that's the name of your blog and will be displayed below the avatar.BLOG_TITLE- the main header (h1) on the home page, this can be a slogan.BLOG_FOOTER_TEXT- the text in the footer, usually copyright info.BLOG_THEMEBLOG_FONT_HEADINGS- the font-family for all HTML headings, fromh1toh6. The value can be one of those:sans-serif(selected by default)serifmonospace
BLOG_FONT_PARAGRAPHS- the font-family for all other HTML elements. The value can be one of those:sans-serif(selected by default)serifmonospace
All of the env variables can be configured through the Wizard.
All posts are stored in posts directory in .mdx format. That means you can use React components there to make your posts more interactive.


