Explore the relationship between textile technologies and WebAR
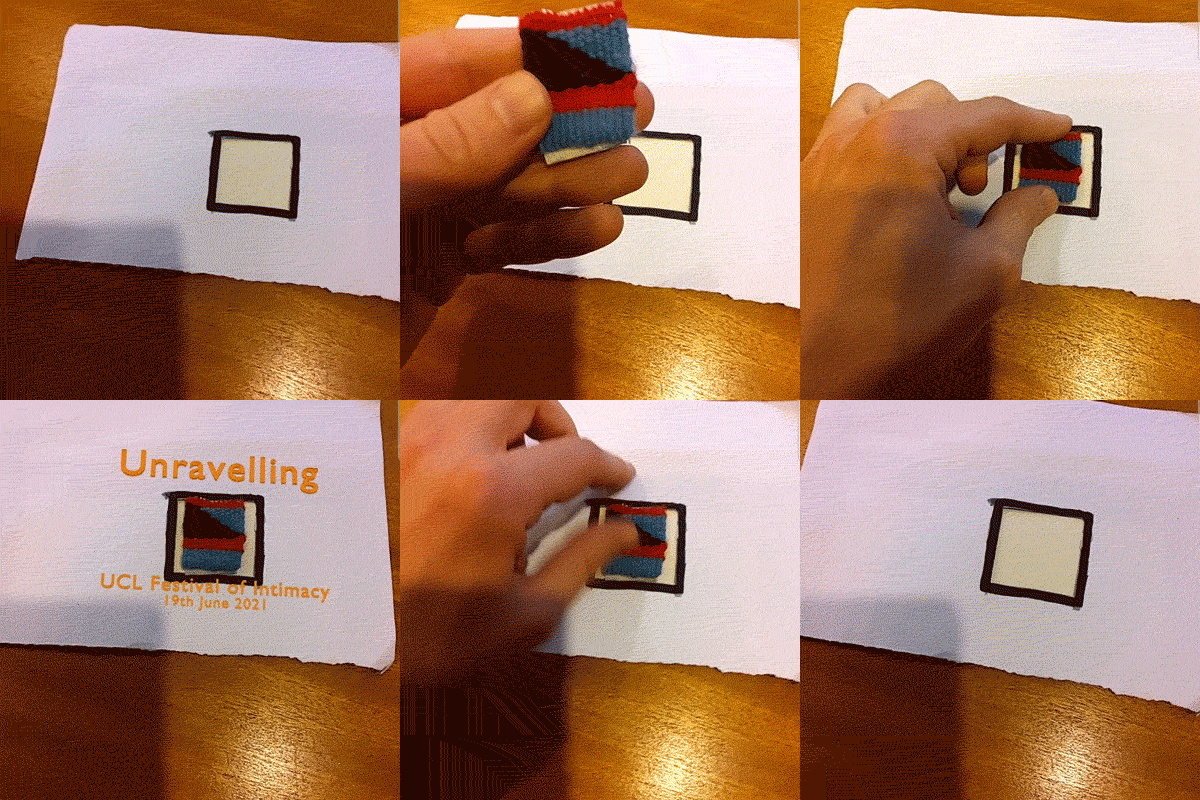
Unravelling explores the relationship between textile technologies, as a tactile means of making and marking time in isolation, and web-based technologies, as means of communicating and experiencing intimacy without touch.
Unravelling took part during the Out of Touch: A Festival of Intimacy (Sat 19 June 2021), a day-long festival of intimate performances, conversations and interactions that responded to the themes of touch and intimacy, and asked what intimacy has meant whilst living through the Covid19 pandemic.
The events of the festival took place across UCL’s Bloomsbury Theatre, Grant Museum, Petrie Museum and a variety of outdoor spaces in between.
Three steps are required to setup the AR experience:
- take the photo of the woven square
- transform the photo into a AR marker
- link the pattern, the AR marker, to the media content to display
Most critical part, and based on a trial and error approach, was how to photograph the tapestries. A good starting point is to follow the good practices suggested here, however, using a physical object as a marker created some challenges, for example, the shadows cast by the object altering the photographed image.
- A ring light to reduce the shadows
- the light needs to be cold-white and not be too bright, in order to reproduce the original colours of the woven marker as faithfully as possible
- the camera has to be placed perpendicular to the object
- the image is converted in a 16 by 16 pixels matrix, high resolution cameras do not provide any practical advantage.
- the size of the image need to be as close as possible to the final marker, in our case we used a cut-out with the black frame to help crop the image to the right size.
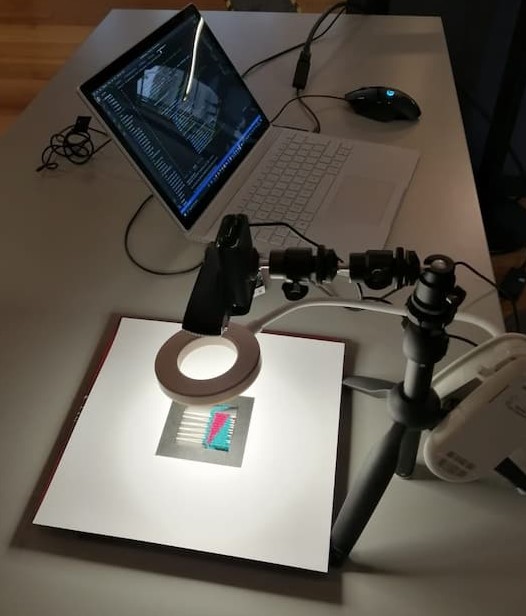
This is the setup we used during the event
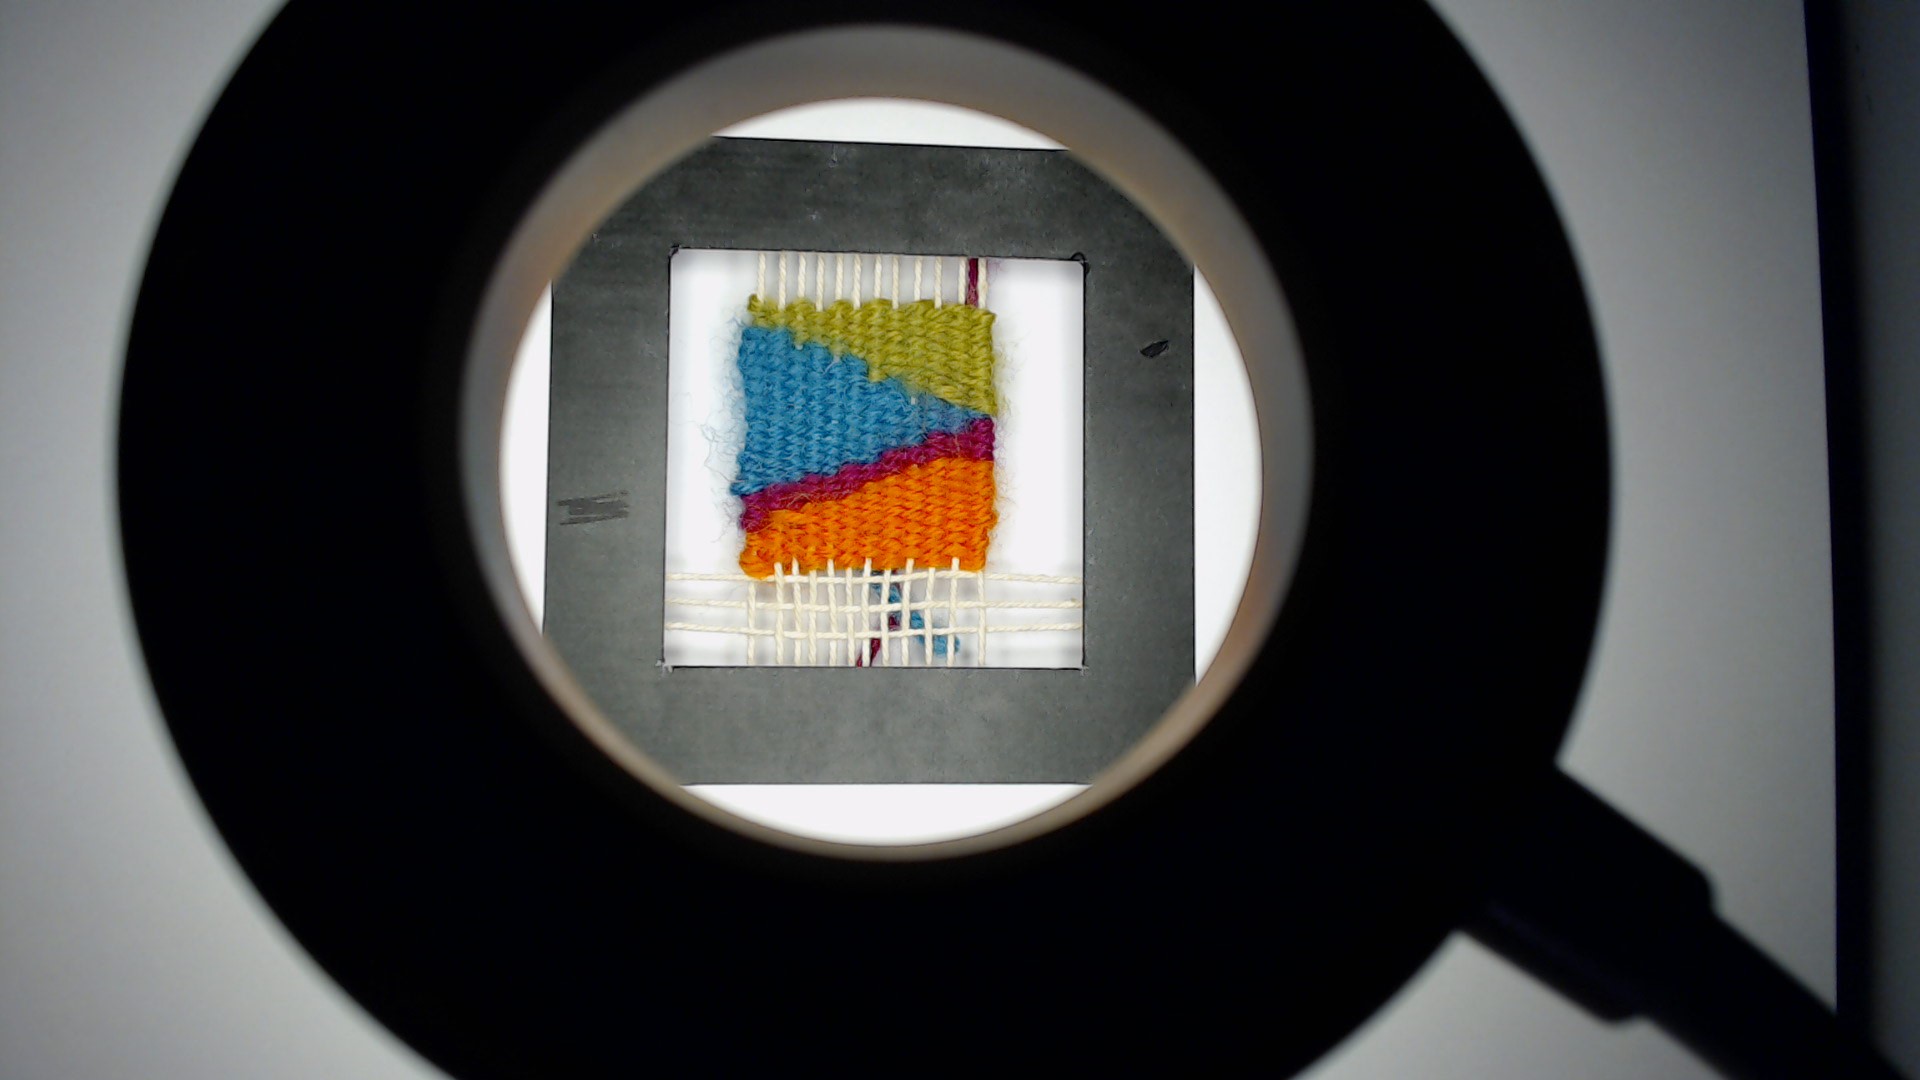
The webcam was directed through the ring light to the woven object, which was in turn placed inside a black, printed frame. AR.Js enables a smartphone camera to recognise an image with a frame as a marker (generally a thicker frame helps in the recognition). In this project we used a cut-out of 9 by 9 cm with a border of 1.7cm thick, leaving an area available for the woven object of 5.8 by 5.8 (PatternRatio to set in the index.html is 0.64). The captured images (we used the default Windows Camera App) were precisely cropped within the black frame, maintaining a square ratio.
The woven object view from the webcam
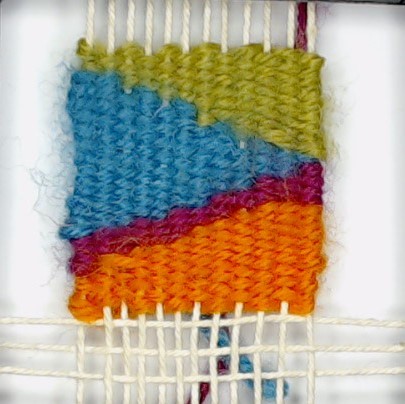
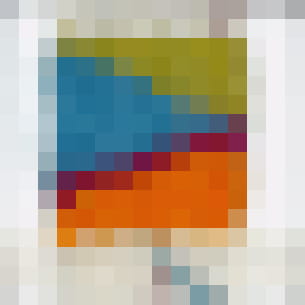
The image used for the AR marker
The folder ./markergen contains the scripts to create the pattern .patt used by AR.Js. It is based on the AR.js marker-training. After installing the node_modules, using npm install, these are the steps to follow:
- copy the images to convert into Pattern file in the ./markergen/img folder (images need to be square, PNG -with no alpha channel / transparency- or JPG);
- in a new
node.jsterminal, runnode generatorin the ./markergen folder ; - the patterns will be created and saved in the folder ./markergen/patt
The image converted as 16 by 16 pixels matrix
The content of the AR experience is controlled by the index.json, located in the folder ./resources/content. The JSON file contains an array of Objects and it has the following structure:
{
    "info": {
      "version": "1.0",
      "title": "unravelling",
      "markers":6
    },
    "content": [
      {
        "markerName": "patt_marker_1",
        "contentName": "Text.glb",
        "type":"model",
        "titleContent": " The Content 1"
      },
      {
        [other marker]
      },
      {
        "markerName": "patt_marker_x",
        "contentName": "content_x.jpg",
        "type":"image",
        "titleContent": "The Content x"
      }
    ]
  }
The important part is the content array:
- markerName: filename of the pattern exported from the generator, without extension
- contentName: filename of the content with extension, possible options are:
- JPG for images
- MP3 for sounds
- GLB for 3D models
- type: type of content to visualise, it is used to create the right AFrame entity
- image
- model
- sound
- titleContent: text created using an AFrame text entity. Leave empty if none
All the media files need to be stored in the folder ./resources/content together with the index.json. All the pattern files .patt need to be stored in the folder ./resources/patt
Fiona Mathison (freelance artist)
Louise Klarnett (dance artist)
Leah Lovett (UCL - CASA - Connected Environments)
Valerio Signorelli (UCL - CASA - Connected Environments)
