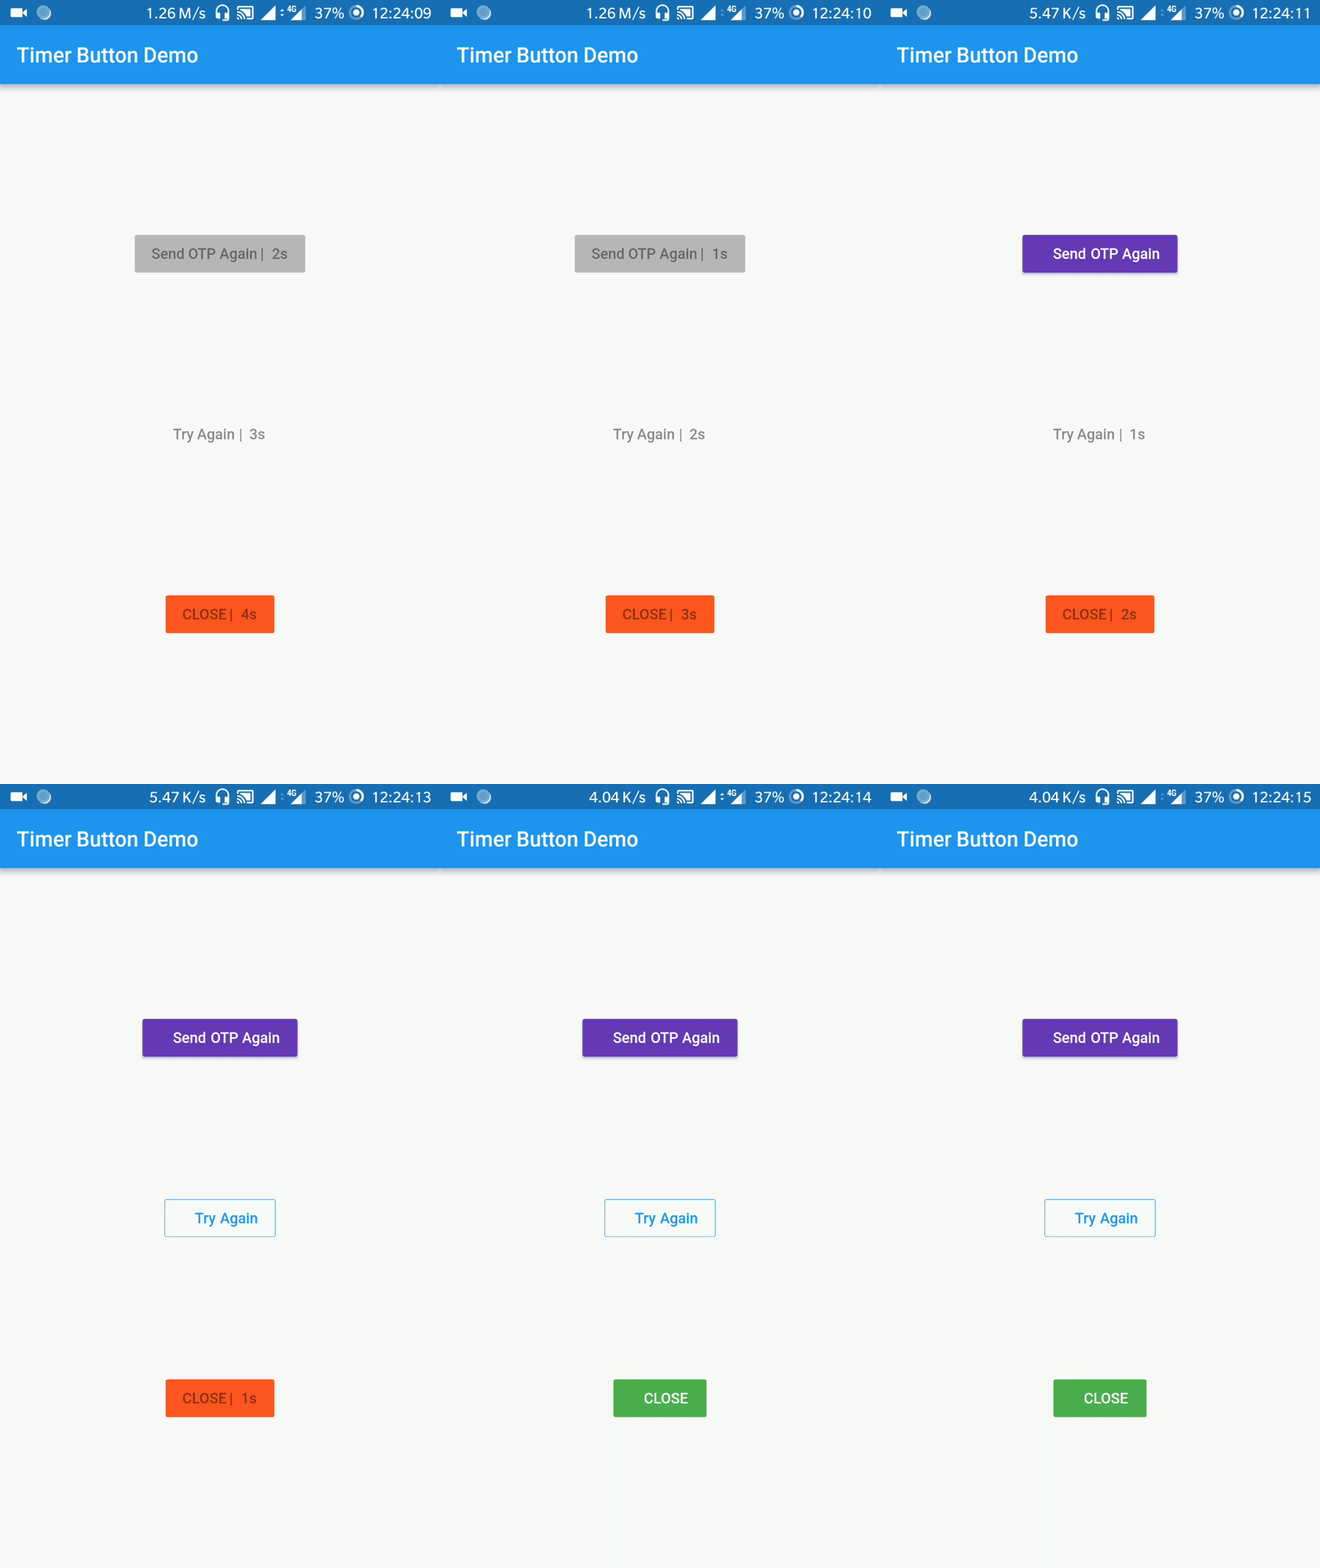
A versatile Flutter package that provides a timer button widget, which becomes enabled after a specified time delay.
A customizable button widget capable of activation after a designated time interval.
- Open your project's
pubspec.yamlfile. - Add the
timer_buttonpackage to your dependencies, replacing[version]with the latest version:
dependencies:
  flutter:
    sdk: flutter
timer_button: ^[version]- Run
flutter pub getto fetch the package.
import 'package:timer_button/timer_button.dart';To use the Timer Button, follow these steps:
- Set the button type. There are six types to choose from:
- ElevatedButton (
buttonType: ButtonType.ElevatedButton) - default - TextButton (
buttonType: ButtonType.TextButton) - OutlineButton (
buttonType: ButtonType.OutlineButton) - Custom (
buttonType: ButtonType.Custom)
-
Specify the button label using
label: "Your Label". -
Set the timeout duration in seconds with
timeOutInSeconds: 20. -
Customize the button's color using
color: Colors.deepPurple. -
Define the disabled color with
disabledColor: Colors.red.
Default Timer Button:
                TimerButton
(
label: "Default",
timeOutInSeconds: 5,
onPressed: () {
log("Time for some action!");
},
)
,
With TimerButton.builder: You can customize the button's appearance by passing a builder
function:
                TimerButton.builder
(
builder: (context, timeLeft) {
return Text(
"Custom: $timeLeft",
style: const TextStyle(color: Colors.white),
);
},
onPressed: () {
log("Time for some action!");
},
timeOutInSeconds
:
5
,
)
,For reporting issues and accessing the source code, visit our GitHub Repository.
We welcome contributions in various forms:
- Proposing new features or enhancements.
- Reporting and fixing bugs.
- Engaging in discussions to help make decisions.
- Improving documentation, as it is essential.
- Sending Pull Requests is greatly appreciated!
A big thank you to all our contributors! 🙌


