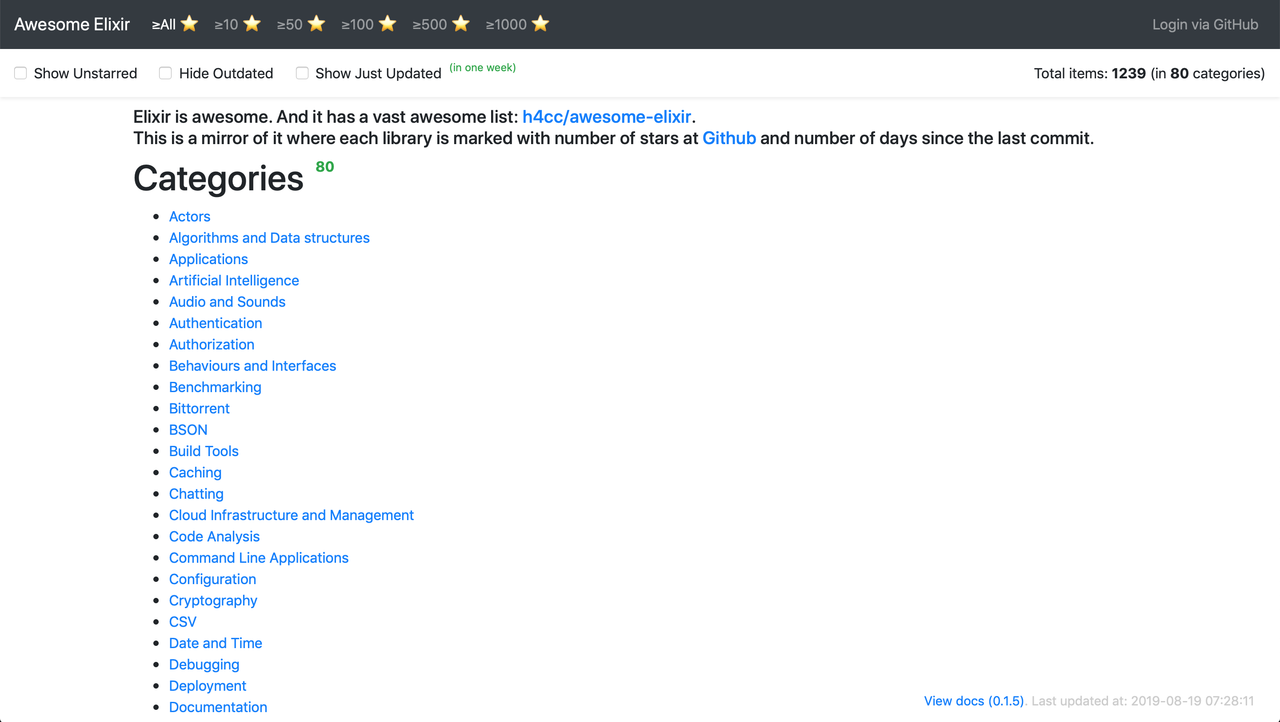
Visit the running application at: https://awesome-elixir.herokuapp.com
Check generated ExDoc at: https://awesome-elixir.herokuapp.com/docs/index.html
Ongoing efforts on GraphQL API, Phoenix LiveView, Vue.JS UI and Guardian Auth with GitHub SignUp/Login
- Basic GraphQL API. Pointed to:
/api/graphql - Endpoints for handling Guardian flow with GitHub strategy. Pointed to:
/authGET /auth/github- starts GitHub Auth Flow and redirects to GitHubGET /auth/github/callback- handles auth result from GitHub sideGET /auth/logout- cleanup current session, which holds JWT token
- Integrate Guardian flow to current HTML-based app
- Base Vue.JS SPA-application, which consumes GraphQL API. Pointed to:
/vue - Integrate Guardian flow to Vue.JS application and GraphQL API
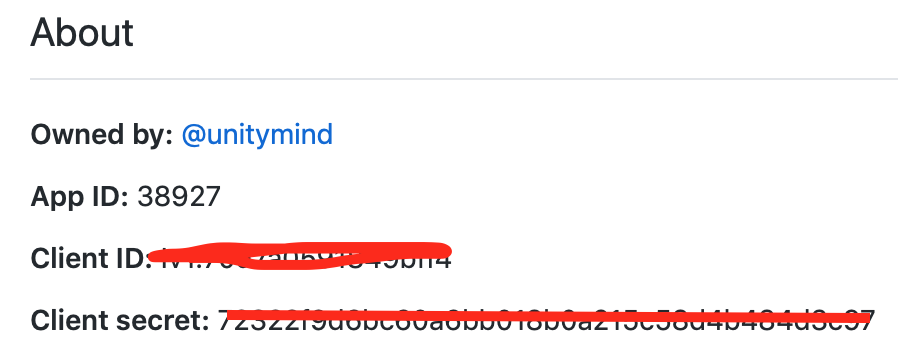
Create new Github Application:
We need Client ID and Client secret
To start your application Phoenix server:
- Install dependencies with
mix deps.get - PostgreSQL config use default
postgres/postgresusername/password credentials. - Create and migrate your database with
mix ecto.setup - Install Node.js dependencies with
cd assets && npm install - Copy config/dev.secret.example.exs
cp config/dev.secret.example.exs config/dev.secret.exs - Replace values in
config/dev.secret.exs - Start Phoenix endpoint with
mix phx.server - You can play in IEx shell as usual:
iex -s mix(no Phoenix Endpoint and Rihanna Job Dispatcher will be started)
Now you can visit localhost:4000 from your browser.
Refresh you page periodically to catch progress on initial data scraping from https://github.com/h4cc/awesome-elixir.
Also you can run dev tools in one command: mix check
Coverage report is placed to: cover/excoveralls.html
To start your application Phoenix server packed in docker using multi-stage build and mix release feature:
- Run
GITHUB_CLIENT_ID="your_client_id" GITHUB_CLIENT_SECRET="your_client_secret" SECRET_KEY_BASE="$(mix phx.gen.secret)" GUARDIAN_SECRET_KEY="$(mix guardian.gen.secret)" docker-compose up -d --build
After build finished and docker-compose services up you can visit localhost:4001 from your browser.
To view logs from running system:
- Run
docker-compose logs -f
To reset your data:
- Run
docker-compose down - Run
docker volume rm awesome_elixir_postgres_data - Repeat command from "To start section"
Please note that Ecto migration will be run as the part of startup process. No additional actions required.
Running IEx shell on running system:
- Run
docker-compose exec web bash - Run inside container shell:
bin/awesome_elixir remote - Inside IEx shell:
:observer_cli.start()
To get more control on building we use Docker deployment Heroku feature.
Prepare locally after checkout:
- Run
cp config/dev.secret.example.exs config/dev.secret.exs - Install dependencies with
mix deps.get - Compile app with
mix compile
Create application:
$ heroku create
Creating app... done, ⬢ floating-woodland-78564
https://floating-woodland-78564.herokuapp.com/ | https://git.heroku.com/floating-woodland-78564.git
Add database to stack:
$ heroku addons:create heroku-postgresql:hobby-dev
Creating heroku-postgresql:hobby-dev on ⬢ floating-woodland-78564... free
Database has been created and is available
 ! This database is empty. If upgrading, you can transfer
 ! data from another database with pg:copy
Created postgresql-fitted-37662 as DATABASE_URL
Use heroku addons:docs heroku-postgresql to view documentation
Change Heroku stack:
$ heroku stack:set container
Stack set. Next release on ⬢ floating-woodland-78564 will use container.
Run git push heroku master to create a new release on ⬢ floating-woodland-78564.
Set config vars on Heroku (replace HOST value floating-woodland-78564.herokuapp.com with generated by Heroku):
heroku config:set DEPLOYED_ON_HEROKU=true GITHUB_CLIENT_ID="your_client_id" GITHUB_CLIENT_SECRET="your_client_secret" HOST="floating-woodland-78564.herokuapp.com" SECRET_KEY_BASE="$(mix phx.gen.secret)" GUARDIAN_SECRET_KEY="$(mix guardian.gen.secret"
Setting DEPLOYED_ON_HEROKU, GITHUB_TOKEN, GITHUB_CLIENT_ID, GITHUB_CLIENT_SECRET, HOST, SECRET_KEY_BASE, GUARDIAN_SECRET_KEY and restarting ⬢ floating-woodland-78564... done, v6
DEPLOYED_ON_HEROKU:     true
GITHUB_CLIENT_ID:       your_issued_client_id
GITHUB_CLIENT_SECRET:   your_issued_client_secret
HOST:                   floating-woodland-78564.herokuapp.com
SECRET_KEY_BASE:        generated_key
GUARDIAN_SECRET_KEY:    generated_key
And deploy:
$ git push heroku master
... output ommited (see how your image is building)
remote: Verifying deploy... done.
To https://git.heroku.com/floating-woodland-78564.git
 * [new branch]      master -> master
Now you can visit https://floating-woodland-78564.herokuapp.com/ from your browser.
And ONE MORE THING - you can access to running docker container as usual (thanks to workaround placed in .profile.d/heroku-exec.sh and specially modified Docker image)
$ heroku ps:exec bash

Establishing credentials... done
Connecting to web.1 on ⬢ awesome-elixir...
Welcome to Alpine!

The Alpine Wiki contains a large amount of how-to guides and general
information about administrating Alpine systems.
See <http://wiki.alpinelinux.org/>.

You can setup the system with the command: setup-alpine

You may change this message by editing /etc/motd.

~ $ bin/awesome_elixir remote
Erlang/OTP 22 [erts-10.4.4] [source] [64-bit] [smp:8:8] [ds:8:8:10] [async-threads:1] [hipe]

Interactive Elixir (1.9.1) - press Ctrl+C to exit (type h() ENTER for help)
iex(awesome_elixir@7b5daba9-2ac6-4d41-8453-563bfda5e5aa)1> :observer_cli.start()
Gotcha! We have minimal production ready system.
Circle CI config is also ready (.circleci/config.yml). Just fork and connect Circle CI to you repo.


