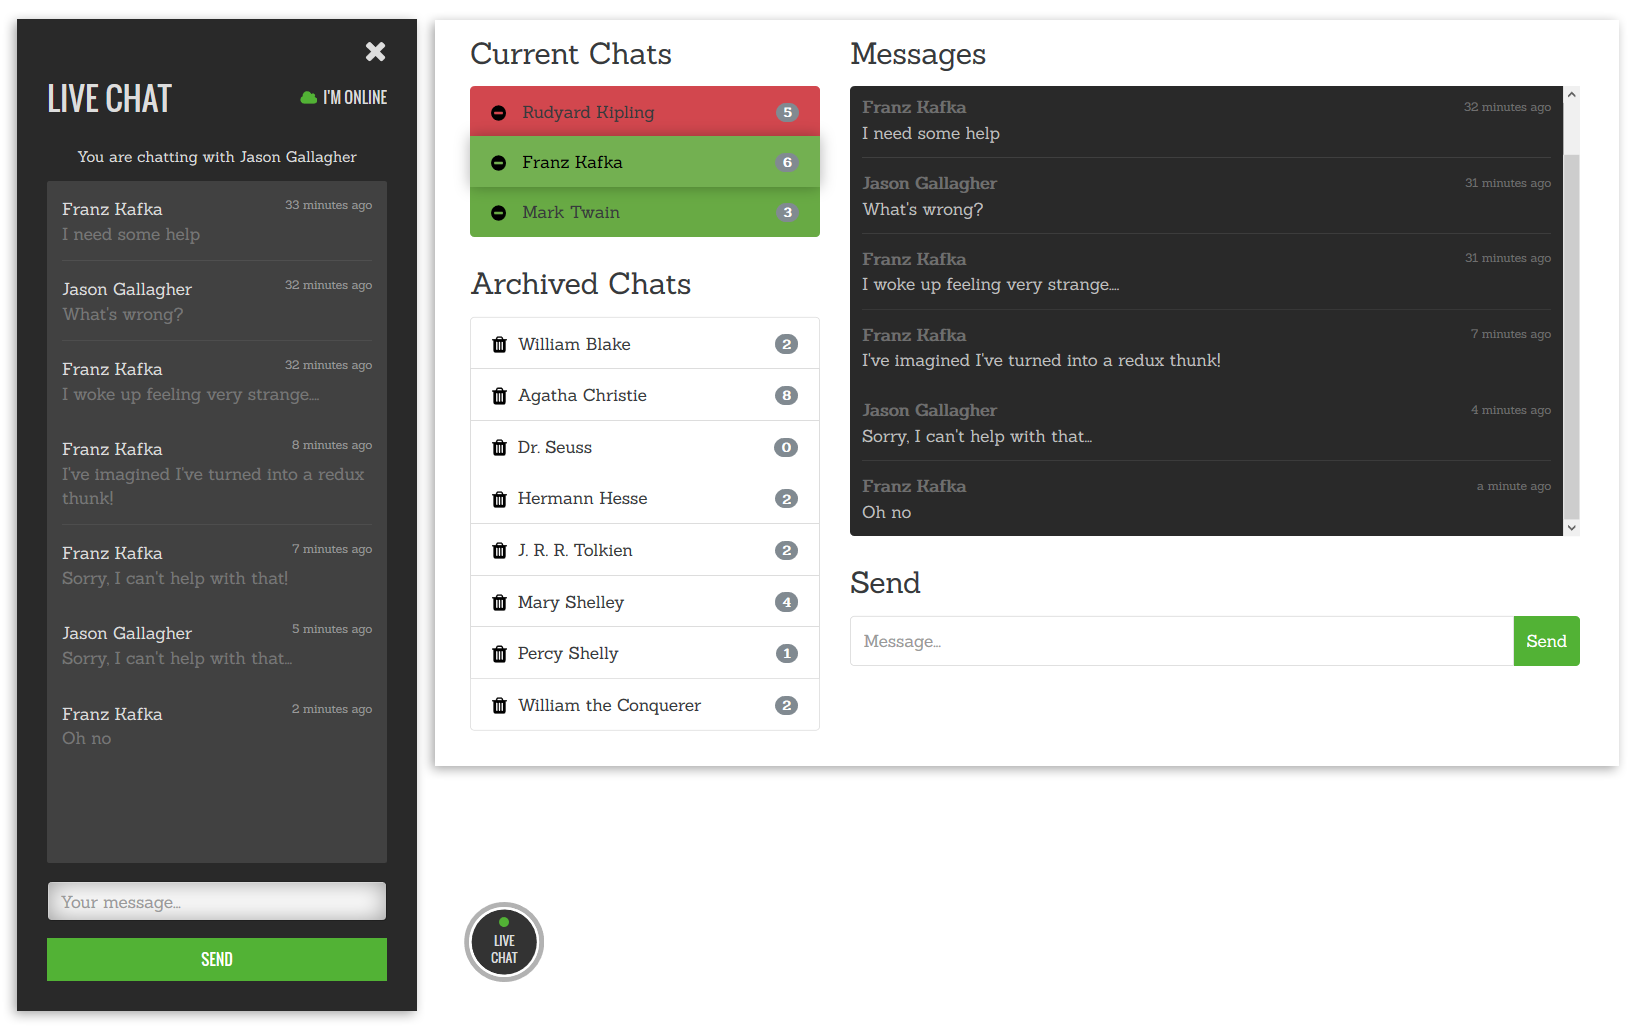
One-to-many live chat app with a React/Redux front end and Node.js back end. Uses socket.io and Sequelize to sync chats on a set interval to a database. The backend has a control panel that lets you manage multiple chats.
NOTE: this is a 4 year old project which will require Node version 8.x to install/build. It should still work, but I recommend a) updating all deps and b) removing the in-memory caching process since it won't scale well. Hopefully I will at some point have time to work on this (and turn it an NPM package), but until then any pull requests are appreciated!
- Realtime help desk style chat for one admin to one or more users
- React/Redux client, Node/Express server
- Control panel to administer multiple chats, archive and delete
- Indicates to the user if admin is online, and if not provides a contact form instead of chat
- Typing indicators and notification sounds for both user and admin
- Option to send an SMS to the admin on new chat registration
- Batched database persistence on a set interval for better I/O performance
- Socket.io and Passport authentication and sessions for the admin
- Works with Mysql or Postgresql, but based on Sequelize so can easily be adapted to other SQL databases
- Easy to integrate with an existing site
Run npm install then npm run build to compile assets into the dist folder. Next create a database and config files (see below). After that you can run npm start to launch a development server, or npm run prod to run the build process and start the server in production mode. By default the server runs on port 3100 in development mode, so you could go to http://localhost:3100 to view the app.
Before you run the project you need to create a database and setup the configuration files. Rename DBconfig-sample.json to DBconfig.json in the root and modify as needed. You can refer to the Sequelize documentation.
Sessions are pre-configured for Postgres or Mysql, but it should work with any Database that Sequelize supports (see their documentation). If using Postgres, you will need to change the _insert_chat_records query because sequelize doesn't support an ON DUPLICATE KEY UPDATE equivalent for PG (you could change it to a raw SQL query if you like). You'll also need to add the sessions table to your DB: psql mydatabase < node_modules/connect-pg-simple/table.sql since connect-pg-simple requires that the table already exists.
If using a database other than Mysql or Postgresql, you'll need to add the appropriate Express session storage and configure it in /server/services/sessions-config.js.
Rename APPconfig-sample.js to APPconfig.js and adjust as desired.
The first time you run the project via npm start or npm run prod, if all goes well, it will add the tables to your database and you'll be good to go.
Note that because I started this on a non-React project, the control panel front end is plain javascript. On some future rainy day, I plan on refactoring it so all clientside JS is in React.
To access the admin to manage chats, you need to first add a user and then elevate its access level. To create a user, just go to /signup and create it. There is no GUI to elevate the user, so go the Users table in the DB and change the access level to 3: UPDATE "Users" SET "useraccess" = 3 WHERE id = 1;
Now you can login at /login (or the link in the header) with your user and access the admin chat panel.
