SchoolSim is an identity management system designed specifically for universities, with capabilities for adding/deleting/viewing the following user types:
- Alumni
- Employee
- Faculty
- Student
This project is written in Java and uses the Spring framework. We decided to use Java because it enforces type safety and object-oriented principles. We decided to Spring because it is well documented and has a large community.
In addition, this project hosts its data on a MySQL database. We decided to use this database because it's very simple to set up for remote connections, and it makes very efficient queries for large datasets.
This database is run on a Raspberry Pi 5 running Debian 12. We choose this configuration to host the server since it's quick to get up and running, and can be hosted continuously without incurring fees.
After connecting to the website, the user will be greeted with a statistics dashboard:
From there, the user can see data about how many entries are in each database table. If the user clicks on People,
they will be shown:
From here, they can view data for each person that has beena added to the database. On the right side of each entry,
there is an X button to delete an entry. In the upper right corner of the webpage, there is an Add button to add an entry.
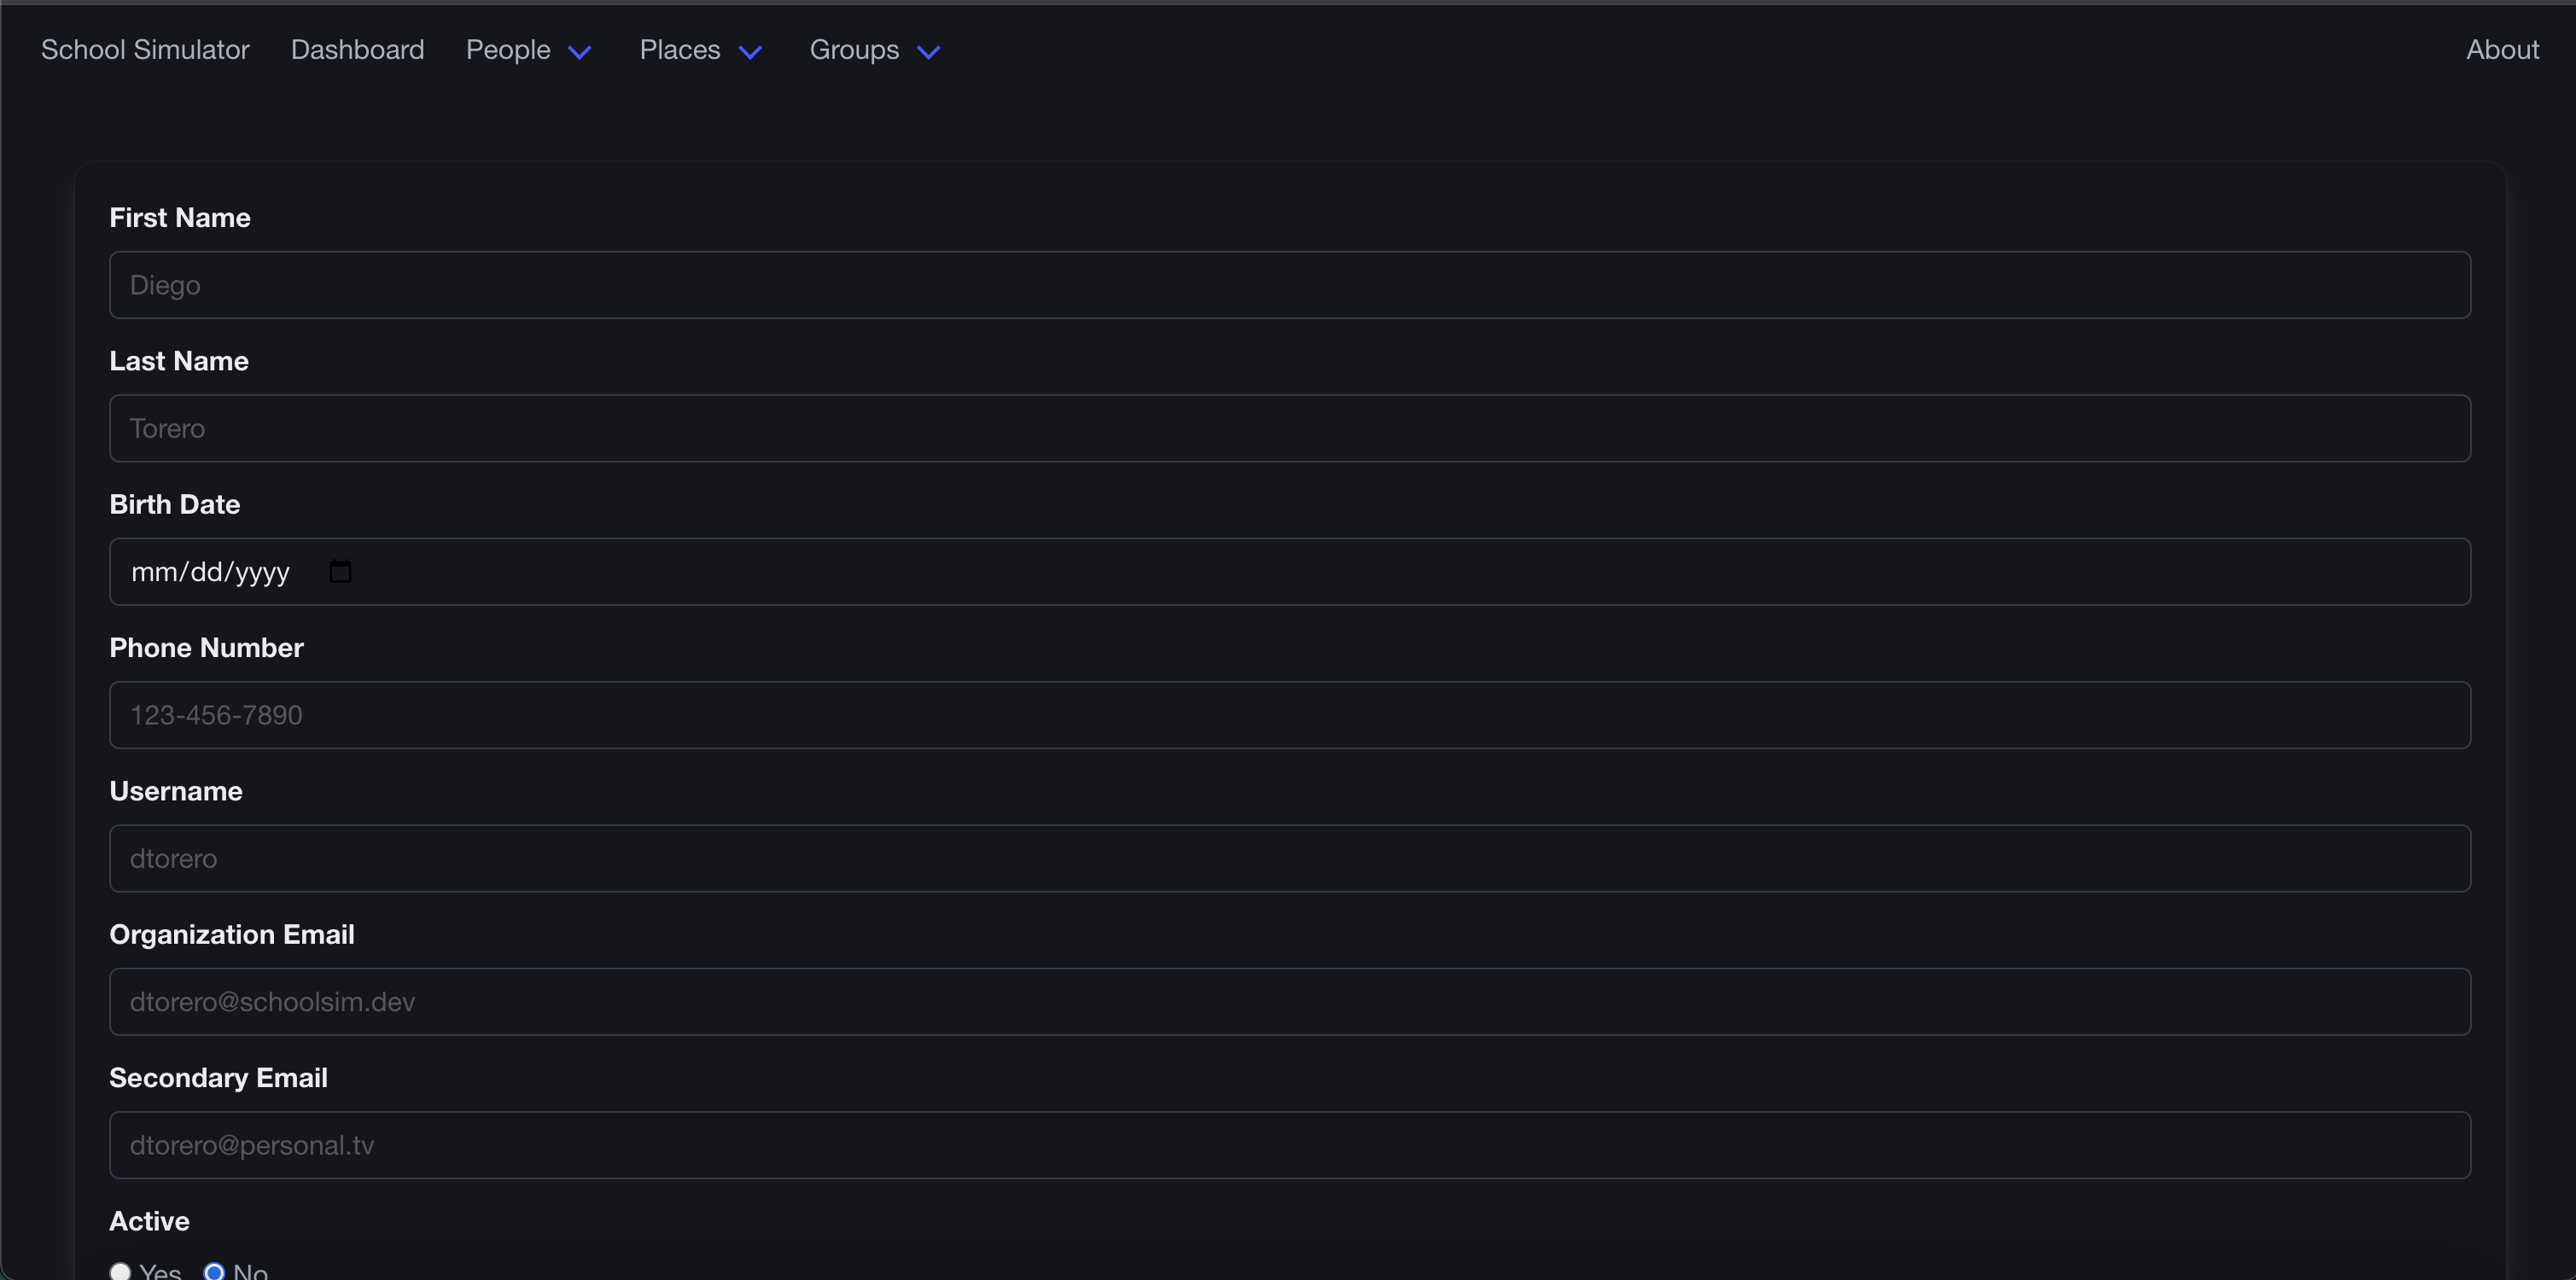
After clicking on this, the user will be shown a form where they can input data about a particular user
- Please ensure that you have
gitby running the following command in a terminal:git --version(download here). - Please ensure that you have
java 20by running the following command in a terminal:java --version(download here). - Please ensure that you are connected to the same network as the server. You can test this by running
ping [host address]in a terminal and see if there's a response.
Firstly, please ensure that you have a Linux server running that can access the Internet.
From there, you can install MySQL by running sudo apt install mysql-server in the terminal.
Please finish the setup guide found here.
Run the following command as a MySQL root user: CREATE USER 'new_user'@'%' IDENTIFIED BY 'password';.
By using %, you will allow the user to connect remotely via any IP.
Once the user has been created, run the following commands to setup the production database:
CREATE DATABASE ProductionDatabase;USE ProductionDatabase;SOURCE sql/create-prod-db.sql
Then create the proper test database:
CREATE DATABASE TestDatabase;USE TestDatabase;SOURCE sql/create-test-db.sql
Lastly, run the following commands to grant the user all privileges for those two databases:
GRANT ALL PRIVILEGES ON ProductionDatabase.* To 'new_user'@'%' IDENTIFIED BY 'password';GRANT ALL PRIVILEGES ON TestDatabase.* To 'new_user'@'%' IDENTIFIED BY 'password';FLUSH PRIVILEGES;
From there, the host server should be setup successfully. This can be tested in the next section.
-
Open a terminal and run
git clone https://github.com/usd-cs/comp305-final-project-sp24-s01s02-jj.git -
Open the newly created folder, and navigate to
src/main/resources. From there, create a file namedconfig.propertiesand enter the following information:-
database_name=
database_username=
database_password=
database_host=
You'll want to enter the host server values that were created in the previous section.
-
-
Open the newly created folder, and navigate to
src/test/resources. From there, create a file namedconfig.propertiesand enter the following information:-
database_name=
database_username=
database_password=
database_host=
You'll want to enter the same values as before, but change the database name to the test database.
-
-
Open a terminal in the root folder and run the command:
./gradlew buildon macOS/Linuxgradlew buildon Windows
-
If any tests fail during the build process, then please troubleshoot the server creation.
-
Navigate to
build/libs/, and execute the JAR file that is created. -
Visit
localhost:8080to view the website.
- aalbizati@sandiego.edu (Host server, model classes)
- johnphillips@sandiego.edu (Controller classes)
- nhuang@sandiego.edu (Service classes)


