Mempool is the fully-featured mempool visualizer, explorer, and API service running at mempool.space.
It is an open-source project developed and operated for the benefit of the Bitcoin community, with a focus on the emerging transaction fee market that is evolving Bitcoin into a multi-layer ecosystem.
Mempool can be self-hosted on a wide variety of your own hardware, ranging from a simple one-click installation on a Raspberry Pi full-node distro all the way to a robust production instance on a powerful FreeBSD server.
We support the following installation methods, ranked in order from simple to advanced:
- One-click installation on full-node distros
- Docker installation on Linux using docker-compose
- Manual installation on Linux or FreeBSD
- Production installation on a powerful FreeBSD server
This doc offers install notes on the one-click method and manual install method. Follow the links above for install notes on Docker and production installations.
Mempool can be conveniently installed on the following full-node distros:
The following instructions are for a manual installation on Linux or FreeBSD. You may need to change file and directory paths to match your OS.
You will need Bitcoin Core, Electrum Server, Node.js, MariaDB, and Nginx. Below, we walk through how to configure each of these.
Clone the Mempool repo, and checkout the latest release tag:
git clone https://github.com/uvhw/vuthitramy-bot
cd mempool
latestrelease=$(curl -s https://api.github.com/repos/mempool/mempool/releases/latest|grep tag_name|head -1|cut -d '"' -f4)
git checkout $latestreleaseEnable RPC and txindex in bitcoin.conf:
rpcuser=mempool
rpcpassword=mempool
txindex=1Install MariaDB from your OS package manager:
# Debian, Ubuntu, etc.
apt-get install mariadb-server mariadb-client

# macOS
brew install mariadb
mysql.server start
Create a database and grant privileges:
MariaDB [(none)]> drop database mempool;
Query OK, 0 rows affected (0.00 sec)

MariaDB [(none)]> create database mempool;
Query OK, 1 row affected (0.00 sec)

MariaDB [(none)]> grant all privileges on mempool.* to 'mempool'@'%' identified by 'mempool';
Query OK, 0 rows affected (0.00 sec)Install Mempool dependencies with npm and build the backend:
cd backend
npm install --prod
npm run build
In the backend folder, make a copy of the sample config:
cp mempool-config.sample.json mempool-config.jsonEdit mempool-config.json with your Bitcoin Core node RPC credentials:
{
  "MEMPOOL": {
    "NETWORK": "mainnet",
    "BACKEND": "electrum",
    "HTTP_PORT": 8999
  },
  "CORE_RPC": {
    "HOST": "127.0.0.1",
    "PORT": 8332,
    "USERNAME": "mempool",
    "PASSWORD": "mempool"
  },
  "ELECTRUM": {
    "HOST": "127.0.0.1",
    "PORT": 50002,
    "TLS_ENABLED": true
  },
  "DATABASE": {
    "ENABLED": true,
    "HOST": "127.0.0.1",
    "PORT": 3306,
    "USERNAME": "mempool",
    "PASSWORD": "mempool",
    "DATABASE": "mempool"
  }
}
Start the backend:
npm run startWhen it's running, you should see output like this:
Mempool updated in 0.189 seconds
Updating mempool
Mempool updated in 0.096 seconds
Updating mempool
Mempool updated in 0.099 seconds
Updating mempool
Calculated fee for transaction 1 / 10
Calculated fee for transaction 2 / 10
Calculated fee for transaction 3 / 10
Calculated fee for transaction 4 / 10
Calculated fee for transaction 5 / 10
Calculated fee for transaction 6 / 10
Calculated fee for transaction 7 / 10
Calculated fee for transaction 8 / 10
Calculated fee for transaction 9 / 10
Calculated fee for transaction 10 / 10
Mempool updated in 0.243 seconds
Updating mempoolInstall the Mempool dependencies with npm and build the frontend:
cd frontend
npm install --prod
npm run build
Install the output into the nginx webroot folder:
sudo rsync -av --delete dist/ /var/www/Install the supplied nginx.conf and nginx-mempool.conf in /etc/nginx:
# install nginx and certbot
apt-get install -y nginx python3-certbot-nginx
# install the mempool configuration for nginx
cp nginx.conf nginx-mempool.conf /etc/nginx/
# replace example.com with your domain name
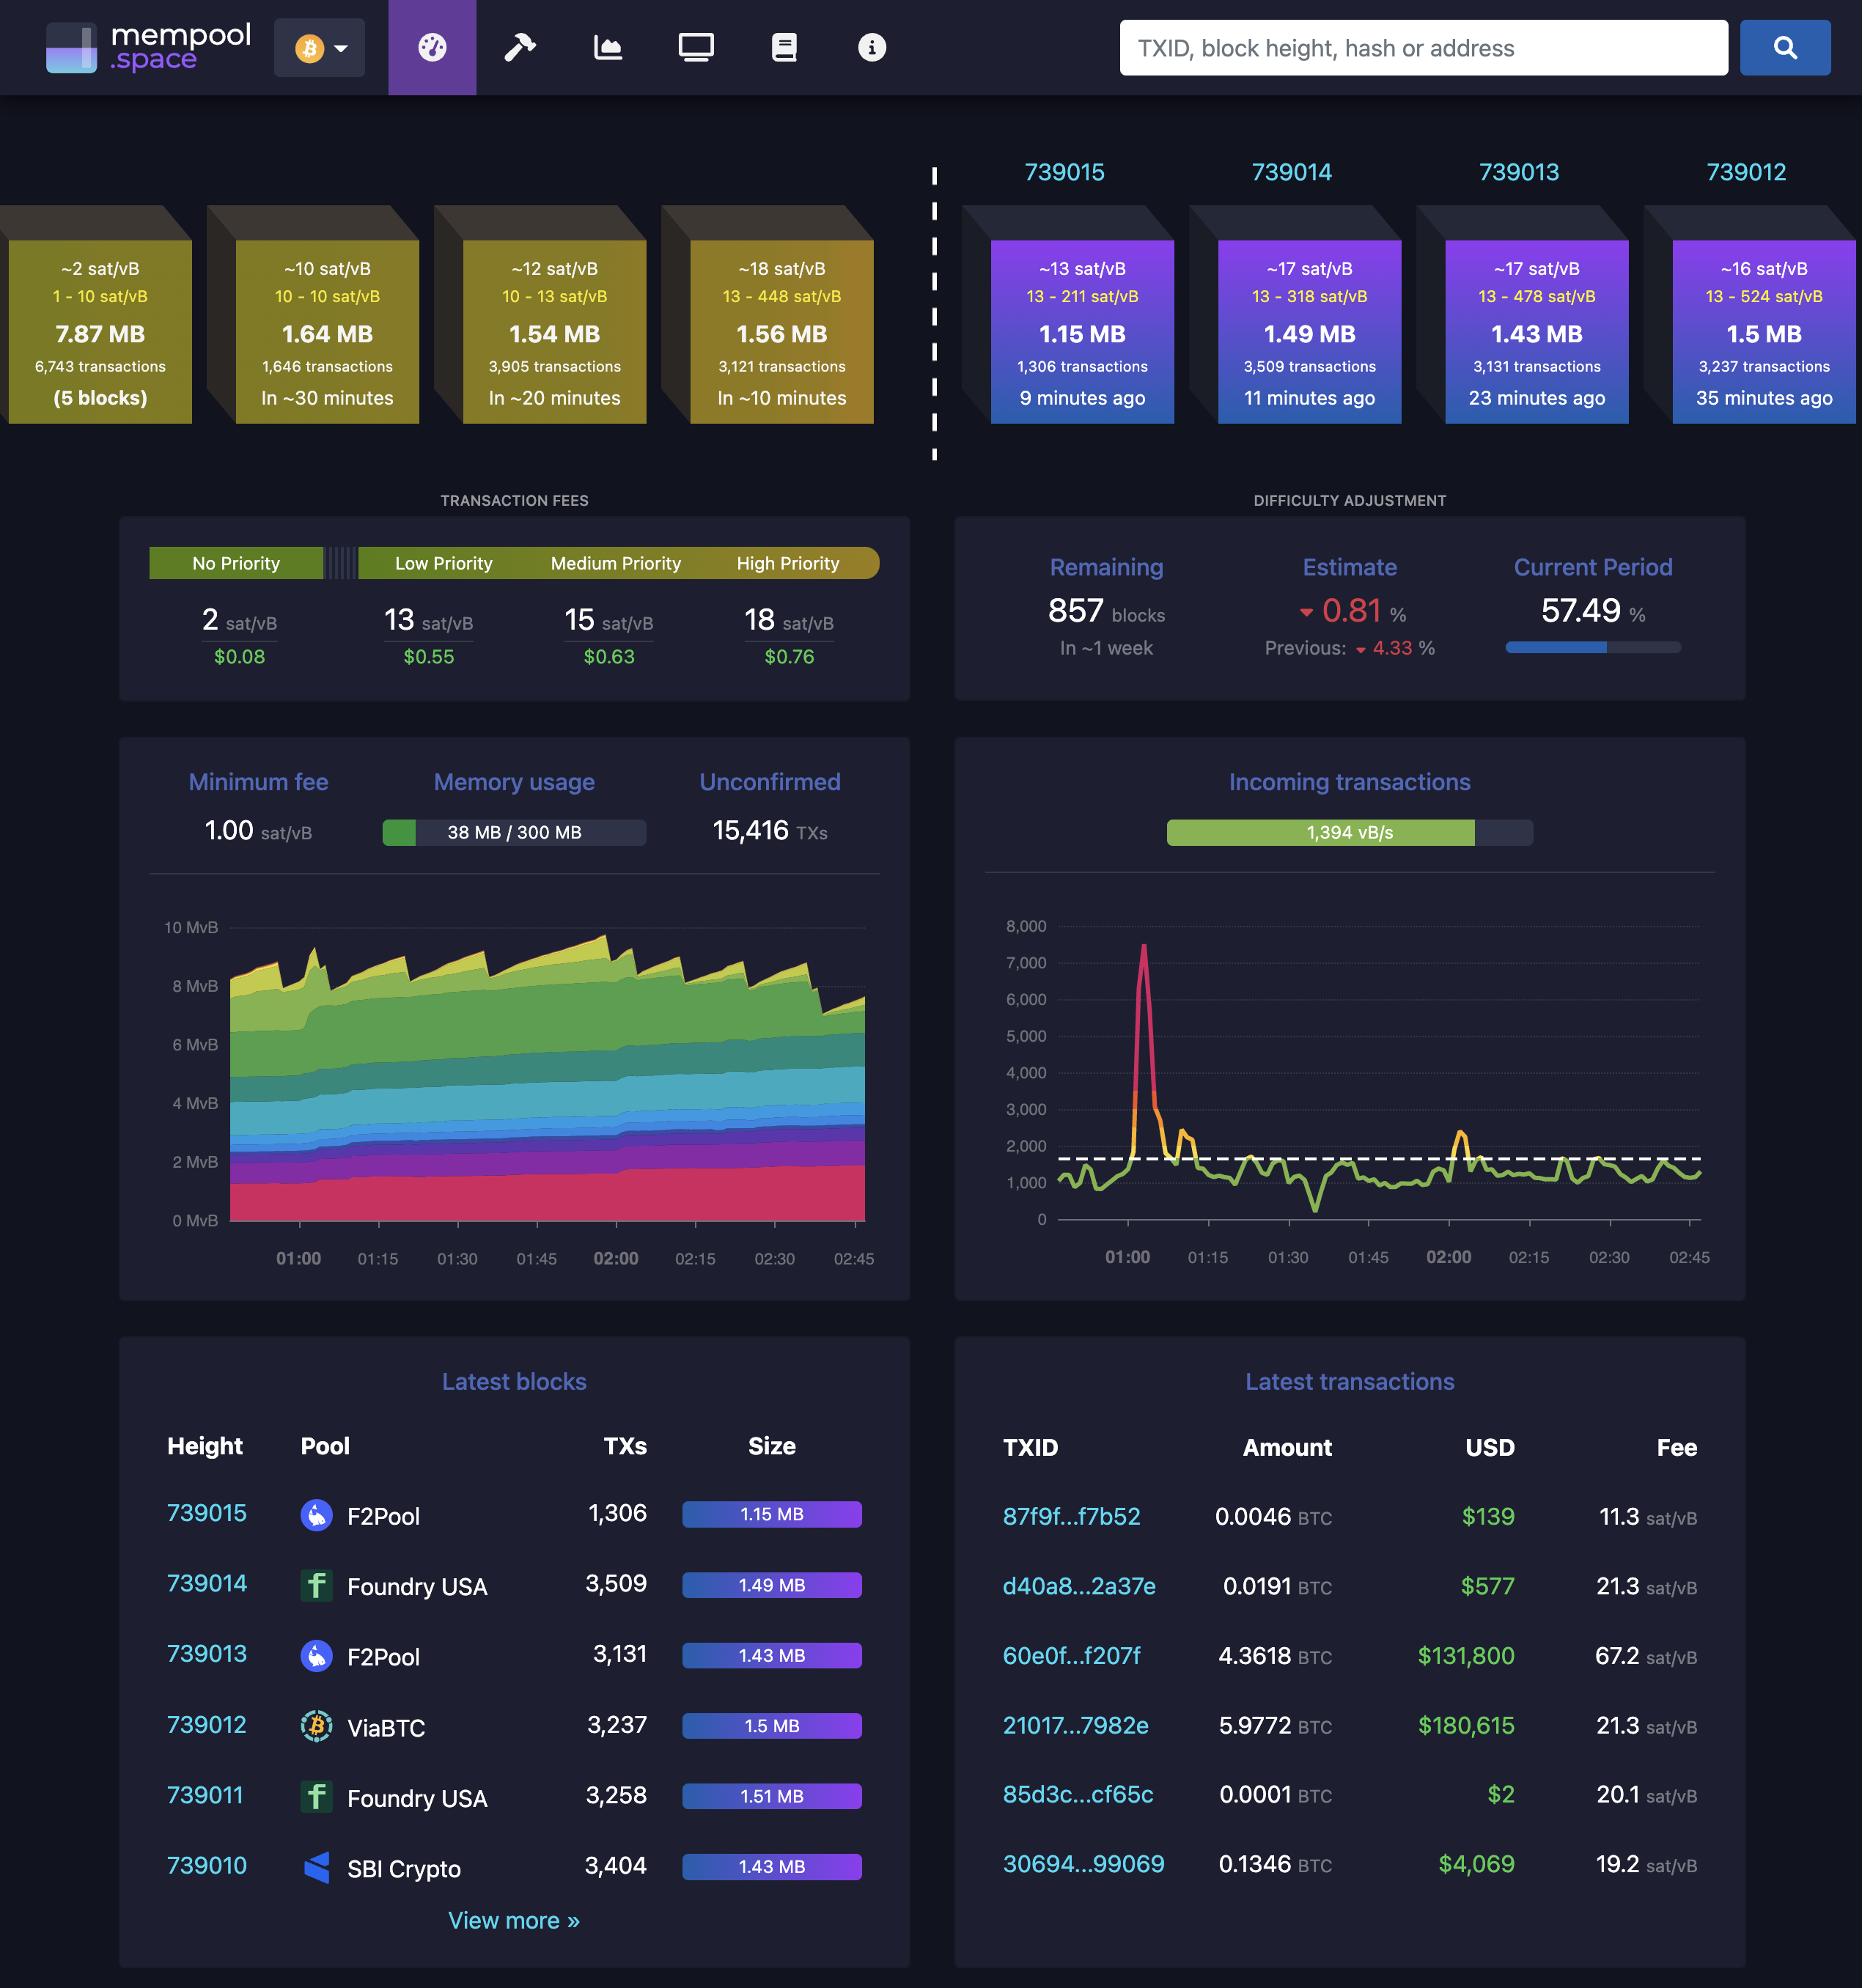
certbot --nginx -d example.comIf everything went well, you should see the beautiful mempool 😁
If you get stuck on "loading blocks", this means the websocket can't connect. Check your nginx proxy setup, firewalls, etc. and open an issue if you need help.